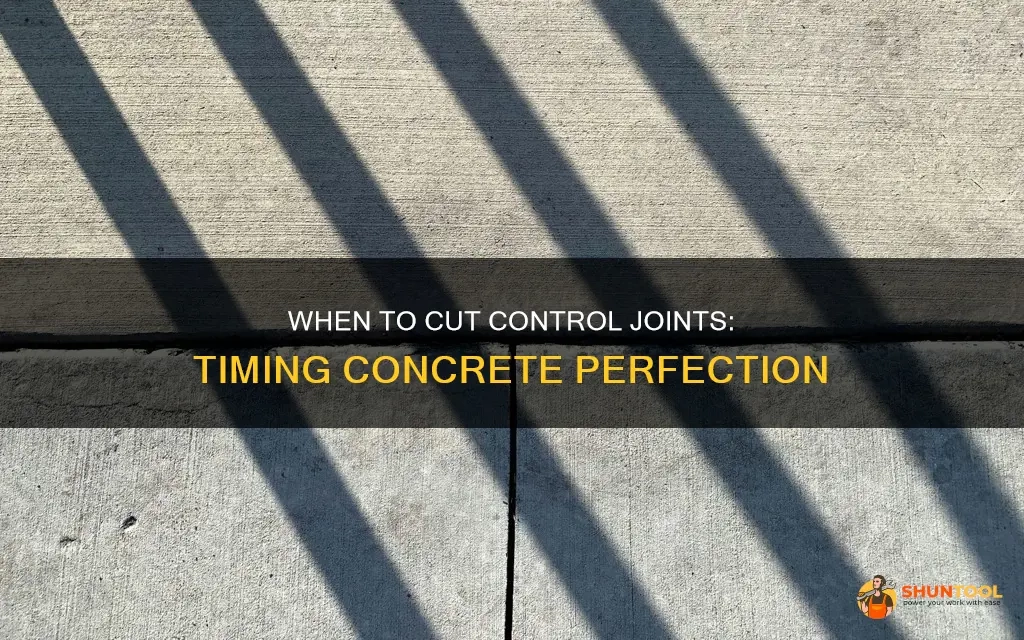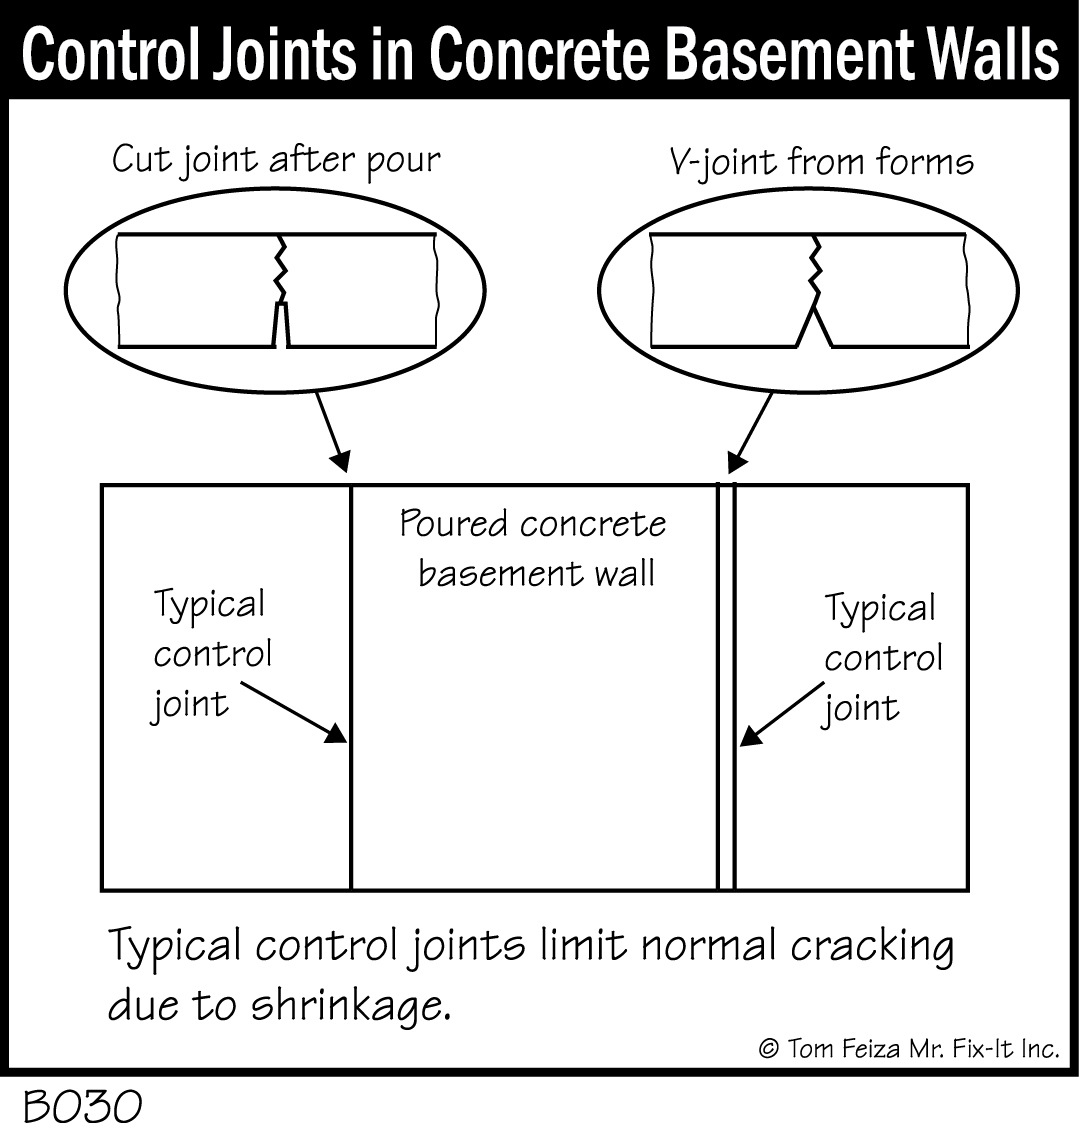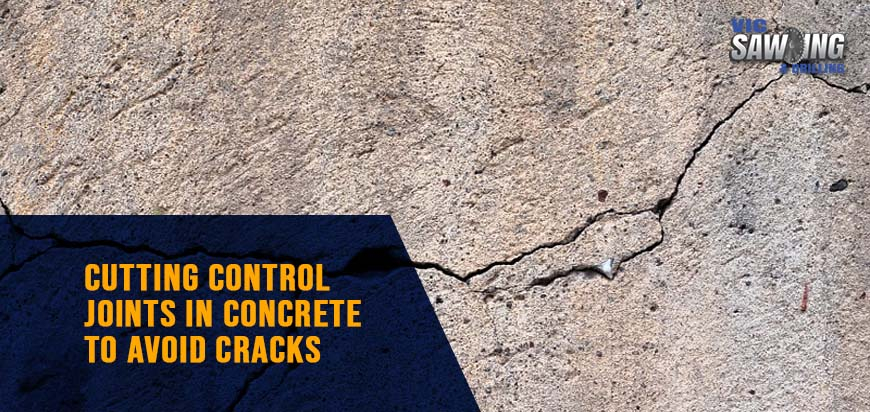
Concrete is stubborn. It’s strong, reliable, and everywhere we look. But it has a secret weakness: it hates being restrained. As it dries, it shrinks. And when it shrinks, it pulls apart. If you don’t give it a place to go, it will make its own path. Usually, that path is an ugly, jagged crack right across your new driveway or patio. That’s where control joints come in. They are the planned weak spots. The designated surrender zones. By cutting these lines, you tell the concrete exactly where to break. It sounds counterintuitive, right? Cutting something to save it? But that’s the magic of it. You aren’t preventing cracks entirely; you’re just directing them. You’re taking chaos and turning it into order.
Getting the timing right is everything. Cut too early, and you’ll tear the surface, leaving ragged edges that look like a mistake. Cut too late, and the concrete has already cracked on its own terms, rendering your careful lines useless. It’s a narrow window. A sweet spot that shifts with the weather, the mix, and the wind. In 2026, with better mixes and faster curing agents becoming standard, this window can feel even tighter. But don’t worry. It’s not rocket science. It’s just paying attention. This guide will walk you through the when, the how, and the why. We’ll strip away the jargon and get down to what actually matters on the job site. Because at the end of the day, you want a slab that looks good and stays that way. Let’s dig in.
The Science of Shrinkage and Stress
To understand when to cut, you first have to understand what the concrete is doing. When you pour a slab, it’s full of water. As that water evaporates—a process called drying shrinkage—the volume of the concrete decreases. It gets smaller. Think of it like a sponge drying out in the sun. Now, imagine that sponge is glued to the ground. It wants to shrink, but the friction from the subgrade holds it back. This creates tension. Internal stress builds up inside the slab. Eventually, that stress gets too high, and the concrete snaps. It cracks.
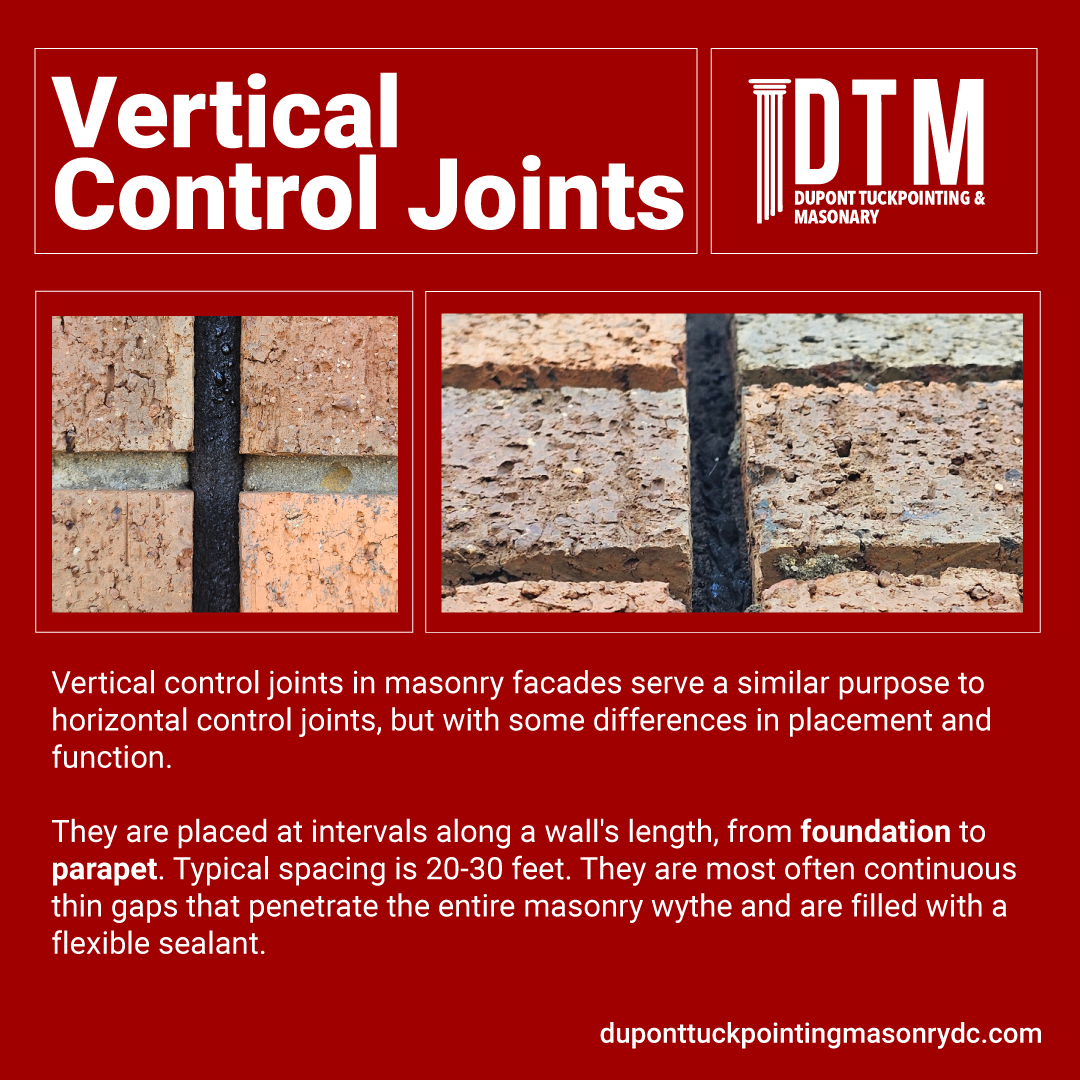
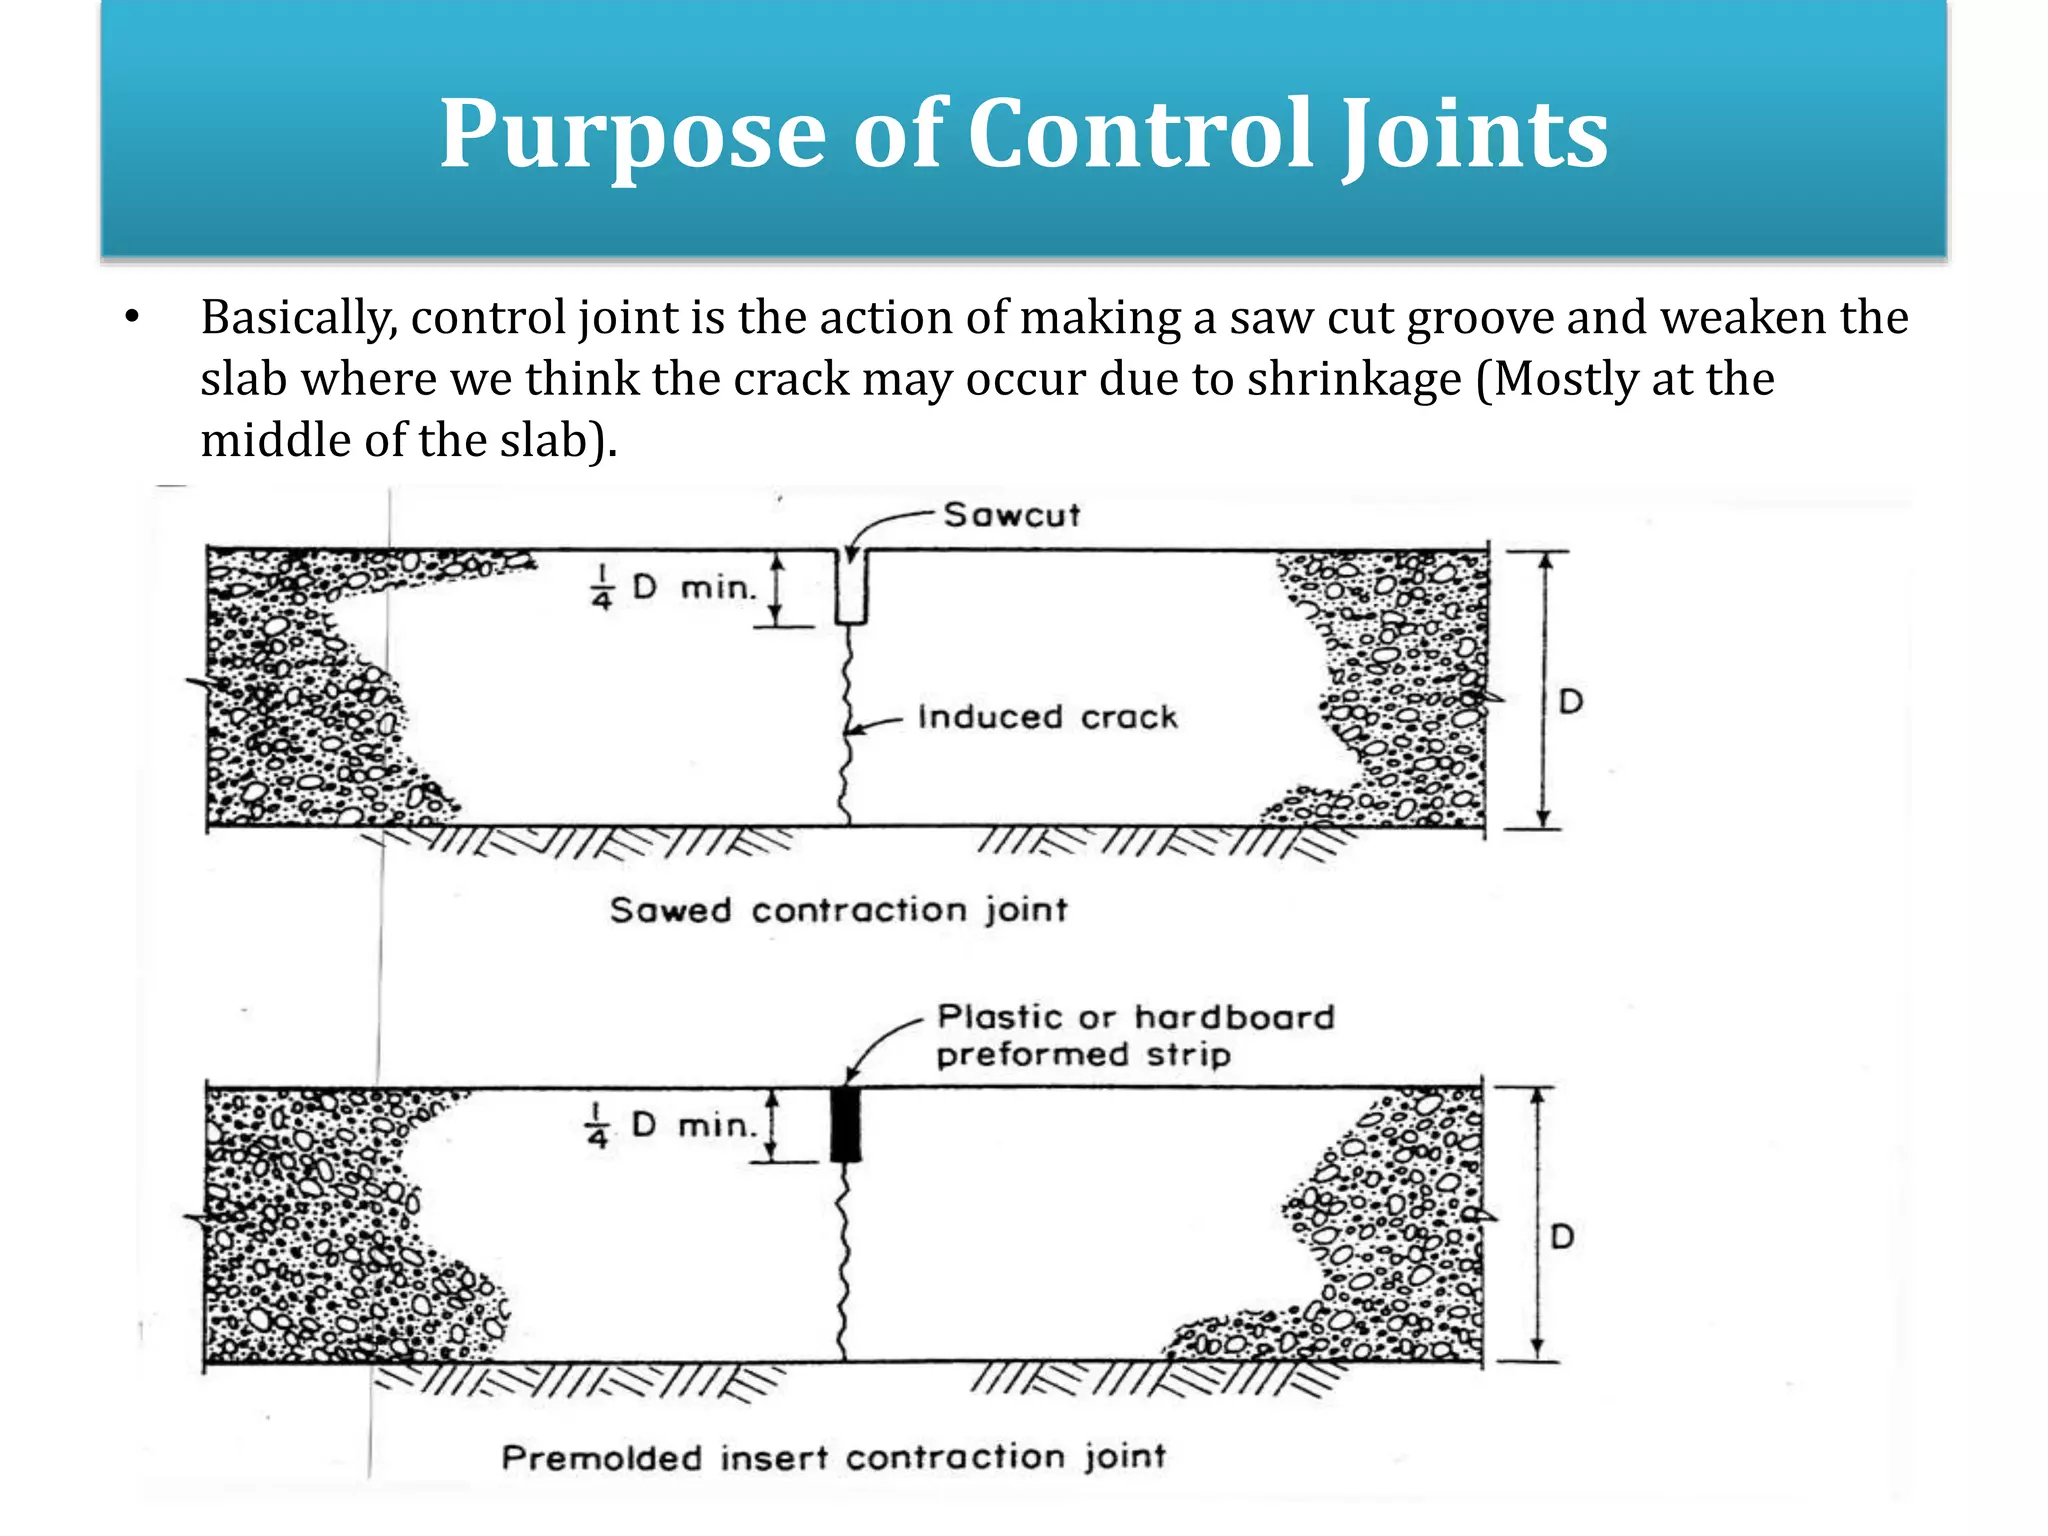
Control joints work by creating a plane of weakness. By cutting a groove into the surface, you reduce the cross-sectional area of the concrete at that specific line. It becomes the easiest place for the crack to happen. Instead of a random spiderweb forming in the middle of your patio, the crack forms neatly at the bottom of your saw cut. It’s hidden. It’s clean. It’s predictable. But this only works if the cut is made before the internal stress exceeds the tensile strength of the concrete. Once the concrete starts cracking on its own, the battle is lost. The goal is to beat the crack to the punch.
This is why timing isn’t just a suggestion; it’s a requirement. The concrete needs to be hard enough to support the weight of the saw and the operator without ravelling (where the aggregate gets pulled out, leaving a rough edge). But it also needs to be soft enough that the saw blade can cut through it easily and, more importantly, before the shrinkage stresses cause uncontrolled cracking. It’s a balancing act. You are looking for that Goldilocks zone. Not too wet, not too dry. Just right. Understanding this tension helps you see why you can’t just set a timer and walk away. You have to read the concrete.
Reading the Clock: The Golden Window
So, when is "just right"? The general rule of thumb has always been between 4 to 12 hours after placement. But that’s a huge range. What does that actually mean for you? In moderate weather—say, around 70°F (21°C) with low wind—you might find the sweet spot around 6 to 8 hours. The concrete will have set enough to hold its shape but will still be relatively green. However, relying solely on the clock is dangerous. Concrete doesn’t wear a watch. It reacts to its environment.
If you’re pouring in the heat of summer, things move fast. High temperatures and wind accelerate evaporation. The concrete gains strength quickly, but it also shrinks quickly. In these conditions, you might need to start cutting as early as 4 hours after placement. Sometimes even sooner. If you wait until the next morning, you’ll likely see random cracks already formed. On the flip side, if it’s cold and damp, the curing process slows down. You might have to wait 12 to 24 hours. Cutting too early in cold weather can cause the joint to ravel because the paste hasn’t bonded sufficiently to the aggregate.
A good trick pros use in 2026 is the "kick test" or simply observing the surface sheen. When the wet sheen disappears from the surface and the concrete can support your weight without leaving a deep footprint (more than a quarter-inch), it’s often time to start checking for readiness. Another indicator is the sound. When you drag a piece of rebar or a key across the surface, it should make a scratching sound, not a tearing one. If it tears, it’s too soft. If it sparks or makes a high-pitched ring, it might be too hard. These sensory cues are often more reliable than a stopwatch.
Weathering the Elements: Heat, Wind, and Cold
Weather is the biggest variable in the equation. It’s the wild card that throws off your best-laid plans. Let’s talk about heat first. Hot weather concreting is tough. The sun beats down, sucking moisture out of the slab. This causes plastic shrinkage, which can lead to cracks before the concrete even sets fully. To combat this, you need to be aggressive with your timing. You might need to have the saws ready to go immediately after the finishing crew leaves. Some contractors even use early-entry saws, which are designed to cut into very fresh concrete (within 1-2 hours) using special blades that minimize raveling. These tools have become more common and affordable in recent years, making them a great option for hot climates.
Wind is the silent killer. A breezy day can dry out concrete faster than a hot, still day. If you have winds over 10-15 mph, you need to take extra precautions. Use windbreaks if possible. Keep the surface moist with misters until you are ready to cut. But don’t let it get too wet, or you’ll wash out the cement paste. The key is to monitor the rate of evaporation. If the surface looks like it’s drying out too fast, you’re running out of time. Get those cuts in. Don’t wait for the perfect moment; it might not come.
Cold weather presents the opposite problem. When temperatures drop below 50°F (10°C), the hydration process slows significantly. The concrete stays soft for longer. If you try to cut too early, you’ll tear up the joint. But if you wait too long, the thermal contraction from the dropping night temperatures can cause cracking. In cold weather, it’s often better to wait a bit longer, perhaps 12 to 24 hours, and use a harder blade. Insulating the slab with blankets after cutting can help control the cooling rate and prevent thermal shock. It’s all about managing the temperature differential between the inside and the outside of the slab.
Depth and Spacing: The Geometry of Control
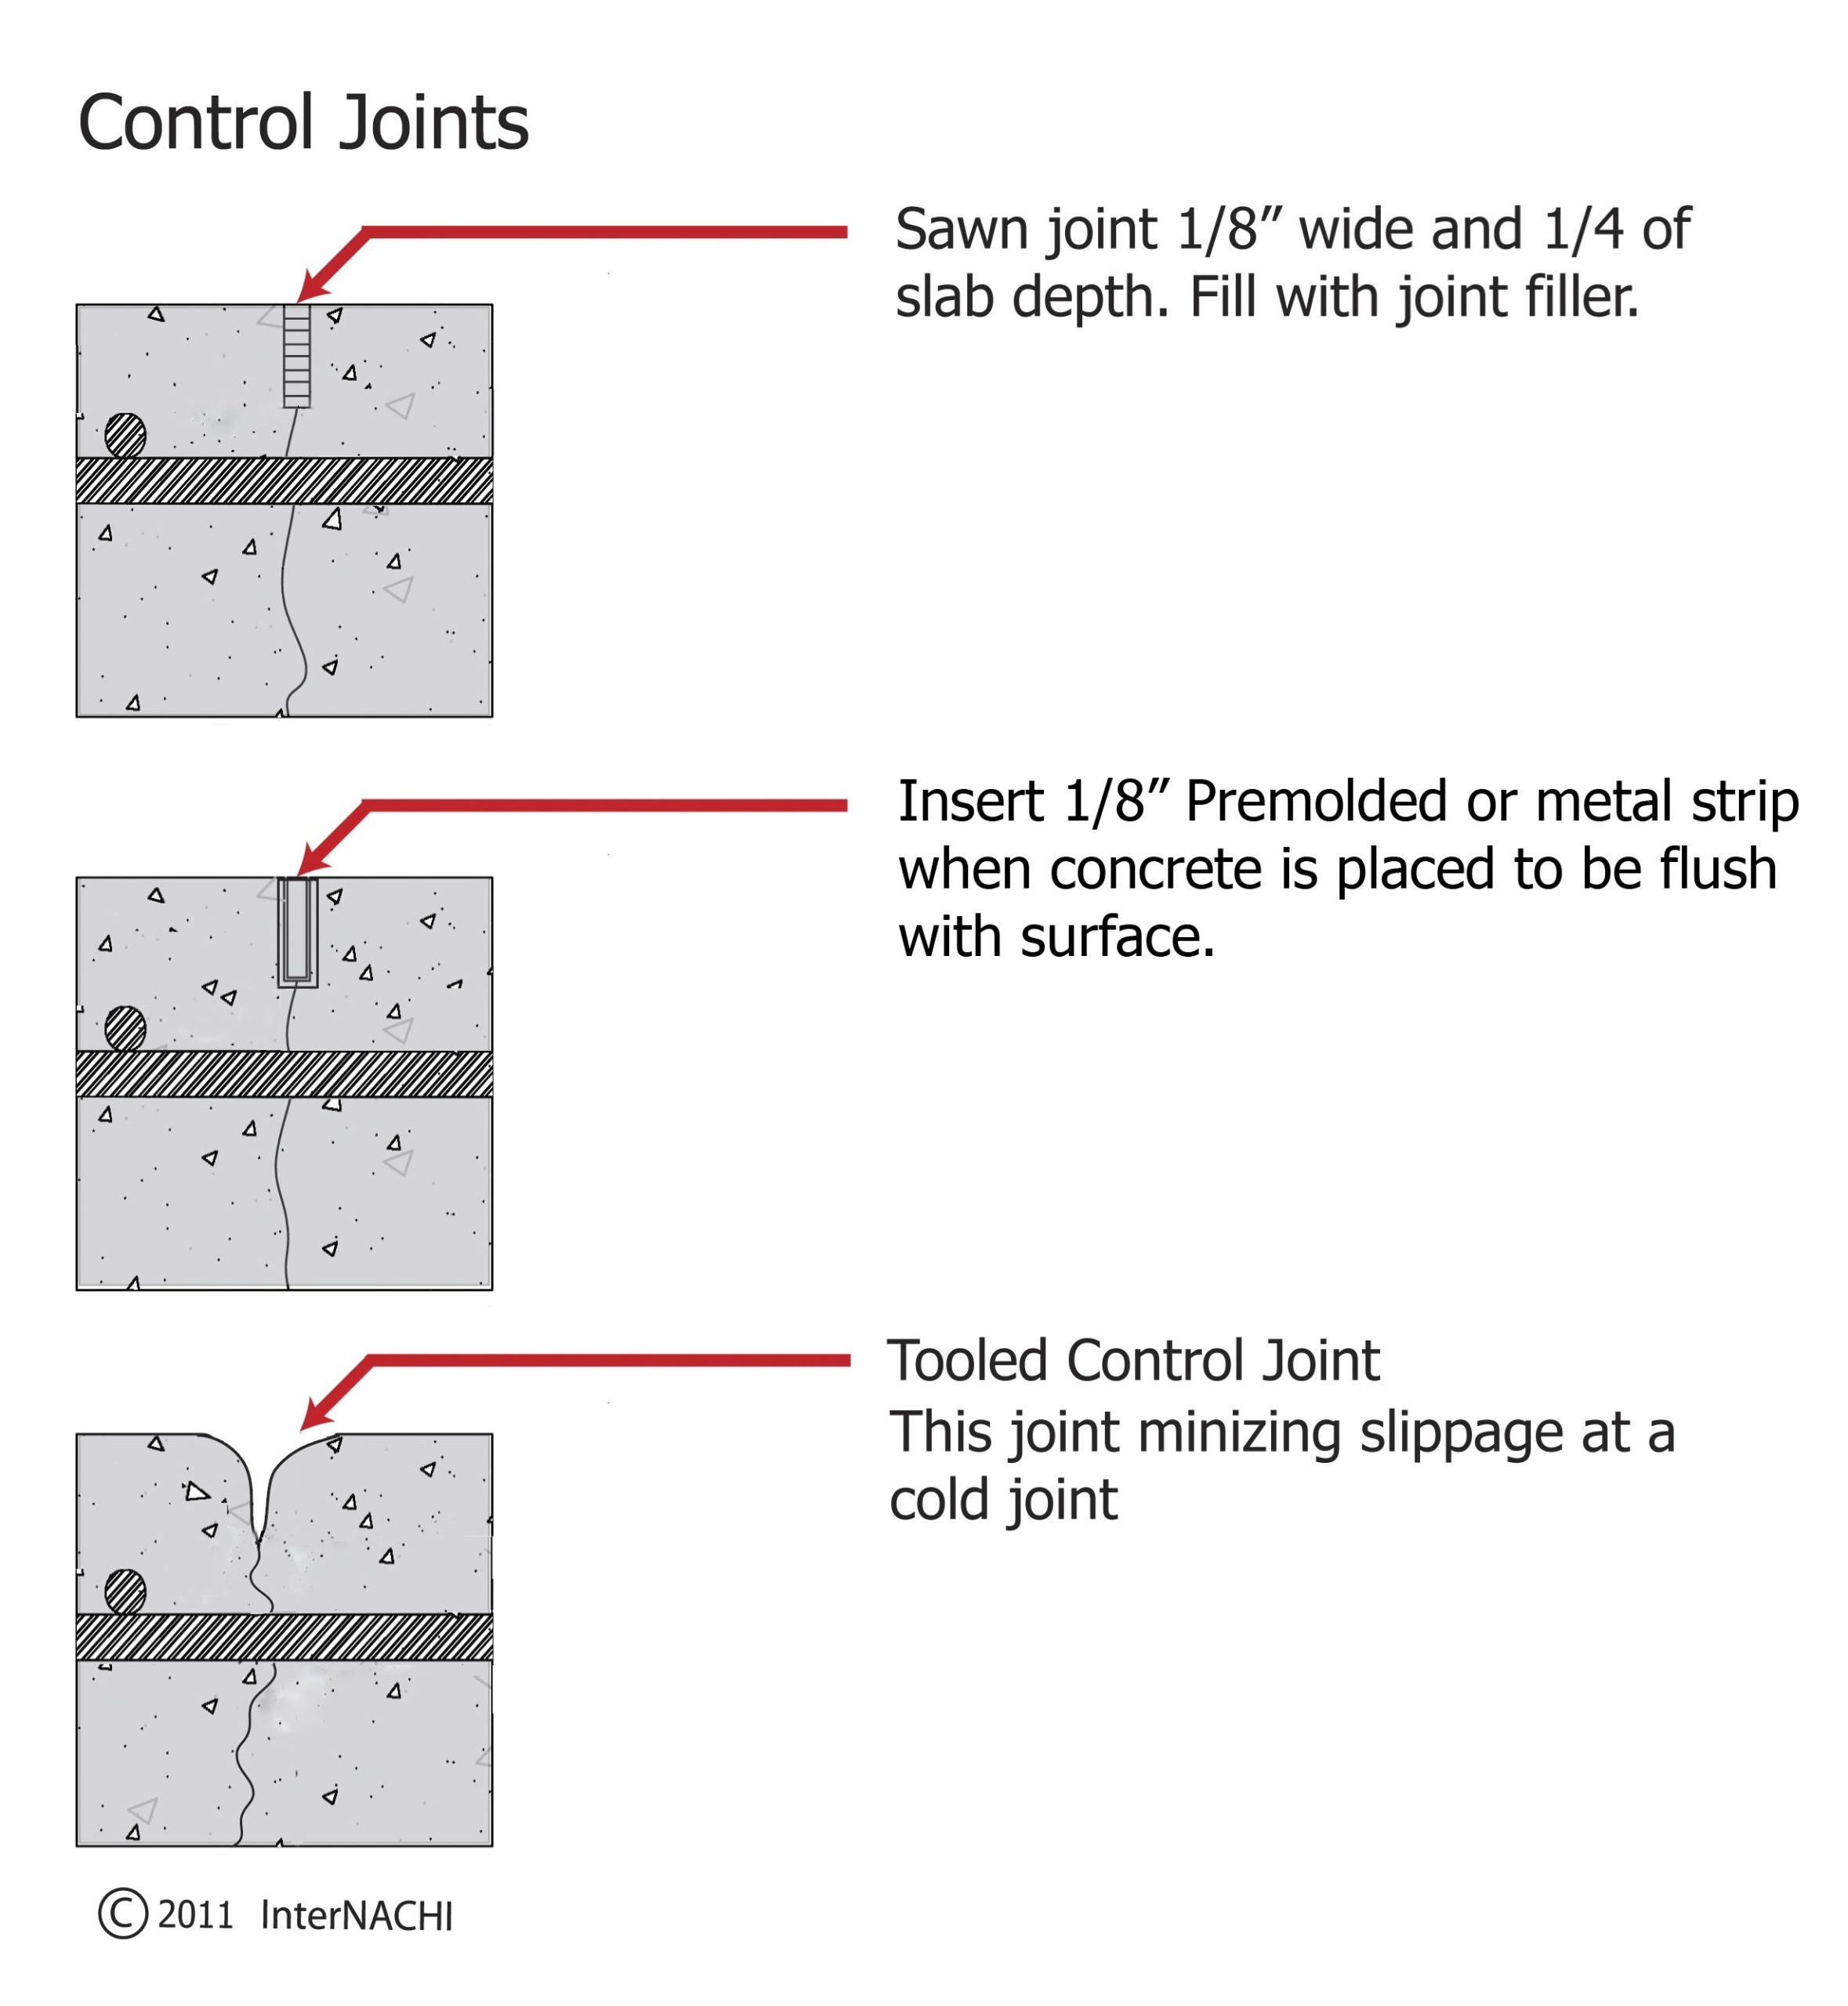
Timing is crucial, but so is geometry. If your cuts are too shallow or spaced too far apart, they won’t do their job. The depth of the cut is critical. A control joint should be at least one-quarter (1/4) of the total slab thickness. For a 4-inch slab, that means a 1-inch deep cut. For a 6-inch slab, 1.5 inches. Why? Because the crack needs to start at the bottom of the cut. If the cut is too shallow, the stress concentration isn’t strong enough to force the crack to form there. The concrete will ignore your weak spot and crack somewhere else. It’s like trying to tear a piece of paper with a tiny nick versus a deep tear. The deep tear wins every time.
Spacing is equally important. The general rule is that the distance between joints should not exceed 2 to 3 times the slab thickness in feet. So, for a 4-inch slab, you want joints every 8 to 12 feet. For a 6-inch slab, every 12 to 18 feet. There’s also a limit based on the width-to-length ratio. Panels should be as square as possible. Long, narrow panels are prone to cracking in the middle because the stress distribution is uneven. If you have a long driveway, break it up into smaller, squarer sections. It looks better and performs better.
Don’t forget the corners. Corners are stress magnets. They are the most likely place for diagonal cracks to form. Always return your joints to the corners or create a diagonal joint at the corner to relieve that stress. If you have a column or an obstruction, run the joint directly to it. Never stop a joint short of an edge or an obstruction. The stress will just build up at the end of the cut and cause a crack to shoot out from the tip. Think of the joints as a map. Every line needs to lead somewhere. Dead ends are bad news in concrete.
Tools of the Trade: Choosing the Right Saw
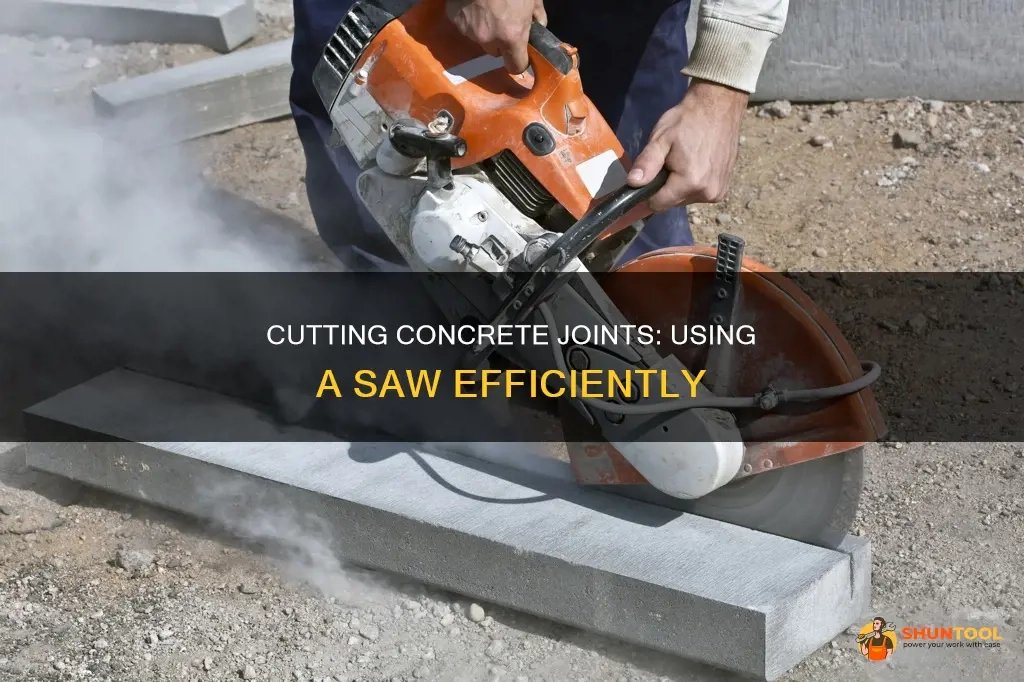
Not all saws are created equal. The type of saw you use can impact the quality of the cut and the timing window. For standard timing (4-12 hours), a walk-behind gas-powered saw with a diamond blade is the workhorse. These are powerful and can handle the toughness of semi-cured concrete. Make sure the blade is appropriate for green concrete. Blades designed for hard, cured concrete will glaze over and burn when used on soft concrete. Look for blades with a softer bond matrix, which allows the diamonds to expose themselves as they wear, keeping the cut cool and efficient.
For those tight windows in hot weather, consider an early-entry saw. These are lightweight, often electric or battery-powered, and designed to cut within 1 to 4 hours of placement. They use a special skirt that holds the blade close to the surface, preventing the aggregate from rattling loose. While they are more expensive, they can save you from costly repairs due to random cracking. In 2026, battery technology has improved significantly, making cordless early-entry saws a viable and popular option for many contractors. They are quieter, produce no fumes, and are easier to maneuver.
Regardless of the saw, maintenance is key. A dull blade is a dangerous blade. It requires more force to push, which can displace the concrete and cause uneven cuts. It also generates more heat, which can damage the concrete surface. Check your blades regularly. If the cutting speed slows down or the motor strains, it’s time to change the blade. Also, ensure your saw has a water source for wet cutting. Water cools the blade, reduces dust, and helps flush out the slurry. Dry cutting is possible but generally results in a rougher edge and more wear on the blade. Unless you have a vacuum system attached, stick to wet cutting for the cleanest lines.
Even with the best intentions, things go wrong. One of the most common mistakes is waiting too long. It’s easy to get busy with other tasks and forget about the clock. By the time you remember, it’s the next day, and you see a hairline crack running across the slab. At this point, cutting a joint over the crack is pointless. The damage is done. You can still cut joints to control future cracking, but that random crack will remain visible. The lesson here is to prioritize joint cutting. It’s not a task to be done "when you get around to it." It’s a critical step that needs to be scheduled and staffed appropriately.
Another frequent error is inconsistent depth. If your saw bounces or the operator doesn’t maintain a steady pace, the depth of the cut will vary. Shallow spots become failure points. Use a saw with adjustable depth wheels and check them frequently. Walk the line as you cut. Don’t just ride the saw. Watch the blade entry. Ensure the water flow is consistent. If you see chunks of aggregate popping out, you’re either cutting too early or your blade is wrong for the mix. Stop and assess. It’s better to lose ten minutes figuring it out than to ruin a hundred feet of slab.
Raveling is another issue. This is when the edges of the joint crumble and look jagged. It’s usually caused by cutting too early or using a blade that’s too hard. If you see raveling, try waiting a bit longer before cutting the next section. Or, switch to a blade with a softer bond. In some cases, you can clean up minor raveling with a grinder, but it’s time-consuming and rarely looks perfect. Prevention is the best cure. Test a small section first. If it cuts cleanly, keep going. If it tears, wait. Patience pays off. And remember, if you mess up, own it. Fix it if you can, but don’t try to hide it with sealant or paint. It’ll just peel off later.
Getting control joints right is part art, part science, and mostly experience. It’s about respecting the material. Concrete is alive in its own way. It moves, it breathes, it changes. By understanding its rhythms and giving it the space it needs to move, you create structures that last. The clean lines of a well-cut joint are a sign of craftsmanship. They show that you cared enough to get the details right. And in a world of quick fixes and corner-cutting, that attention to detail stands out.
So, the next time you’re standing over a fresh slab, watching the sun dip below the horizon, remember the tension building inside. Don’t fight it. Guide it. Make your cuts with confidence. Check your depth. Watch the weather. And trust your instincts. If it feels right, it probably is. If you’re unsure, wait a little bit, but not too long. The window is small, but it’s there. And when you hit it, the result is a smooth, durable surface that looks like it was meant to be. No random cracks. No ugly surprises. Just clean, professional concrete. That’s the goal. That’s the standard. And it’s within your reach.
[sps_html tag=”img” src=”https://cdn.northcarolinafinearchitecture.com/2026/05/when-to-cut-control-joints-timing-concrete-perfection-shuntool-with-what-most-contractors-get-wrong-about-cutting-control-joints.webp” alt=”When To Cut Control Joints: Timing Concrete Perfection | Shuntool with What Most Contractors Get Wrong About Cutting Control Joints” style=”width: 100%; height: auto;”]
[sps_html tag=”img” src=”https://cdn.northcarolinafinearchitecture.com/2026/05/difference-between-control-construction-and-expansion-joints-pptx-in-what-most-contractors-get-wrong-about-cutting-control-joints.jpg” alt=”Difference Between Control, Construction, And Expansion Joints | Pptx in What Most Contractors Get Wrong About Cutting Control Joints” style=”width: 100%; height: auto;”]
[sps_html tag=”img” src=”https://cdn.northcarolinafinearchitecture.com/2026/05/control-joints-in-concrete-block-walls-at-dianna-wagner-blog-pertaining-to-what-most-contractors-get-wrong-about-cutting-control-joints.jpg” alt=”Control Joints In Concrete Block Walls At Dianna Wagner Blog pertaining to What Most Contractors Get Wrong About Cutting Control Joints” style=”width: 100%; height: auto;”]
[sps_html tag=”img” src=”https://cdn.northcarolinafinearchitecture.com/2026/05/cutting-control-joints-in-concrete-to-avoid-cracks-vic-sawing-drilling-pertaining-to-what-most-contractors-get-wrong-about-cutting-control-joints.jpg” alt=”Cutting Control Joints In Concrete To Avoid Cracks | Vic Sawing & Drilling pertaining to What Most Contractors Get Wrong About Cutting Control Joints” style=”width: 100%; height: auto;”]
[sps_html tag=”img” src=”https://cdn.northcarolinafinearchitecture.com/2026/05/control-joints-inspection-gallery-internachi-regarding-what-most-contractors-get-wrong-about-cutting-control-joints-scaled.jpg” alt=”Control Joints - Inspection Gallery - Internachi® regarding What Most Contractors Get Wrong About Cutting Control Joints” style=”width: 100%; height: auto;”]