You’ve spent hours sanding that walnut board. You’ve measured twice, maybe three times. You cut the joint, fit it together, and… it’s loose. Or worse, it splits when you tap it home. It’s frustrating, isn’t it? We’ve all been there. That sinking feeling in your gut when the hallmark of fine woodworking turns into a headache.
It’s not just about aesthetics. A bad dovetail is a weak link. In 2026, we have better tools than ever, yet the fundamental physics haven’t changed. If the angle is wrong, the joint fails. It’s that simple. But figuring out why it’s wrong? That’s where the magic happens. Let’s dig into the sawdust and figure this out together.
The Hidden Physics of Failure
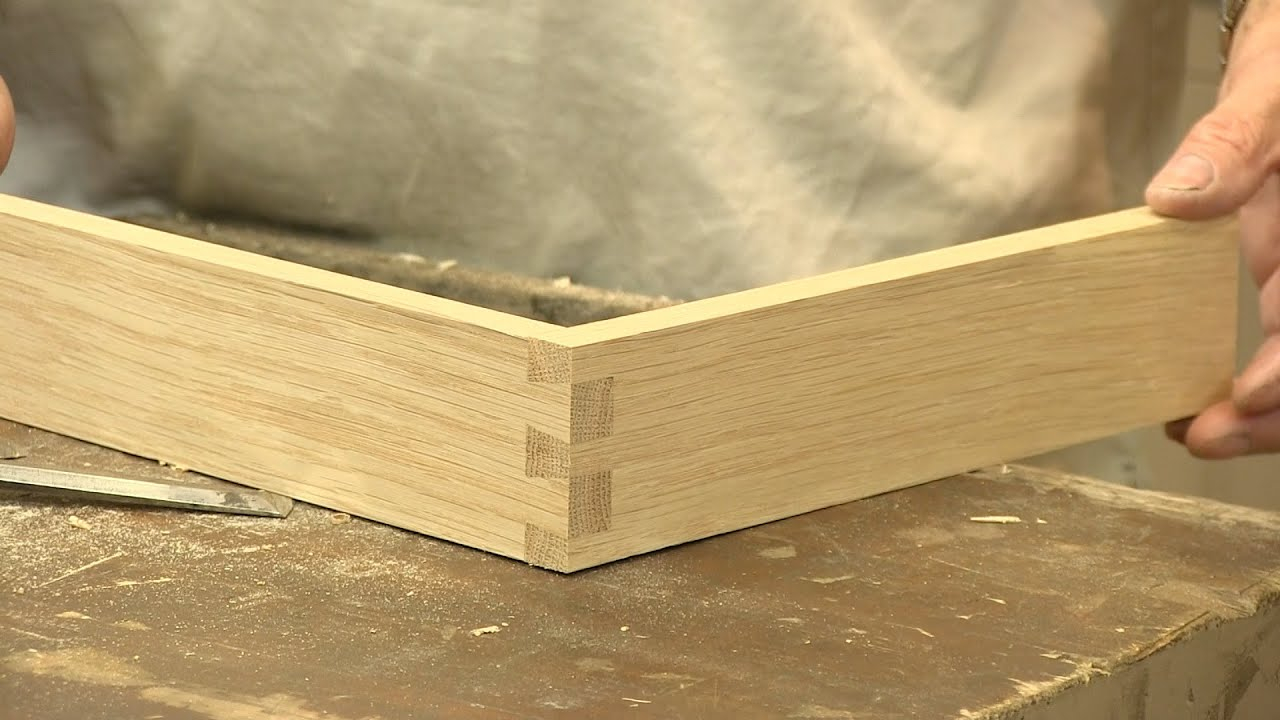
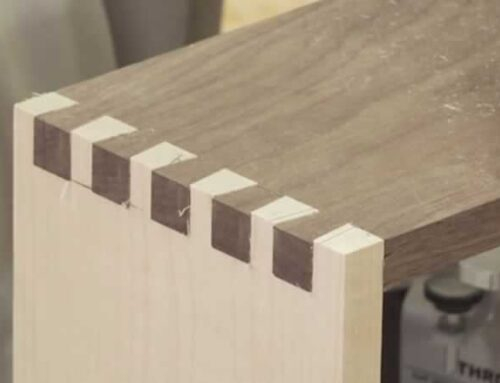
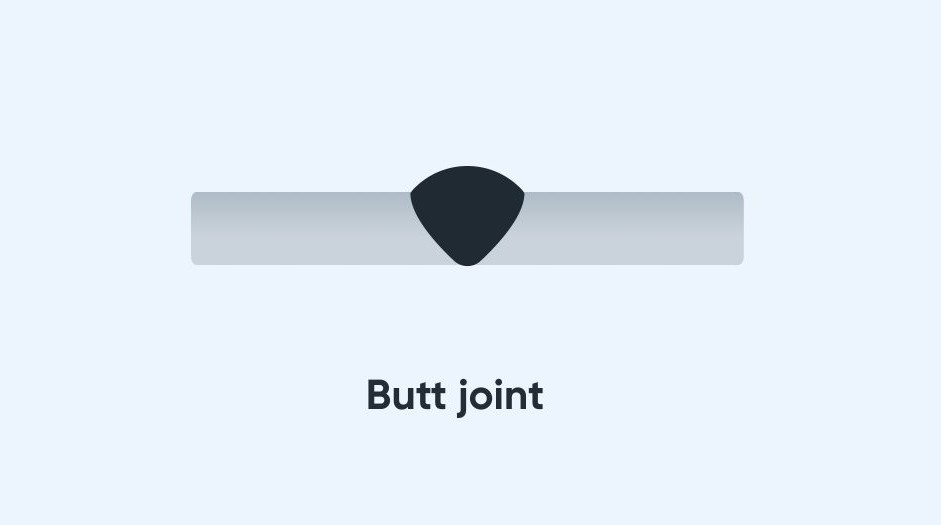
Before we grab a chisel, we need to talk about why these joints actually work. Picture two pieces of wood meeting at an angle, like the interlocking teeth of a zipper, but way stronger. The "pins" on one board nest into the "tails" on the other. This mechanical interlock resists pulling apart forces better than a butt joint ever could. It’s brilliant engineering from centuries ago.
But here’s the catch. That strength relies entirely on friction and surface area. If the angle is too shallow, the tails look nice, sure, but they act like wedges. When you hammer them in, they push the pin board outward. This is called "blowout." You see those little cracks appear near the ends? That’s the wood screaming for mercy. On the flip side, if the angle is too steep, you lose surface area. The joint becomes brittle. It might hold for a day, but give it a year of seasonal humidity changes, and it’ll snap.
In 2026, we see a lot of people rushing this part. They buy a jig, set it to "default," and go. But wood isn’t plastic. It breathes. It moves. Understanding that the angle isn’t just a number—it’s a balance between holding power and wood integrity—is the first step to stopping failure. You aren’t just cutting shapes; you’re managing stress.
Choosing the Right Angle for Your Wood
So, what’s the right number? It’s not one-size-fits-all. For decades, the standard has been 1:6 or roughly 9.5 degrees for softwoods, and 1:8 or about 7 degrees for hardwoods. But why? Softwoods are softer (obviously). They can handle a steeper angle because the fibers compress easier without splitting. Hardwoods are dense. They need a shallower angle to create enough locking surface without acting like a chisel against the grain.
Let’s look at maple versus pine. If you use a 1:6 ratio on hard maple, you’re asking for trouble. The tails are too fat at the base. When you drive them in, the pressure is immense. You’ll likely split the pin board. Switch to a 1:8 ratio. Suddenly, the tails are longer and thinner. They slide in smoother. The holding power comes from the length of the contact, not just the wedge shape. It’s a subtle difference, but it changes everything.
Don’t forget about exotic woods either. In 2026, we’re seeing more sustainably sourced dense tropical woods in hobbyist shops. Woods like Ipe or Lignum Vitae are incredibly hard. For these, you might even go to 1:10. It looks delicate, almost fragile, but it’s actually stronger because it respects the material’s limits. Always test your angle on scrap first. Never trust the box label blindly.
The Router Bit Trap
Here’s where a lot of modern woodworkers get tripped up. Router bits. Specifically, the ubiquitous 1/2 inch, 14-degree bit. You see them everywhere. ToolsRadar recently highlighted how popular these are for "perfect joints," and they are convenient. But convenience is the enemy of precision if you don’t understand the tool.
A 14-degree bit creates a specific angle. That’s roughly a 1:4 ratio. That is steep. Very steep. It’s great for softwoods like pine or poplar where you want a quick, aggressive lock. But try using that same bit on oak or cherry. You’re going to have issues. The angle is so aggressive that it leaves very little meat on the tails. They become weak points. One good whack with a mallet and they shear off.
If you’re using a jig with a router, check your bit angle against your wood species. If you only have a 14-degree bit, stick to softer materials. Or, adjust your design. Make the tails wider to compensate for the reduced structural integrity at the base. Don’t force a square peg in a round hole. If you’re working with hardwoods, invest in a 7-degree or 8-degree bit. It costs a few bucks more, but it saves you from ruining a $50 board.
Hand-Cut Nuances and Layout Errors
Maybe you’re old school. You’re cutting by hand. That’s respectable. But hand-cutting introduces human error, specifically in layout. The most common mistake? Not laying out the pins first. Wait, what? Most people draw the tails. But pros often lay out the pins first. Why? Because the pins are the reference point for the board’s end grain.
When you scribe your lines, use a sharp knife, not a pencil. A pencil line has thickness. That thickness is air gap in your joint. Over four or five dovetails, that "air" adds up to a sloppy fit. Knife lines are precise. They sever the wood fibers, giving your chisel a clean path to follow. This is crucial for tight angles. If your chisel wanders even a fraction of a degree off the line, the joint won’t seat.
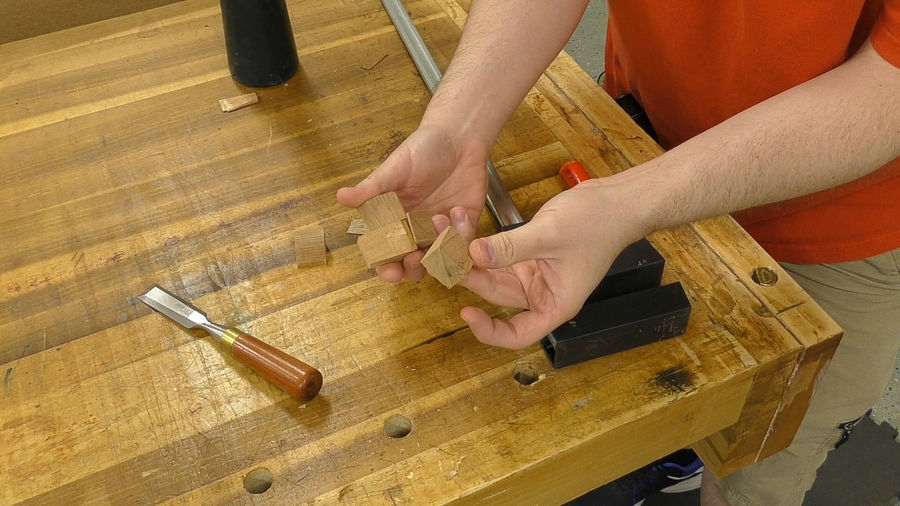
Also, watch your saw kerf. If you’re cutting on the waste side of the line, you’re leaving too much wood. The joint will be tight, yes, but it’ll be stressed. You’ll have to hammer it hard, risking split. Cut on the line, or slightly on the waste side, but pare it down with a chisel for a perfect fit. Patience is key here. Rushing the layout is guaranteeing failure later.
Glue, Gaps, and Moisture Management
You’ve cut the joint. It fits snugly. You reach for the glue. Stop. Did you account for moisture? Wood moves. In 2026, with climate control being so varied, indoor humidity can swing wildly. If you glue a joint that’s too tight in a humid summer, it might burst in a dry winter. The wood shrinks, but the glue holds rigid. Something has to give. Usually, it’s the wood fiber tearing away from the glue line.
Douglas Coates from the Woodworkers Institute points out that managing moisture is just as important as the cut itself. Acclimate your wood to your shop environment for at least a week before cutting. Let it settle. Then, when you glue, don’t starve the joint, but don’t drown it either. Too much glue creates a hydraulic lock. As you clamp, the water in the glue has nowhere to go. It pushes the joint apart microscopically.
Use a waterproof glue for outdoor items, but for indoor furniture, a standard PVA is fine. Just ensure your clamping pressure is even. If you see squeeze-out, that’s good. It means the joint is closed. Wipe it off quickly. Dried glue acts as a finish barrier, making staining a nightmare later. And remember, glue doesn’t fix bad joinery. If the angle is wrong, glue is just a band-aid on a broken leg.
Troubleshooting Common 2026 Mistakes
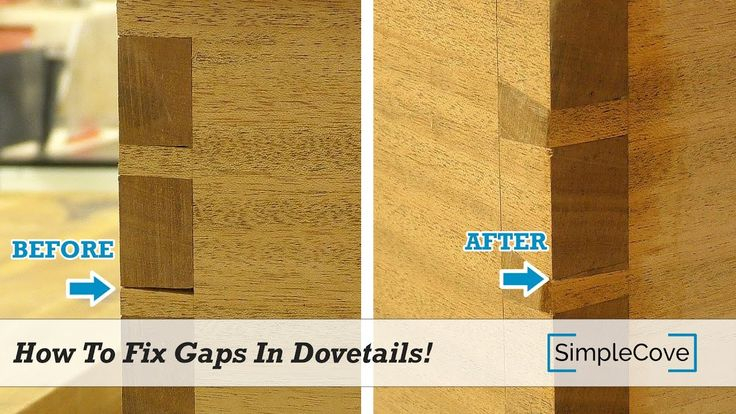
Let’s look at some specific failures we’re seeing lately. One big trend is the use of CNC machines for small batches. While precise, CNC routers can leave tear-out if the feed rate is wrong. This creates gaps at the base of the tails. The fix? Climb cutting vs. conventional cutting. Experiment with your machine’s settings. A slower feed rate often yields a cleaner wall, ensuring better glue contact.
Another issue is "creep." This happens when the joint looks perfect initially, but over time, the glue line shifts under load. This is usually due to insufficient drying time or poor clamping alignment. Make sure your clamps are perpendicular to the joint. If they’re angled, they’ll twist the boards as they tighten. Use cauls to distribute pressure evenly.
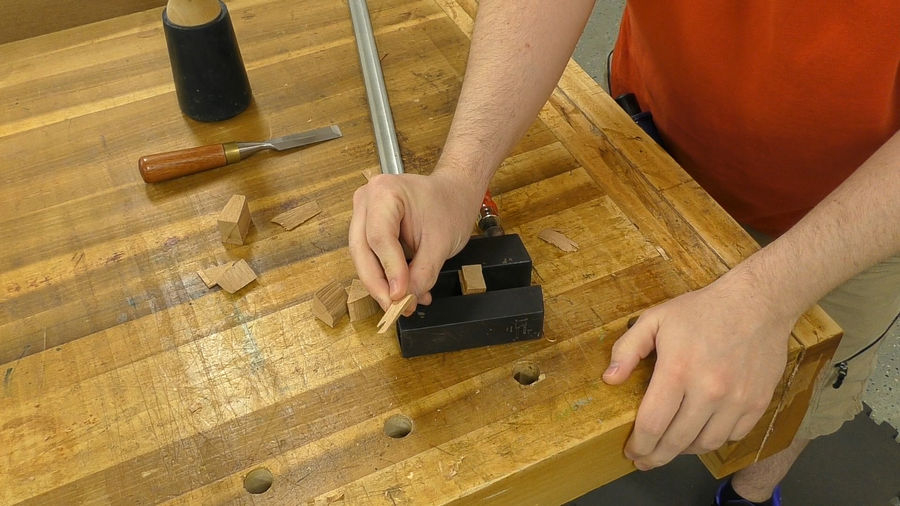
Finally, don’t ignore the visual cues. If your dovetails look uneven, they probably are. Even if they fit, an uneven tail suggests the saw wandered. This means the surface area contact is inconsistent. Some parts are tight, others are loose. This creates weak spots. Take the time to pare the walls flat with a sharp chisel. It’s tedious, but it transforms a mediocre joint into a masterpiece.
At the end of the day, a dovetail joint is a conversation between you and the wood. It’s about respect. Respect for the grain, respect for the physics, and respect for the craft. When you get the angle right, the joint doesn’t just hold; it sings. It becomes invisible in its strength.
Start with the right angle for your wood. 1:8 for hardwoods, 1:6 for softs. Check your router bits. Lay out with a knife. Acclimate your wood. These aren’t just steps; they’re habits. Build them into your workflow. In 2026, we have technology to help us, but the eye and the hand still rule the shop.
So, the next time a joint fails, don’t get mad. Get curious. Look at the angle. Look at the split. Ask why. That curiosity is what makes a woodworker great. Keep practicing. Keep tweaking. And soon, you’ll be pulling apart joints just to show off how tight they are. That’s the goal. Happy building.
[sps_html tag=”img” src=”https://cdn.northcarolinafinearchitecture.com/2026/05/how-to-fix-gaps-in-dovetails-simplecove-on-youtube-gap-fix-it-youtube-in-why-your-dovetails-fail-and-how-to-fix-the-angle-for-good.jpg” alt=”How To Fix Gaps In Dovetails - Simplecove On Youtube | Gap, Fix It, Youtube in Why Your Dovetails Fail and How to Fix the Angle for Good” style=”width: 100%; height: auto;”]
[sps_html tag=”img” src=”https://cdn.northcarolinafinearchitecture.com/2026/05/how-to-fix-gaps-in-dovetails-by-sean-simplecove-for-why-your-dovetails-fail-and-how-to-fix-the-angle-for-good.jpg” alt=”How To Fix Gaps In Dovetails By Sean | Simplecove for Why Your Dovetails Fail and How to Fix the Angle for Good” style=”width: 100%; height: auto;”]
[sps_html tag=”img” src=”https://cdn.northcarolinafinearchitecture.com/2026/05/how-to-fix-gaps-in-miter-joints-step-by-step-tutorial-inside-dovetail-joint-design.jpg” alt=”How To Fix Gaps In Miter Joints - Step-By-Step Tutorial inside Dovetail Joint Design” style=”width: 100%; height: auto;”]
[sps_html tag=”img” src=”https://cdn.northcarolinafinearchitecture.com/2026/05/how-to-make-a-dovetail-joint-the-three-joints-paul-sellers-youtube-throughout-dovetail-joint-design.jpg” alt=”How To Make A Dovetail Joint - The Three Joints - | Paul Sellers - Youtube throughout Dovetail Joint Design” style=”width: 100%; height: auto;”]
[sps_html tag=”img” src=”https://cdn.northcarolinafinearchitecture.com/2026/05/how-to-fix-gaps-in-dovetails-by-sean-simplecove-for-why-your-dovetails-fail-and-how-to-fix-the-angle-for-good-1.jpg” alt=”How To Fix Gaps In Dovetails By Sean | Simplecove for Why Your Dovetails Fail and How to Fix the Angle for Good” style=”width: 100%; height: auto;”]