You walk downstairs, expecting to grab a box of holiday decorations or maybe just do a load of laundry. Instead, you’re greeted by that familiar, musty smell. The one that clings to your clothes. You look down, and there it is again. A dark, damp patch creeping up the concrete wall. Or worse, a small puddle forming near the corner. It’s frustrating. It’s expensive. And if you’re like most folks, you’ve probably tried to fix it yourself with products from the local hardware store, only to watch the water win anyway.
We tend to think of our homes as solid, impenetrable fortresses. But the truth is, your house is sitting in a bathtub of soil that holds water like a sponge. When it rains, that sponge gets saturated. And gravity? Gravity always wins. It pulls that water down, pressing it against your foundation walls with surprising force. Many homeowners in 2026 are still fighting this battle with outdated advice or quick fixes that simply don’t hold up. Let’s talk about what you’re getting wrong, and more importantly, how to get it right.
The "Paint It On" Fallacy
One of the biggest mistakes I see people make is treating waterproofing like a paint job. You’ve seen the ads. Thick, gray coatings in buckets that promise to seal your walls from the inside. It seems logical, right? If the wall is wet, paint over it to stop the moisture. But here’s the thing. Water pressure doesn’t care about your paint.
When soil outside your home gets saturated, it creates what engineers call hydrostatic pressure. Imagine someone pushing against a door. If you just tape the door shut from the inside, the pressure builds up until the tape rips off or the door buckles. Interior sealers are like that tape. They might work for a few months, maybe even a year if you’re lucky and the water table is low. But eventually, the pressure behind that coating will cause it to bubble, peel, and fail. Once it fails, the water is trapped between the concrete and the coating, which can actually spall (chip away) the concrete surface over time.
Real waterproofing isn’t about blocking water from the inside; it’s about managing it from the outside or giving it a place to go. Think of it less like a barrier and more like a traffic cop. You need to direct the water away, not just stand in front of it with a stop sign. Using interior masonry waterproofer on a wall that has active leaks is essentially putting a band-aid on a broken pipe. It looks neat for a minute, but the problem is still gushing underneath.
Ignoring the Gutters and Grade
It sounds almost too simple to be true, but nearly half of all basement moisture issues start on the roof. Not in the basement. On the roof. Or rather, where the rain lands after it leaves the roof. If your gutters are clogged with leaves from last autumn, or if your downspouts dump water directly next to your foundation, you are essentially pouring a bucket of water against your house every time it storms.
In 2026, we have better materials than ever, but physics hasn’t changed. Water flows downhill. If the ground around your home slopes toward the foundation—even slightly—you’re creating a funnel that directs every drop of rain straight into the soil surrounding your basement walls. This is called negative grading, and it’s a silent killer of dry basements. You can spend ten thousand dollars on interior drainage systems, but if the surface water isn’t managed, those systems will be overwhelmed.
Take a walk around your house next time it rains. Watch where the water goes. Does it pool near the corners? Do your downspouts extend at least six feet away from the house? If not, you’re fighting a losing battle. Fixing the grade by adding soil to slope away from the foundation and installing downspout extensions is cheap, easy, and often solves the problem entirely. Yet, so many homeowners skip this step and jump straight to expensive interior renovations. It’s like trying to bail out a boat without plugging the hole first.
The Misunderstood Role of Interior Drainage
Let’s talk about those plastic channels you see glued to the floor along the edge of the basement. Interior French drains, or perimeter drain tiles, are popular DIY solutions. The idea is that they catch water seeping through the floor-wall joint (the cove joint) and channel it to a sump pump. While these systems can be effective, there’s a huge misconception about what they actually do.
Many people believe that installing an interior drain stops water from entering the basement. It doesn’t. It merely catches the water after it has already entered. The water still passes through the concrete, which means your walls are still getting wet, still undergoing freeze-thaw cycles, and still potentially deteriorating. It’s a management system, not a prevention system. Furthermore, cheap DIY kits often fail because they aren’t installed correctly. If the pipe isn’t sloped properly, or if the sump pump lacks a battery backup, you’re left with a flooded basement when the power goes out during a storm.
Also, consider the source. If the water is coming through cracks in the wall above the floor level, an interior floor drain won’t help you at all. You need to address the wall itself. In recent years, we’ve seen a shift toward hybrid systems that combine exterior membrane protection with interior drainage, but for existing homes, understanding the limit of interior drains is crucial. They are a safety net, not a shield. Relying on them exclusively without addressing exterior water management is a recipe for long-term structural headaches.
Cracks Are Symptoms, Not Just Problems
You see a crack in your foundation wall. Your instinct is to grab some hydraulic cement or epoxy injection kit and fill it. Done, right? Wrong. Cracks are rarely the root cause of the problem; they are usually the symptom of a larger issue. Foundations settle. Soil shifts. Trees grow. These forces create movement, and concrete, being rigid, cracks under stress.
If you simply fill a crack without understanding why it formed, it will likely crack again. Or worse, the water pressure will find a new path around your repair. In 2026, professional assessors use tools like moisture meters and thermal imaging to determine if a crack is active (still moving) or dormant. An active crack needs a flexible solution, like a specialized urethane injection that can expand and contract with the movement. A dormant crack can be sealed with rigid epoxy.
But here’s the kicker. Sometimes, sealing a crack tightly can trap moisture within the concrete wall itself. Concrete is porous; it breathes. If you seal every tiny pore and crack on the inside while the outside remains wet, you can trap vapor inside the wall structure. This can lead to efflorescence (that white, powdery salt deposit) and eventual degradation of the concrete from within. It’s a delicate balance. You want to stop liquid water, but you don’t necessarily want to create a vapor lock unless you have a comprehensive system in place. Always diagnose the movement before you inject the glue.
The Ventilation Trap
For decades, the standard advice was to open your basement windows in the summer to let it air out. "Let the fresh breeze dry it out," they said. This is perhaps one of the most persistent myths in home maintenance. In humid climates, opening basement windows in the summer actually makes the problem worse.
Here’s why. Warm air holds more moisture than cold air. When warm, humid outdoor air enters your cool basement, it hits the cold concrete walls and floor. The air cools down rapidly, and since cold air can’t hold as much moisture, that water vapor condenses into liquid water on your surfaces. It’s the same phenomenon as a cold glass of sweat on a hot day. By opening the windows, you’re inviting hundreds of gallons of water vapor into your home, which then turns into dampness on your walls.
Instead of natural ventilation, modern best practices in 2026 emphasize controlled mechanical ventilation and dehumidification. A high-quality dehumidifier set to maintain humidity levels between 45% and 50% is far more effective than any breeze. If you have an HVAC system, ensure it’s balanced to provide slight positive pressure or adequate exchange without bringing in unconditioned humid air. Seal those windows tight during the humid months. Use exhaust fans in bathrooms and laundry rooms located in the basement to vent moisture directly outside. Control the air, and you control the dampness.
Overlooking the Exterior Membrane Lifecycle
If you’re building a new home or doing a major excavation, you might hear about exterior waterproofing membranes. These are thick, rubberized sheets applied to the outside of the foundation before backfilling. They are the gold standard. However, many homeowners assume that once these are installed, they last forever. They don’t.
Over time, soil settlement, tree roots, and the sheer weight of the earth can damage or displace these membranes. In older homes, the original tar-based coatings from the 1970s or 80s have likely degraded, turned brittle, or cracked. If you’re experiencing persistent wetness despite good grading and interior drains, the exterior barrier might be compromised. Excavating to repair or replace exterior waterproofing is expensive and invasive, which is why it’s often overlooked.
But ignoring it isn’t an option if the structural integrity is at risk. In recent years, advancements in spray-applied liquid membranes have made exterior repairs slightly more accessible, though still major projects. The key takeaway here is awareness. If your home is older than thirty years, assume your exterior waterproofing is no longer functioning as intended. Plan your interior management systems accordingly. Don’t rely on a invisible layer of protection that may have vanished decades ago. It’s better to expect water and manage it than to hope a thirty-year-old tar coat is still holding back the tide.
So, where does this leave you? It’s easy to feel overwhelmed. Water is powerful, and foundations are complex. But you don’t need to panic. You just need to be smart. Start with the free stuff. Clean your gutters. Extend your downspouts. Check your grading. These simple steps solve more problems than you’d think. If water is still getting in, look at your interior systems. Are your drains working? Is your sump pump reliable? Do you have a dehumidifier running consistently?
Stop looking for magic paints and quick-fix sealants. They are distractions from the real work of water management. Understand that your basement is part of a system that includes the roof, the land around your house, and the air inside. Treat it as a whole. If you have significant cracking or persistent pooling, call a professional. Not a salesman who wants to sell you a twenty-year warranty on a product you don’t need, but a structural engineer or a reputable waterproofing specialist who diagnoses first and prescribes second.
Your home is your sanctuary. It should feel safe and dry. By letting go of these common myths and embracing a holistic approach to water management, you can turn that damp, musty storage space into a usable, comfortable part of your living area. It takes effort, sure. But the peace of mind knowing your foundation is secure? That’s worth every penny. And honestly, it’s better than scrubbing mold off cardboard boxes every spring.
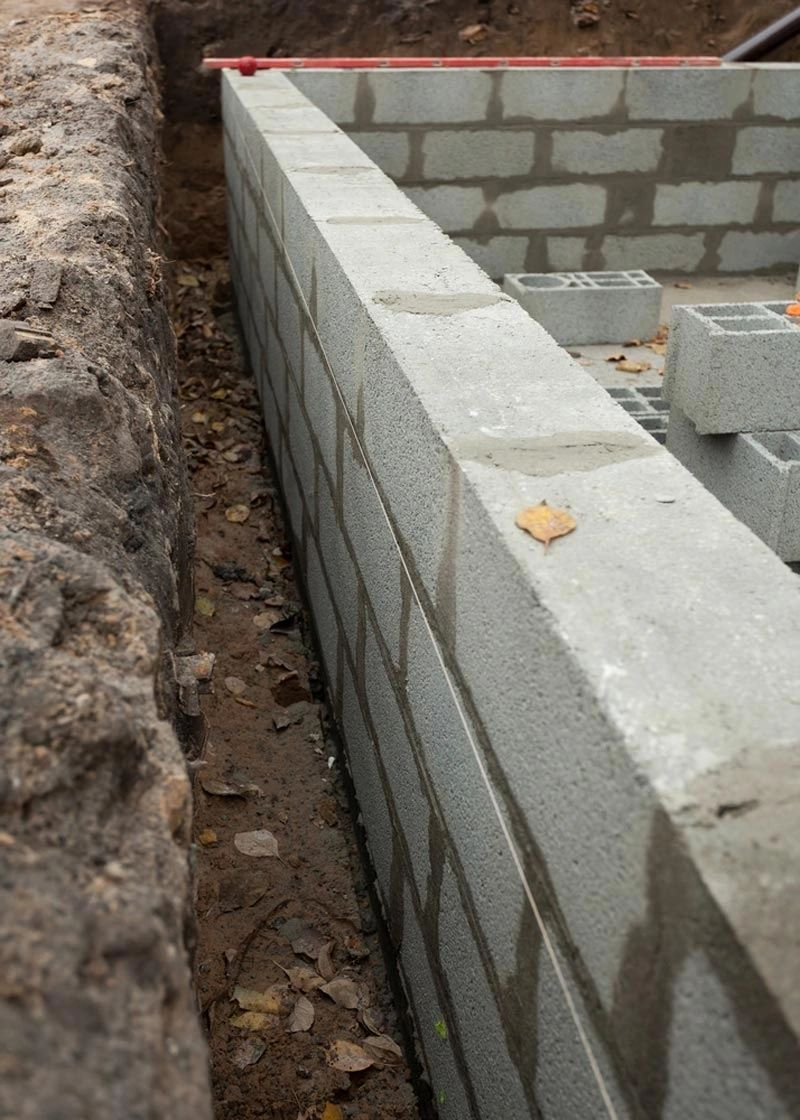
[sps_html tag=”img” src=”https://cdn.northcarolinafinearchitecture.com/2026/05/cinder-block-foundation-vs-concrete-in-foundation-wall-design.jpg” alt=”Cinder Block Foundation Vs Concrete in Foundation Wall Design” style=”width: 100%; height: auto;”]
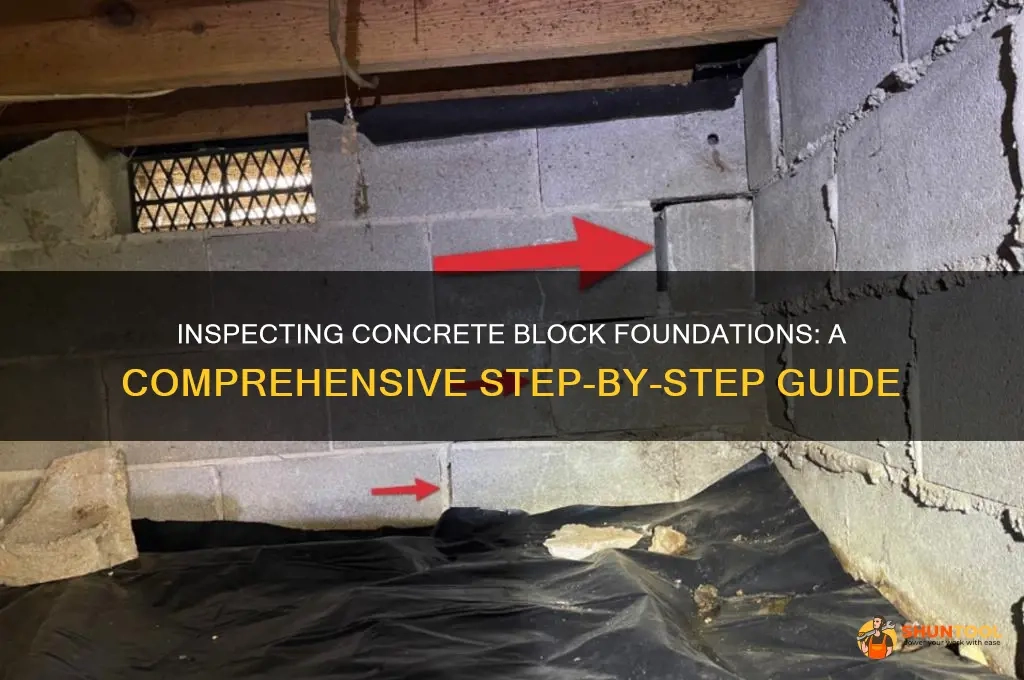
[sps_html tag=”img” src=”https://cdn.northcarolinafinearchitecture.com/2026/05/inspecting-concrete-block-foundations-a-comprehensive-step-by-step-intended-for-foundation-wall-design.webp” alt=”Inspecting Concrete Block Foundations: A Comprehensive Step-By-Step … intended for Foundation Wall Design” style=”width: 100%; height: auto;”]
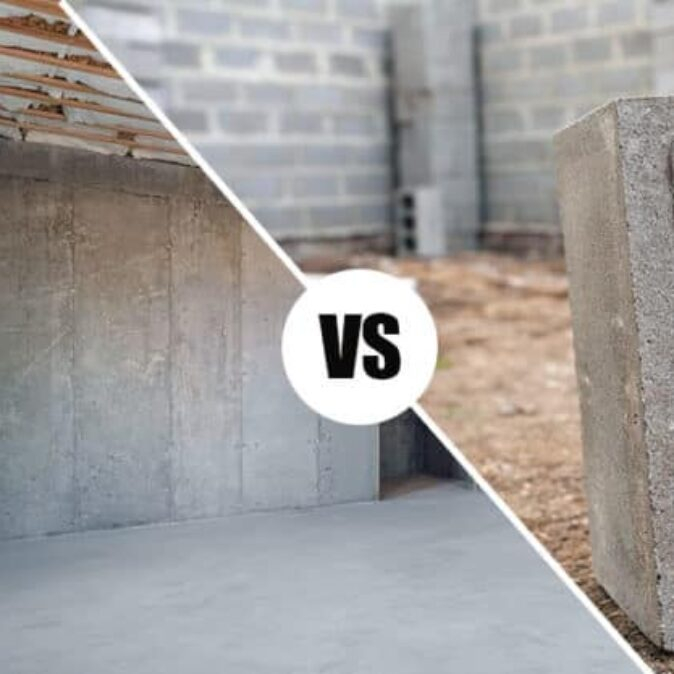
[sps_html tag=”img” src=”https://cdn.northcarolinafinearchitecture.com/2026/05/block-vs-poured-concrete-inside-foundation-wall-design.jpeg” alt=”Block Vs Poured Concrete inside Foundation Wall Design” style=”width: 100%; height: auto;”]
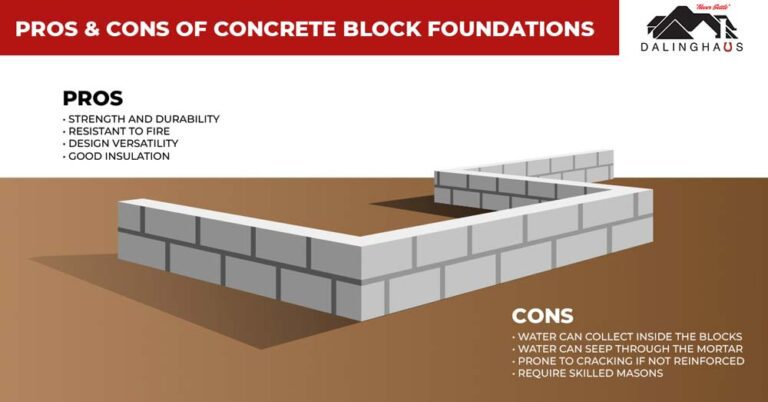
[sps_html tag=”img” src=”https://cdn.northcarolinafinearchitecture.com/2026/05/difference-between-block-foundations-and-poured-concrete-foundations-for-foundation-wall-design.jpg” alt=”Difference Between Block Foundations And Poured Concrete Foundations for Foundation Wall Design” style=”width: 100%; height: auto;”]
[sps_html tag=”img” src=”https://cdn.northcarolinafinearchitecture.com/2026/05/foundation-repair-methods-homeowners-need-to-know-with-foundation-wall-design.jpg” alt=”Foundation Repair Methods - Homeowners Need To Know with Foundation Wall Design” style=”width: 100%; height: auto;”]