Ever stared at a freshly painted wall and noticed that one corner just looks… off? It’s not quite straight. Maybe it’s got a weird wave or a soft edge that catches the light all wrong. You might blame the mud, or the tape, or even your own hands. But here’s the thing: nine times out of ten, the problem started before you even mixed that first bucket of joint compound. It started with the bead.
We tend to think of corner beads as an afterthought. Just a piece of metal or vinyl we slap on to protect the edge. But in reality, that humble strip is the skeleton of your corner. If the skeleton is crooked, weak, or the wrong shape for the job, no amount of skilled troweling will fix it. In 2026, with materials getting smarter and more specialized, picking the right bead isn’t just a step in the process—it is the process. Let’s talk about how to get it right.
Why Your Corner Looks Wonky (And It’s Not Your Fault)
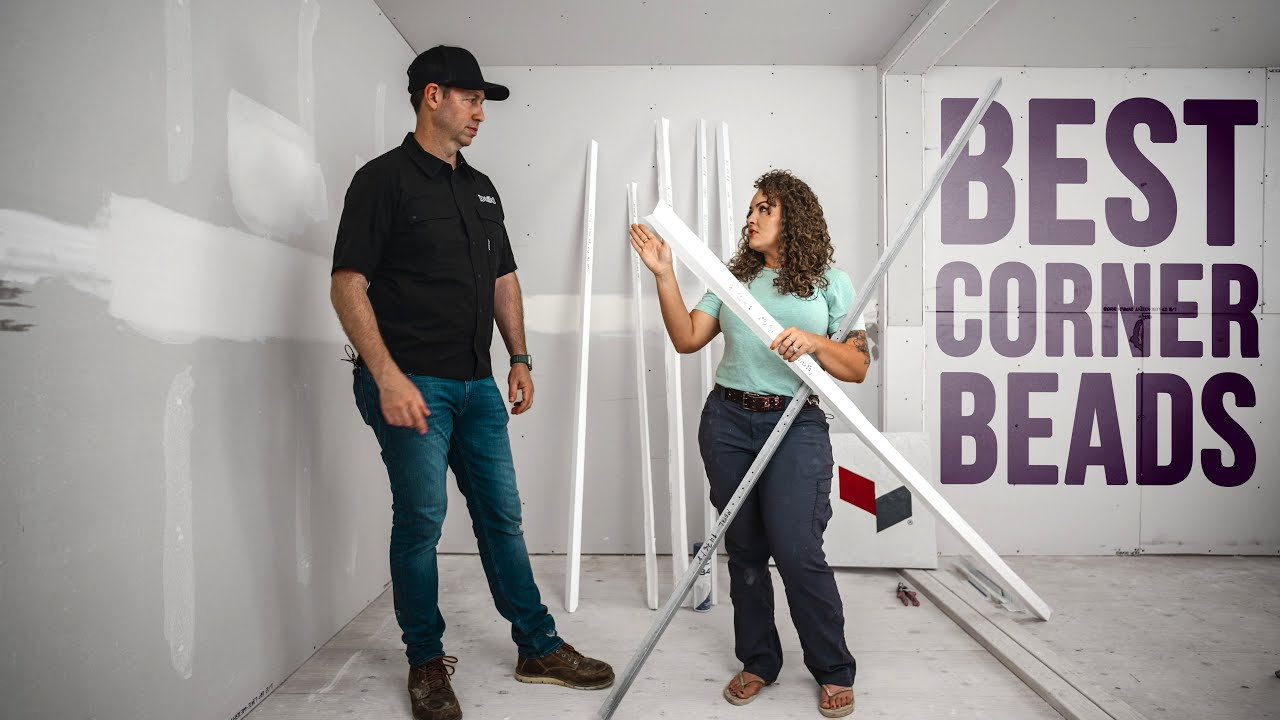
Let’s be honest. Drywall finishing is hard. It’s an art form that takes years to master. But there’s a common misconception that if your corners aren’t perfect, you just need more practice with the knife. That’s partially true, sure. But imagine trying to draw a straight line with a bent ruler. No matter how steady your hand is, that line is gonna wiggle. Corner beads are that ruler.
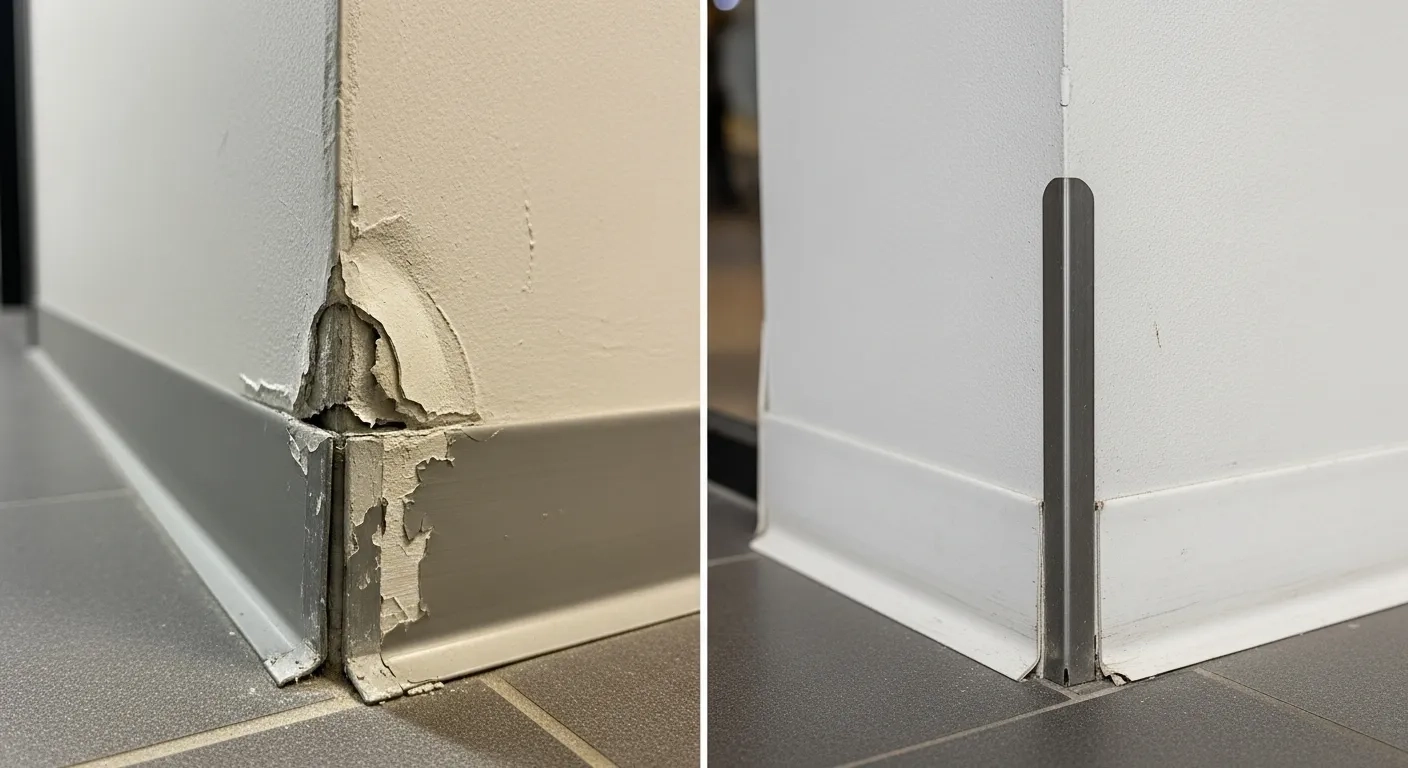
When a corner looks wavy or uneven, it’s often because the bead itself couldn’t hold its shape against the pressure of the drywall sheets. Standard metal beads can kink. Cheap vinyl ones can bow. If the bead doesn’t have a rigid spine or the right flexibility for the specific angle, it’s going to move. And when it moves, your mud moves with it. The result? A corner that looks like it has a mind of its own.
This is especially true in older homes or renovations where walls aren’t perfectly plumb. If you force a rigid bead into a slightly out-of-square frame, it’s going to fight back. You’ll see gaps, or the bead will pop out slightly. Understanding that the bead is a structural component, not just a protective trim, changes everything. It’s the foundation. And you wouldn’t build a house on a shaky foundation, would you?
Inside vs. Outside: Knowing the Difference Matters
Not all corners are created equal. We’ve got inside corners, where two walls meet to form a valley, and outside corners, which stick out like a nose. They need completely different hardware. For outside corners, you’re looking for durability and a crisp edge. This is where traditional metal or heavy-duty vinyl beads shine. They take a hit from a vacuum cleaner or a moving box and keep on ticking. As noted in recent guides from 2024, plaster corner beads act as a critical structural component, giving your trowel a solid ground to ride against.
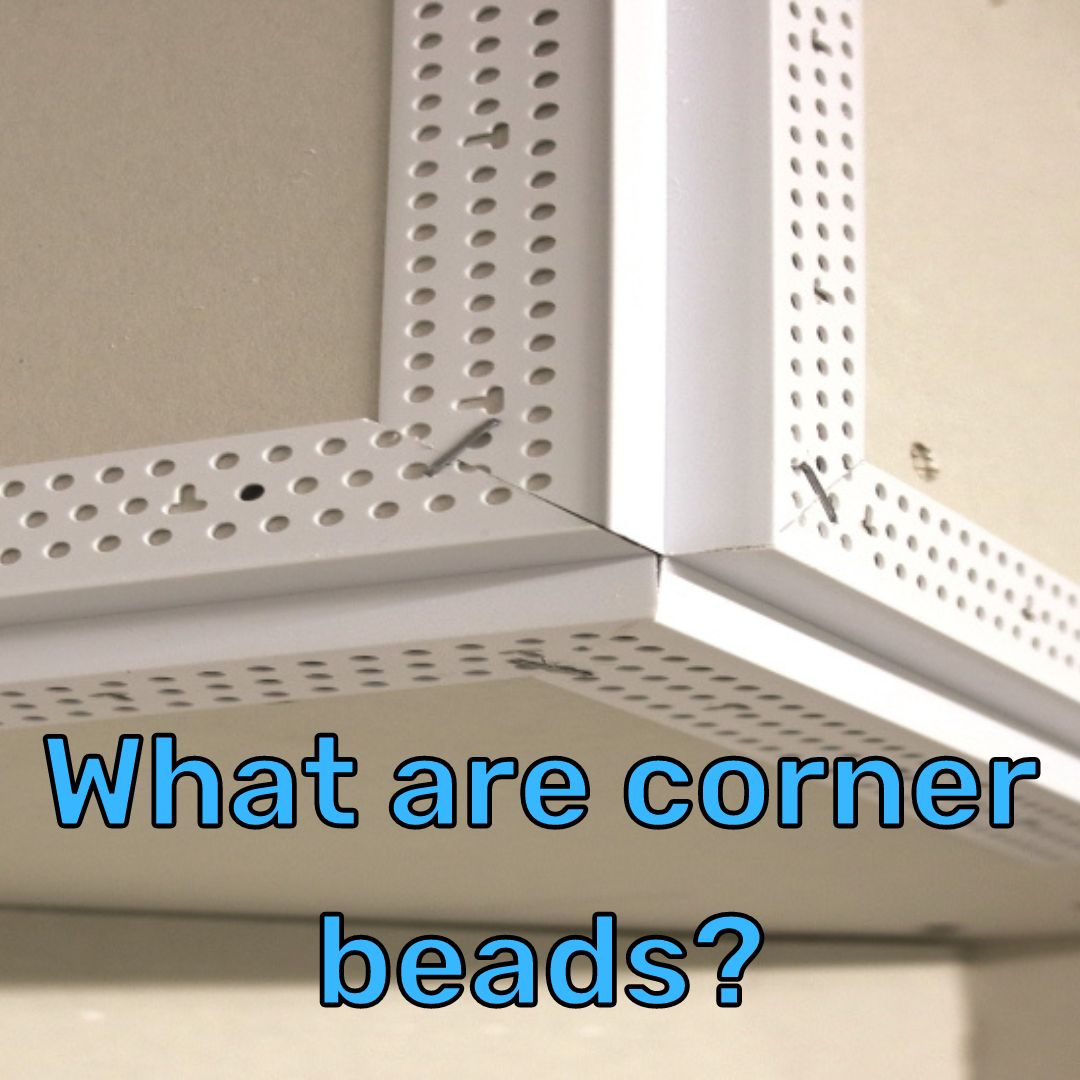
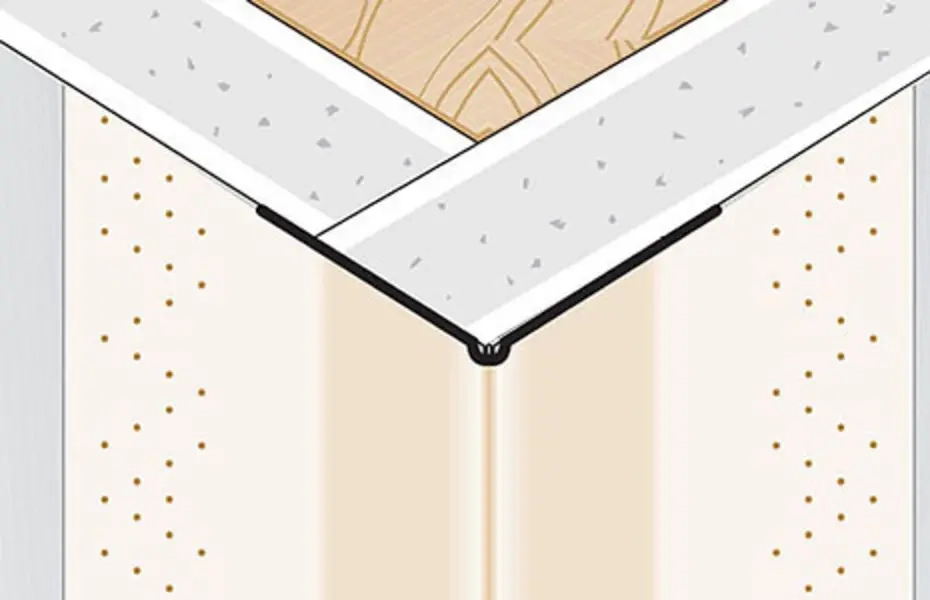
But inside corners? That’s a whole different ball game. You can’t just bend a metal bead in half and hope for the best. That’s a recipe for a cracked corner. This is where specialized products like the Strait-Flex® Perfect-90° come into play. These beads are designed specifically for inside angles. They feature a rigid spine for durability but use paper edges that blend seamlessly with the drywall tape. It’s a hybrid approach that solves the age-old problem of inside corners cracking or looking bulky.
Using the wrong bead for the wrong angle is a classic rookie mistake. Putting a flexible archway bead on a sharp 90-degree exterior corner will give you a soft, rounded edge that looks unintentional. Conversely, trying to force a rigid metal bead into a subtle curve will result in unsightly gaps. You’ve got to match the tool to the geometry. It sounds simple, but it’s the step most people skip. They grab whatever is in the truck bed and pray. Don’t be that person.
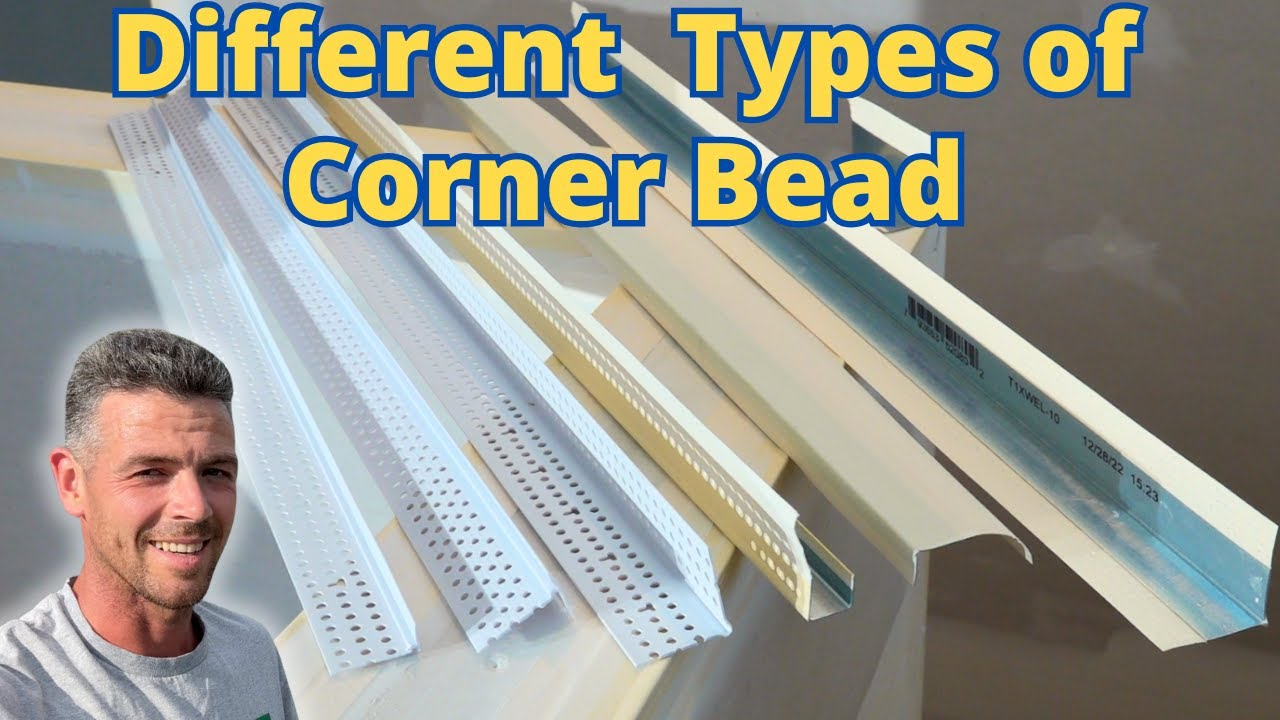
Material Matters: Metal, Vinyl, and Paper-Faced Options
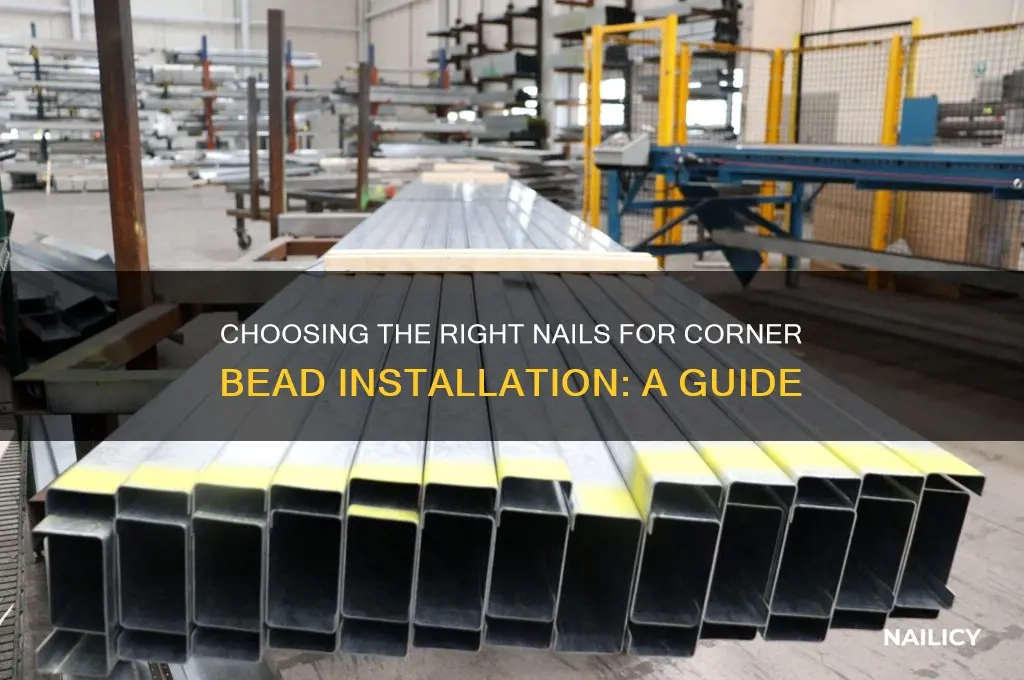
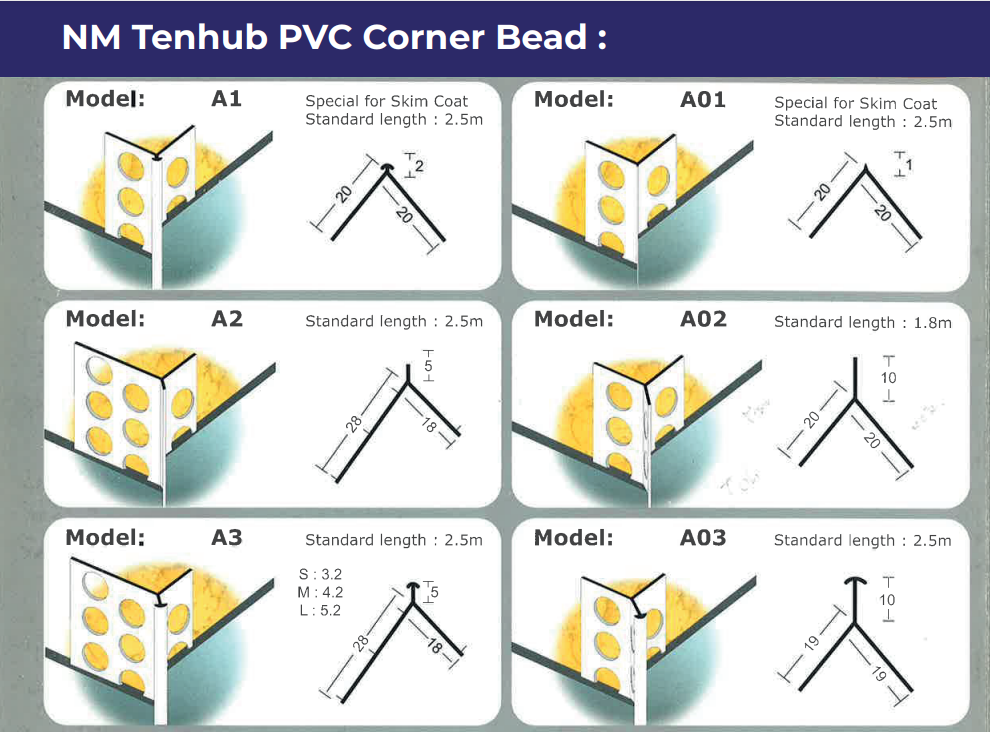
So, what’s actually out there? In 2026, the market is more diverse than ever. You’ve got your traditional galvanized steel. It’s strong, cheap, and familiar. But it rusts if it gets wet, and it’s prone to denting during shipping. Then there’s vinyl. Vinyl has come a long way. It’s rust-proof and flexible, which is great for those slightly wonky frames. Products like the PRO-90 from ClarkDietrich feature slotted flanges that allow them to form to curves and arches smoothly. This flexibility is a huge plus for modern architectural designs that don’t always stick to perfect right angles.
But let’s talk about the game-changer: paper-faced beads. These are becoming the go-to for high-end finishes. Why? Because they eliminate the "ridge" effect. With metal or vinyl, you often have to build up a lot of mud to hide the edge of the bead, creating a slight bump. Paper-faced beads, like the Strait-Flex mentioned earlier, have edges that taper down. You feather the mud right over them, and boom—invisible transition. It’s cleaner. It’s faster. And it looks pro.
There’s also the emergence of composite materials that blend the best of both worlds. Some newer beads have a rigid core for straightness but a flexible coating that absorbs impact without denting. When you’re standing in the aisle at the supply house, don’t just grab the cheapest box. Look at the profile. Is it sharp? Is it flexible? Does it have a paper edge? These details dictate how much sanding you’ll be doing later. And nobody likes sanding.
The Art of Cutting and Fitting Your Bead
You’ve picked the perfect bead. Now what? You can’t just slap it on. Preparation is key. One of the biggest secrets pros know is that cutting the bead correctly prevents 80% of installation issues. For metal beads, you need aviation snips. For vinyl, a utility knife works, but you’ve got to be precise. If you cut it at an angle, or leave a burr, that imperfection will telegraph through the mud. It’s like wearing a suit with a wrinkled shirt underneath. It just shows.
Here’s a tip that saves hours: dry fit everything. Hold the bead up to the corner before you put any adhesive or nails in. Check for gaps. If the wall is bowed, you might need to shim the bead slightly to keep it straight. This sounds tedious, but it’s way easier than fixing a crooked corner after it’s been mudded. Also, pay attention to the length. Don’t try to use one long piece for a whole wall if the wall isn’t straight. Break it up. Use shorter sections that can follow the contour of the framing better.
And don’t forget the ends. Where two beads meet, or where a bead ends at a ceiling, you need a clean termination. Some pros miter the ends at 45 degrees for a seamless look. Others use specific cap pieces. The goal is to avoid a hard stop that creates a bulge. If you’re using a product like the Strait-Flex Mud-Pro, the installation method might differ slightly, often involving specific adhesives rather than just nails. Always read the manufacturer’s instructions. They know their product best.
Installation Techniques for Flawless Results
Okay, the bead is cut. It’s fitted. Now it’s time to lock it in. The old school method was nails every six inches. But nails can dimple the bead, creating little valleys that you have to fill. In 2026, many professionals are switching to adhesives or specialized crimping tools. Adhesives provide a continuous bond, which means the bead follows the wall exactly without any tension points. It’s smoother. It’s stronger. And it eliminates those annoying nail pops down the road.
If you do use nails or screws, make sure they’re the right type. Ring-shank nails grip better. Drywall screws should be set just below the surface, not crushed into the bead. Over-driving a screw can warp the bead, pulling it away from the corner. It’s a delicate balance. You want it tight, but not distorted. Think of it like buttoning a shirt. Too loose, it gapes. Too tight, it pulls.
Once it’s secured, check it again. Run your eye down the line. Is it straight? If not, adjust it now. Once the mud is on, it’s too late. Some pros use a level or a straight edge to verify. This step takes thirty seconds. Skipping it can cost you thirty minutes of sanding and patching later. It’s the difference between a good job and a great one. And remember, for inside corners with paper-faced beads, you’re essentially taping them. So treat them like tape. Embed them well, remove the excess, and let them dry.
Even with the best planning, things go wrong. Maybe the bead got bumped during installation. Maybe the humidity was too high and the mud dried too slow. What do you do? First, identify the problem. Is it a dip? A hump? A crack? If it’s a dip, you likely have a gap between the bead and the wall. You’ll need to fill that void with setting-type compound, which shrinks less than all-purpose mud. Let it dry, then skim coat.
If you have a hump, the bead might be warped or installed with too much adhesive in one spot. Sanding it down is an option, but be careful not to sand through the paper face or the vinyl coating. If you hit the metal or the core, you’ll create a new problem. Sometimes, the best fix is to cut out the bad section and replace it. It feels drastic, but it’s faster than fighting with a bad spot for hours.
Cracking along the edge of the bead is usually a sign of movement. The house settled, or the framing shifted. If this happens repeatedly, you might need a more flexible bead system. Products designed for high-movement areas can absorb some of that shift without cracking. It’s also worth checking your mud mix. If it’s too stiff, it’s brittle. If it’s too wet, it shrinks. Finding the right consistency is part of the craft. Don’t be afraid to experiment with small batches to find what works for your specific environment.
Getting those corners right isn’t magic. It’s not even just skill. It’s mostly about choosing the right tool for the job. The bead is the backbone. If you get that right, the rest falls into place. So next time you’re staring at a pile of drywall scraps and a bucket of mud, take a second. Look at your beads. Pick the one that fits the angle, the material, and the vibe of the room. Your future self, the one holding the sanding block, will thank you.
In the end, perfect corners are about respect for the materials. It’s about understanding that every component has a role. The bead isn’t just trash that gets covered up. It’s the guide. It’s the protector. It’s the secret. By paying attention to these small details, you elevate your work from amateur to artisan. And isn’t that what we’re all aiming for? A space that feels solid, clean, and intentionally made. Go forth and bead wisely.
[sps_html tag=”img” src=”https://cdn.northcarolinafinearchitecture.com/2026/06/choosing-the-right-nails-for-corner-bead-installation-a-guide-nailicy-regarding-corner-bead-design.webp” alt=”Choosing The Right Nails For Corner Bead Installation: A Guide | Nailicy regarding Corner Bead Design” style=”width: 100%; height: auto;”]
[sps_html tag=”img” src=”https://cdn.northcarolinafinearchitecture.com/2026/06/sheetrock-corner-bead-types-in-the-hidden-art-of-choosing-the-right-corner-bead-for-sweeping-curves.webp” alt=”Sheetrock Corner Bead Types in The Hidden Art of Choosing the Right Corner Bead for Sweeping Curves” style=”width: 100%; height: auto;”]
[sps_html tag=”img” src=”https://cdn.northcarolinafinearchitecture.com/2026/06/pvc-corner-bead-nm-tenhub-intended-for-the-hidden-art-of-choosing-the-right-corner-bead-for-sweeping-curves.png” alt=”Pvc Corner Bead – Nm Tenhub intended for The Hidden Art of Choosing the Right Corner Bead for Sweeping Curves” style=”width: 100%; height: auto;”]
[sps_html tag=”img” src=”https://cdn.northcarolinafinearchitecture.com/2026/06/9-drywall-corner-bead-types-their-uses-you-need-to-know-inside-corner-bead-design.webp” alt=”9 Drywall Corner Bead Types: Their Uses You Need To Know inside Corner Bead Design” style=”width: 100%; height: auto;”]
[sps_html tag=”img” src=”https://cdn.northcarolinafinearchitecture.com/2026/06/corner-bead-pros-cons-with-the-drywallshorty-youtube-in-the-hidden-art-of-choosing-the-right-corner-bead-for-sweeping-curves.jpg” alt=”Corner Bead Pros & Cons With The Drywallshorty - Youtube in The Hidden Art of Choosing the Right Corner Bead for Sweeping Curves” style=”width: 100%; height: auto;”]