You’d think after more than a decade of strict building codes, we’d have this whole roof-edge thing figured out. But walk onto any job site in 2026, and you’ll still see it. That subtle, almost invisible error that turns a perfect shingle job into a future water damage claim. It’s not always obvious. In fact, it looks fine from the ground. Maybe even from the ladder. But up close? It’s a ticking time bomb for your fascia boards and attic insulation.
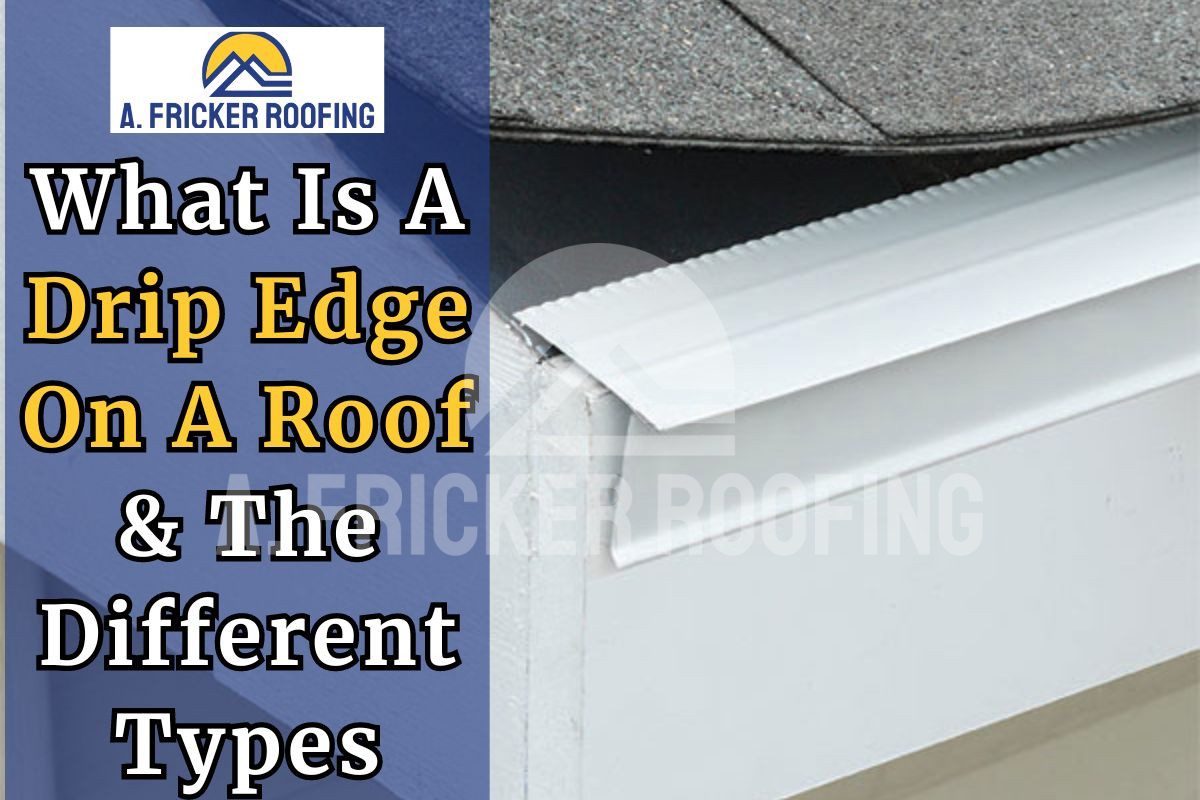
We’re talking about drip edge. That little L-shaped strip of metal that seems so simple, yet causes so much headache. Most folks assume if it’s nailed down, it’s done. But here’s the thing: the devil isn’t just in the details. It’s in the order of those details. And lately, there’s another sneaky problem creeping in—budget metals that don’t actually meet the code minimums. Let’s dig into why this matters, what’s going wrong, and how you can spot it before the first drop of rain finds its way inside.
The "Budget" Metal Trap
Here’s a scenario that plays out way too often. A contractor heads to the local supply house. They need drip edge for a standard three-bedroom home. The clerk points them to a bin labeled "Standard Drip Edge." It’s cheap. It’s plentiful. It’s 1.5 inches wide. The contractor buys ten bundles, saves a few bucks, and moves on. Sounds smart, right? Wrong.
Since 2012, the International Residential Code (IRC) has required drip edge on all shingle roofs. But here’s the kicker: the code specifies a minimum deck extension. That means the metal needs to stick out far enough to ensure water clears the fascia and drops cleanly into the gutter. The magic number is usually 2 inches. Yet, as recent reports from industry insiders note, supply shops are still stocking that non-compliant 1.5-inch product. It’s smaller. It’s cheaper. And it leaves your roof vulnerable.
When that metal is too short, wind-driven rain doesn’t just drop away. It curls back. It creeps under the shingles. It wicks up the fascia board. Over time, that moisture rots the wood from the inside out. By the time you see the paint peeling or the soft spots, the damage is already done. So, the first hidden mistake isn’t even about installation technique—it’s about using the wrong material to begin with. Always check the width. If it’s less than 2 inches, put it back.
The Great Layering Debate: Eaves vs. Rakes
If the material is right, the next trap is the sequence. This is where even seasoned pros sometimes get tangled up. You’ve got two types of edges on your roof: the eaves (the bottom horizontal edge) and the rakes (the sloped side edges). They both need drip edge. But they don’t get installed the same way relative to the underlayment.
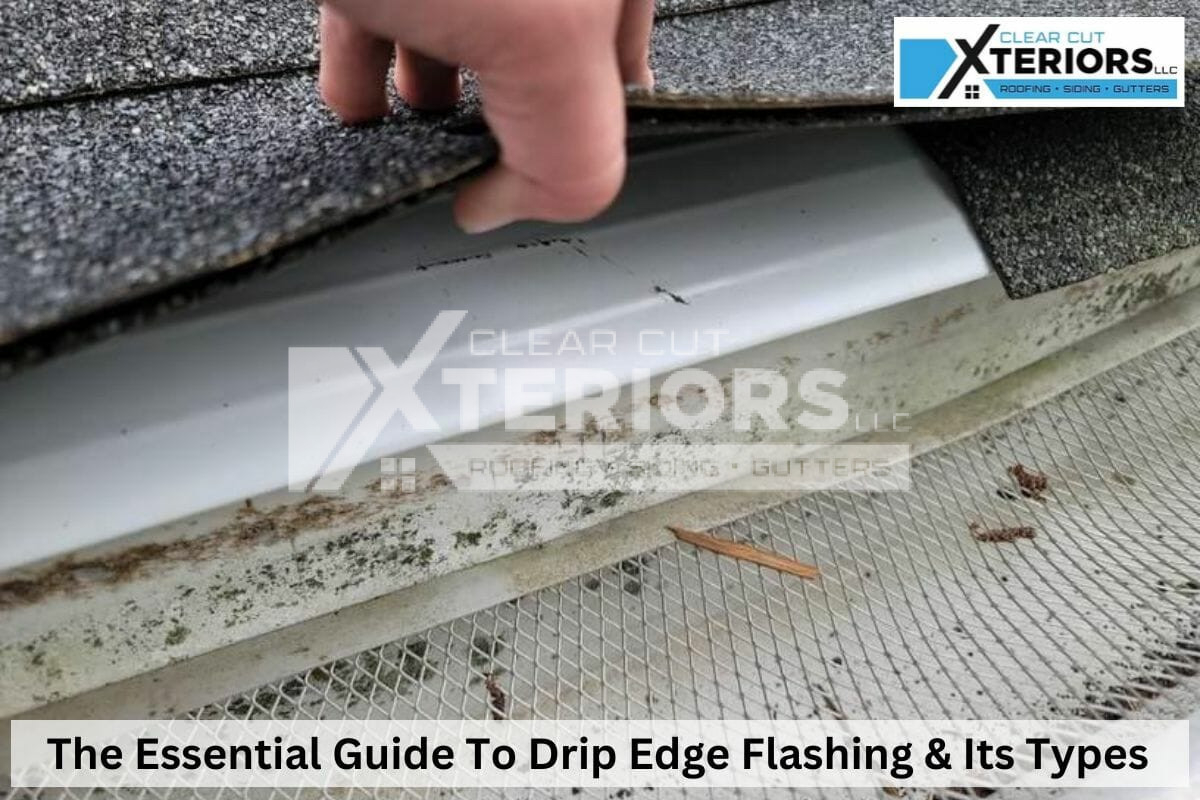
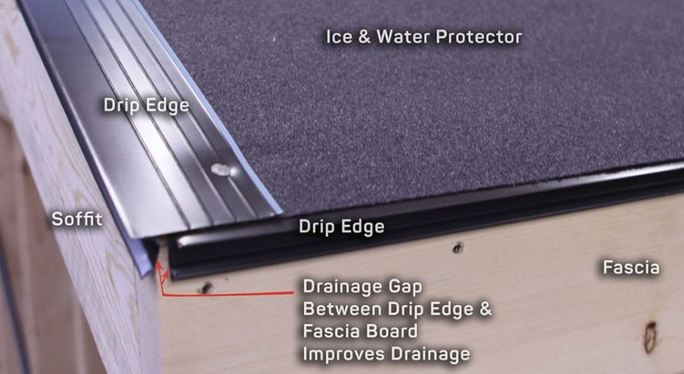
At the eaves, the drip edge goes under the roofing underlayment (that felt or synthetic paper). Why? Because any water that gets under the shingles hits the underlayment first. The underlayment then flows over the drip edge, directing water safely into the gutter. If you put the drip edge on top of the underlayment at the eave, water can seep between the two layers and rot the deck. It’s a classic blunder.
Now, flip to the rake edges. Here, the drip edge goes over the underlayment. Think about it: wind blows rain sideways against the side of your roof. If the underlayment were on top, the wind could lift it up and force water underneath. By placing the metal drip edge on top, you create a smooth, hard surface that sheds that wind-driven rain away from the deck. Mixing these up—putting eave style on rakes or vice versa—is a surefire way to invite leaks. It’s simple physics, but it’s easy to forget when you’re rushing to beat a storm.
Corner Chaos: Where Edges Meet
Roofs aren’t just straight lines. They have corners. And corners are where water likes to hide. When you’re running drip edge along the eave and then up the rake, you have to deal with the intersection. Most contractors just butt the two pieces together. Or worse, they leave a tiny gap. That gap might look small, but it’s big enough for capillary action to pull water right into your roof structure.
The fix is overlap. Specifically, the rake drip edge should overlap the eave drip edge at the corner. This creates a shingle-like effect. Water flowing down the rake hits the metal, runs down, and hits the eave piece. Because the rake piece is on top, the water stays on the surface and flows off. If you do it the other way around, or just butt them, you create a seam that’s prone to failure.
It’s also worth noting that some newer systems in 2026 are using pre-formed corner pieces. These are great because they eliminate the field-cutting error. But if you’re sticking with traditional strips, take the extra minute to cut and overlap correctly. Use a little roofing cement under the overlap for good measure. It’s a small step that adds a huge layer of protection. Don’t rush the corners. They’re the weak links if you treat them poorly.
Nailing It: Literally
Let’s talk fasteners. You’ve got the right metal. You’ve layered it correctly. You’ve handled the corners. Now you need to secure it. This seems straightforward, but it’s another place where things go sideways. Using the wrong nails, or nailing them in the wrong spot, can compromise the whole system.
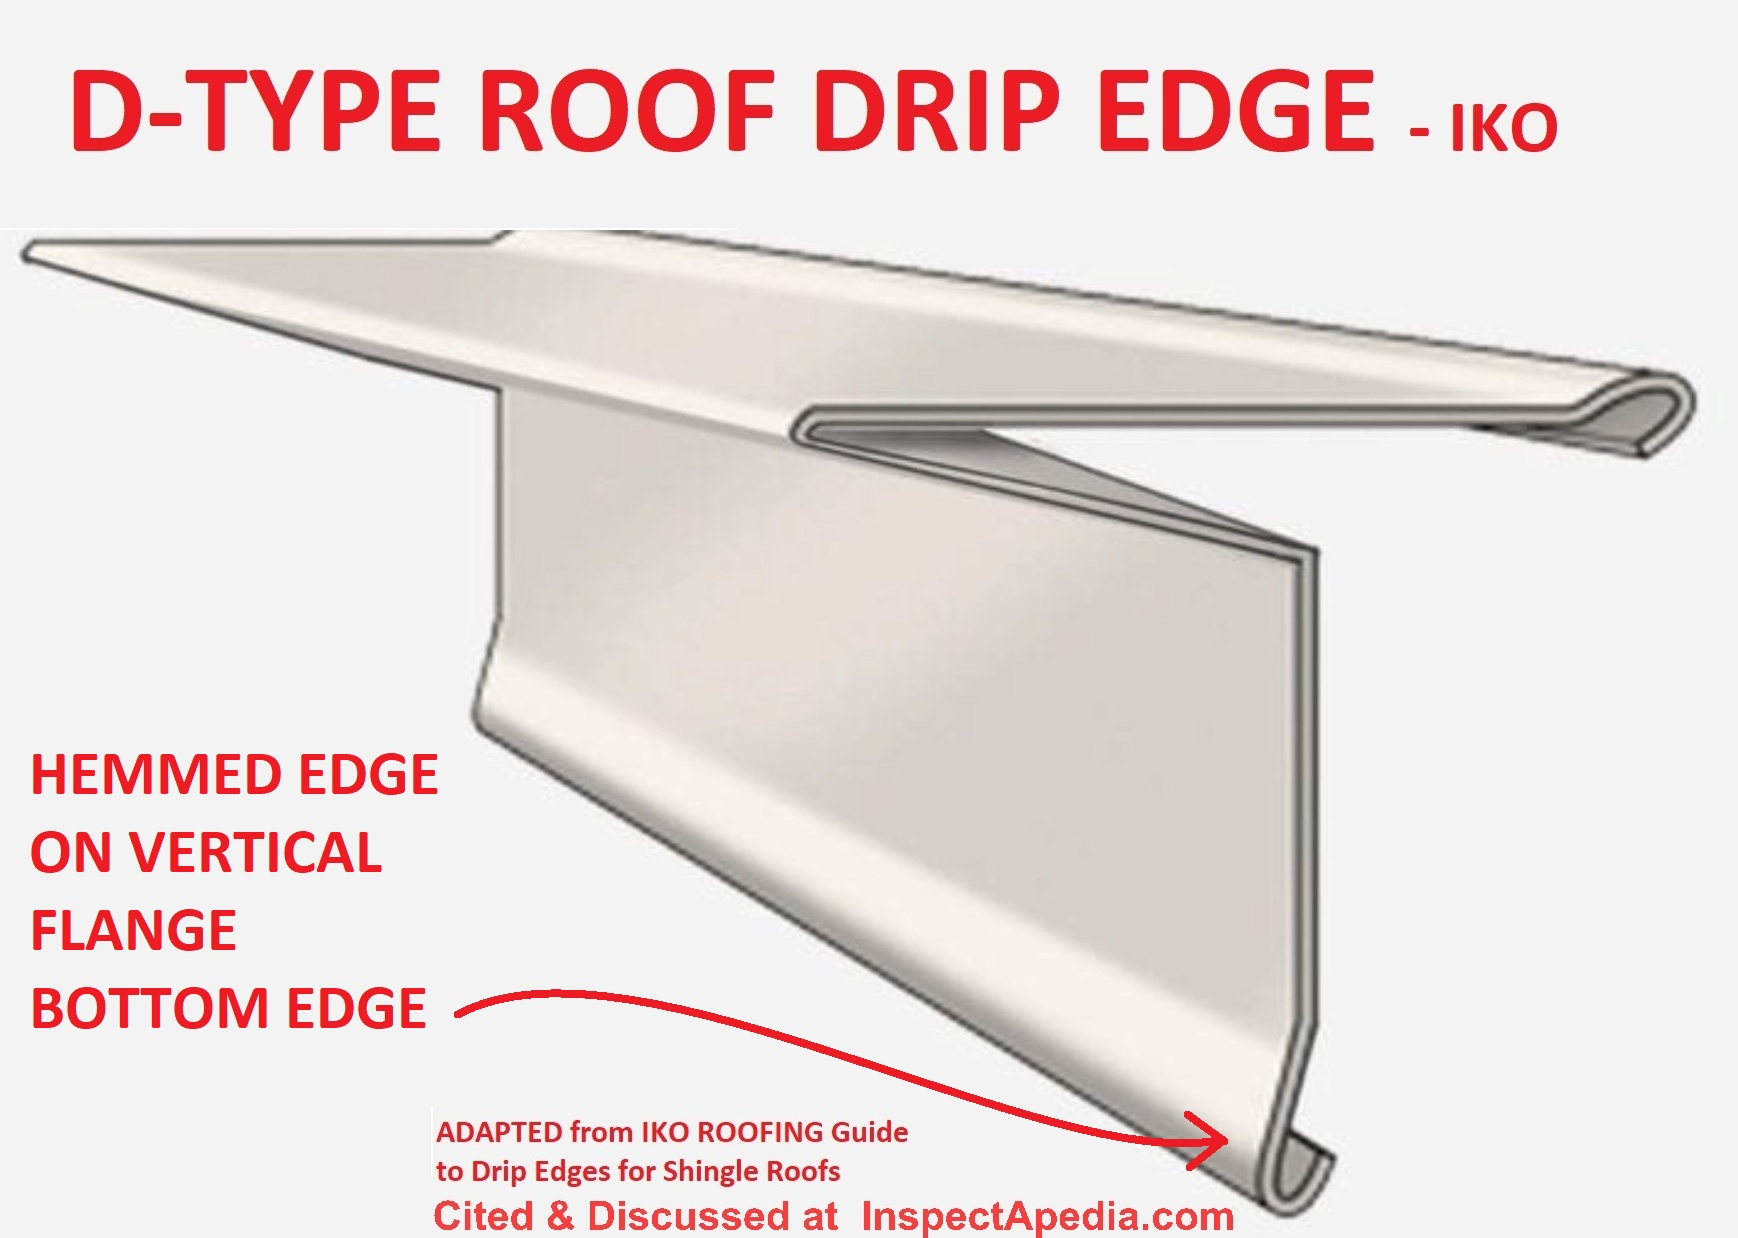
First, use corrosion-resistant nails. Aluminum or galvanized steel nails are best. If you use plain steel nails, they’ll rust. Those rust stains will bleed down your fascia, looking ugly, and eventually, the nail heads will weaken and pop out. Second, placement matters. Nails should be placed high on the vertical flange of the drip edge, not on the horizontal part that sticks out. If you nail the horizontal part, you’re creating holes where water can enter. Plus, the shingles won’t lay flat over those bumps.
Spacing is key too. Generally, nails should be every 8 to 12 inches. Check your local code, but don’t skimp. A loose drip edge will flap in the wind. That noise is annoying, sure, but the movement breaks the sealant and loosens the shingles above it. In high-wind zones, you might even need to go closer. Take the time to line them up straight. A crooked drip edge looks unprofessional and can cause shingles to align poorly, leading to more issues down the road.
The Underlayment Factor
We touched on underlayment earlier, but it deserves its own spotlight. In 2026, synthetic underlayments are the norm. They’re tougher and slipperier than old-school felt. This changes how drip edge interacts with them. Because synthetics are smoother, they don’t stick as well to adhesives or sealants. This makes the mechanical connection—the overlap and the nails—even more critical.
Also, consider the width of your underlayment. It needs to extend past the drip edge slightly at the eaves to ensure full coverage. If the underlayment is cut too short, you expose the deck right at the edge. Some contractors try to save money by trimming the underlayment flush with the deck edge. Don’t do it. Let it hang over just a bit, then let the drip edge guide the water off.
Another nuance: ice and water shield. In colder climates, you’re likely using this self-adhering membrane at the eaves. The rule here is similar: drip edge goes under the ice and water shield at the eave. But be careful. The adhesive on the shield is strong. If you mess up the placement, you can’t just peel it back easily. Measure twice, cut once. And make sure the drip edge is clean and dry before applying the shield. Any dust or moisture will prevent a good bond, creating a path for water to sneak in.
Inspection and Maintenance: Catching Errors Early
Even with the best intentions, mistakes happen. That’s why inspection is vital. If you’re a homeowner, don’t just trust that it’s done right. Grab a ladder (safely!) or use binoculars. Look at the eaves. Can you see the drip edge? Is it straight? Does it look like the underlayment is tucked under it? Now look at the rakes. Is the metal on top of the underlayment? Are the corners overlapped properly?
If you’re a contractor, make this part of your final walkthrough. Take photos. Document the layers before the shingles go on. It protects you from liability later if someone claims a leak was due to poor installation. In 2026, digital documentation is standard practice. Use it.
Maintenance is also part of the equation. Drip edge can get clogged with debris. Leaves, pine needles, and granules from shingles can build up behind the metal. This blocks water flow. Instead of dropping into the gutter, water pools behind the drip edge and backs up under the shingles. Clean your gutters regularly. And while you’re up there, check that the drip edge hasn’t been bent or pulled loose by storms. A quick visual check twice a year can save you thousands in repairs.
So, what’s the takeaway? Drip edge isn’t just a throwaway piece of trim. It’s a critical component of your roof’s defense system. The hidden mistake most contractors make isn’t always one big catastrophic error. It’s often a combination of small oversights: using undersized 1.5-inch metal instead of the required 2-inch, mixing up the layering order at eaves and rakes, or leaving gaps at the corners.
In 2026, with weather patterns becoming more unpredictable and intense, getting these details right is more important than ever. A properly installed drip edge directs water away from your home’s structure, preventing rot, mold, and costly interior damage. It’s a small investment of time and material that pays off in longevity and peace of mind.
Next time you’re looking at a roof, or planning a replacement, ask about the drip edge. Ask about the width. Ask about the layering. Don’t be afraid to peek under the shingles if you can. It’s your home, after all. And knowing the difference between a job done right and a job done fast can make all the difference when the next big storm rolls in. Stay dry, stay informed, and don’t let the hidden mistakes slide.
[sps_html tag=”img” src=”https://cdn.northcarolinafinearchitecture.com/2026/06/drip-edge-101-the-ultimate-guide-to-protecting-your-roof-regarding-drip-edge-design.jpg” alt=”Drip Edge 101: The Ultimate Guide To Protecting Your Roof regarding Drip Edge Design” style=”width: 100%; height: auto;”]
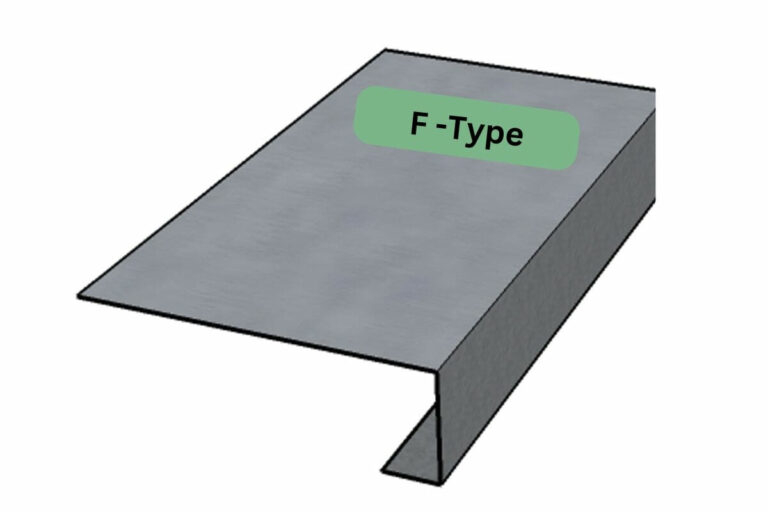
[sps_html tag=”img” src=”https://cdn.northcarolinafinearchitecture.com/2026/06/guide-to-drip-edges-for-shingle-roofs-askaroofer-pertaining-to-understanding-the-difference-between-type-c-and-type-f-drip-edges.jpeg” alt=”Guide To Drip Edges For Shingle Roofs — Askaroofer® pertaining to Understanding the Difference Between Type C and Type F Drip Edges” style=”width: 100%; height: auto;”]
[sps_html tag=”img” src=”https://cdn.northcarolinafinearchitecture.com/2026/06/drip-edge-flashing-what-is-it-installation-guide-home-inspection-inside-drip-edge-design.jpg” alt=”Drip Edge Flashing What Is It Installation Guide Home Inspection inside Drip Edge Design” style=”width: 100%; height: auto;”]
[sps_html tag=”img” src=”https://cdn.northcarolinafinearchitecture.com/2026/06/common-problems-with-drip-edge-flashing-and-how-to-fix-them-throughout-understanding-the-difference-between-type-c-and-type-f-drip-edges.jpg” alt=”Common Problems With Drip Edge Flashing And How To Fix Them throughout Understanding the Difference Between Type C and Type F Drip Edges” style=”width: 100%; height: auto;”]
[sps_html tag=”img” src=”https://cdn.northcarolinafinearchitecture.com/2026/06/drip-edge-flashing-types-at-mackenzie-balfour-blog-intended-for-understanding-the-difference-between-type-c-and-type-f-drip-edges.jpg” alt=”Drip Edge Flashing Types At Mackenzie Balfour Blog intended for Understanding the Difference Between Type C and Type F Drip Edges” style=”width: 100%; height: auto;”]