You’ve probably stared at a picture frame before. Maybe it was hanging in a gallery, or maybe it was just holding up a photo of your dog on the mantel. Did you ever wonder how that glass stays put? How the artwork doesn’t slide out the back? It’s not magic. It’s not even glue, mostly. It’s a little L-shaped cut called a rabbet.
Most people walk right past it. They see the wood, the finish, the art. But the rabbet is doing the heavy lifting. It’s the silent partner in the whole operation. And honestly? It’s way more interesting than it sounds. In 2026, as we see a huge surge in DIY home decor and custom artisanal goods, this old-school joint is having a moment. It’s not just for grandpa’s workshop anymore. It’s sleek, it’s smart, and it’s hiding in plain sight.
Let’s talk about why this simple cut is actually the backbone of modern framing and why you should care, whether you’re a pro carpenter or just someone who wants to hang their kid’s drawing without it falling off the wall.
More Than Just a Groove
So, what exactly is a rabbet? If you’re new to woodworking, forget the jargon for a second. Imagine taking two pieces of wood. On the edge of one, you cut away a little step. Like biting a cookie, but with a chisel. That missing chunk is the rabbet. When you fit another piece into that space, you get a joint that locks together naturally.
It’s different from a dado, which cuts across the grain. A rabbet runs along the edge. This makes it perfect for frames because it creates a lip. That lip holds the glass, the mat, the picture, and the backing board. All of it. Without any visible screws or nails ruining the look from the front. It’s clean. It’s elegant. And it’s surprisingly strong.
Think about it. A butt joint—just gluing two ends together—is weak. It relies entirely on the glue bond. But a rabbet? It has mechanical strength. The pieces interlock. They self-square. When you’re gluing up a frame, the rabbet helps keep things at 90 degrees so you don’t end up with a wonky diamond shape. It’s like having an extra pair of hands during assembly. For beginners wondering why not just use simpler methods, the answer is stability. Rabbets offer a landing surface that butt joints simply can’t match.
The Evolution of Depth and Design
Here’s something fascinating: rabbets are getting smaller. Or rather, shallower. In traditional framing, especially with oil paintings on stretcher bars, you needed a deep rabbet to fully enclose the thick wooden frame of the canvas. We’re talking generous depths, sometimes half an inch or more. It was about protection and presence. The frame was a border, a barrier between the art and the world.
But look at what’s trending in 2026. Minimalism is still king, but it’s evolving. People want "floating" effects. They want thin, sleek profiles that don’t overpower the image. This shift means rabbet depths are shrinking. Modern digital prints, acrylic mounts, and thin photography papers don’t need a cavernous recess. A shallow rabbet—maybe just 3/8 of an inch—is often enough.
This change isn’t just aesthetic; it’s functional. Shallower rabbets mean you can use narrower stock wood. You waste less material. It’s cheaper and faster. As noted by recent industry discussions, traditional framing balanced aesthetics, functionality, and cost. Today, that balance tips toward efficiency without sacrificing look. The evolution shows how the joint adapts. It doesn’t stay static. It shrinks, grows, and changes based on what we’re trying to protect and display. It’s a living part of the design process.
Speed Meets Precision in Modern Shops
If you’re making one frame for your living room, you might take your time. You might cut each side by hand, sanding every edge until it’s smooth as silk. But what if you’re making fifty? Or five hundred? That’s where the rabbet joint really shines. It’s the speed demon of joinery.
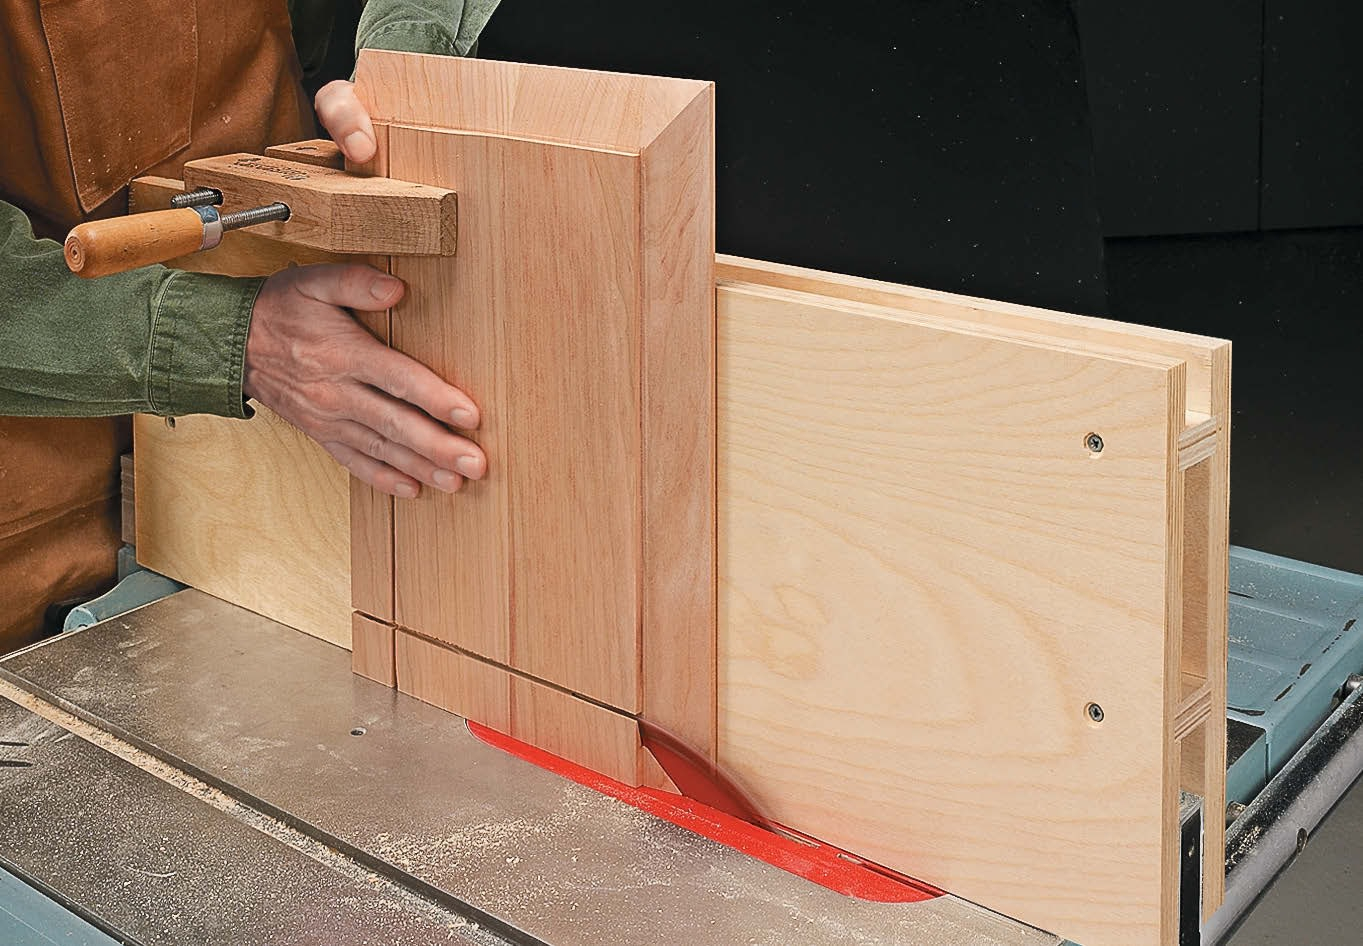
With a single setup on a table saw or a router table, you can cut the corner joints and the internal rabbet for the glass all at once. Some specialized router bits even do both in one pass. You run the stock through, and boom—you have a piece ready to be mitered and assembled. For pictures up to 8×10 inches, this method is unbeatable. It’s fast, consistent, and reliable.
Of course, there are limits. If you’re framing a massive mirror or a heavy oil painting, the weight of the glass might stress a simple rabbeted miter. In those cases, pros in 2026 are still reaching for reinforced miters or half-lap joints. But for the vast majority of everyday framing—photos, prints, posters—the rabbeted corner is the go-to. It simplifies construction massively. One setup. Multiple cuts. Less headache. It’s why small businesses and Etsy sellers can compete with big box stores. They can churn out quality frames quickly because the rabbet makes it possible.
Beyond the Frame: The Versatility Factor
Let’s zoom out. Picture frames are just the start. The rabbet joint is arguably the most versatile cut in woodworking. Seriously. Once you understand it, you see it everywhere. Drawer boxes? Those corners are often rabbeted (and dovetailed, but the rabbet does the initial heavy lifting). Cabinet backs? Rabbeted. Door and window trims? You guessed it.
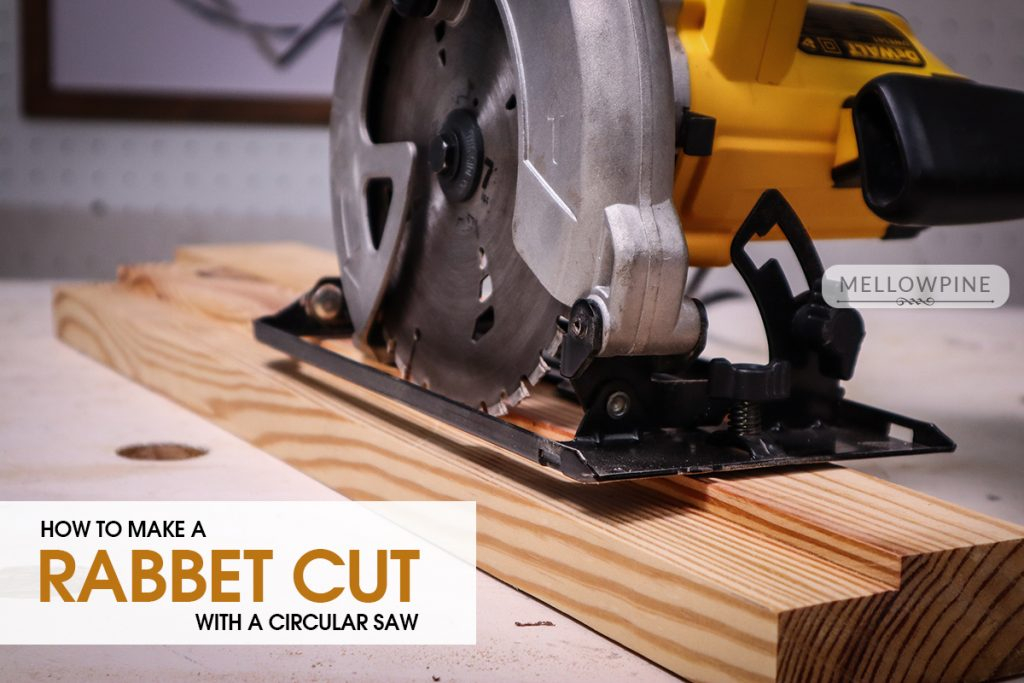
Why? Because it increases the gluing surface area. More surface area means a stronger bond. It also provides self-alignment. When you’re building a box, sliding the sides into rabbets ensures everything lines up before the glue dries. It’s forgiving. It’s robust. And it can be created with almost any tool. Hand planes, table saws, routers, even a sharp chisel if you’re feeling brave.
In modern molding design, this versatility is key. Designers are using rabbets to create shadow lines, to layer materials, and to hide LED strips in contemporary cabinetry. It’s not just about holding glass anymore. It’s about creating depth and dimension in flat surfaces. The adaptability of the rabbet allows for diverse applications, from utility boxes to high-end architectural millwork. It’s the Swiss Army knife of joints. Simple, yes, but capable of handling a huge range of tasks.
Cutting It Right: Tips for Clean Results
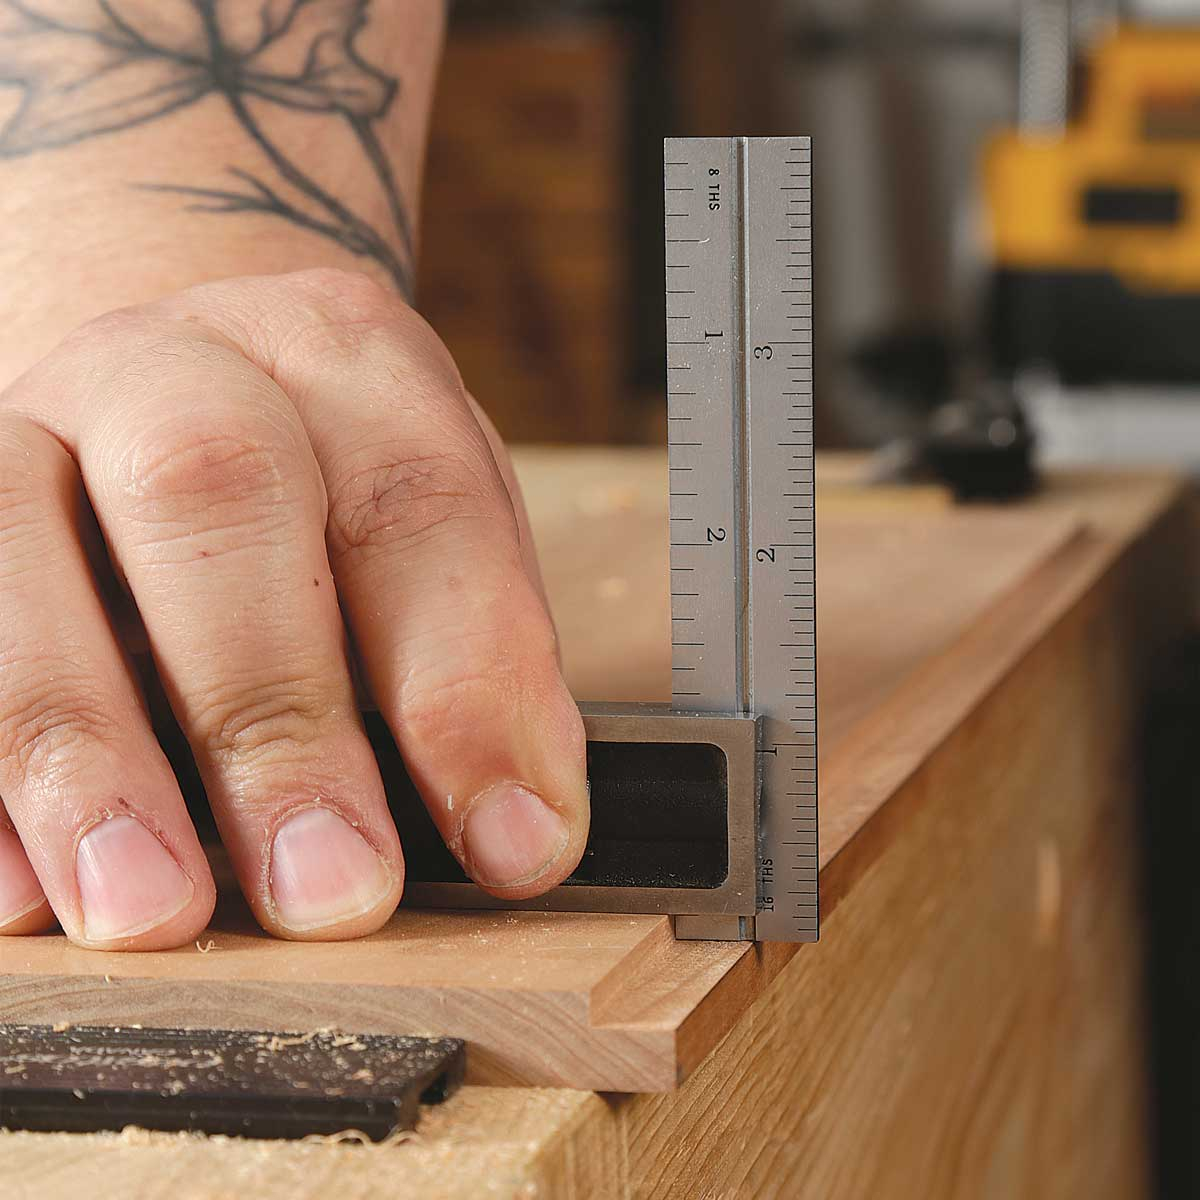
Okay, so you want to try it. Where do you start? First, don’t overcomplicate it. If you have a router, get a rabbeting bit with a ball bearing pilot. The bearing rides along the edge of your wood, keeping the cut straight and consistent. For standard 3/4-inch lumber, a 3/8-inch rabbet is a sweet spot. It’s deep enough to hold standard glazing and backing but shallow enough to keep the frame sturdy.
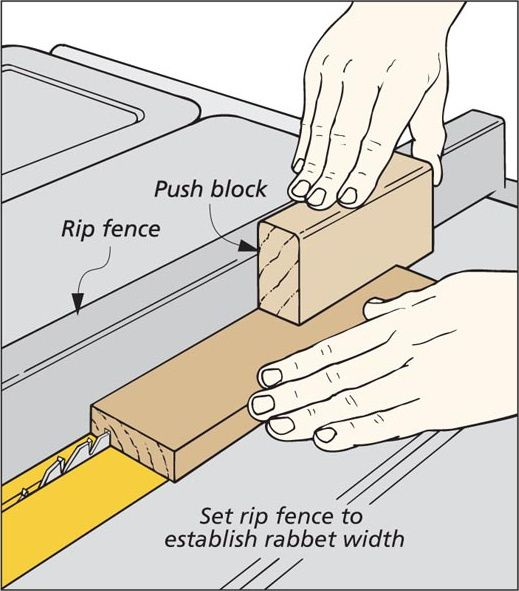
If you’re using a table saw, you’ll need to make two passes. One to cut the width, one to cut the depth. It takes a bit more setup, but it’s precise. The key is test pieces. Always, always cut a scrap piece first. Check the fit. Does your glass sit flush? Is the backing board snug? Adjust your blade height or fence position until it’s perfect.
Hand cutting is another route, and honestly, it’s satisfying. A rabbet plane or a shoulder plane can carve these out beautifully. It takes practice, but there’s a rhythm to it. Push, check, push, check. In 2026, with so much focus on digital precision, there’s a growing appreciation for the tactile feel of hand-cut joinery. It connects you to the material. Whether you use power tools or hand tools, the goal is the same: a clean, square shoulder. No tear-out. No gaps. Just a crisp L-shape ready to do its job.
Why does any of this matter? Why spend time thinking about a hidden groove? Because frames are personal. They hold our memories. A wedding photo. A child’s first sketch. A landscape from a trip that changed your life. The frame protects that. And the rabbet is the guardian.
When you build a frame with a well-cut rabbet, you’re ensuring that the art stays safe. You’re preventing dust from getting behind the glass. You’re keeping moisture out. It’s an act of care. In a world that feels increasingly disposable, taking the time to build something durable, something that uses smart, timeless joinery, feels good. It grounds us.
There’s also the pride of creation. Knowing that the reason your frame looks professional isn’t just the stain or the wood species, but the underlying structure. The hidden details. That’s what separates a craftsperson from a assembler. The rabbet is a small detail, but it speaks volumes about the quality of the work. It’s a handshake between the maker and the viewer, even if they never see it. It says, "I cared enough to do this right."
So, next time you look at a frame, look closer. Peek around the back. See that little step? That’s the rabbet. It’s quiet, it’s humble, and it’s holding everything together. And maybe, just maybe, it’ll inspire you to pick up a chisel or a router and make something of your own. After all, the best way to appreciate the hidden versatility of this joint is to cut one yourself. It’s easier than you think. And honestly? It’s kind of fun.
[sps_html tag=”img” src=”https://cdn.northcarolinafinearchitecture.com/2026/06/three-ways-hand-tool-woodworkers-cut-a-rabbet-joint-in-mastering-precision-rabbet-cuts-with-basic-tools-for-stronger-furniture-builds.jpg” alt=”Three Ways Hand-Tool Woodworkers Cut A Rabbet Joint in Mastering precision rabbet cuts with basic tools for stronger furniture builds” style=”width: 100%; height: auto;”]
[sps_html tag=”img” src=”https://cdn.northcarolinafinearchitecture.com/2026/06/how-to-rabbet-joints-work-at-kathryn-ono-blog-pertaining-to-rabbet-joint-design.jpg” alt=”How To Rabbet Joints Work At Kathryn Ono Blog pertaining to Rabbet Joint Design” style=”width: 100%; height: auto;”]
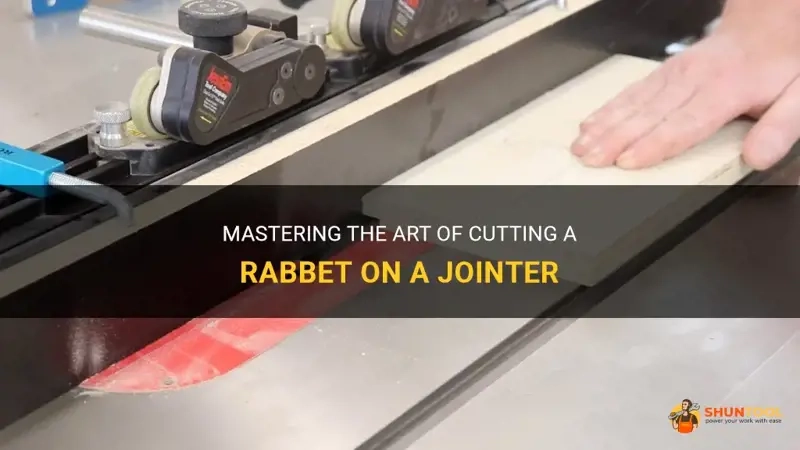
[sps_html tag=”img” src=”https://cdn.northcarolinafinearchitecture.com/2026/06/mastering-the-art-of-cutting-a-rabbet-on-a-jointer-shuntool-for-mastering-precision-rabbet-cuts-with-basic-tools-for-stronger-furniture-builds.webp” alt=”Mastering The Art Of Cutting A Rabbet On A Jointer | Shuntool for Mastering precision rabbet cuts with basic tools for stronger furniture builds” style=”width: 100%; height: auto;”]
[sps_html tag=”img” src=”https://cdn.northcarolinafinearchitecture.com/2026/06/table-saw-tricks-for-making-vertical-cuts-woodsmith-intended-for-mastering-precision-rabbet-cuts-with-basic-tools-for-stronger-furniture-builds.jpg” alt=”Table Saw Tricks For Making Vertical Cuts | Woodsmith intended for Mastering precision rabbet cuts with basic tools for stronger furniture builds” style=”width: 100%; height: auto;”]
[sps_html tag=”img” src=”https://cdn.northcarolinafinearchitecture.com/2026/06/how-to-make-a-rabbet-cut-with-a-circular-saw-step-by-step-mellowpine-for-rabbet-joint-design.jpg” alt=”How To Make A Rabbet Cut With A Circular Saw [Step-By-Step] - Mellowpine for Rabbet Joint Design” style=”width: 100%; height: auto;”]