There’s something primal about the first spark. It catches on a dry leaf, flickers uncertainly, and then—suddenly—you have light. Heat. A center point for conversation. For generations, the campfire has been the heartbeat of the outdoors, a kinetic, luminous force that pulls people together. But let’s be honest. We’ve all been there. You strike the match, watch it burn down to your fingertips, and… nothing. Just smoke. Or worse, you get a roaring blaze that feels like it might jump out of the pit and greet your neighbors.
Building a fire isn’t just about throwing wood in a hole. It’s an art form. It’s physics, chemistry, and a little bit of patience all rolled into one. Whether you’re car camping at a KOA site or backpacking deep in the backwoods, getting the structure right makes the difference between a cozy evening and a cold, frustrating night. In 2026, as we spend more time reconnecting with nature, mastering this skill is more relevant than ever. It’s not just about warmth; it’s about respect for the environment and safety for everyone around you.
So, how do you go from a pile of sticks to a glowing ember bed that lasts all night? It starts with understanding the layers. It starts with knowing that bigger isn’t always better when you’re just beginning. Let’s dive into the details, the mistakes to avoid, and the simple tricks that turn a novice into a fire-master.
Setting the Stage: Location and Preparation
Before you even think about striking a match, you need to look at where you are. This step is often skipped by eager campers, but it’s the most critical part of fire safety. The U.S. National Park Service recommends checking your surroundings carefully. Your tent, gear, and any other flammable objects need to be at least 15 feet away from the fire pit. And remember, wind direction matters. You want the fire downwind of your sleeping area, not sending sparks drifting toward your nylon home.
If you’re at a designated campground, use the existing fire ring. These are built to contain heat and protect the ground beneath. If you’re in a dispersed area where fires are permitted, you’ll need to create a mound fire or use a fire pan to leave no trace. Clear away any dry leaves, pine needles, or overhanging branches within a ten-foot radius. It sounds like a lot of work, but it prevents accidental spread. In many national parks and forests in 2026, regulations are stricter than ever due to changing climate conditions. Always check local rules before you start. Some areas ban wood fires entirely, requiring you to use only established metal rings or portable stoves.
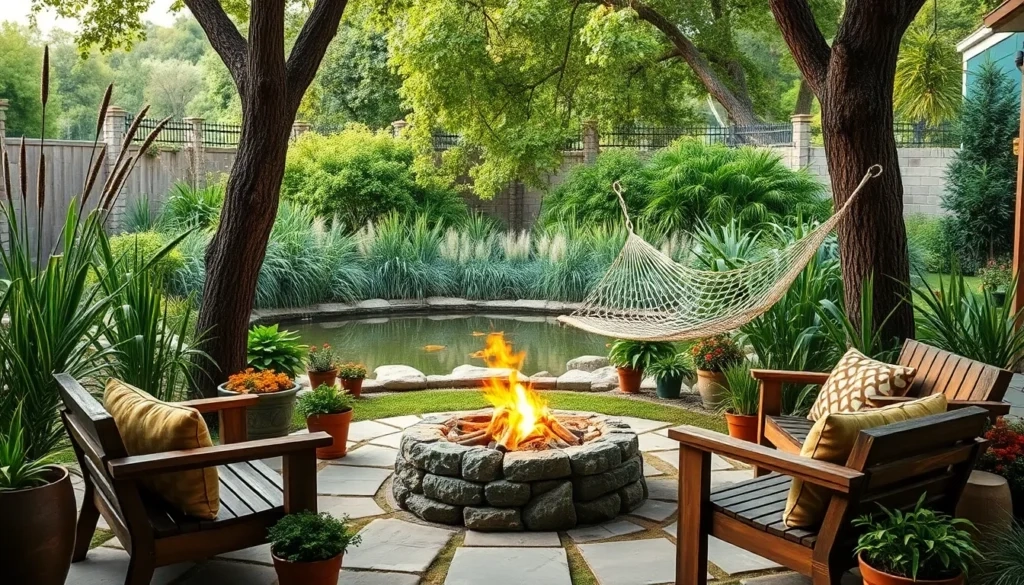
Also, consider the ground itself. Avoid building on peat soil or roots, which can smolder underground for days after the surface fire is out. If you’re using a backyard fire pit, ensure it’s made of heat-resistant materials. Ohio Flame experts note that choosing the right pit material enhances longevity and safety. A cracked stone pit can fail under high heat, so inspect it before every use. Taking these few minutes to prep saves you from panic later. It sets a calm tone for the whole experience.
The Foundation: Tinder and Kindling Essentials
Now that your spot is safe, let’s talk fuel. Many people confuse tinder and kindling, but they play very different roles. Tinder is the stuff that catches the spark. It needs to be bone-dry and fluffy. Think dried grass, birch bark, dryer lint, or commercial fire starters. Kindling is the next step up—small sticks, usually pencil-thick or smaller. Its job is to catch the flame from the tinder and generate enough heat to ignite the larger logs.
Outdoor Action Plan suggests starting with small twigs and dry leaves. These materials are perfect for catching a spark because they have a high surface-area-to-volume ratio. They ignite quickly. When gathering kindling, look for dead standing wood rather than wood on the ground. Ground wood absorbs moisture from the soil and rot, making it hard to light. Snap a piece; if it breaks with a sharp crack, it’s dry. If it bends, leave it.
In 2026, sustainability is a big topic. The National Park Service advises buying local firewood near your campground to prevent the spread of invasive insects and diseases. Transporting wood from home can introduce pests to new ecosystems. If you must collect wood, do so only where allowed and keep it small. Don’t strip a tree bare. Take only what you need. This respect for resources ensures that future campers can enjoy the same forest beauty. Plus, local wood burns better because it’s acclimated to the humidity of the area.
Structural Integrity: Choosing Your Fire Layout
Once you have your tinder bed ready, it’s time to build. There are two main styles you’ll hear about: the Tepee and the Log Cabin. Each has its benefits depending on what you want from your fire. The Tepee method is classic. You place your tinder in the center, then lean kindling sticks against each other in a cone shape over it. Leave an opening on the windward side to light it. This structure allows for great airflow, which helps the fire grow fast. It’s ideal for cooking or when you need heat quickly.
The Log Cabin method is a bit more stable. You start with two parallel logs, then place two more perpendicular on top, creating a square frame. You fill the center with tinder and kindling. As the fire burns, the logs collapse inward, feeding the flames steadily. Instafire notes that once your tepee fire is stable and has a good base of embers, you can transition to a log cabin frame around it to sustain the burn. This hybrid approach gives you the quick start of a tepee with the long-lasting glow of a cabin.
Which one should you choose? If you’re new to this, try the log cabin. It’s harder to mess up. The tepee can collapse if the sticks aren’t balanced, smothering the young flame. The log cabin holds its shape better. Regardless of the style, don’t pack it too tight. Fire needs oxygen. If you choke it with wood, it’ll just smoke. Leave gaps. Let the air flow through the structure like blood through veins. That airflow is the secret ingredient.
The Ignition: Lighting and Early Management
You’ve prepped, you’ve gathered, you’ve built. Now comes the moment of truth. Light your tinder from the upwind side. This lets the flame travel downwind through the structure, catching more material as it goes. Use a long match or a lighter to keep your hands safe. Don’t blow on the fire immediately. Let it find its feet. If it’s struggling, gentle breaths from the base can help, but aggressive blowing can scatter embers or extinguish the fragile flame.
As the kindling catches, you’ll see the color change. It goes from orange to a brighter yellow-white. This is the sign that the temperature is rising. Now, you can start adding slightly larger pieces of wood. Don’t throw on a massive log yet. Wait until the kindling has formed a solid bed of coals. Battlbox emphasizes monitoring the fire and adjusting kindling placement to ensure steady growth. If the fire dips, add more small sticks. If it roars too high, let it burn down a bit before adding more.
Patience is key here. Rushing this stage is the number one reason fires fail. People want instant gratification, but fire is a slow conversation. Listen to it. If it’s crackling happily, you’re doing it right. If it’s hissing or smoking heavily, something is wrong. Maybe the wood is wet. Maybe there’s not enough air. Adjust accordingly. This early management phase sets the tone for the rest of the night. A well-started fire requires less fuss later on.
Fueling the Glow: Adding Larger Logs
Once your kindling has burned down to a robust bed of embers, it’s time for the main event: the logs. These should be dry, seasoned hardwoods if possible. Oak, maple, and hickory burn hot and long. Softwoods like pine burn faster and can pop, sending sparks flying. If you’re using pine, keep a closer eye on the perimeter. Place the logs carefully on top of the ember bed. Don’t drop them; you might crush the delicate structure underneath.
Arrange the logs to maintain airflow. You can continue the log cabin pattern or simply lay them parallel with gaps in between. The goal is to create a chimney effect. Heat rises, pulling fresh air in from the bottom. If you stack logs too tightly, the fire suffocates. If you spread them too far apart, the heat dissipates and the fire dies. Find the balance. As the logs burn, they will eventually collapse. When this happens, use a stick or poker to rearrange them gently. Push unburned ends into the heat.
This stage is about maintenance. You’re not just watching; you’re tending. Add one log at a time. Let it catch before adding another. This prevents the "smother effect" where too much cold wood drops the temperature below the ignition point. In 2026, many campers are using fire pits with adjustable grates or airflow controls. If you have one, use it. Open vents when starting, close them slightly to slow the burn when you’re ready to relax. It gives you control over the intensity.
A fire is never truly "safe" until it is completely out. This is the part that gets overlooked in the warmth of the moment. Never leave a fire unattended. Not for a minute. Not to grab a beer. Not to check the tent. Keep a bucket of water or a shovel nearby at all times. If sparks escape, you need to act instantly. Also, keep children and pets at a safe distance. Establish a "no-go zone" around the pit.
When it’s time to end the night, don’t just walk away. Drown the fire with water. Stir the ashes with a stick or shovel. Drown it again. You want to make sure every ember is cold to the touch. The National Park Service stresses this point: if it’s too hot to touch, it’s too hot to leave. Feel the heat with the back of your hand near the ashes. If you feel warmth, add more water. Repeat until it’s cold. This prevents underground root fires that can flare up days later.
Proper disposal of ashes is also important. Once cold, scatter them widely away from camp, or pack them out if required. Don’t dump hot ashes in a trash bin or on the ground near vegetation. In many areas, fire bans are enacted during dry seasons. Respect these bans. They exist to protect lives and landscapes. Using a portable stove for cooking during ban periods is a smart alternative. Being a responsible fire user means knowing when not to build one. It’s about stewardship.
Building a fire is a skill that connects us to our ancestors. It’s simple, yet profound. By following these steps—preparing the site, layering fuels correctly, choosing the right structure, and prioritizing safety—you create more than just heat. You create a space for connection. You create a memory. So next time you’re out there, take your time. Respect the process. And enjoy the glow.
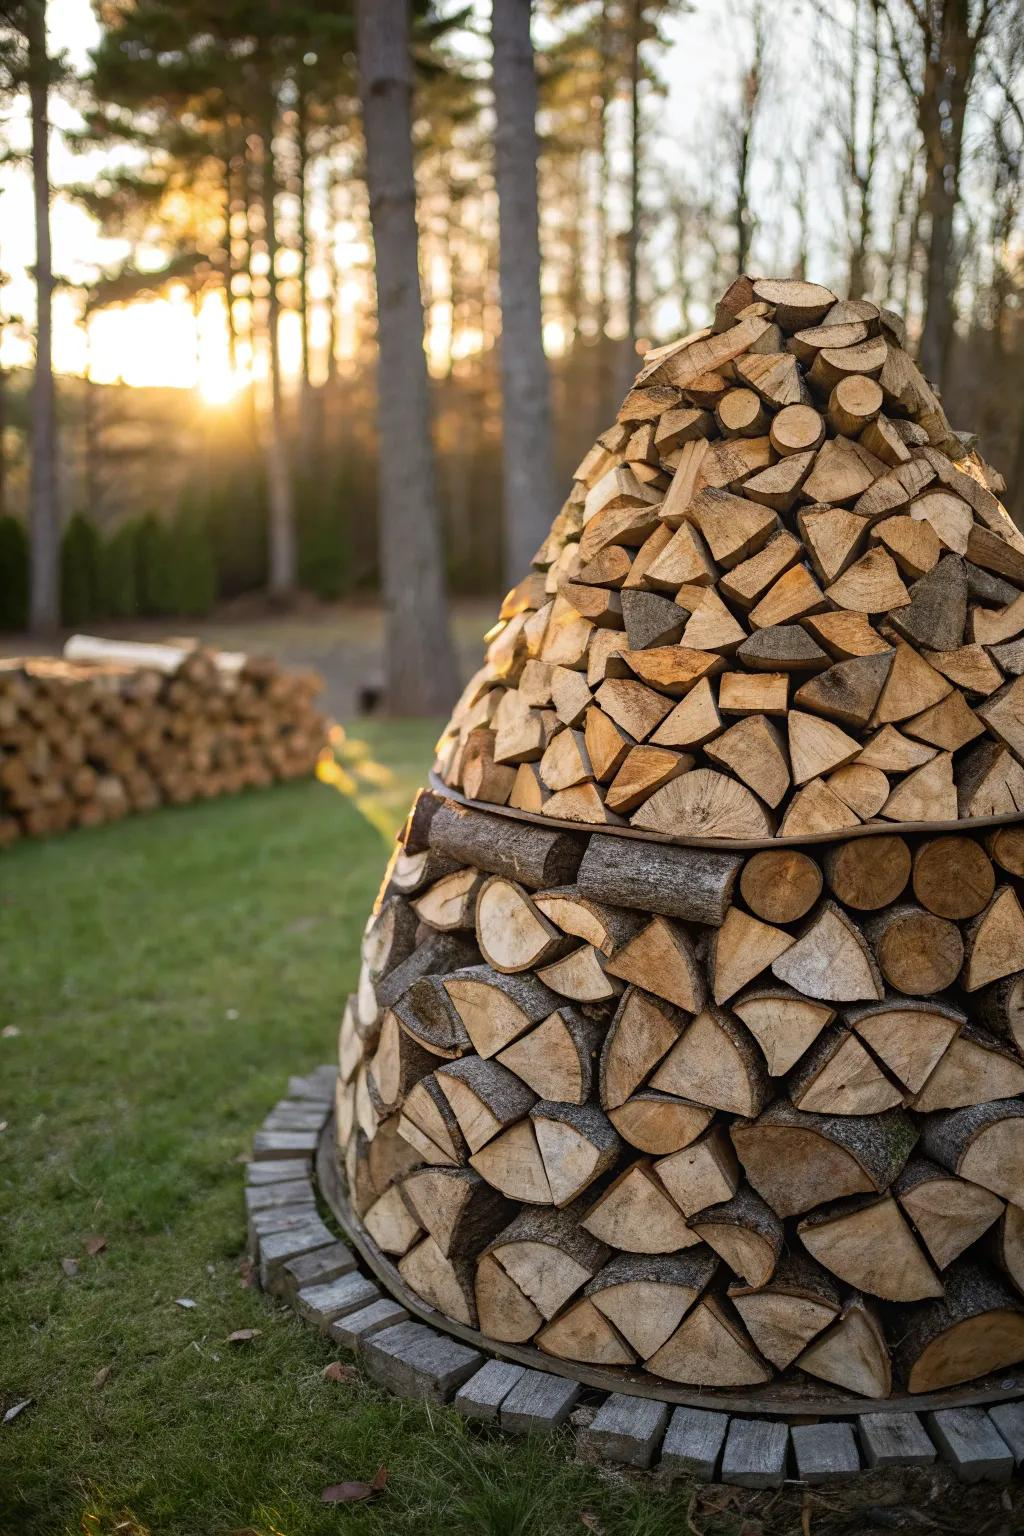
[sps_html tag=”img” src=”https://cdn.northcarolinafinearchitecture.com/2026/06/15-creative-ways-to-stack-firewood-at-home-for-outdoor-fire-log-design.jpg” alt=”15+ Creative Ways To Stack Firewood At Home for Outdoor Fire Log Design” style=”width: 100%; height: auto;”]
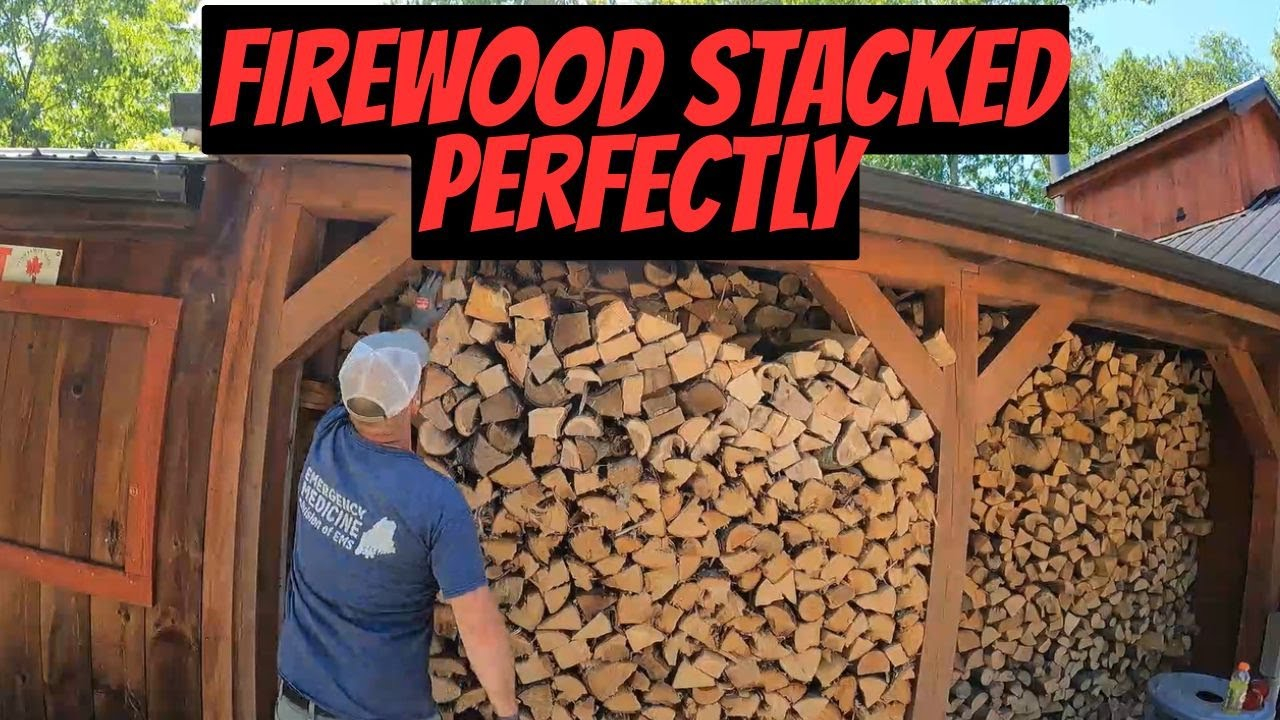
[sps_html tag=”img” src=”https://cdn.northcarolinafinearchitecture.com/2026/06/firewood-stacked-perfectly-youtube-with-regard-to-outdoor-fire-log-design.jpg” alt=”Firewood Stacked Perfectly - Youtube with regard to Outdoor Fire Log Design” style=”width: 100%; height: auto;”]
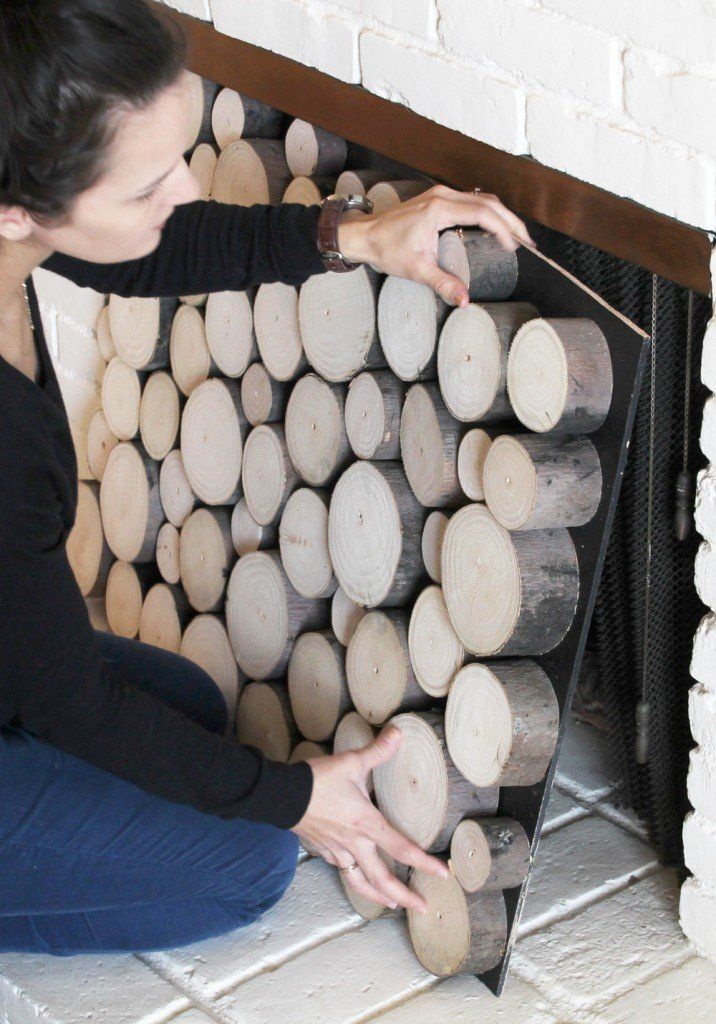
[sps_html tag=”img” src=”https://cdn.northcarolinafinearchitecture.com/2026/06/the-designer-trick-to-getting-that-perfectly-stacked-firewood-look-in-the-hidden-science-behind-perfectly-stacked-wood-for-clean-flames.jpg” alt=”The Designer Trick To Getting That Perfectly Stacked Firewood Look … in The Hidden Science Behind Perfectly Stacked Wood for Clean Flames” style=”width: 100%; height: auto;”]
[sps_html tag=”img” src=”https://cdn.northcarolinafinearchitecture.com/2026/06/how-to-stack-firewood-like-a-pro-expert-tips-for-homeowners-for-the-hidden-science-behind-perfectly-stacked-wood-for-clean-flames.jpg” alt=”How To Stack Firewood Like A Pro: Expert Tips For Homeowners for The Hidden Science Behind Perfectly Stacked Wood for Clean Flames” style=”width: 100%; height: auto;”]