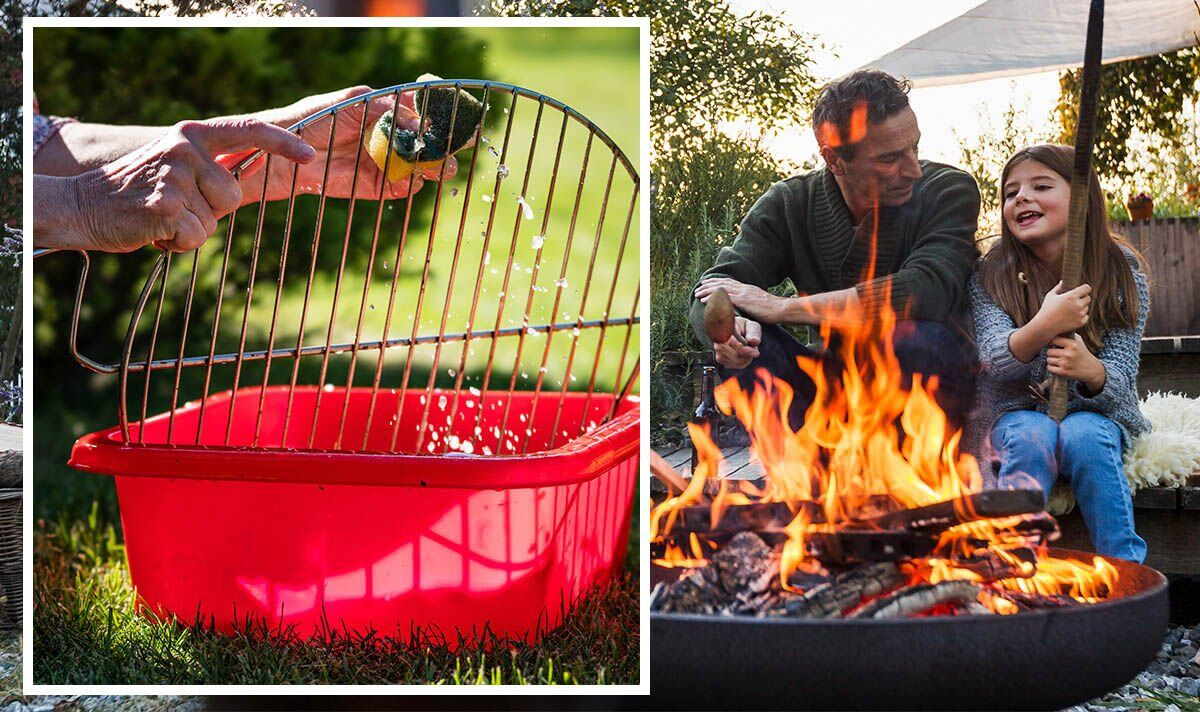
You know the feeling. It’s late summer, maybe August 2026, and you’ve just finished grilling up a storm. The food was great, the company better. But now? Now you’re standing there with a cast-iron skillet that’s seen better days, a colander full of rinsed veggies, and a sink that looks like a swamp. You glance at the back door. It’s ten feet away. Ten feet of pristine hardwood floors. And you realize you have no good place to dump the greywater or rinse the grit off those potatoes without making a mess.
So you do what we all do. You drag it inside. You tiptoe through the living room, trying not to drip muddy water on the rug. It’s annoying. It defeats the whole purpose of having an outdoor space, doesn’t it? We build these beautiful kitchens outside to keep the chaos out there, yet we end up treating our indoor sinks like the final cleanup crew. It’s time to break that cycle.
The secret isn’t just a bigger sink. It’s about where the water goes when it leaves the basin. If your outdoor kitchen doesn’t have a plan for drainage, you’re basically just moving the problem from your countertop to your patio pavers. And nobody wants a soggy, algae-covered deck. Let’s talk about how to fix this, properly, without needing a degree in civil engineering.
The Myth of the Gravel Layer (And What to Do Instead)
If you’ve ever tried to set up a simple wash station using a large planter or a repurposed container as a catch-basin, you might have heard the old advice: "Put gravel at the bottom." It sounds logical, right? Rocks let water through. But here’s the thing—science says otherwise. According to experts at the University of Illinois Extension, putting gravel at the bottom of a container actually makes drainage worse.
Why? It’s called the "perched water table" effect. Water doesn’t just flow freely from soil into gravel because the textures are too different. Instead, the water hangs out in the soil layer right above the rocks, saturating everything until it’s basically mud. Then, and only then, does it drip through. In an outdoor kitchen context, this means your catchment area stays wet, smelly, and prone to mosquitoes. It’s a breeding ground for gunk, not a drainage solution.
So, skip the rocks inside your containers. If you are using a large vessel to catch runoff or as a base for a portable sink setup, use a coarse mesh instead. Old onion bags or potato sacks work wonders here. They keep the solid bits (like pea pods or rice grains) from clogging the exit hole while letting water pass through immediately. This keeps the flow moving and prevents that stagnant, swampy smell that makes you want to run back inside anyway.
Choosing the Right Surface Beneath Your Sink
Where does the water go after it leaves the pipe? This is the question most people forget until it’s too late. If you’re installing a permanent outdoor kitchen, you can’t just let greywater splash onto your wooden deck or, heaven forbid, your stamped concrete patio without a plan. Over time, that constant moisture will stain, rot, or crack your surfaces.
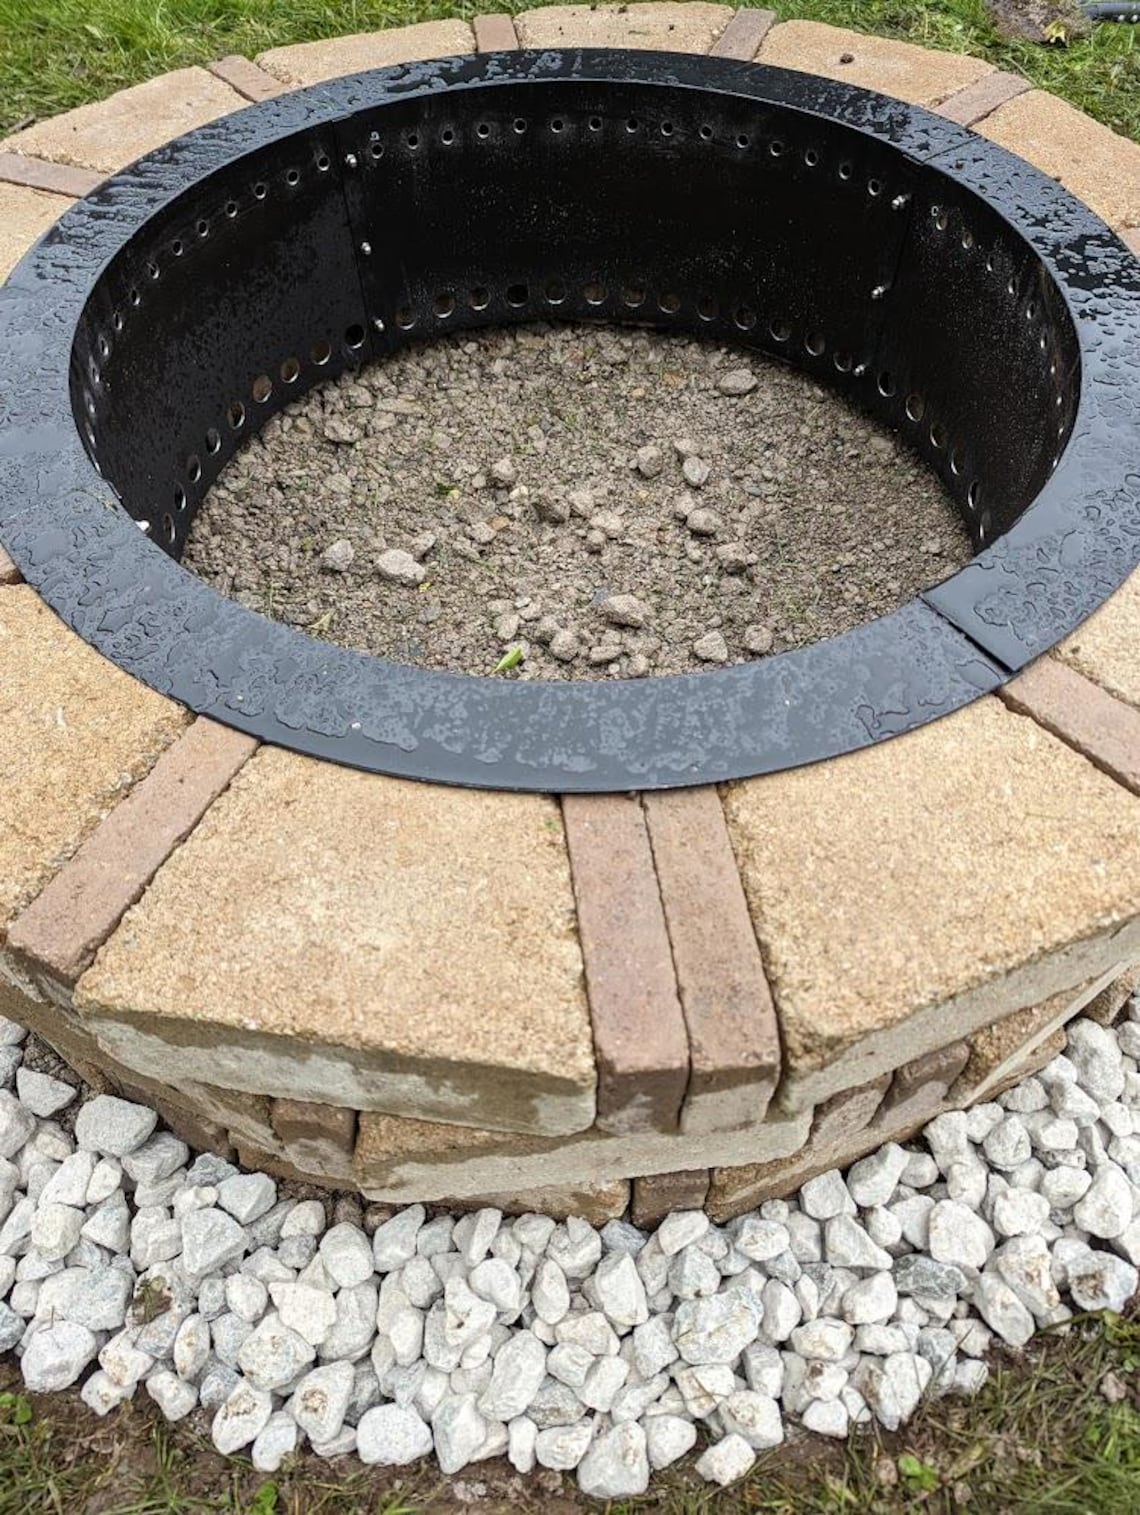
You need a designated "splash zone" or a dry well area. Think of it like a mini rain garden right under your drainpipe. Use materials that absorb and filter water quickly. Crushed granite or pea gravel laid in a shallow depression works well because it allows air circulation and rapid evaporation. But don’t just dump it on top of the grass. Dig down a bit, lay some landscape fabric to prevent weeds, and then add your stone layer. This creates a permeable surface that handles the daily rinse-off without turning into a mud pit.
For those with existing patios, consider using heavy-duty rubber mats or specialized pot saucers designed for large volumes. While these aren’t permanent fixes, they protect the surface underneath during those heavy cleanup sessions. The goal is to keep the water contained and moving away from your high-traffic areas. You want your guests walking on dry stone, not squishing through leftover pasta water.
The Slope Is Your Best Friend
Gravity is the only pump you really need, and it never breaks down. When setting up your outdoor sink or drainage area, ensure everything has a slight slope away from your cooking and seating zones. Even a tiny incline—about a quarter inch per foot—can make a huge difference in keeping your area dry.
If you’re building a new counter, ask your contractor to pitch the countertop slightly toward the sink. It seems obvious, but you’d be surprised how many outdoor kitchens have flat surfaces where water pools around the faucet base. That standing water is where mold loves to hang out. By directing every drop toward the drain, you reduce maintenance and keep things hygienic.
For the ground level, check your pavers. Are they level? Or do they lean toward your house? If water is pooling near your foundation, you’ve got a bigger problem than just dirty pots. Use a level tool to check the grade. If it’s wrong, you might need to adjust the sand base under your pavers or create a channel drain—a narrow trench with a grate—that carries water away to a safer discharge point, like a flower bed or a storm drain (check local codes first!).
Managing Greywater Responsibly
Let’s be real for a second. Outdoor kitchen water isn’t just water. It’s got soap, food particles, grease, and who knows what else. In 2026, environmental awareness is higher than ever, and dumping soapy water directly onto your lawn can kill your grass and harm local wildlife. You need a strategy for greywater management.
First, minimize the chemicals. Use biodegradable, plant-based soaps for your outdoor washing. They break down faster and are less harmful to the soil. Second, consider a simple filtration system. A bucket filled with layers of sand, charcoal, and gravel can act as a basic filter if you’re diverting water into a garden bed. The charcoal helps remove odors and some contaminants, while the sand catches the solids.
However, the best approach is often the simplest: direct it to a dedicated mulch basin. Mulch acts like a sponge, holding the water and allowing it to evaporate slowly while filtering out impurities. Just make sure this basin is located away from vegetable gardens you intend to eat from, to avoid any cross-contamination risks. It’s a small step, but it keeps your outdoor ecosystem healthy and your conscience clear.
Portable Solutions for Renters and Non-Permanent Setups
Not everyone can dig trenches or install plumbing. Maybe you’re renting, or maybe you just want a flexible setup for the summer. That’s okay. You can still stop dragging dirty pots inside with some clever portable hacks.
Try a "camp sink" setup. These are collapsible basins with a spout at the bottom. Place one on a sturdy stand, run a hose into it for filling, and let the dirty water drain out through a tube into a five-gallon bucket lined with a mesh bag. Once the bucket is full, you can carry it to a proper disposal site (like an indoor utility sink or a designated outdoor drain) without spilling a drop. It’s contained, clean, and keeps the mess off your patio.
Another option is the two-bucket method. One bucket for washing, one for rinsing. Use a spray nozzle to minimize water usage. When you’re done, strain the water through a coffee filter or a piece of cheesecloth into a larger container for disposal. It takes a bit more effort than turning a tap, but it saves your indoor floors from muddy footprints. Plus, it makes you more mindful of how much water you’re using, which is always a good thing.
Maintenance: Keeping the Flow Going
A drainage system is only as good as its upkeep. If you ignore it, it’ll clog, smell, and eventually fail. Make cleaning your outdoor drainage part of your weekly routine. It doesn’t have to be a chore; think of it as a quick reset for your space.
Start by checking the mesh filters or screens in your sink drain. Food scraps accumulate fast, especially if you’re rinsing corn or leafy greens. Dump them into your compost bin, not down the drain. Next, flush the lines. Once a month, pour a kettle of boiling water down the outdoor drain to melt any accumulated grease. Follow it up with a mix of vinegar and baking soda if you want to freshen things up naturally.
Also, inspect your splash zone or dry well. Is the gravel compacted? Are leaves blocking the flow? Rake it out occasionally to keep it airy and permeable. If you notice standing water lingering more than an hour after you’ve finished cleaning, you’ve got a blockage or a grading issue. Address it early before it becomes a mosquito nursery. A little attention goes a long way in keeping your outdoor kitchen functional and inviting.
At the end of the day, an outdoor kitchen should feel like an extension of your home, not a burden. By taking control of where the water goes, you reclaim the convenience that drew you outside in the first place. No more tiptoeing through the house with a dripping colander. No more worrying about staining the deck.
It’s about small, smart choices. Ditch the gravel myth. Slope your surfaces. Manage your greywater with care. And keep things clean. These steps might seem minor, but together they transform your outdoor experience. You get to stay out there longer, enjoy the evening air, and leave the mess where it belongs—outside.
So, next time you’re firing up the grill, take a look at your setup. Is it ready for the cleanup? If not, tweak it. Add a mesh filter. Adjust the slope. Build a little splash zone. Your indoor floors will thank you, and you’ll probably find yourself spending a lot more time enjoying your outdoor oasis, rather than rushing back inside to escape the mess.
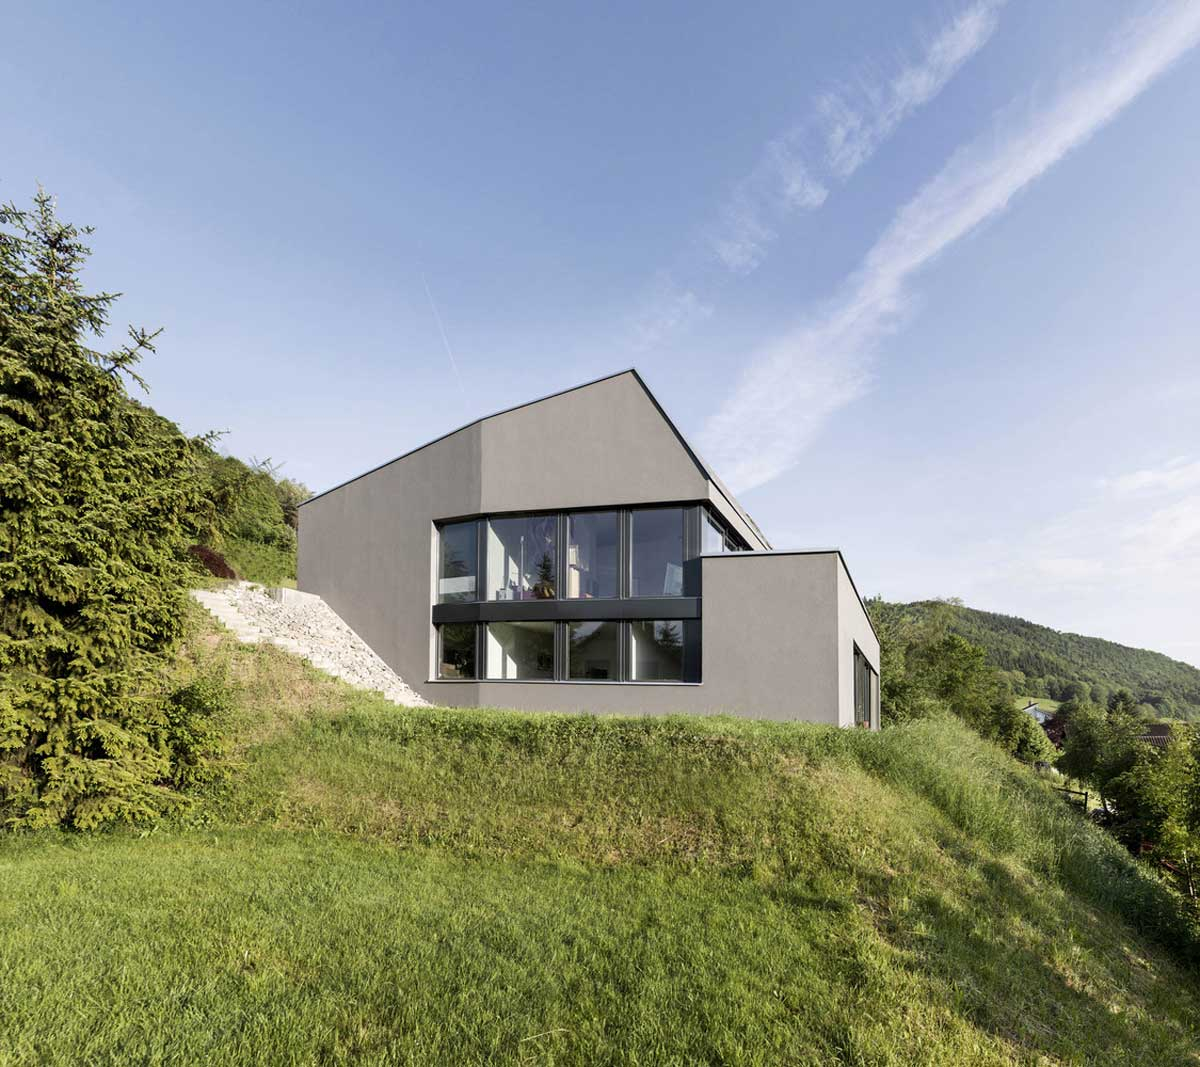
[sps_html tag=”img” src=”https://cdn.northcarolinafinearchitecture.com/2026/05/designing-for-slopes-the-fusion-of-concrete-wood-and-panoramic-views-within-outdoor-sink-design.jpg” alt=”Designing For Slopes: The Fusion Of Concrete, Wood, And Panoramic Views within Outdoor Sink Design” style=”width: 100%; height: auto;”]
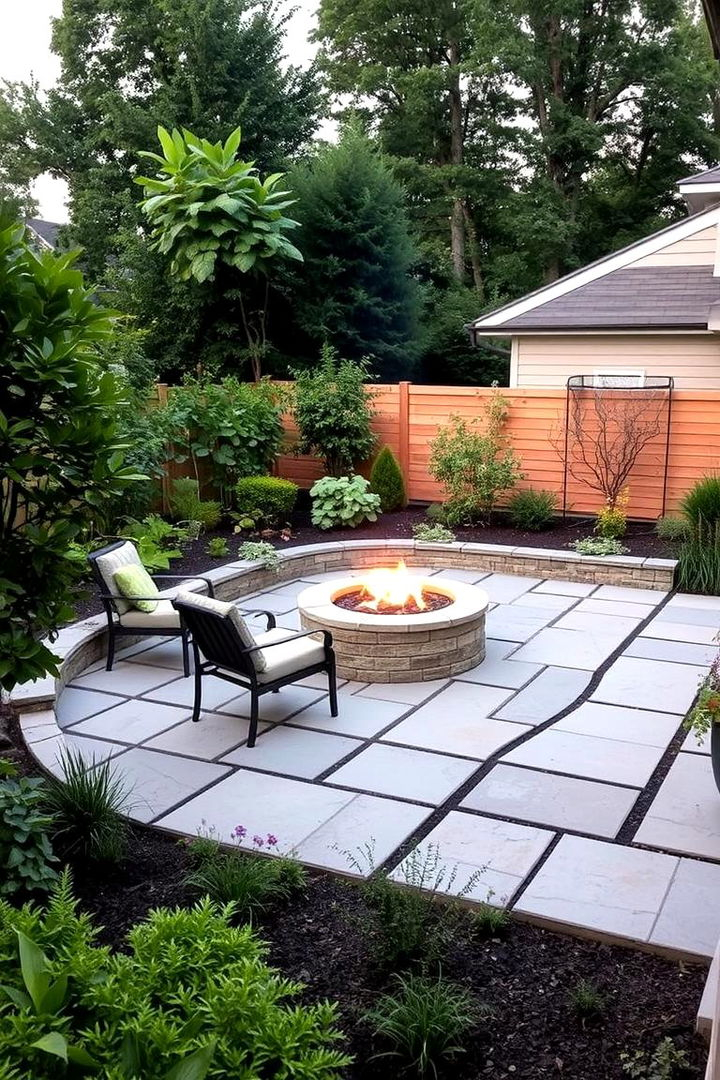
[sps_html tag=”img” src=”https://cdn.northcarolinafinearchitecture.com/2026/05/22-concrete-patio-fire-pit-ideas-for-cozy-outdoor-gatherings-lost-at-inside-concrete-and-wood-fusion-ideas-for-a-modern-urban-backyard-in-2026.jpg” alt=”22 Concrete Patio Fire Pit Ideas For Cozy Outdoor Gatherings - Lost At … inside Concrete and Wood Fusion Ideas for a Modern Urban Backyard in 2026″ style=”width: 100%; height: auto;”]
[sps_html tag=”img” src=”https://cdn.northcarolinafinearchitecture.com/2026/05/42-modern-ranch-houses-youll-want-to-call-home-viva-for-concrete-and-wood-fusion-ideas-for-a-modern-urban-backyard-in-2026.webp” alt=”42 Modern Ranch Houses You’ll Want To Call Home | Viva for Concrete and Wood Fusion Ideas for a Modern Urban Backyard in 2026″ style=”width: 100%; height: auto;”]
[sps_html tag=”img” src=”https://cdn.northcarolinafinearchitecture.com/2026/05/30-stunning-concrete-patio-ideas-for-outdoor-transformation-with-outdoor-sink-design.webp” alt=”30 Stunning Concrete Patio Ideas For Outdoor Transformation with Outdoor Sink Design” style=”width: 100%; height: auto;”]
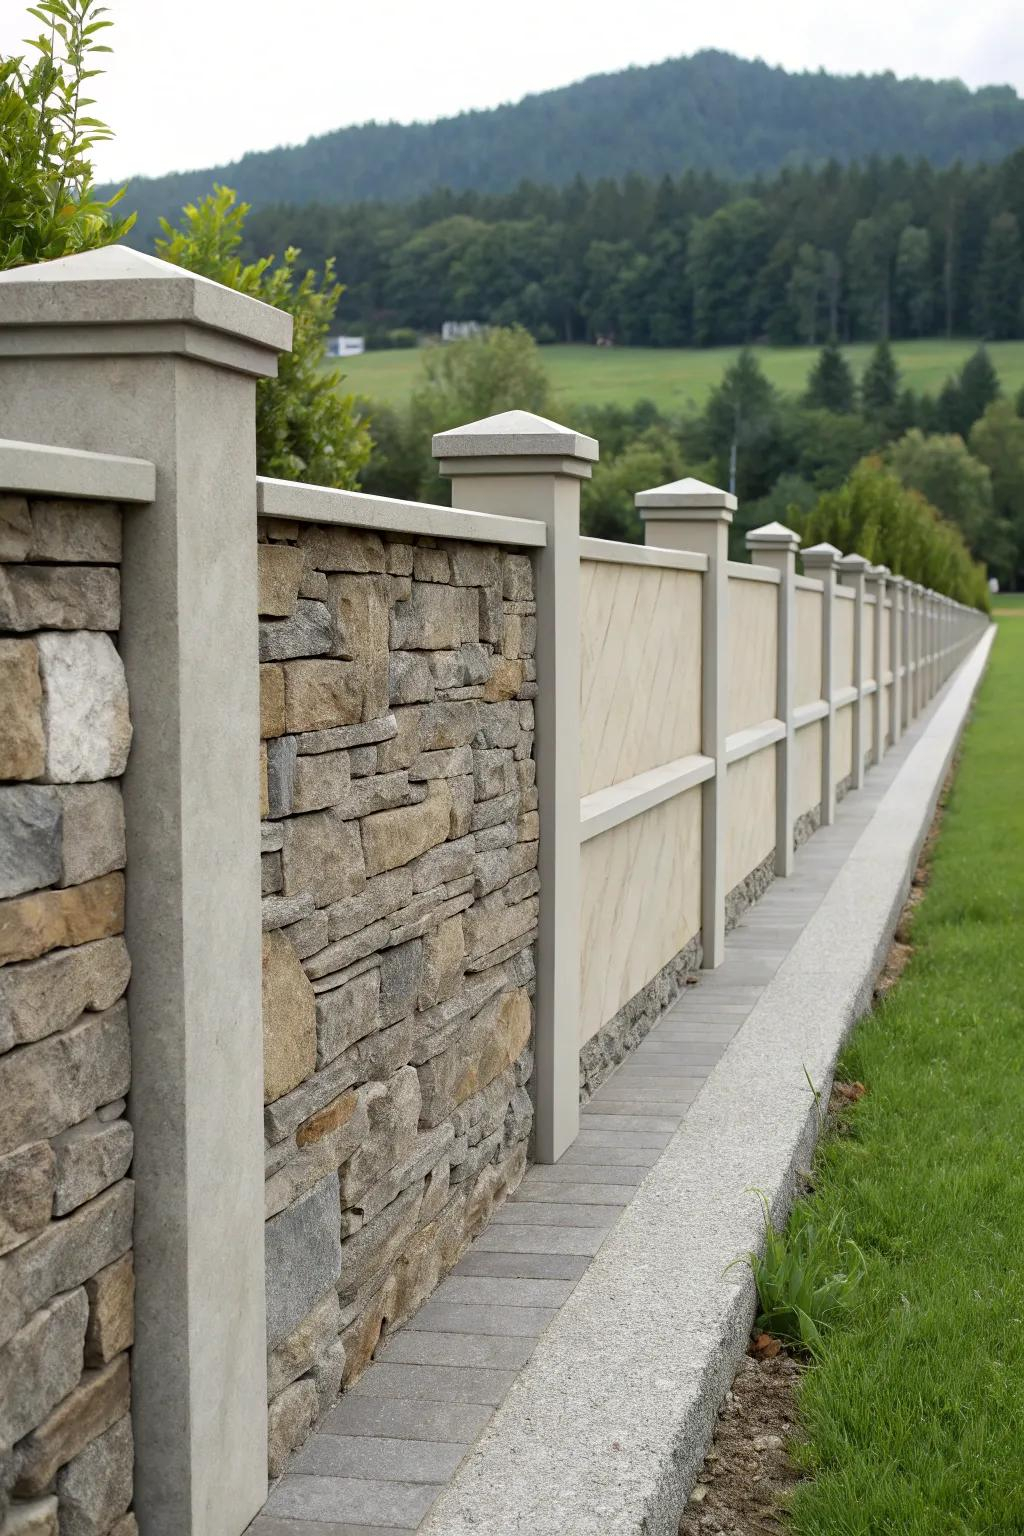
[sps_html tag=”img” src=”https://cdn.northcarolinafinearchitecture.com/2026/05/18-stylish-front-concrete-fence-design-ideas-with-concrete-and-wood-fusion-ideas-for-a-modern-urban-backyard-in-2026.jpg” alt=”18+ Stylish Front Concrete Fence Design Ideas with Concrete and Wood Fusion Ideas for a Modern Urban Backyard in 2026″ style=”width: 100%; height: auto;”]