There is something undeniably magical about water in the garden. It reflects the sky, attracts wildlife, and adds a soothing soundtrack to your outdoor life. But have you ever stood on one side of your pond, looking at the other, wishing you could just… cross over? Not around it. Over it. That’s where the bridge comes in. It’s not just a way to get from point A to point B. It’s a statement. It’s an invitation to slow down and look at the koi swimming below or the lilies blooming on the surface.
Building your own wooden arch bridge might sound like a job for a professional carpenter with decades of experience. And sure, it’s a challenge. But it is also one of the most rewarding DIY projects you can tackle in 2026. You don’t need a degree in engineering. You just need patience, the right wood, and a willingness to learn as you go. This guide isn’t about selling you pre-fab kits or expensive blueprints. It’s about giving you the confidence to pick up a saw and build something that will last for years.
We’ve pulled together insights from seasoned builders, landscape architects, and everyday homeowners who’ve done this before. Whether you have a tiny koi pond or a larger water feature with a stream, the principles remain the same. Safety first, aesthetics second, and durability always. Let’s dig in.
Planning Your Span and Choosing the Right Wood
Before you buy a single board, you need to measure twice. Actually, measure three times. The first decision is the span. How wide is the water you need to cross? For most backyard ponds, a span of 6 to 10 feet is manageable for a DIYer. Anything wider than 12 feet starts to require serious engineering and heavier materials. If your pond is wider, consider building two shorter bridges with a small island in the middle, or stick to a flat deck bridge instead of an arch. The arch design relies on compression, and the wider the span, the higher the arch needs to be, which can make walking across it feel like climbing a hill.
Once you have your dimensions, it’s time to talk wood. Not all lumber is created equal. You’re building something that will sit outside, exposed to rain, sun, snow, and humidity. In 2026, pressure-treated pine is still the go-to for budget-friendly durability. Look for ground-contact rated lumber if any part of the bridge will touch the soil or sit close to the water line. However, many builders prefer cedar or redwood for their natural resistance to rot and insects. They’re more expensive, yes, but they age beautifully, turning a silvery gray if left untreated. Avoid softwoods like spruce or fir unless you plan to seal them heavily and maintain them every single year.
Don’t forget the hardware. Galvanized or stainless steel bolts, screws, and connectors are non-negotiable. Regular steel will rust, stain the wood, and eventually fail. When you’re sketching out your plan, think about the width too. A standard walkway is 3 to 4 feet wide. This allows two people to pass comfortably, or at least one person with a wheelbarrow. If you want to bring a lawn mower across, you’ll need to go wider, maybe 5 feet. Keep it simple for your first build. A 6-foot span by 4 feet wide is the sweet spot for beginners.
Crafting the Heart of the Bridge: Laminated Arches
The arch is what makes this bridge special. It’s strong, elegant, and distributes weight efficiently. But how do you bend wood? You don’t. You laminate it. This is the secret sauce. Instead of trying to bend a single thick beam, you glue and bolt together several thin layers of wood to form a curved shape. It’s stronger than solid wood and less prone to cracking. Start by building a full-size template of your arch on a flat surface. Use plywood scraps to create the curve you want. A gentle rise of 6 to 8 inches for every foot of span is usually comfortable to walk on. Too steep, and it feels like a ladder. Too flat, and it loses its structural advantage.
Cut your laminations from straight, knot-free boards. For a 4-foot wide bridge, you’ll likely need two parallel arches (stringers). Each arch might consist of three or four layers of 1×6 or 2×6 lumber, depending on the load you expect. Apply a high-quality waterproof wood glue to each layer. Clamp them tightly against your template. While the glue is still wet, drill holes through the entire stack and insert galvanized carriage bolts with washers and nuts. Tighten them down. The bolts hold the layers together while the glue cures, and they provide extra shear strength. Let this assembly dry for at least 24 to 48 hours. Rushing this step is a recipe for disaster.
Once the glue is set, remove the clamps and trim any uneven edges. You now have two sturdy, curved stringers. These are the backbone of your bridge. Check them for symmetry. They need to be identical, or your bridge deck will twist. Sand down any rough spots where the layers meet. This is also a good time to apply a wood preservative or sealant to the ends of the wood, which are most vulnerable to moisture wicking. Take your time here. The quality of your arches determines the lifespan of the entire structure. If they look good and feel solid, you’re halfway there.
Building the Foundation and Abutments
A bridge is only as good as its foundation. You can have the most beautiful arches in the world, but if they sink into the mud, you’re in trouble. For a small pond bridge, you don’t need concrete pilings driven deep into the earth. Instead, focus on creating stable abutments on either side of the water. Start by clearing the ground where the bridge will land. Remove grass, roots, and loose topsoil. You want to reach firm, compacted earth. If your soil is sandy or loose, consider digging down a bit deeper and filling with crushed gravel for drainage and stability.
Place large, flat stones or concrete pavers at the base of each abutment. These spread the weight of the bridge over a larger area, preventing sinking. On top of these stones, build a frame using pressure-treated 4×4 or 6×6 posts. Secure these posts firmly into the ground using rebar stakes or earth anchors. The top of this frame should be level and at the correct height to support your arches. Remember, the arches will rest on these abutments. You want a flat, secure surface. Some builders use metal post bases to keep the wood off the concrete or stone, reducing rot risk. This is a smart move, especially in wet climates.
Check for level constantly. Use a long spirit level across both abutments. If one side is higher than the other, your bridge will lean. Adjust by adding shims or adjusting the gravel base underneath the stones. Once the abutments are solid and level, you can temporarily place your arches on top to check the fit. They should sit snugly. If there are gaps, plane the bottom of the arches or adjust the abutment height. Don’t force it. A good fit now means less wobbling later. Secure the arches to the abutments using heavy-duty metal brackets or through-bolts. This connection is critical for preventing the bridge from sliding or shifting during high winds or heavy use.
Installing the Decking and Ensuring Stability
With the arches in place, it’s time to walk on them. Literally. The decking is the surface you’ll see and feel every day. Use 2×6 or 5/4×6 deck boards for a sturdy feel. Leave a small gap (about 1/8 to 1/4 inch) between each board. This allows water to drain through rather than pooling on the surface, which can lead to slippery algae growth and wood rot. Start laying the boards from one end of the bridge to the other. Make sure they are perpendicular to the arches. Use galvanized deck screws to attach each board to the arches. Two screws per joist intersection is usually enough. Pre-drill the holes to prevent the wood from splitting, especially near the ends of the boards.
As you lay the deck, keep an eye on the overall straightness. Use a chalk line to mark a straight edge if needed. If the boards start to drift, adjust them before screwing them down. Once the main deck is complete, you might want to add a trim piece along the edges for a finished look. This also helps protect the end grains of the deck boards. Consider the texture of the wood too. Smooth planed wood can be slippery when wet. Some people choose to groove the decking or use composite materials with a textured surface for better traction. If you stick with natural wood, a non-slip sealant can help.
Stability is key. Walk across the bridge. Does it bounce? Does it creak? A little flex is normal for a wooden structure, but excessive movement means something is loose. Check all your bolts and screws. Tighten them if necessary. If the bridge feels unstable, you may need to add diagonal bracing between the arches underneath the deck. This triangulation adds rigidity and prevents the arches from twisting under load. It’s a simple fix that makes a huge difference in how solid the bridge feels. Take a moment to appreciate the view from the middle. You’ve built a path over water. That’s pretty cool.
Adding Railings for Safety and Style
Let’s be honest. An arch bridge without railings looks sleek, but it’s risky. Especially if you have kids, pets, or just want peace of mind. Railings aren’t just a safety feature; they’re a design element. They frame the view and add vertical interest to the horizontal lines of the bridge. For a DIY project, keep the railing design simple. Vertical balusters spaced no more than 4 inches apart are standard code in many places to prevent children from slipping through. Attach the balusters to the inside of the arches or to the deck edge, depending on your aesthetic preference.
The handrail should be smooth and comfortable to grip. Round over the edges with a router or sandpaper to prevent splinters. Attach the handrail to the top of the balusters using sturdy screws or hidden joinery if you’re feeling ambitious. Make sure the entire railing system is rigid. Give it a good shake. It shouldn’t wobble. If it does, add more fasteners or diagonal supports. You can also add a lower rail midway up the balusters for extra strength and a place to rest a foot if you’re leaning over to look at fish.
Style-wise, you have options. Rustic branches work for a natural look. Clean, square lines suit a modern garden. Japanese-style bridges often feature distinctive curved railings that mirror the arch. Choose a style that complements your home and garden. Paint or stain the railings to match or contrast with the deck. Darker stains can hide dirt and wear, while lighter stains show off the wood grain. Just ensure whatever finish you use is safe for outdoor use and compatible with the wood type. Don’t skip this step. Unprotected railings will weather quickly and look tired within a season.
You’ve built it. It’s sturdy. It’s beautiful. Now, protect it. Wood is a living material, even after it’s cut. It expands and contracts with temperature and humidity changes. To keep it looking great and lasting long, apply a high-quality exterior wood sealant or stain. Do this after the wood has dried out slightly from construction, usually a few weeks after building. Choose a product with UV inhibitors to prevent graying and water repellents to stop rot. Reapply this finish every 2 to 3 years, or as recommended by the manufacturer. It’s a small effort that pays off big time.
Inspect your bridge regularly. At least twice a year, give it a once-over. Look for loose screws, cracked wood, or signs of insect damage. Check the abutments for settling. If the ground has shifted, you might need to shim the arches again. Clear away leaves and debris that accumulate on the deck and in the corners. Trapped moisture leads to decay. If you live in an area with harsh winters, consider covering the bridge or removing snow buildup to prevent excessive weight and ice damage.
Finally, enjoy it. Put a bench nearby. Plant flowers around the abutments to soften the look. Add solar lights along the railings for evening ambiance. The bridge is more than wood and bolts. It’s a place to pause. To breathe. To connect with your garden in a new way. Share it with friends. Watch the seasons change from its vantage point. You didn’t just build a bridge. You built an experience. And that’s worth every hour of sweat and sawdust.
So, did you miss a spot? Maybe. Did you strip a screw? Probably. But you did it. And next time you cross over that pond, you’ll know exactly how it holds together. That knowledge is the real reward. Keep building. Keep exploring. Your backyard is waiting.
[sps_html tag=”img” src=”https://cdn.northcarolinafinearchitecture.com/2026/05/modern-rustic-blending-contemporary-and-natural-design-for-outdoor-bridge-design.jpg” alt=”Modern Rustic: Blending Contemporary And Natural Design for Outdoor Bridge Design” style=”width: 100%; height: auto;”]
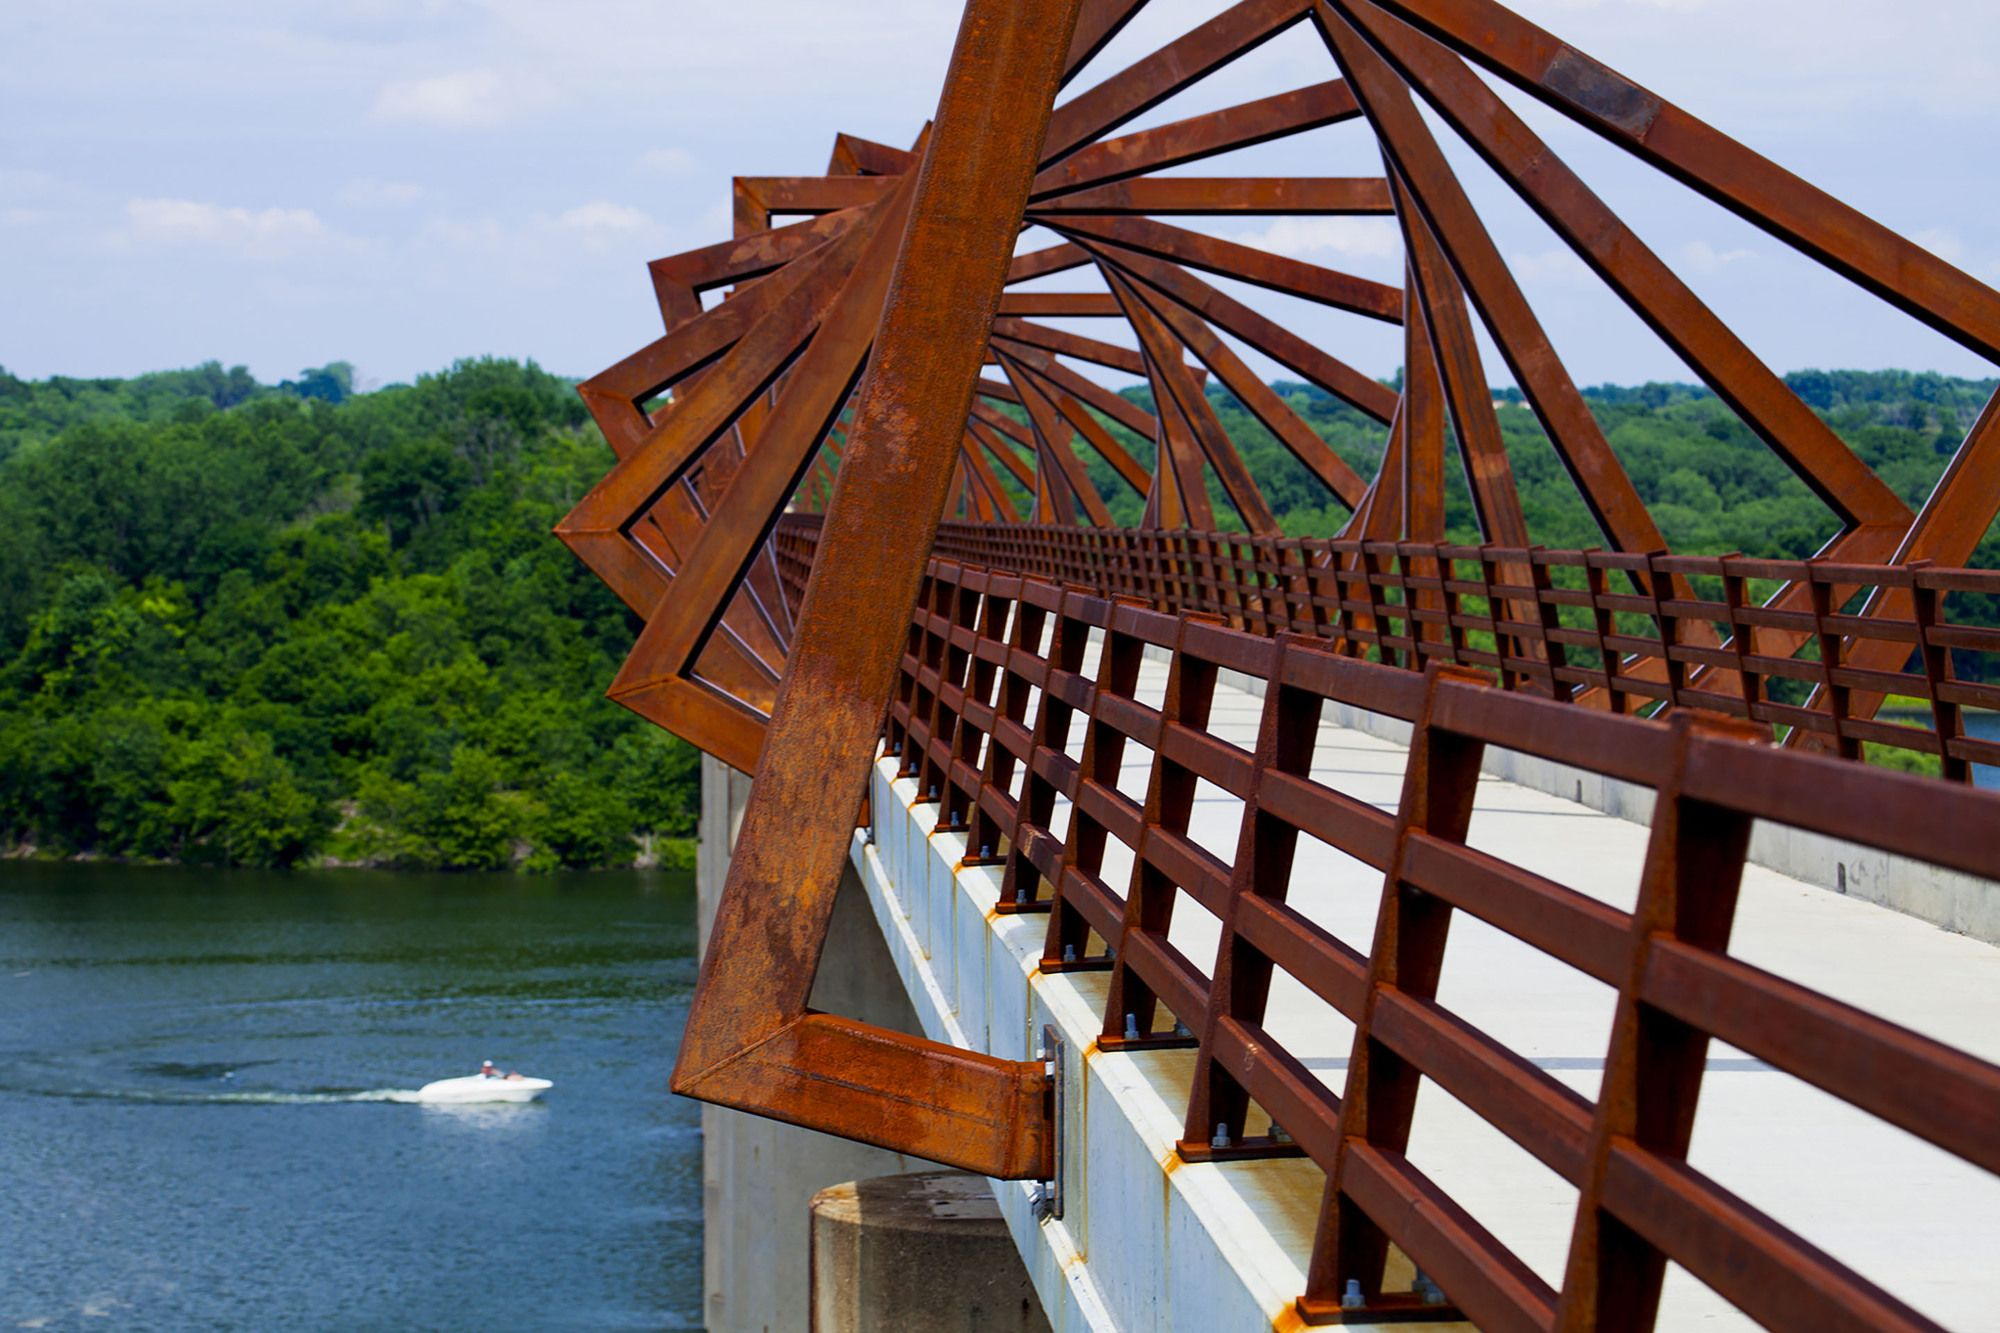
[sps_html tag=”img” src=”https://cdn.northcarolinafinearchitecture.com/2026/05/gallery-of-high-trestle-trail-bridge-rdg-planning-design-3-with-regard-to-the-art-of-blending-rustic-wood-and-modern-metal-in-bridge-design.jpg” alt=”Gallery Of High Trestle Trail Bridge / Rdg Planning & Design - 3 … with regard to The Art of Blending Rustic Wood and Modern Metal in Bridge Design” style=”width: 100%; height: auto;”]
[sps_html tag=”img” src=”https://cdn.northcarolinafinearchitecture.com/2026/05/50-modern-rustic-decor-ideas-blending-tradition-with-trendiness-with-regard-to-the-art-of-blending-rustic-wood-and-modern-metal-in-bridge-design.jpg” alt=”50 Modern Rustic Decor Ideas: Blending Tradition With Trendiness with regard to The Art of Blending Rustic Wood and Modern Metal in Bridge Design” style=”width: 100%; height: auto;”]
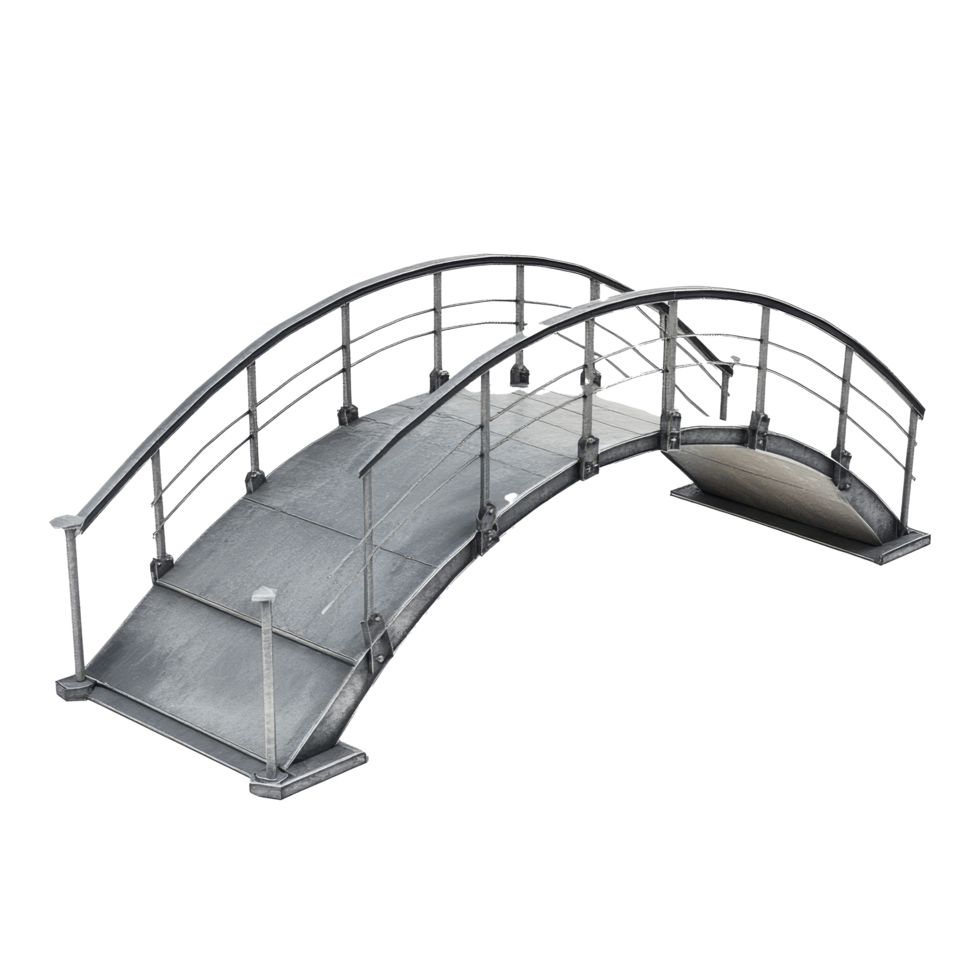
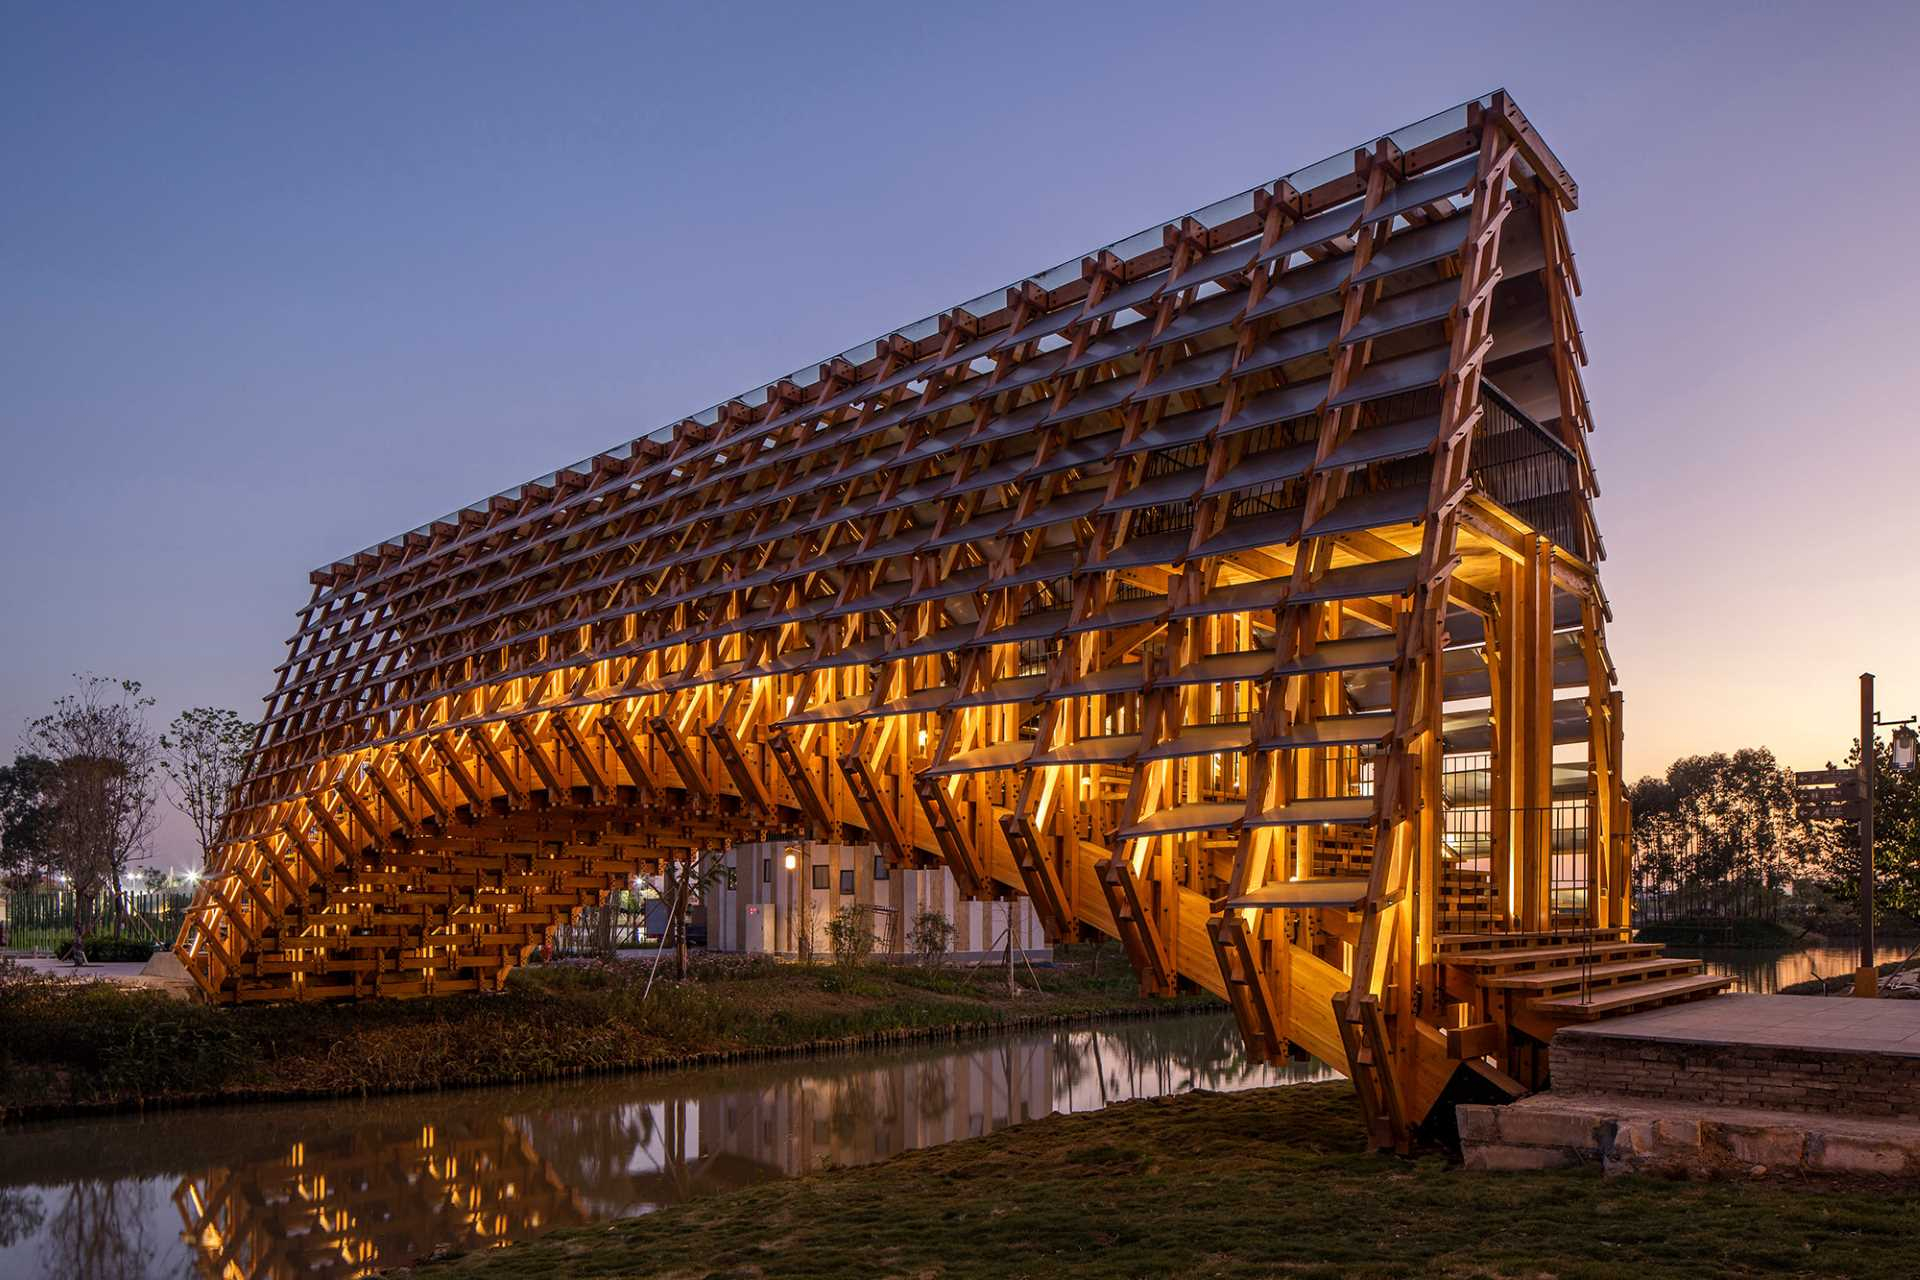
[sps_html tag=”img” src=”https://cdn.northcarolinafinearchitecture.com/2026/05/this-new-bridge-shows-off-its-complex-wood-structure-design-skill-regarding-outdoor-bridge-design.jpg” alt=”This New Bridge Shows Off Its Complex Wood Structure - Design Skill … regarding Outdoor Bridge Design” style=”width: 100%; height: auto;”]
[sps_html tag=”img” src=”https://cdn.northcarolinafinearchitecture.com/2026/05/aesthetic-exploration-modern-rustic-aesthetics-of-design-intended-for-the-art-of-blending-rustic-wood-and-modern-metal-in-bridge-design.webp” alt=”Aesthetic Exploration: Modern Rustic – Aesthetics Of Design intended for The Art of Blending Rustic Wood and Modern Metal in Bridge Design” style=”width: 100%; height: auto;”]