You’ve seen them online. Those shimmering, jewel-toned beds of glass that turn a simple gas flame into something magical. It looks easy enough, right? You buy a bag, dump it in, light it up, and boom—instant backyard oasis. But here’s the thing. It’s rarely that simple. I’ve talked to countless homeowners who were thrilled with their initial purchase, only to be disappointed a few weeks later when their beautiful glass turned black, smelled funny, or worse, caused safety concerns.
Designing with fire glass beads isn’t just about picking a pretty color. It’s a bit of a science mixed with art. If you get it wrong, you don’t just lose money on expensive materials; you risk damaging your burner or creating a hazardous situation. Whether you are retrofitting an old wood-burning pit or designing a sleek modern fireplace from scratch, the devil is in the details. Let’s walk through the traps people fall into so you can skip the headache and get straight to the glow.
Ignoring Fuel Type Compatibility
One of the biggest slip-ups happens before you even open the bag. Not all fire glass works with all fuels. Specifically, if you are using propane, you have to be extra careful. Propane is heavier than air. This means it tends to sink. If you pile fire glass too thickly over your burner, the gas can get trapped underneath the beads. When it finally ignites, it doesn’t just burn; it might pop or create a small explosion sound as the trapped gas escapes all at once. It’s startling and potentially dangerous.
Natural gas behaves differently because it rises. You have a bit more leeway there, but you still need to follow manufacturer guidelines. Always check if your specific glass is rated for propane use. Some manufacturers make special porous glass or recommend specific installation methods for propane setups to prevent this trapping effect. Don’t assume the bag you bought at the big box store is universal. Read the fine print. If the label says "natural gas only," believe it. Mixing them up is a recipe for a sputtering, smoky mess instead of a clean blue flame.
Also, consider the BTU output of your burner. High-output burners generate intense heat. If your glass isn’t tempered correctly for that level of thermal shock, it can crack or shatter over time. Tempered fire glass is designed to withstand high temperatures, but there are limits. Matching your glass quality to your fuel source and burner strength is step one. Skip this, and you’re setting yourself up for failure.
Overfilling the Burner Pan
It’s tempting to go heavy. You want that lush, deep look where the glass piles up high around the flames. But more isn’t always better. In fact, overfilling is a classic mistake. When you pack too much glass into the pan, you restrict airflow. Gas burners need oxygen to mix with the fuel for a clean combustion. If the glass is buried too deep, the flame struggles to breathe. The result? A lazy, yellow, sooty flame that blacks out your pristine glass in no time.
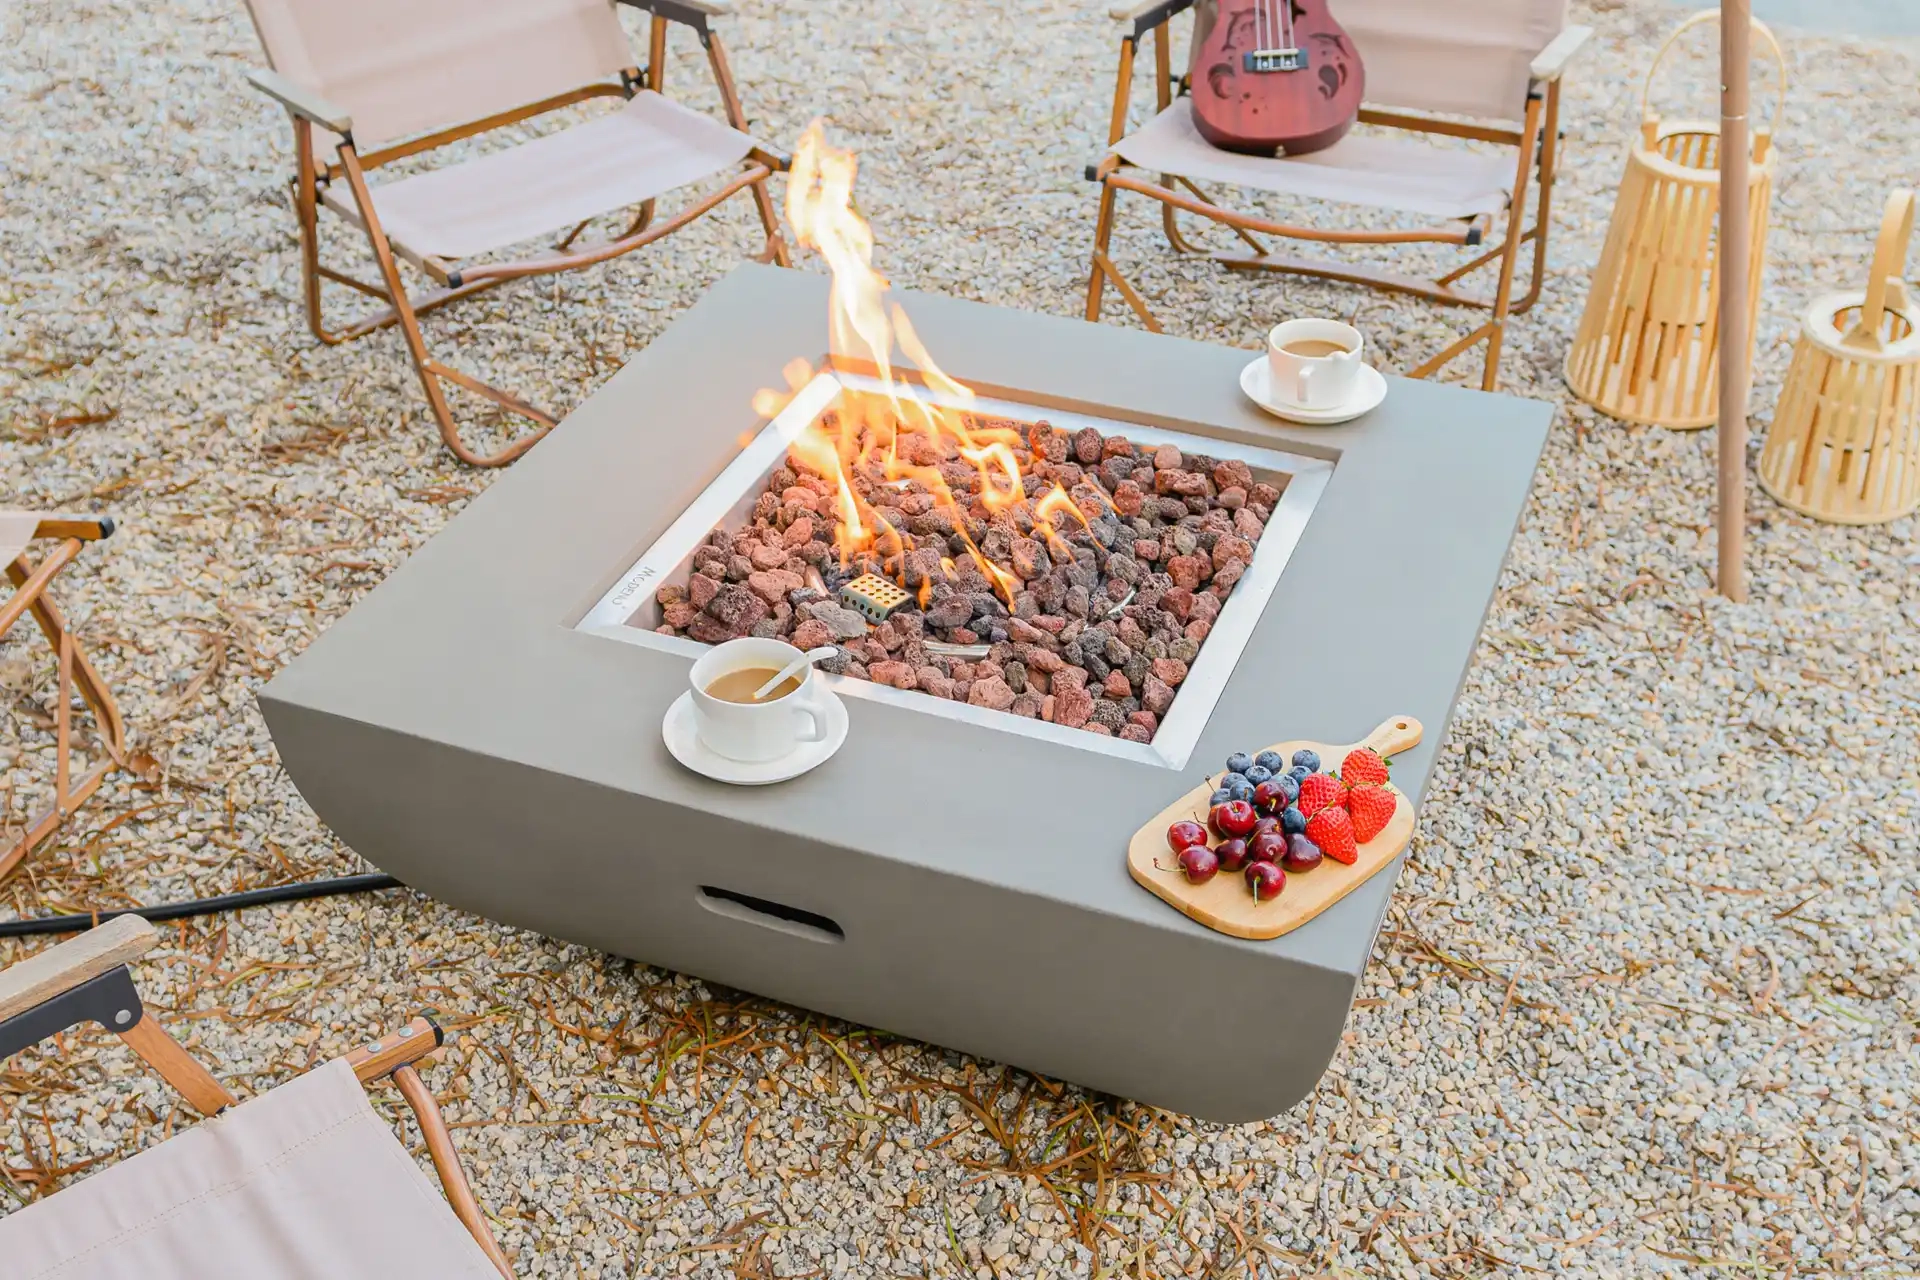
A good rule of thumb is to keep the glass layer relatively shallow. You want enough to cover the burner ports, usually about half an inch to an inch above the burner itself, depending on the specific model. Check your burner manual. Most will specify a maximum depth. Stick to it. You can always add decorative elements on top, like larger lava rocks or driftwood (if compatible), to create height without suffocating the flame.
Think of it like cooking. You wouldn’t smother a campfire with a thick blanket of ash and expect it to roar. Same principle here. The glass is a bed, not a burial mound. Keep it light and airy. This ensures the heat distributes evenly and the flames dance freely. Plus, it saves you money. Fire glass isn’t cheap. Why buy three bags when one and a half will do the job better?
Choosing the Wrong Color for the Setting
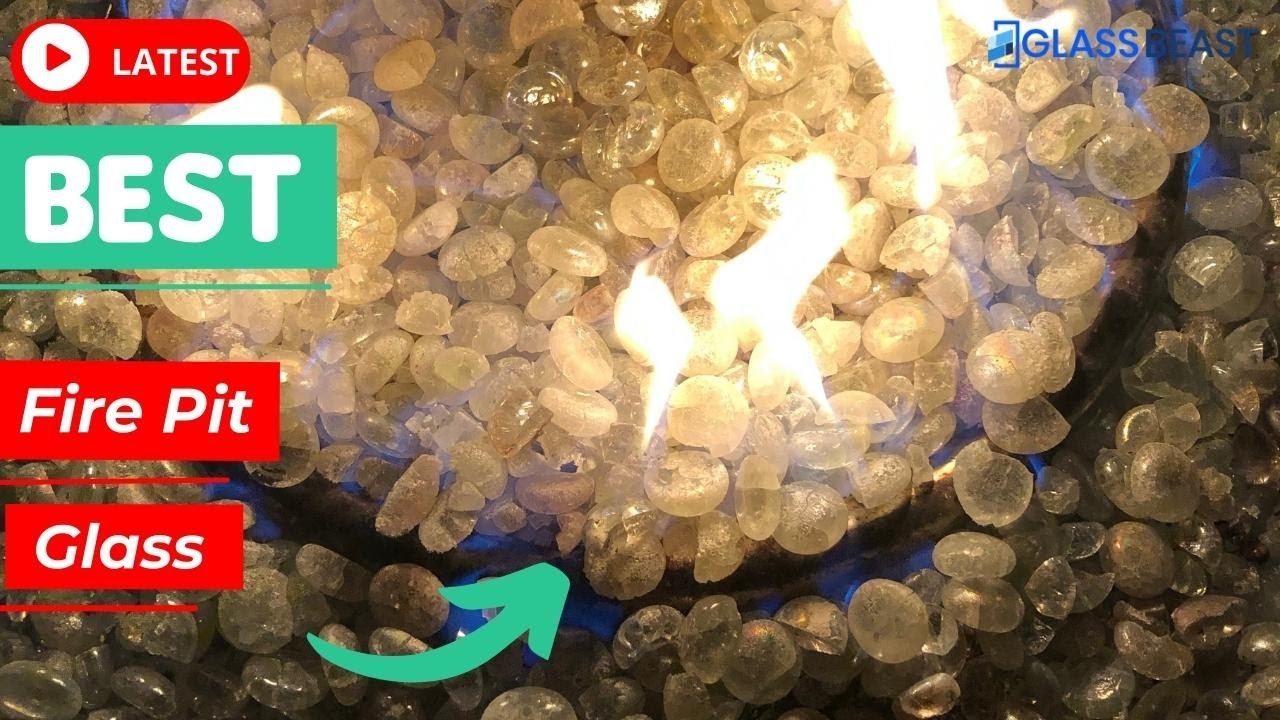
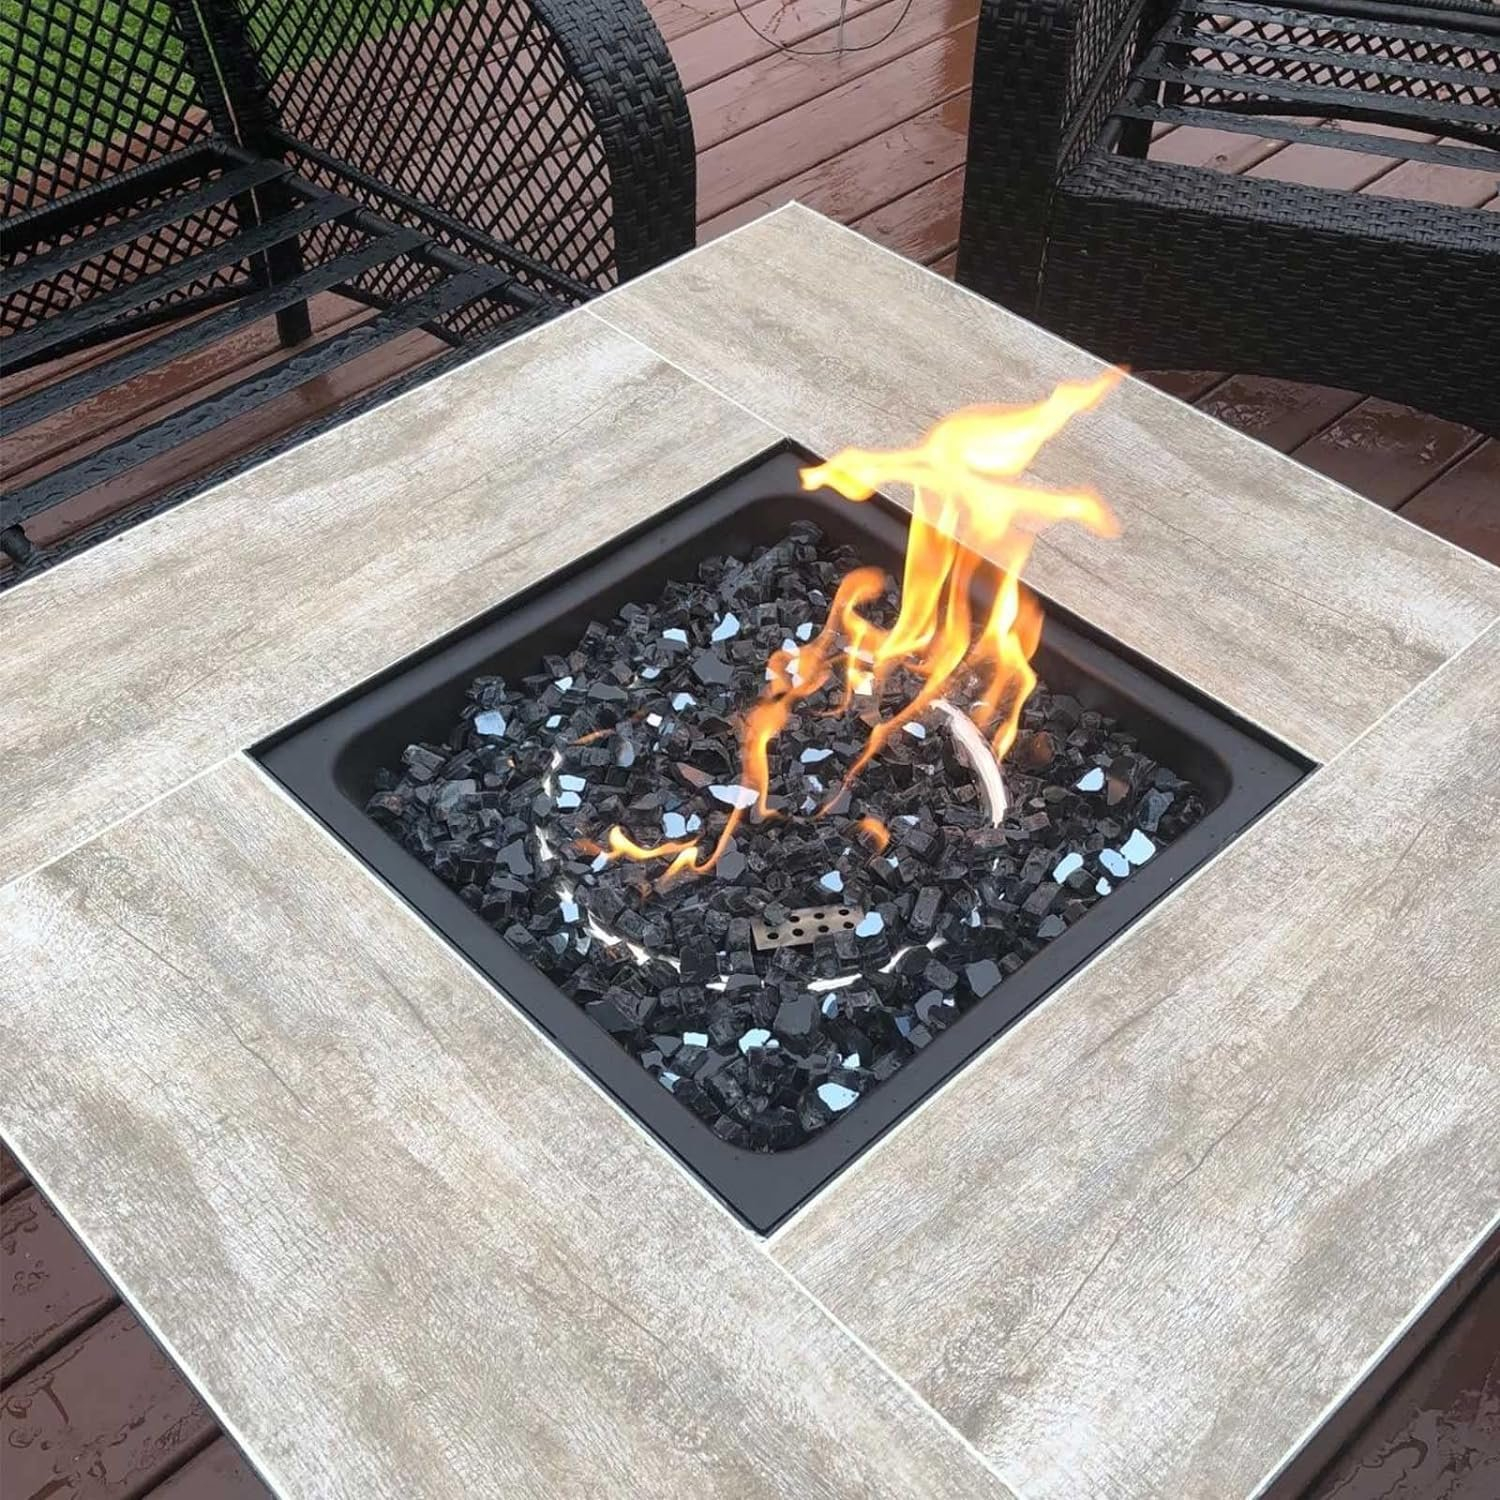
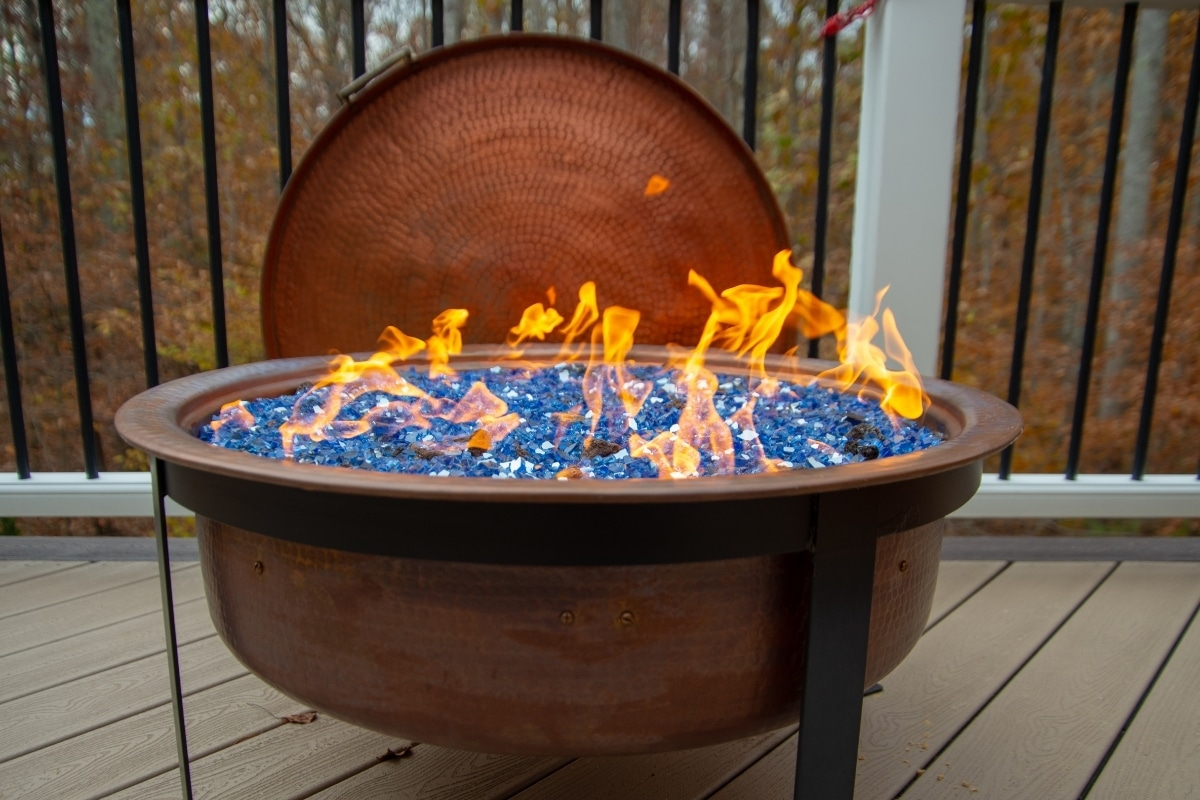
Color choice seems subjective, but it’s not just about what matches your patio furniture. The color of the glass changes dramatically when it’s lit. Clear or white glass reflects the light of the flame, making the fire appear brighter and larger. It’s a great choice if you want maximum visibility and a crisp, modern look. Dark colors like black or midnight blue absorb light. They create a mysterious, deep glow, but they can make the flame look smaller or dimmer.
Consider your environment too. If your fire pit is in a shady corner or you plan to use it mostly at night, lighter colors might help illuminate the space better. On the other hand, if you have bright overhead lighting or lots of ambient light from the house, darker glass can provide a nice contrast. Also, think about maintenance. Lighter glass shows soot and ash more easily. If you live in a windy area or use wood occasionally (though you shouldn’t mix them directly), white glass might look dirty faster than amber or bronze tones.
Don’t forget the surrounding hardscape. If you have red brick pavers, cool-toned blues might clash. Warm tones like gold, amber, or copper often blend better with natural stone and earth tones. Take a sample home if you can. Look at it in daylight and under artificial light. See how it looks against your existing decor. It’s a small step that prevents buyer’s remorse later.
Neglecting Proper Base Layers
You can’t just pour glass onto a metal pan and call it a day. Well, you can, but it won’t last. Most professional installations use a base layer. This is usually made of lava rock or ceramic fiber logs. Why? Two reasons. First, it saves money. Lava rock is significantly cheaper than fire glass. By filling the bottom half of the pan with lava rock, you reduce the amount of expensive glass you need. Second, it helps with drainage and airflow.
Lava rock is porous. It allows any moisture or condensation to drain away, preventing rust on the burner pan. It also creates a stable foundation for the glass. Without it, the glass can shift around, potentially exposing the burner ports or falling into the gas lines. Always ensure the base material is clean and dry before adding the glass. If you’re retrofitting an old pit, clean out any old ash or debris first.
Some people skip the base layer to save time. Don’t. It’s a false economy. The initial cost of lava rock is low, and it extends the life of your setup. Plus, if you ever decide to change the look, you can just swap out the top layer of glass without digging through the entire pit. It’s a simple upgrade that pays off in longevity and ease of maintenance.
Forgetting About Safety Clearances
Fire glass gets hot. Really hot. While it’s tempered to handle the heat, the surface temperature can still cause burns or damage nearby materials. One common mistake is placing flammable items too close to the pit. This includes wooden decks, overhanging branches, or even certain types of outdoor furniture. Always check the clearance requirements for your specific fire pit model. These are usually listed in the manual.
Also, consider the glass itself. Sharp edges can be a hazard, especially if kids or pets are around. While most fire glass is tumbled to smooth the edges, some cheaper brands might not be as thorough. Inspect your glass before pouring it in. If it feels jagged, rinse it or consider a different brand. And never let anyone touch the glass while the fire is on or shortly after it’s been turned off. It retains heat for a long time.
Another safety aspect is ventilation. If you’re installing fire glass in an enclosed fireplace or a covered patio, ensure there’s adequate airflow. Carbon monoxide is a silent killer. Gas fires produce it. Make sure your space is well-ventilated. Install carbon monoxide detectors nearby. It’s not just about aesthetics; it’s about keeping your family safe. Don’t let the beauty of the glass distract you from the basics of fire safety.
Fire glass is low maintenance, not no maintenance. Dust, pollen, spider webs, and rain residue can accumulate on the beads. Over time, this buildup can affect the flame quality and the look of the pit. Many people install it and forget it until it looks grimy. Then they wonder why their fire doesn’t look like the pictures anymore.
Regular cleaning is key. Once or twice a season, remove the glass and rinse it with water. You can use a mild soap if needed, but avoid harsh chemicals. Let it dry completely before putting it back. Check the burner ports for clogs while the glass is out. Use a soft brush or compressed air to clear any debris. This simple routine keeps your fire burning bright and clean.
Also, inspect the glass for cracks or discoloration. If you see pieces that are turning black or crumbling, replace them. Damaged glass can indicate a problem with the burner or fuel mixture. Addressing it early prevents bigger issues down the road. Think of it like changing the oil in your car. It’s a small effort that keeps everything running smoothly. A little care goes a long way in preserving the sparkle and safety of your fire feature.
So, there you have it. Designing with fire glass beads is rewarding, but it requires attention to detail. From choosing the right fuel compatibility to maintaining proper clearances, each step matters. Avoid these common pitfalls, and you’ll enjoy a stunning, safe, and efficient fire feature for years to come. It’s not just about the glow; it’s about the peace of mind that comes with doing it right. Now, go light that fire and enjoy the warmth.
[sps_html tag=”img” src=”https://cdn.northcarolinafinearchitecture.com/2026/06/choosing-the-right-fire-pit-rocks-for-your-outdoor-space-realicozy-pertaining-to-outdoor-fire-glass-design.jpg” alt=”Choosing The Right Fire Pit Rocks For Your Outdoor Space | Realicozy pertaining to Outdoor Fire Glass Design” style=”width: 100%; height: auto;”]
[sps_html tag=”img” src=”https://cdn.northcarolinafinearchitecture.com/2026/06/how-to-choose-the-best-custom-fire-pit-for-your-outdoor-spaceblog-hub-with-regard-to-how-to-choose-the-right-fire-glass-size-for-your-outdoor-pit-in-2026.png” alt=”How To Choose The Best Custom Fire Pit For Your Outdoor Spaceblog Hub with regard to How to Choose the Right Fire Glass Size for Your Outdoor Pit in 2026″ style=”width: 100%; height: auto;”]
[sps_html tag=”img” src=”https://cdn.northcarolinafinearchitecture.com/2026/06/2026-fire-pit-size-guide-how-to-choose-the-right-size-in-outdoor-fire-glass-design.webp” alt=”2026 Fire Pit Size Guide – How To Choose The Right Size in Outdoor Fire Glass Design” style=”width: 100%; height: auto;”]
[sps_html tag=”img” src=”https://cdn.northcarolinafinearchitecture.com/2026/06/what-is-the-best-fire-pit-glass-to-use-at-mickey-munos-blog-with-how-to-choose-the-right-fire-glass-size-for-your-outdoor-pit-in-2026.jpg” alt=”What Is The Best Fire Pit Glass To Use At Mickey Munos Blog with How to Choose the Right Fire Glass Size for Your Outdoor Pit in 2026″ style=”width: 100%; height: auto;”]
[sps_html tag=”img” src=”https://cdn.northcarolinafinearchitecture.com/2026/06/how-do-i-choose-an-outdoor-fire-pit-table-buying-guide-for-outdoor-fire-glass-design.webp” alt=”How Do I Choose An Outdoor Fire Pit Table? Buying Guide for Outdoor Fire Glass Design” style=”width: 100%; height: auto;”]