The scent of roasting garlic fills the air, but the home cook is trapped in a frustrating dance. Every pivot requires dodging an open dishwasher door, every reach for a mixing bowl demands an awkward stretch across a narrow walkway, and the continuous counter space feels fragmented by poor appliance placement. For decades, home cooks have wrestled with layouts that look stunning on Pinterest but fail miserably under the pressure of a Tuesday night dinner rush.
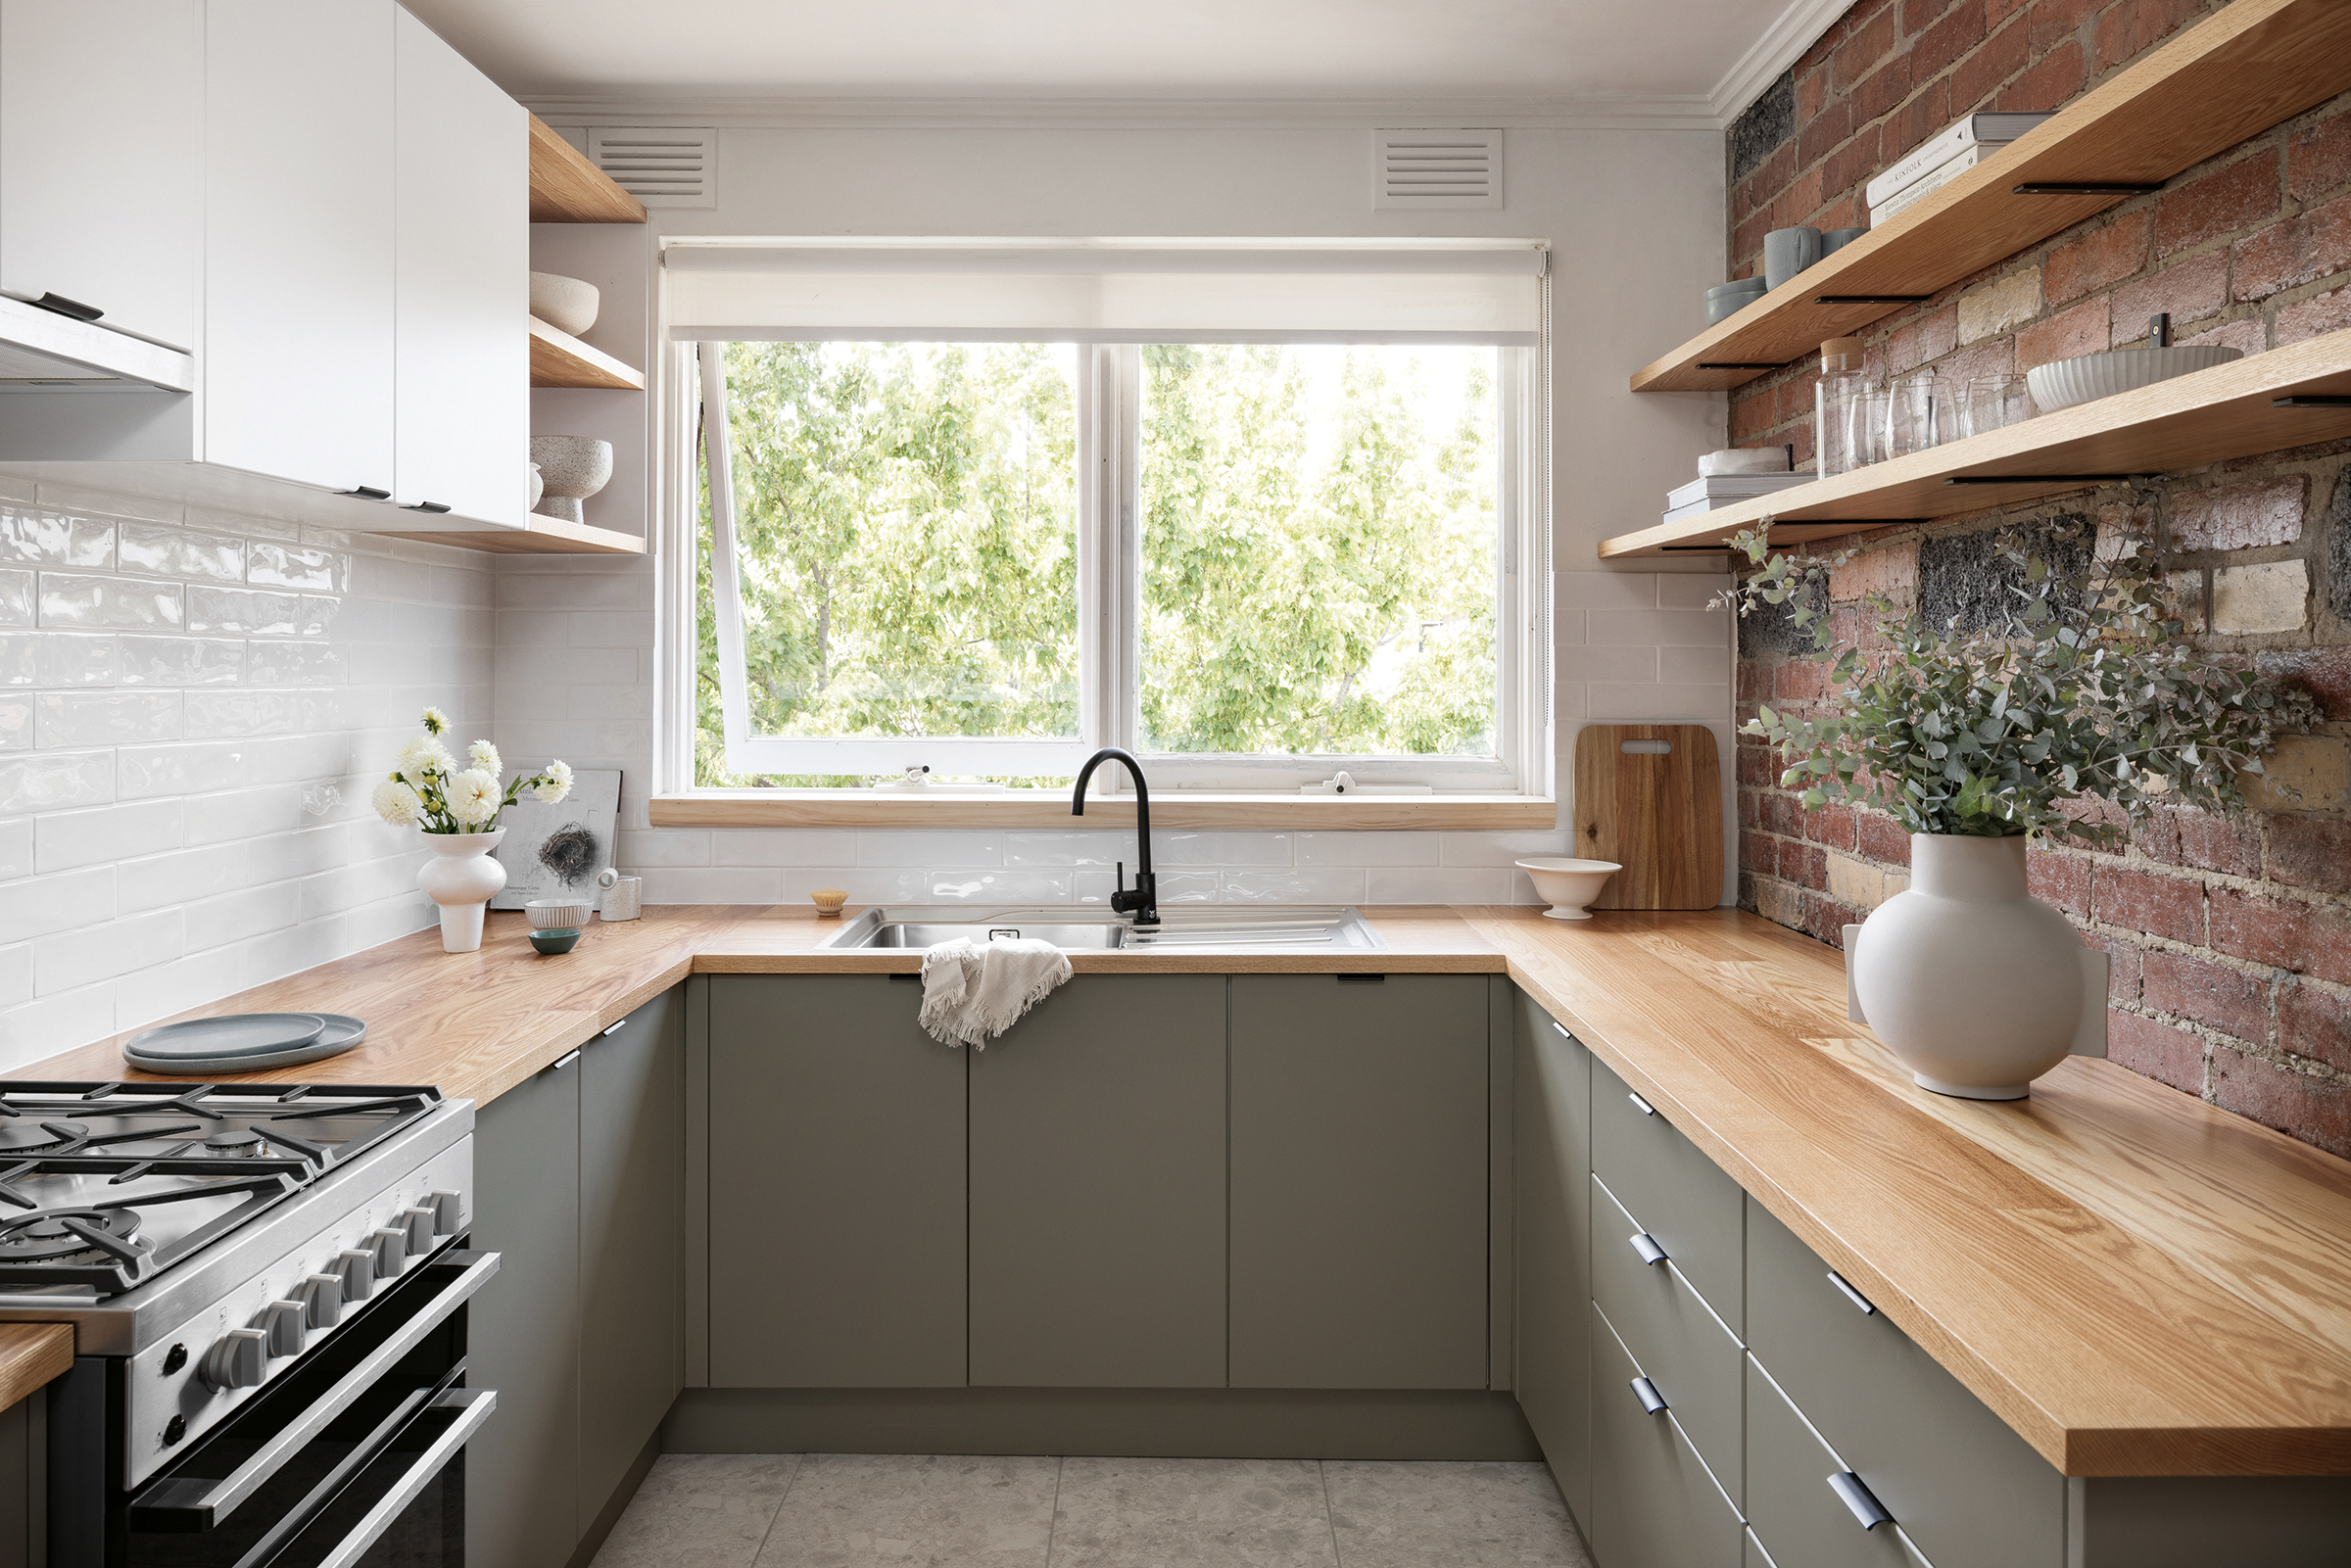
Enter the horseshoe layout—the ultimate spatial multitasker of residential interior architecture. When engineered correctly, a U-shaped kitchen wraps three contiguous walls in continuous cabinetry, countertops, and appliances, creating a high-performance cooking envelope. It eliminates wasted footsteps and surrounds the cook with an ergonomic perimeter where everything sits within an arm’s reach. Yet, achieving this effortless culinary rhythm requires mastering precise spatial dimensions, navigating the notorious trap of dead corners, and balancing storage capacity with breathing room.
The historical evolution of kitchen architecture tells a fascinating story of efficiency. Back in the early twentieth century, efficiency experts studied factory assembly lines to design domestic spaces that minimized physical fatigue. The breakthrough was the kitchen work triangle—the imaginary lines connecting the refrigerator, sink, and stove. The horseshoe footprint emerged as the natural champion of this geometry. By enclosing the worker on three sides, it naturally compresses the work triangle into a tight, highly efficient zone.
Fast forward to today, and the kitchen remains the emotional heartbeat of the home, doubling as an entertainment hub, a homework station, and a coffee bar. Designing a horseshoe layout requires a sophisticated understanding of contemporary human behavior. People no longer cook in isolation. Even as open-concept living trends reshape interior walls, the three-sided perimeter remains unmatched for raw utility. The challenge lies in scaling this classic blueprint to fit specific architectural footprints, whether working within a compact 9×9 urban apartment or a sprawling 15×20 suburban estate.
Decoding the Anatomy of the Horseshoe Layout and Core Dimensions
A successful horseshoe kitchen depends entirely on the clearance between opposing walls. If the aisle width is too narrow, multiple household members will collide. If it is too wide, the fundamental advantage of the layout—having everything within arm’s reach—disappears, transforming the space into an exhausting running track. The sweet spot for a single-cook layout rests at a minimum of four feet of aisle space, while dual-cook households demand five to six feet to ensure dishwasher doors and oven pull-outs can operate simultaneously without blocking traffic.
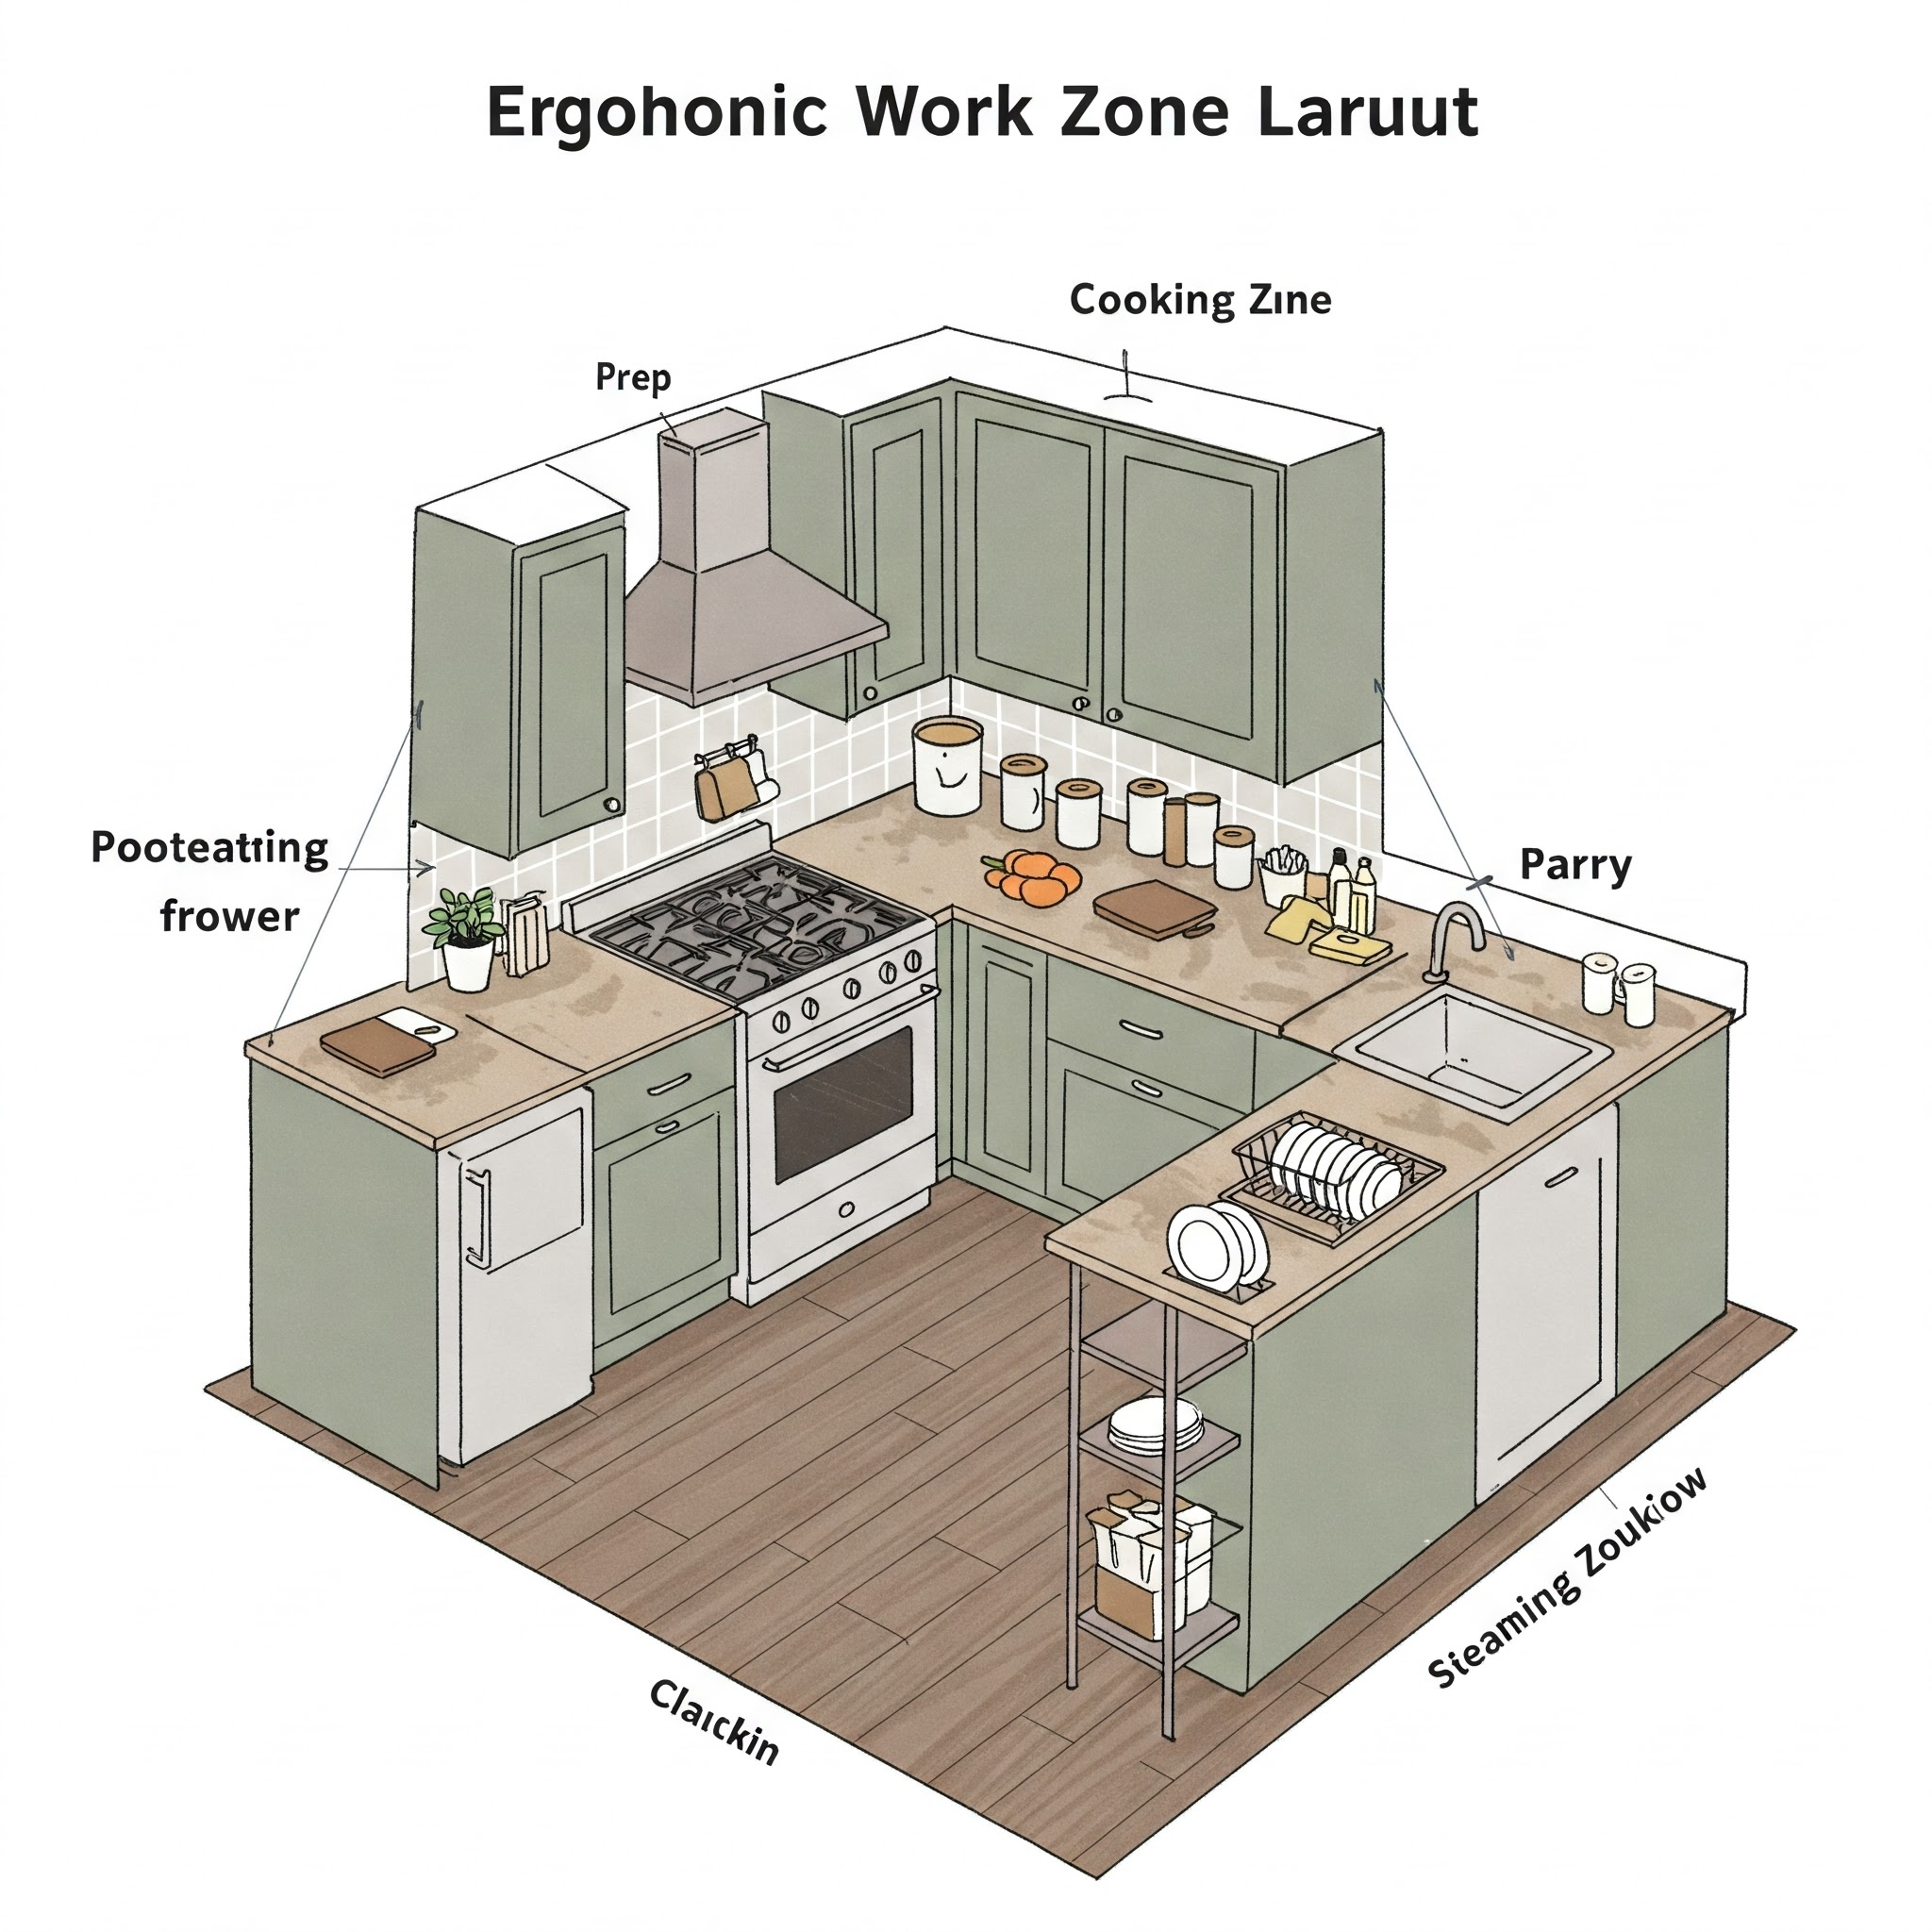
The perimeter walls must be carefully allocated among the primary kitchen zones: food storage, preparation, cooking, and cleanup. The classic configuration places the refrigerator on one leg, the range or cooktop on the opposing leg, and the sink dead-center on the back wall beneath a window. This geometry preserves a clean, symmetrical work triangle where the sum of all three legs measures between 13 and 26 feet. Anything shorter creates a cramped workspace; anything longer exhausts the home cook with unnecessary transit time between the stove and the sink.
Countertop continuity is the defining luxury of this design. Unlike single-wall or galley layouts that force compromises on prep space, the horseshoe layout provides continuous run surfaces that can handle everything from pastry rolling to small appliance stations. The depth of standard base cabinets sits at 24 inches, leaving the interior aisle dimension as the critical variable. When planning custom cabinetry, professional designers account for hardware projection, toe kicks, and appliance swing clearances to ensure the physical installation matches the blueprint.
Natural lighting and ventilation also dictate the placement of core elements. Placing the sink on the base of the "U" under a window provides natural task lighting and a pleasant view during cleanup duties. However, this requires careful coordination with plumbing stack locations and window sill heights, which must clear the top of the faucet assembly. Meanwhile, the cooktop needs a direct line to an exterior-venting range hood, which influences whether the stove goes on a side wall or the central focal wall.
Comprehensive Floor Plan Variations for Compact and Expansive Footprints
Every architectural footprint dictates a unique spatial response, and the horseshoe layout adapts remarkably well across various square footages. For tight urban footprints measuring around 9×9 feet, the compact horseshoe layout demands careful vertical storage and panel-integrated appliances to prevent visual claustrophobia. In these micro-spaces, eliminating upper cabinets on one wall in favor of open shelving keeps the room feeling airy while preserving the functional three-sided counter space.
Mid-sized spaces, ranging from 10×12 to 12×14 feet, represent the golden mean of kitchen architecture. These dimensions allow for full-sized professional appliances without overcrowding the aisles. A popular variation in this tier is the peninsula-ended horseshoe, where one of the side walls terminates in an open breakfast bar that faces an adjacent dining or living room. This bridges the gap between traditional enclosed cooking spaces and modern open-concept floor plans, allowing the cook to interact with guests while maintaining the protective barrier of the counter perimeter.
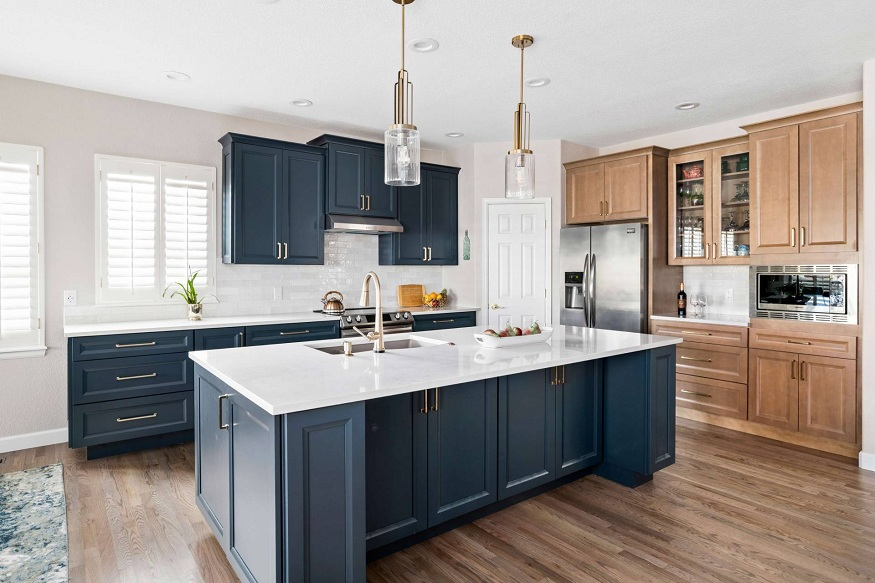
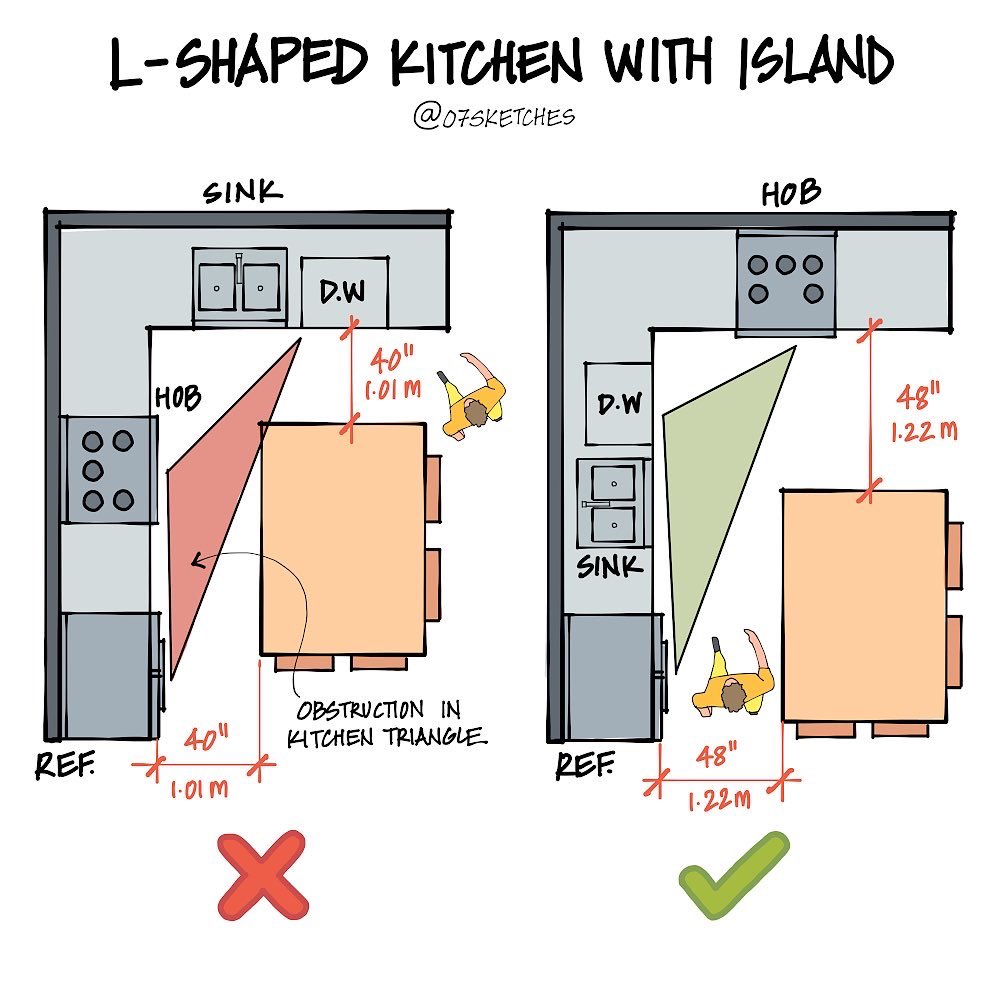
For expansive spaces exceeding 15×20 feet, the primary risk of a horseshoe layout is the "bowling alley" effect, where the distance between opposing counters becomes too vast. To combat this, master designers often introduce a freestanding prep island right in the center of the "U." This requires an absolute minimum aisle width of 42 to 48 inches on all four sides of the island. The central island becomes the staging ground for serving plates and casual seating, while the perimeter handles the heavy-duty cooking and cleanup operations.
Open-concept adaptations require structural foresight, particularly regarding load-bearing walls. Removing one side of the "U" to create a pass-through or a waterfall-edge peninsula transforms the layout into a hybrid U-and-L configuration. This structural maneuver floods the kitchen with natural light from adjacent living areas while maintaining the concentrated workflow zones that make the horseshoe footprint so deeply satisfying for dedicated home cooks.
Step-by-Step Methodology for Designing and Executing Your Layout
Transforming architectural ideas into a physical kitchen requires a disciplined, sequential approach that prioritizes utility before aesthetics. Skipping steps in the planning phase inevitably leads to costly field modifications and misaligned cabinetry during installation.
- Step 1 (Spatial Audit & As-Built Measurement): Laser-measure the exact dimensions of the room at three different heights—floor, mid-wall, and ceiling—noting out-of-square corners, radiator placements, and structural column locations before drafting any plans.
- Step 2 (Appliance Selection & Specification Sourcing): Finalize the exact make, model, and dimensions of your refrigerator, range, dishwasher, and ventilation hood early, as appliance spec sheets dictate rough-in locations for electrical, gas, and plumbing lines.
- Step 3 (Work Triangle and Traffic Flow Mapping): Plot the positions of the sink, fridge, and stove to ensure the triangular path remains uninterrupted by high-traffic entryways or doors swinging into the work zone.
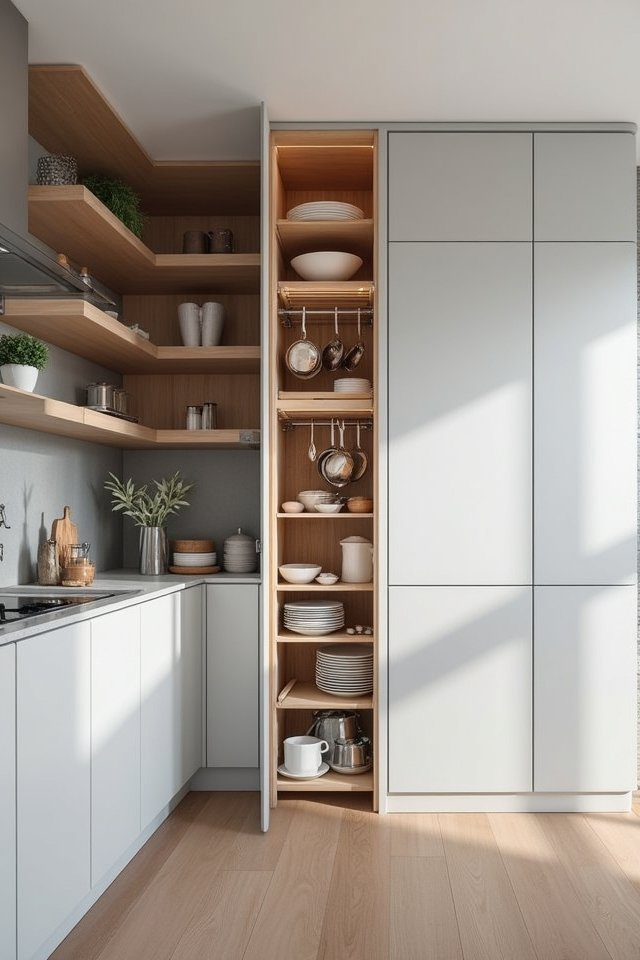
- Step 4 (Corner Cabinetry Engineering): Select specialized hardware solutions for the two blind corner junctions—such as magic corners, pull-out kidney shelves, or deep lazy Susans—before ordering cabinetry boxes to prevent inaccessible dead space.
- Step 5 (Lighting Layering and Electrical Rough-In): Design a comprehensive lighting plan incorporating under-cabinet LED task strips, recessed ambient ceiling cans, and statement pendants over any peninsula extensions to ensure zero shadowed workspaces.
Execution precision relies heavily on communicating these mapped parameters clearly to general contractors, cabinetmakers, and trade specialists. Every electrical drop for under-cabinet lighting must align with the exact underside profile of the upper wall units, and gas lines must be sleeved and tested to meet local residential building codes before drywall goes up.
Navigating Common Architectural Pitfalls and Field-Tested Workarounds
Even seasoned designers occasionally stumble into classic spatial traps when configuring a three-sided kitchen. Anticipating these missteps saves thousands of dollars in retrofitting costs and prevents lifelong ergonomic frustration.
- Pitfall 1 (The Corner Collision Trap): Placing a dishwasher or a pull-out trash bin directly adjacent to a corner dead-zone prevents adjacent cabinet doors or drawers from opening simultaneously. Workaround: Always insert a 3-to-6-inch filler strip or a tray base cabinet between a corner junction and an active appliance opening to clear adjacent hardware pulls.
- Pitfall 2 (The Aisle Gridlock Phenomenon): Designing an aisle narrower than 48 inches in a multi-cook household creates constant physical friction during meal preparation. Workaround: Push one leg of the "U" outward into an adjacent dining nook or mudroom space, or scale down standard 24-inch base cabinets to 21-inch depths on one side to reclaim precious floor clearance.
- Pitfall 3 (Sacrificing Ventilation for Aesthetic Symmetry): Centering a dramatic, oversized statement hood on a feature wall without verifying exterior duct run lengths or makeup air requirements. Workaround: Map out ducting paths through soffits or floor joists prior to finalizing hood CFM ratings, ensuring proper air exchange without violating local building codes.
- Pitfall 4 (The Dark Cave Effect): Overloading all three walls with heavy upper cabinetry and dark wood finishes, choking off natural light penetration. Workaround: Replace upper cabinets on the window wall with floating oak shelves, or use seeded glass cabinet door inserts to bounce light around the perimeter.
- Pitfall 5 (Inadequate Landing Zones): Positioning appliances without adjacent counter space—such as a refrigerator squeezed directly against a tall pantry wall or a wall corner. Workaround: Ensure a minimum of 15 inches of clear countertop landing space on the handle side of every refrigerator and microwave to safely set down hot dishes or grocery bags.
Addressing these structural vulnerabilities during the blueprint phase ensures that the final built environment functions as smoothly as it photographs.
Holistic Perspectives on Longevity, Materiality, and Sustainable Design
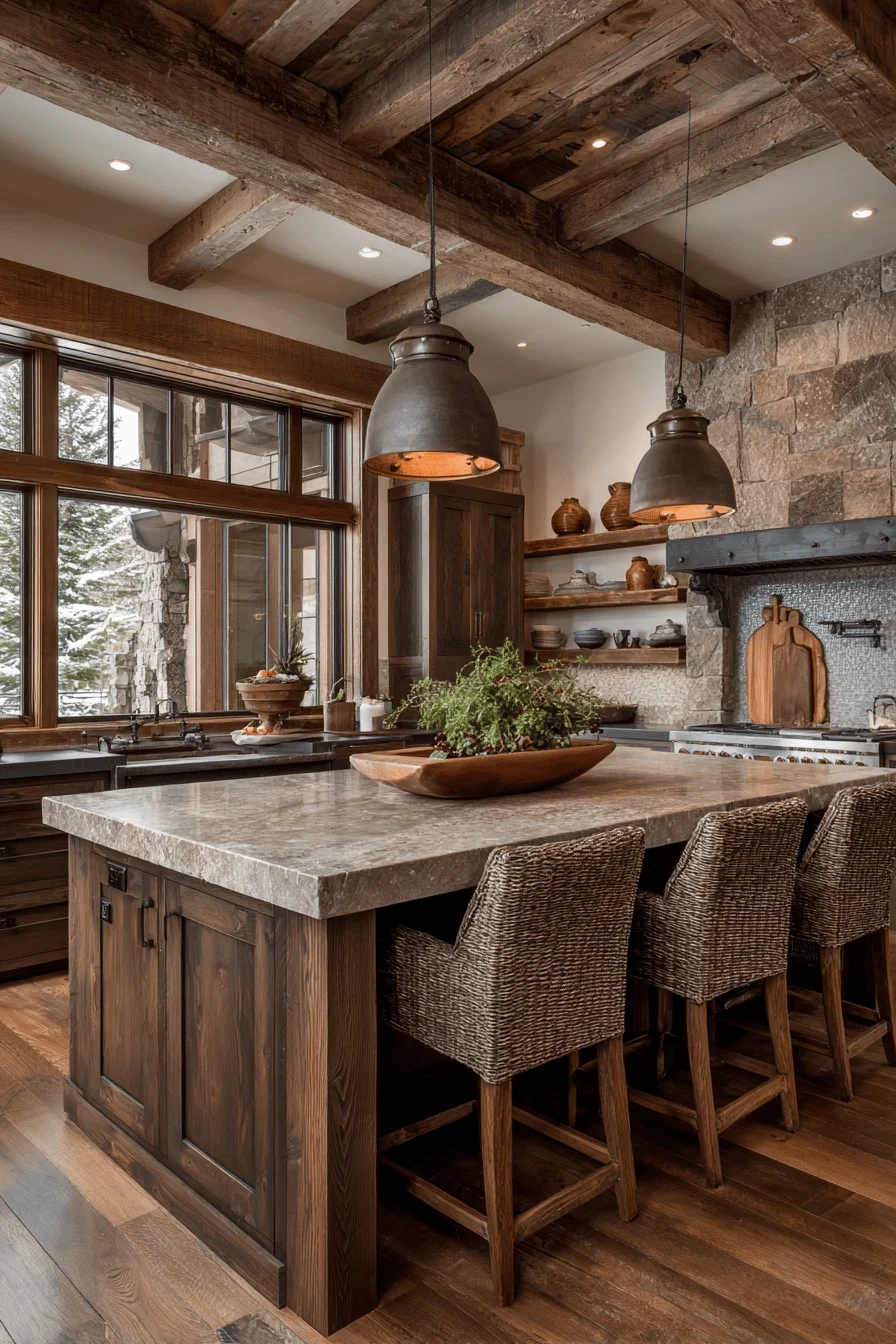
A truly great kitchen must endure decades of heavy physical use, cultural shifts in home entertaining, and changing interior design aesthetics. Achieving this longevity requires selecting materials that possess genuine patina potential rather than relying on fleeting micro-trends. Natural stone countertops—such as honed soapstone, quartzite, or unsealed marbles—wear gracefully, developing a rich history of use that manufactured composites cannot replicate. Similarly, quarter-sawn white oak and walnut cabinetry finished with durable conversion varnishes stand up to the high-humidity, high-heat environment of active cooking zones.
Sustainability in contemporary kitchen design extends beyond material sourcing to include energy efficiency and waste management integration. Modern layouts routinely incorporate discrete multi-bin recycling and organic composting stations built directly into pull-out base cabinets beneath primary prep zones. Furthermore, specifying induction cooktops rather than traditional gas burners improves indoor air quality by eliminating combustion pollutants, while offering rapid thermal response times that professional chefs demand.
Universal design principles also deserve a prominent place in the planning phase. Even if the current occupants are fully mobile, designing a horseshoe kitchen with considerations for future accessibility—such as multi-height countertops, wider floor clearances, drawer-style dishwashers that eliminate bending, and lever-action faucets—future-proofs the home. This forward-thinking approach protects property values and ensures the space remains welcoming across generations.
Economic value calculation reveals that a well-designed kitchen consistently yields one of the highest returns on investment in residential real estate. Because the horseshoe layout maximizes usable surface area and storage density per square foot, it appeals powerfully to prospective buyers who prioritize practical functionality. Investing in robust cabinet box construction—such as 3/4-inch plywood sides and dovetail jointed solid hardwood drawer boxes—guarantees structural integrity that outlasts cheap particle board alternatives by decades.
Actionable Recommendations and Frameworks for Your Remodeling Journey
Navigating a kitchen renovation requires a clear mental framework to synthesize structural constraints, aesthetic preferences, and budgetary realities. To keep your project on track, anchor your decision-making process in these core principles.
- Prioritize Workflow Over Pure Aesthetics: Never sacrifice ergonomic efficiency for a symmetrical facade; if moving the sink three feet to the left creates a better workflow, prioritize function over visual balance.
- Invest in Quality Hardware: Allocate a healthy percentage of your budget toward heavy-duty drawer slides, soft-close hinges, and corner-swing mechanisms, as these mechanical components experience the highest wear and tear.
- Mock Up the Space Full Scale: Use cardboard boxes or painter’s tape on your subfloor to outline the exact perimeter and aisle clearances of your proposed horseshoe layout before cutting a single board.
- Consult a Certified Kitchen Designer (CKD): Partner with an experienced professional to review your plumbing, electrical, and structural load calculations, ensuring compliance with National Kitchen and Bath Association (NKBA) guidelines.
Adhering to these practical guidelines bridges the gap between wild inspiration and grounded architectural reality, resulting in a space that feels entirely tailored to your daily life.
Designing a U-shaped kitchen is ultimately an exercise in choreography. When you align the heavy-duty appliances, continuous counter surfaces, and clever corner storage systems into a cohesive horseshoe perimeter, the room stops fighting your movements and begins supporting them. Cooking transforms from a series of frustrating micro-obstacles into a fluid, meditative craft.
As you step forward into your remodeling journey, remember that the most successful spaces are those that honor how you actually live, rather than how a magazine tells you you should live. Take the time to measure twice, vet your corner solutions meticulously, and prioritize durable materials that age with grace. Your dream kitchen is not merely a collection of high-end finishes; it is a finely tuned architectural instrument ready to serve your household for decades to come.