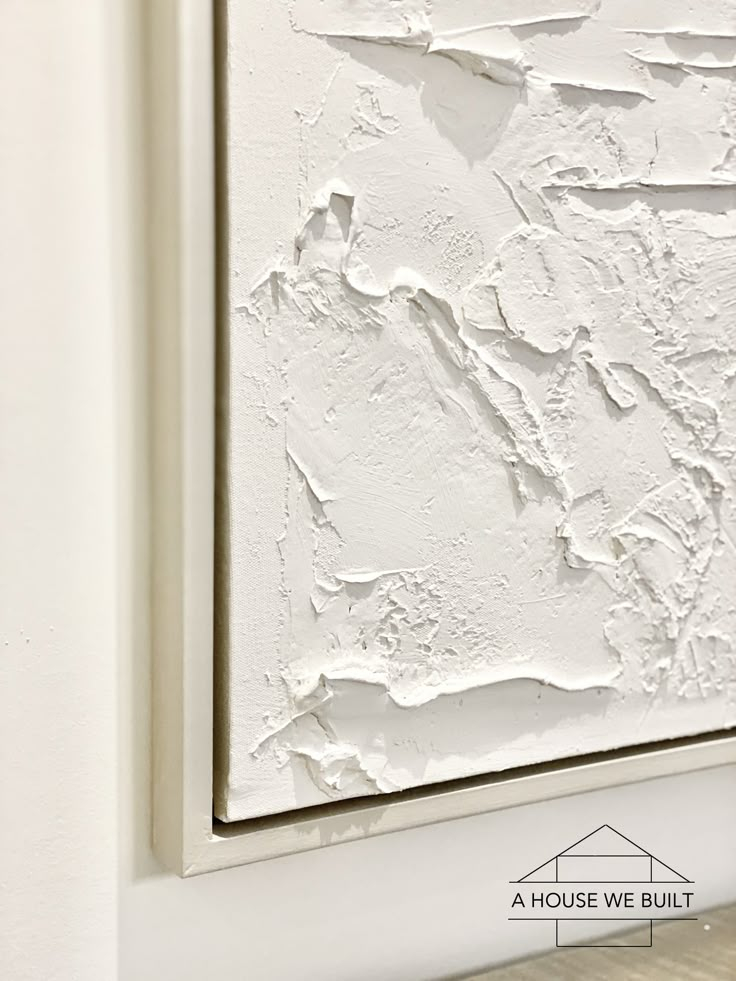
Remember when walls were just… walls? Flat, white, and forgettable. They were basically there to hold up the ceiling and provide a backdrop for your TV. But something shifted recently. Maybe it was the endless scrolling through social media feeds filled with organic, tactile spaces. Or maybe we just got tired of perfection. In 2026, the vibe is different. It’s raw. It’s real. And surprisingly, the hero of this design revolution isn’t some expensive imported marble or high-tech smart panel. It’s good old-fashioned drywall mud.
Yeah, you heard that right. That messy, white paste you usually try to avoid getting on your clothes during a renovation is now the star of the show. People are ditching the smooth, sterile look for something with soul. Something you can feel. This isn’t just about covering up mistakes anymore; it’s about intentional imperfection. It’s about turning a blank canvas into a landscape. If you’ve been staring at your living room feeling like it’s missing that special touch, you might already have the solution sitting in your garage.
Let’s be honest though. The idea of slapping mud on a wall can feel intimidating. What if it looks weird? What if it cracks? What if you ruin it? Those are valid fears. But here’s the secret: there is no "wrong" way to do this. The beauty of mud art lies in its chaos. It’s forgiving. It’s cheap. And it’s incredibly satisfying. By the end of this read, you won’t just understand why everyone is talking about textured walls; you’ll be ready to grab a trowel and make your own mark. Literally.
Why Flat Walls Are Out and Texture Is In
We spent decades obsessed with smoothness. Remember the early 2000s? Everything had to be sleek. Glossy. Perfectly flat. We treated our homes like Apple stores. But humans aren’t sleek. We’re textured. We have lines, scars, stories. Our homes are starting to reflect that again. In 2026, interior design has swung hard toward biophilic and wabi-sabi influences. We want spaces that feel grounded. Earthy. Connected to nature. And nothing says "earth" quite like the rough, uneven surface of hand-applied plaster or joint compound.
It’s not just an aesthetic choice, either. There’s a psychological component here. Psychologists and designers have been pointing out that textured environments reduce stress. They engage our sense of touch, which is often neglected in our digital-heavy lives. Running your hand over a ridged, swirling wall grounds you. It slows you down. Plus, let’s talk about acoustics for a second. Flat walls bounce sound around like a ping-pong ball. Textured walls? They break up sound waves. They soften the room. If you’ve ever wondered why your open-concept living area feels so echoey, texture might be the quiet fix you didn’t know you needed.
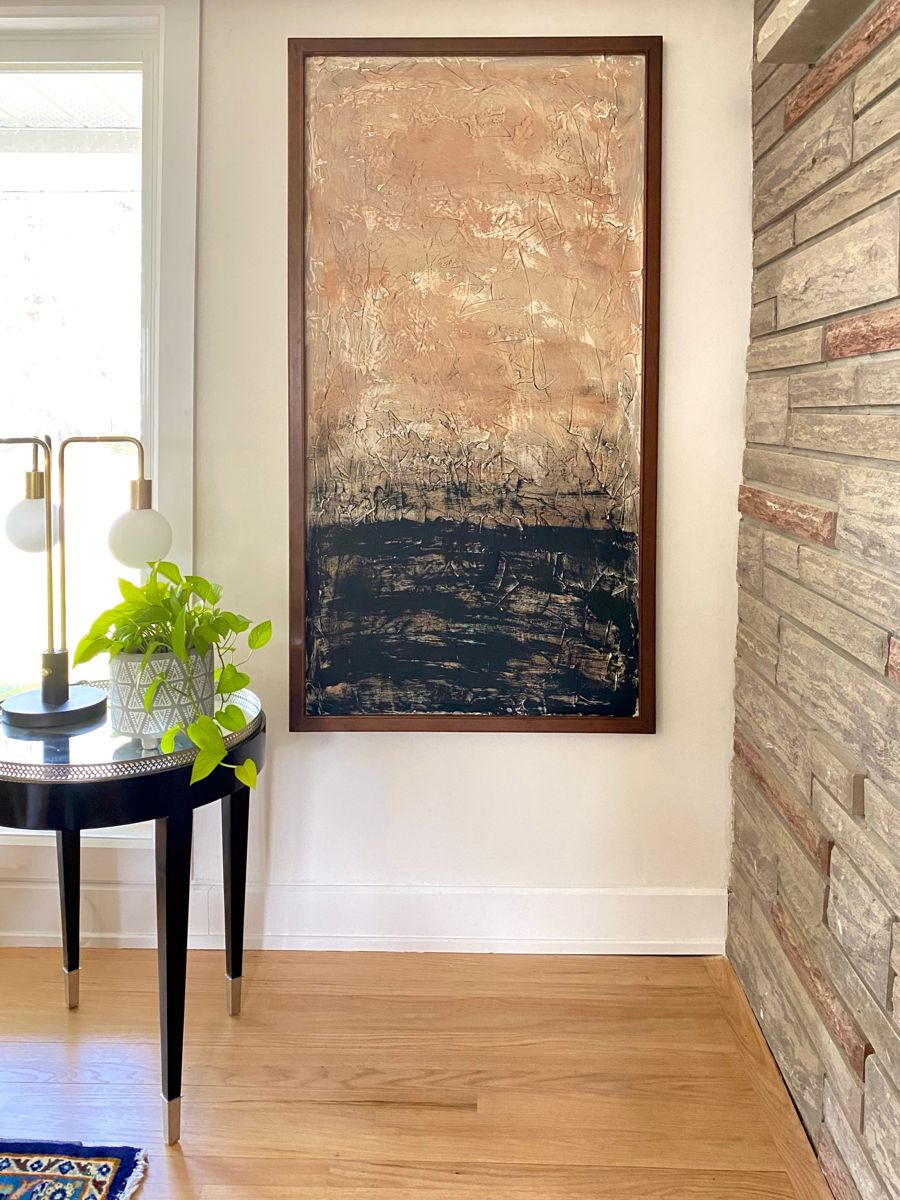
And then there’s the cost factor. Let’s keep it real. Renovating is expensive. Installing wood paneling, stone veneer, or custom millwork can drain your bank account faster than you can say "contractor delay." Drywall mud, on the other hand, is dirt cheap. You can buy a five-gallon bucket for less than the price of a decent dinner out. For renters, this is a game-changer too. Many of these techniques can be applied to heavy-duty canvases or removable panels, giving you that high-end look without losing your security deposit. It’s democratizing design. Making luxury accessible. And honestly? It’s about time.
Choosing Your Weapon: Types of Mud and Tools
Before you go digging into the bucket, you need to know what you’re working with. Not all mud is created equal. For texture work, you generally want "all-purpose" joint compound or "topping" compound. Avoid the "quick-set" or "hot mud" unless you’re a pro who works fast. That stuff sets in minutes, leaving you no time to play artist. All-purpose mud stays workable for a long time, which is exactly what you want when you’re experimenting. Some people even mix in fine sand or marble dust to give it more grit and body, creating a finish that feels more like traditional plaster than modern drywall repair.
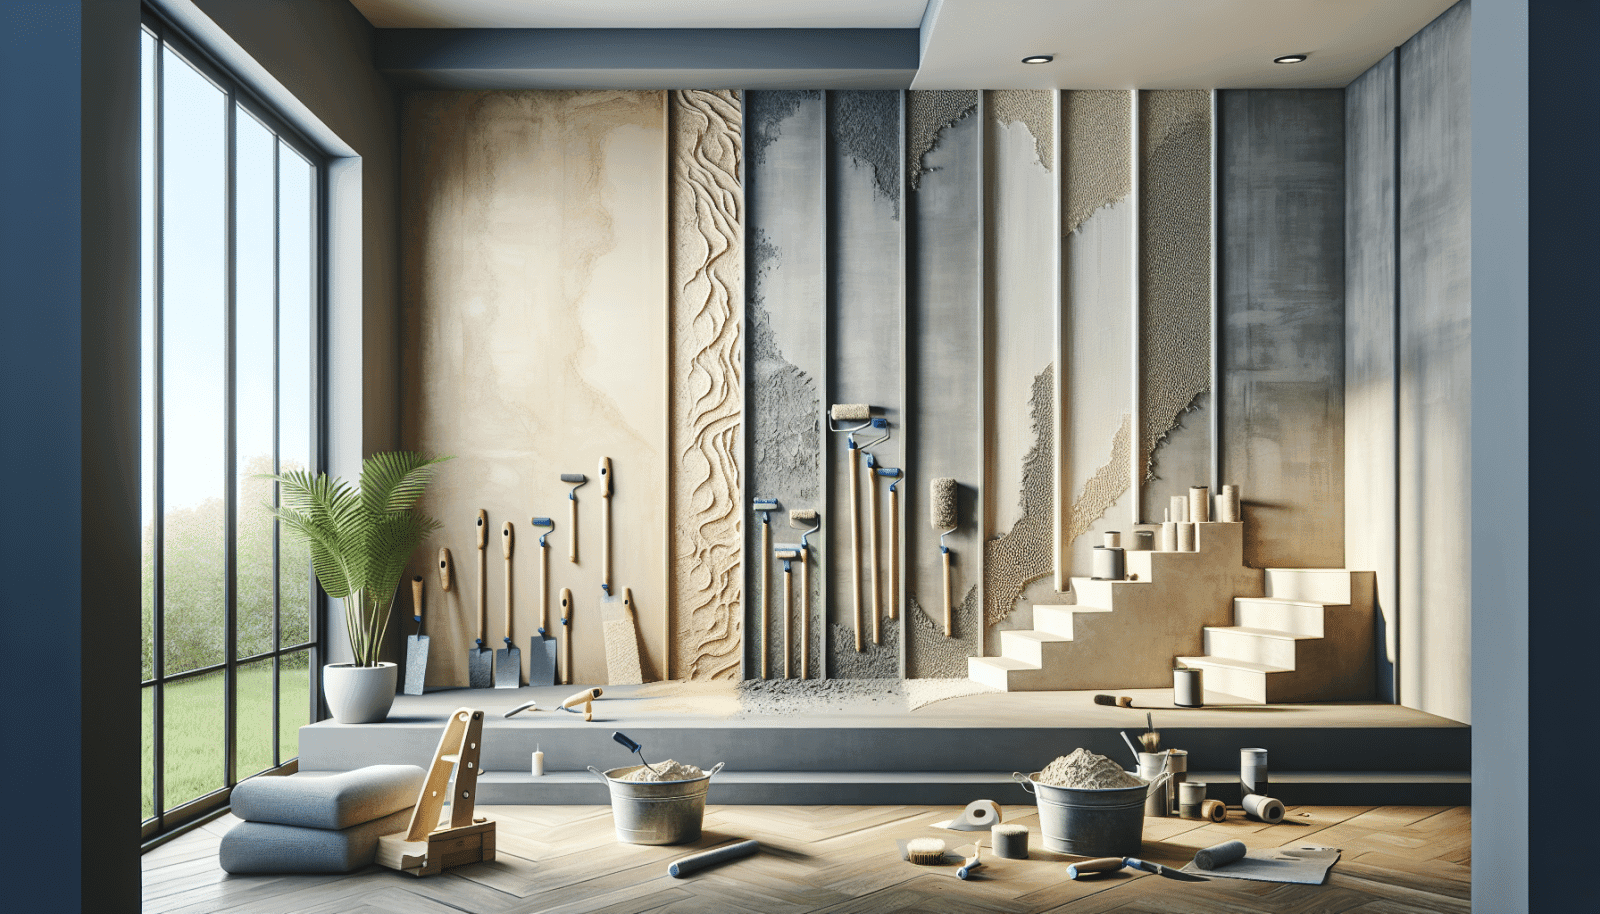
Now, let’s talk tools. You don’t need a truck full of expensive gear. In fact, some of the best textures come from things you’d find in your kitchen drawer. Sure, you’ll want a few basic items: a sturdy putty knife (a 6-inch and a 12-inch are great starts), a hawk (the square plate you hold the mud on), and maybe a wide trowel for larger sweeps. But don’t sleep on the unconventional stuff. Old credit cards, combs, sponges, crumpled plastic bags, and even branches from your yard can create incredible patterns. The key is variety. Having a few different tools lets you layer textures, adding depth that a single tool just can’t achieve.
Prep is also part of the toolkit, even if it’s not a physical object. You can’t just slap mud on dirty or glossy paint. It won’t stick. You need to clean the wall thoroughly and likely sand it down to give the mud some tooth. If you’re working on raw drywall, make sure it’s primed. A good primer seals the surface and ensures the mud dries evenly. Skipping this step is the number one reason DIY textures fail or peel off later. Take your time here. It’s boring, I know. But rushing prep is like building a house on sand. It might look okay for a minute, but it won’t last. Do it right, and your art will stay put for years.
Mastering the Swipe: Basic Techniques for Beginners
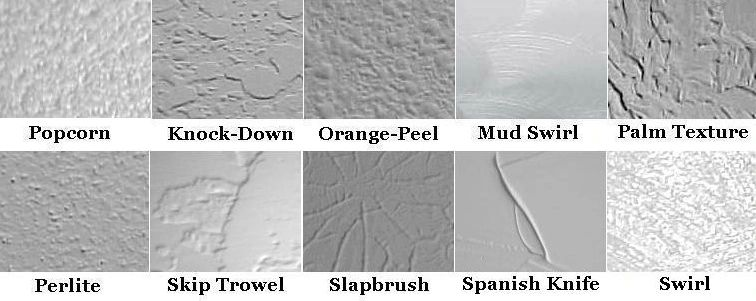
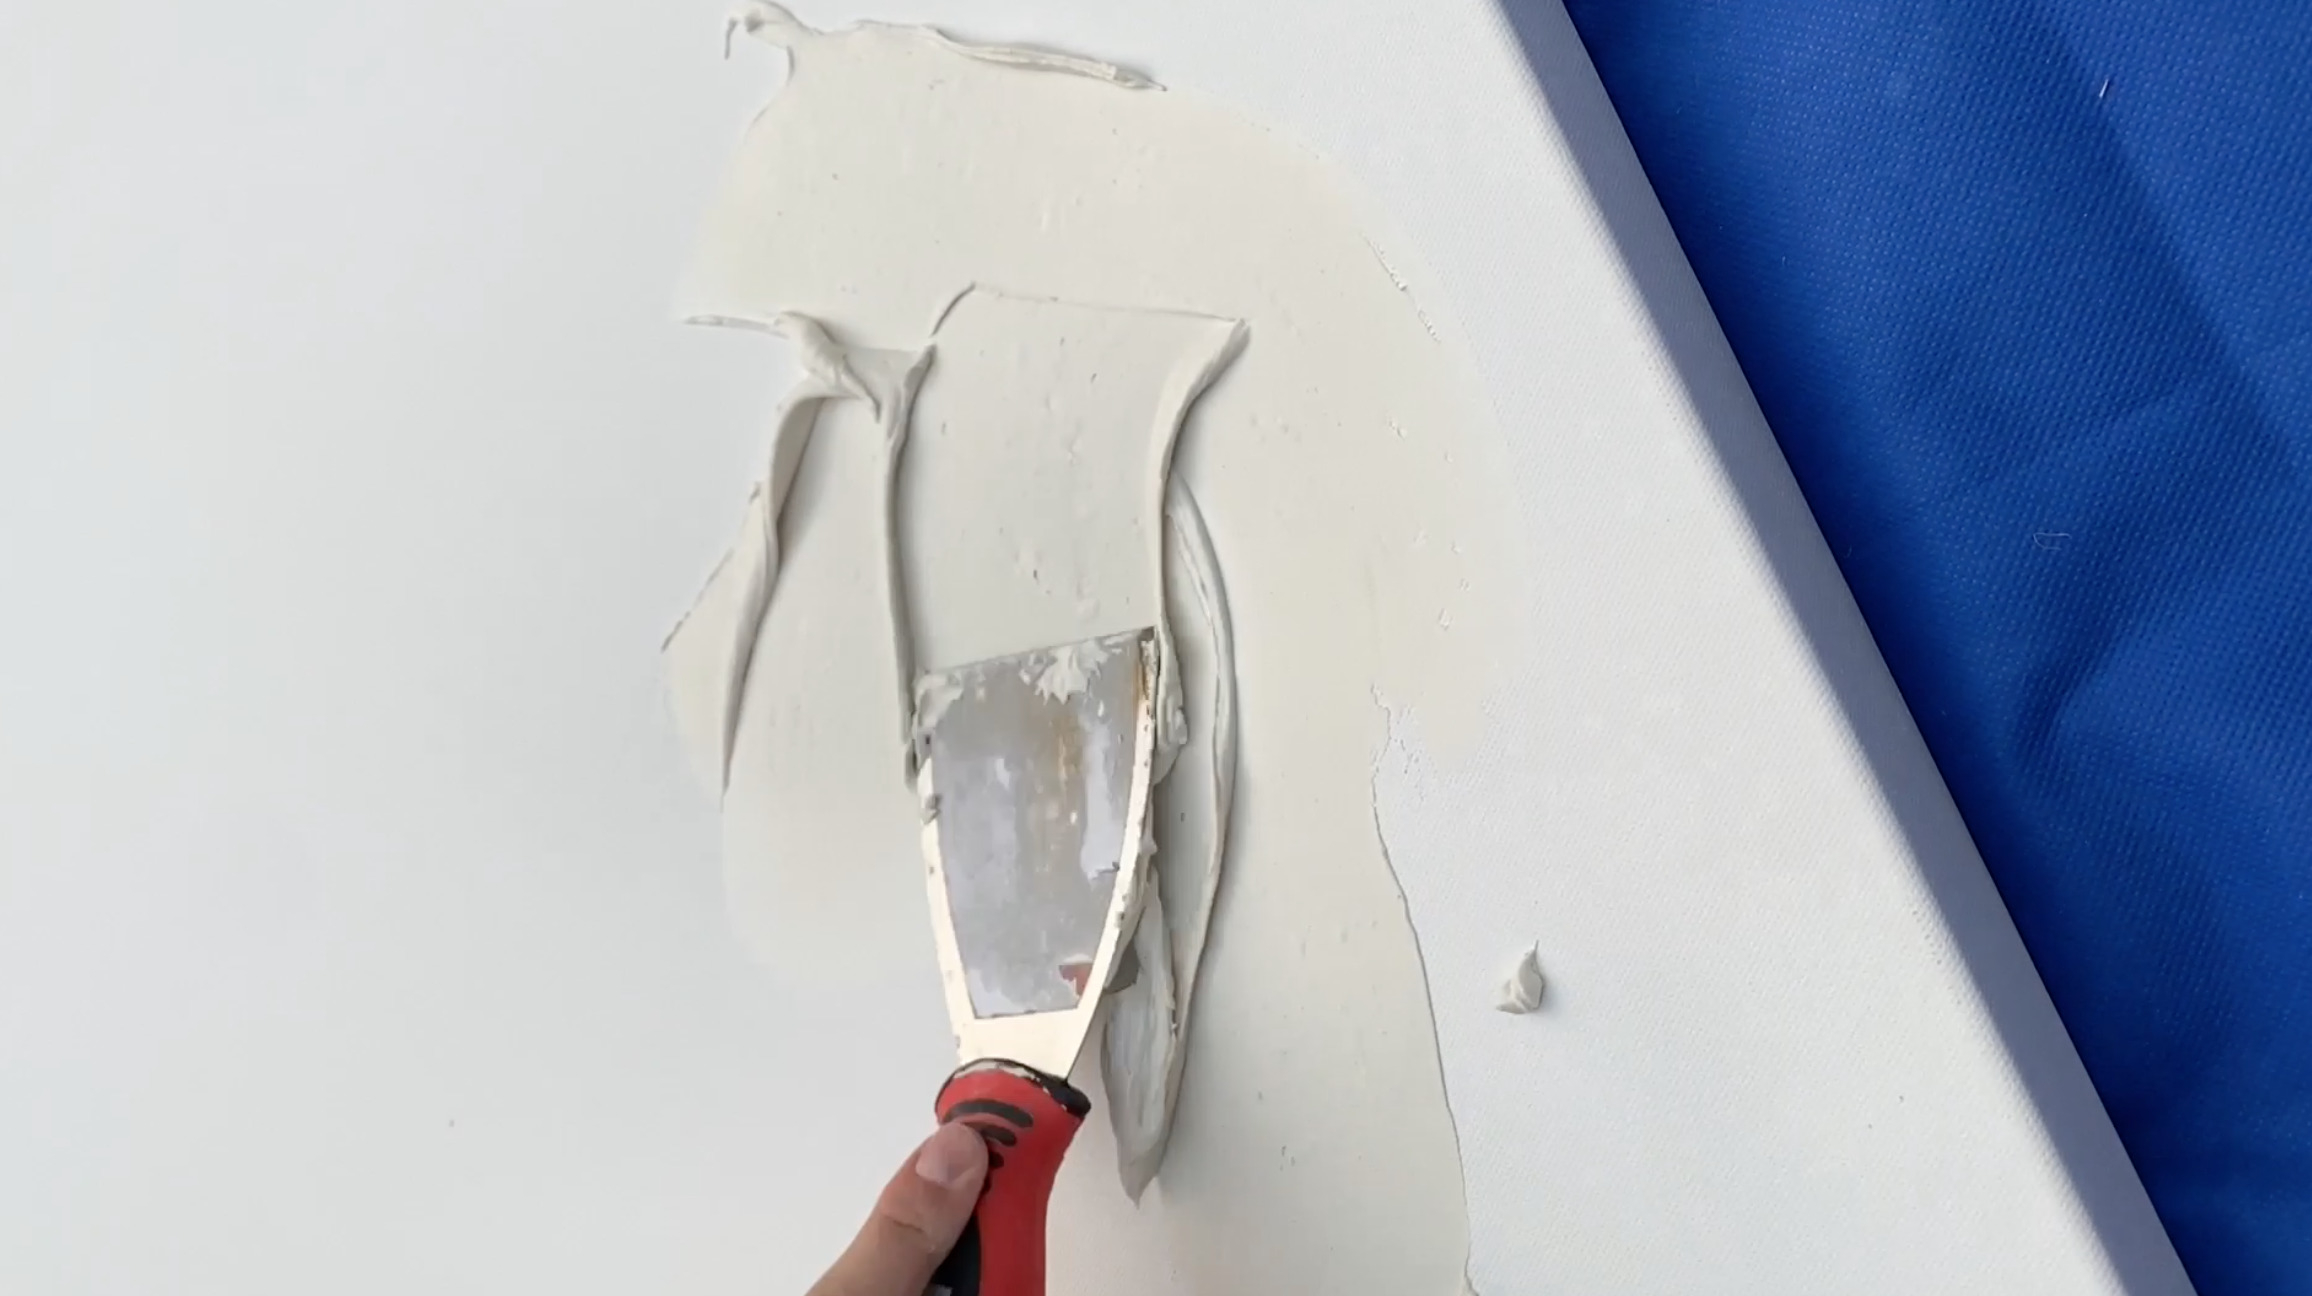
If you’re new to this, start simple. Don’t try to sculpt David on your bedroom wall day one. The "skip trowel" technique is the perfect entry point. It’s elegant, subtle, and hard to mess up. Here’s how it works: apply a thin layer of mud to the wall with your trowel. Then, instead of smoothing it flat, you lightly drag the trowel across the surface, skipping over some areas and pressing down on others. This creates a broken, cloudy effect that looks like aged plaster or limestone. It’s random, so there’s no pattern to match. Just keep moving, keep your wrist loose, and let the mud do its thing.
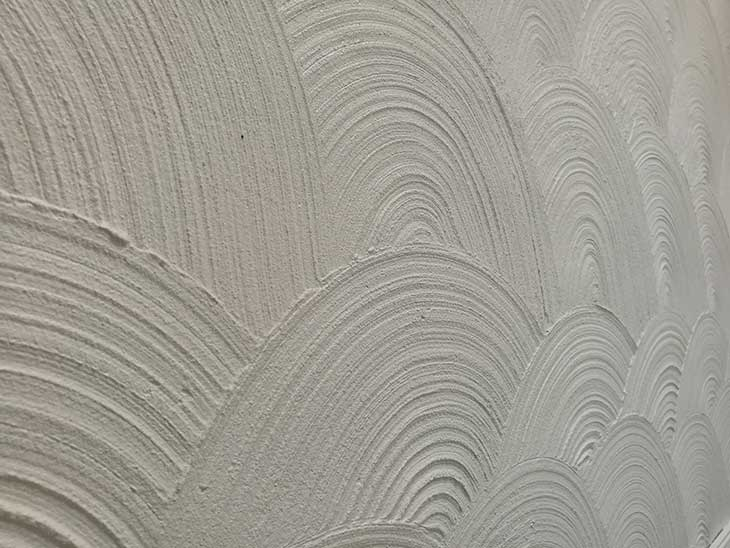
Another beginner-friendly favorite is the "comb texture." This one requires a bit more rhythm but yields striking results. After applying a consistent layer of mud, you take a notched trowel or even a large toothed comb and drag it through the wet compound. You can go vertical, horizontal, or in arcs. The depth of the grooves depends on how hard you press. Want a dramatic look? Press deep. Want something subtle? Barely graze the surface. The trick here is consistency in your motion. If you stop and start randomly, it looks messy. If you commit to a flow—say, long sweeping arches from floor to ceiling—it looks intentional and designed.
Don’t be afraid to make mistakes. Seriously. If you hate a section, just scrape it off and start over. The mud is wet; it’s forgiving. One tip that saves a lot of headaches: work in small sections. Don’t mud the entire wall at once. Do a 3×3 foot area, texture it, then move to the next. This keeps the mud workable and prevents it from drying out before you’re done playing with it. Also, keep a spray bottle of water nearby. If the mud starts to skin over or get sticky, a light mist can bring it back to life. It’s all about timing and touch. You’ll develop a feel for it after the first few square feet.
Advanced Artistry: Creating Depth and Dimension
Once you’ve got the basics down, you can start layering. This is where the magic happens. Layering involves applying multiple coats of texture, letting them dry, and then adding another dimension on top. For example, you might start with a rough, heavy base coat using a sponge to create a stippled effect. Let that dry completely. Then, mix a slightly thinner batch of mud and use a trowel to apply smooth, sweeping veins over the top. The contrast between the rough background and the smooth foreground creates a 3D effect that changes as the light moves across the room. It’s dynamic. Alive.
Color washing is another advanced technique that pairs beautifully with texture. Instead of painting your textured wall a solid color, you use a glaze or a diluted paint. Apply it with a rag or a large brush, wiping some away and leaving it in the crevices. This highlights the peaks and valleys of your texture, making the details pop. In 2026, earthy tones are huge for this. Think terracotta, sage green, warm beige, or even charcoal. These colors enhance the natural feel of the mud. Avoid high-gloss paints; they reflect too much light and can make texture look cheap. Stick to matte or eggshell finishes to keep the look sophisticated and soft.
For those feeling really adventurous, try incorporating mixed media. Some artists mix straw, fibers, or even small pebbles into the mud for a rustic, adobe-style finish. Others use stencils to create geometric patterns within the organic texture. Imagine a smooth, skip-troweled wall with a bold, textured geometric shape imposed over it. The juxtaposition is stunning. It bridges the gap between modern minimalism and organic warmth. Just remember, with great power comes great responsibility. Don’t overdo it. Pick one focal wall. Let that be the statement. The rest of the room should support it, not compete with it. Balance is key.
Common Pitfalls and How to Avoid Them
Even with the best intentions, things can go sideways. The most common issue? Cracking. Mud shrinks as it dries. If you apply it too thickly in one go, it’s almost guaranteed to crack. The solution is thin layers. Build up your texture gradually. If you need depth, let the first layer dry, then add another. It takes longer, yes, but it saves you from heartbreak later. Also, ensure your room has good airflow but isn’t too drafty. Rapid drying causes cracks. Slow, even drying is your friend. If you do get a small crack, don’t panic. A little spackle and a touch-up of texture can hide it easily.
Another pitfall is inconsistency. You start strong, but by the time you reach the corner, you’re tired, and your technique changes. The wall ends up looking patchy. To avoid this, step back frequently. Look at the wall from a distance. Does the texture flow? Is the pressure consistent? If you see a spot that looks off, fix it while the mud is still wet. It’s much harder to blend dried mud. Also, lighting matters. Check your work under the same lighting conditions the room will have. Shadows reveal flaws that overhead lights might hide. Use a work light held at an angle to see the true depth of your texture.
Cleanup is the final hurdle. Drywall mud is water-based, so it cleans up with water, but only if you catch it wet. Once it dries on your tools, it’s like concrete. Keep a bucket of water and a stiff brush nearby. Clean your trowels and knives every time you take a break. If you let mud harden on your tools, you’ll spend hours scraping it off later, and you might ruin the edge of your trowel. A sharp, clean trowel makes better textures. Treat your tools well, and they’ll treat you well. It’s a simple rule, but one many beginners ignore until it’s too late.
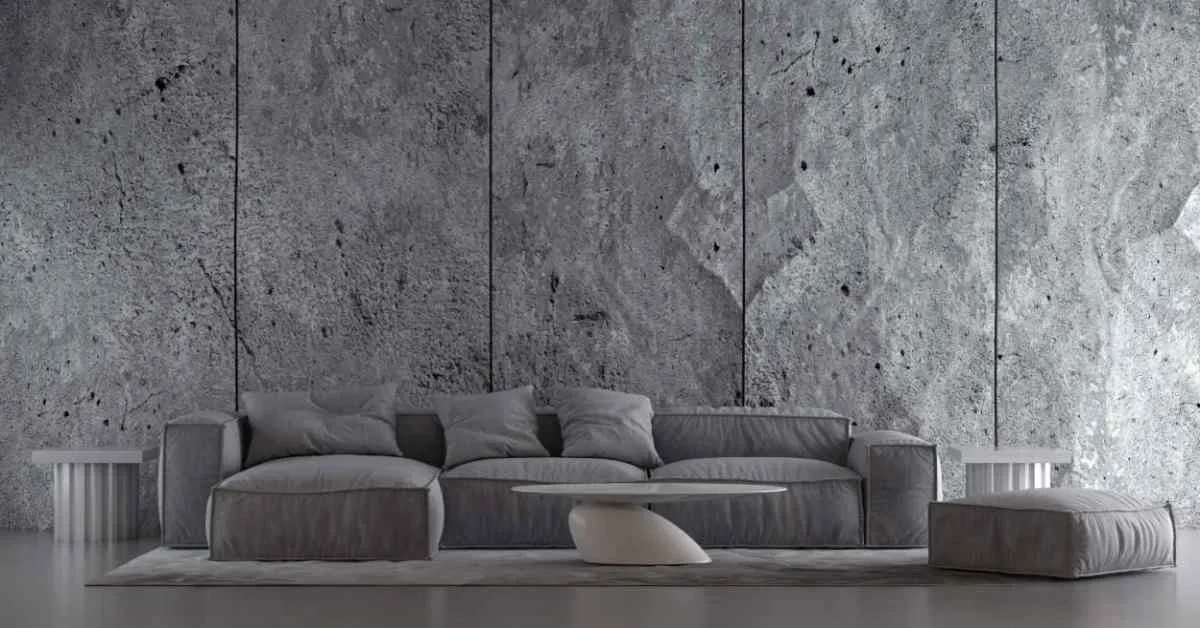
So, you’ve got your beautiful, textured wall. Now what? How do you style around it? The golden rule for 2026 is restraint. Your wall is the art. You don’t need to clutter it with busy posters or loud furniture. Let the texture breathe. Pair textured walls with simple, clean-lined furniture. Think mid-century modern pieces with wood tones, or soft, plush fabrics that invite touch. The contrast between the rough wall and the smooth sofa creates a tactile harmony that feels luxurious and inviting.
Lighting plays a massive role in showcasing your work. Avoid flat, overhead lighting if you can. Instead, use sconces, floor lamps, or track lighting that grazes the wall. When light hits a textured surface from an angle, it creates shadows that emphasize the depth and detail. It turns your wall into a living sculpture that changes throughout the day. Warm bulbs (2700K-3000K) tend to look best on earthy textures, enhancing the cozy, organic vibe. Cool light can make it feel clinical, which defeats the purpose. Play with your lighting setup. Move lamps around. See what makes the texture sing.
Finally, consider the rest of the room’s palette. Since textured walls often have visual weight, keep the other elements light and airy. If your wall is a deep, moody charcoal, keep the floors and ceilings light. If your texture is light and sandy, you can afford darker furniture. Plants are also a must. Greenery complements the natural, earthy feel of mud textures perfectly. A large fiddle leaf fig or a trailing pothos against a textured backdrop looks effortlessly chic. It ties the whole biophilic theme together. Your home shouldn’t just look good; it should feel like a sanctuary. And with these walls, it will.
Creating art with drywall mud isn’t just a trend; it’s a shift in how we view our spaces. It’s about embracing imperfection, saving money, and adding a personal touch that mass-produced decor can’t match. Whether you go for a subtle skip trowel or a dramatic layered relief, the process is rewarding. It connects you to your home in a tangible way. So, don’t be afraid to get your hands dirty. Grab that bucket. Mix up some mud. And start creating. Your walls are waiting to tell a story. Make it a good one.
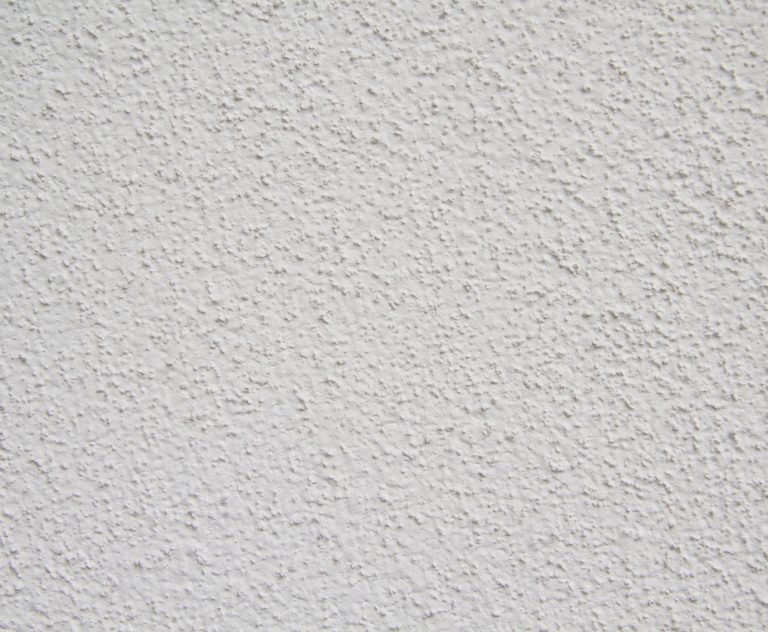
[sps_html tag=”img” src=”https://cdn.northcarolinafinearchitecture.com/2026/05/types-of-drywall-texture-add-style-and-beauty-to-your-walls-within-transforming-drywall-mud-into-artistic-wall-textures-for-your-2026-home.jpg” alt=”Types Of Drywall Texture: Add Style And Beauty To Your Walls within Transforming Drywall Mud Into Artistic Wall Textures for Your 2026 Home” style=”width: 100%; height: auto;”]
[sps_html tag=”img” src=”https://cdn.northcarolinafinearchitecture.com/2026/05/20-wall-texture-design-ideas-to-transform-your-home-in-2026-with-joint-compound-design.webp” alt=”20 Wall Texture Design Ideas To Transform Your Home In 2026 with Joint Compound Design” style=”width: 100%; height: auto;”]
[sps_html tag=”img” src=”https://cdn.northcarolinafinearchitecture.com/2026/05/modern-diy-wall-art-with-texture-lemon-thistle-within-joint-compound-design.jpg” alt=”Modern Diy Wall Art With Texture - Lemon Thistle within Joint Compound Design” style=”width: 100%; height: auto;”]
[sps_html tag=”img” src=”https://cdn.northcarolinafinearchitecture.com/2026/05/diy-textured-canvas-art-with-drywall-mud-regarding-transforming-drywall-mud-into-artistic-wall-textures-for-your-2026-home.jpg” alt=”Diy Textured Canvas Art With Drywall Mud regarding Transforming Drywall Mud Into Artistic Wall Textures for Your 2026 Home” style=”width: 100%; height: auto;”]
[sps_html tag=”img” src=”https://cdn.northcarolinafinearchitecture.com/2026/05/texture-walls-with-drywall-mud-at-christopher-schauer-blog-regarding-joint-compound-design.jpg” alt=”Texture Walls With Drywall Mud At Christopher Schauer Blog regarding Joint Compound Design” style=”width: 100%; height: auto;”]