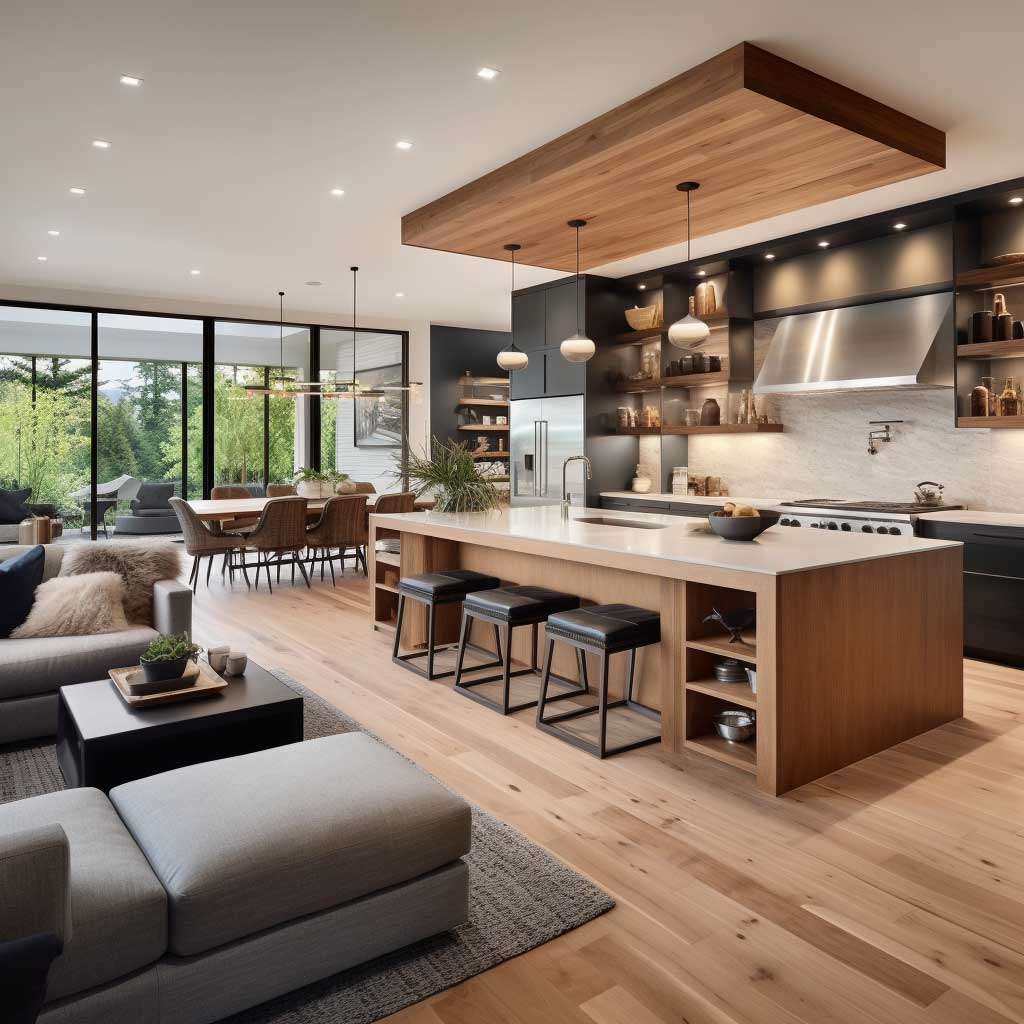
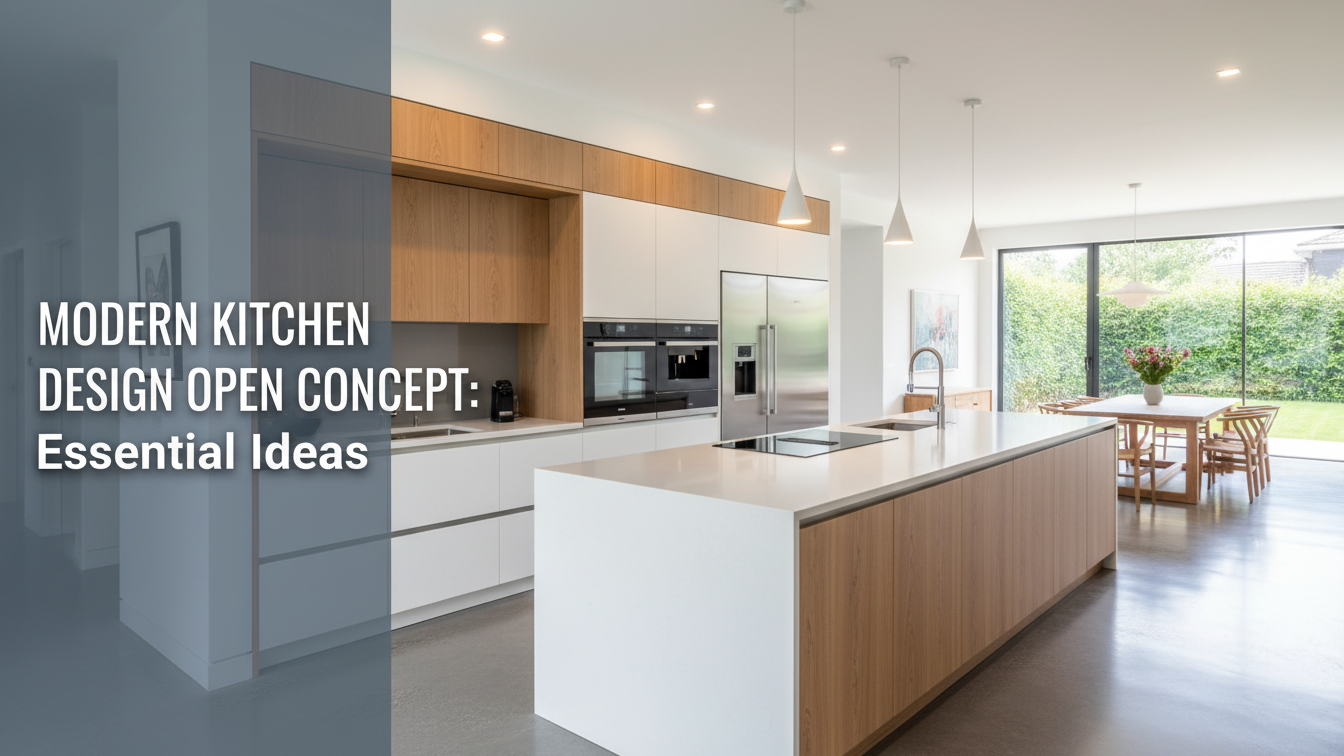
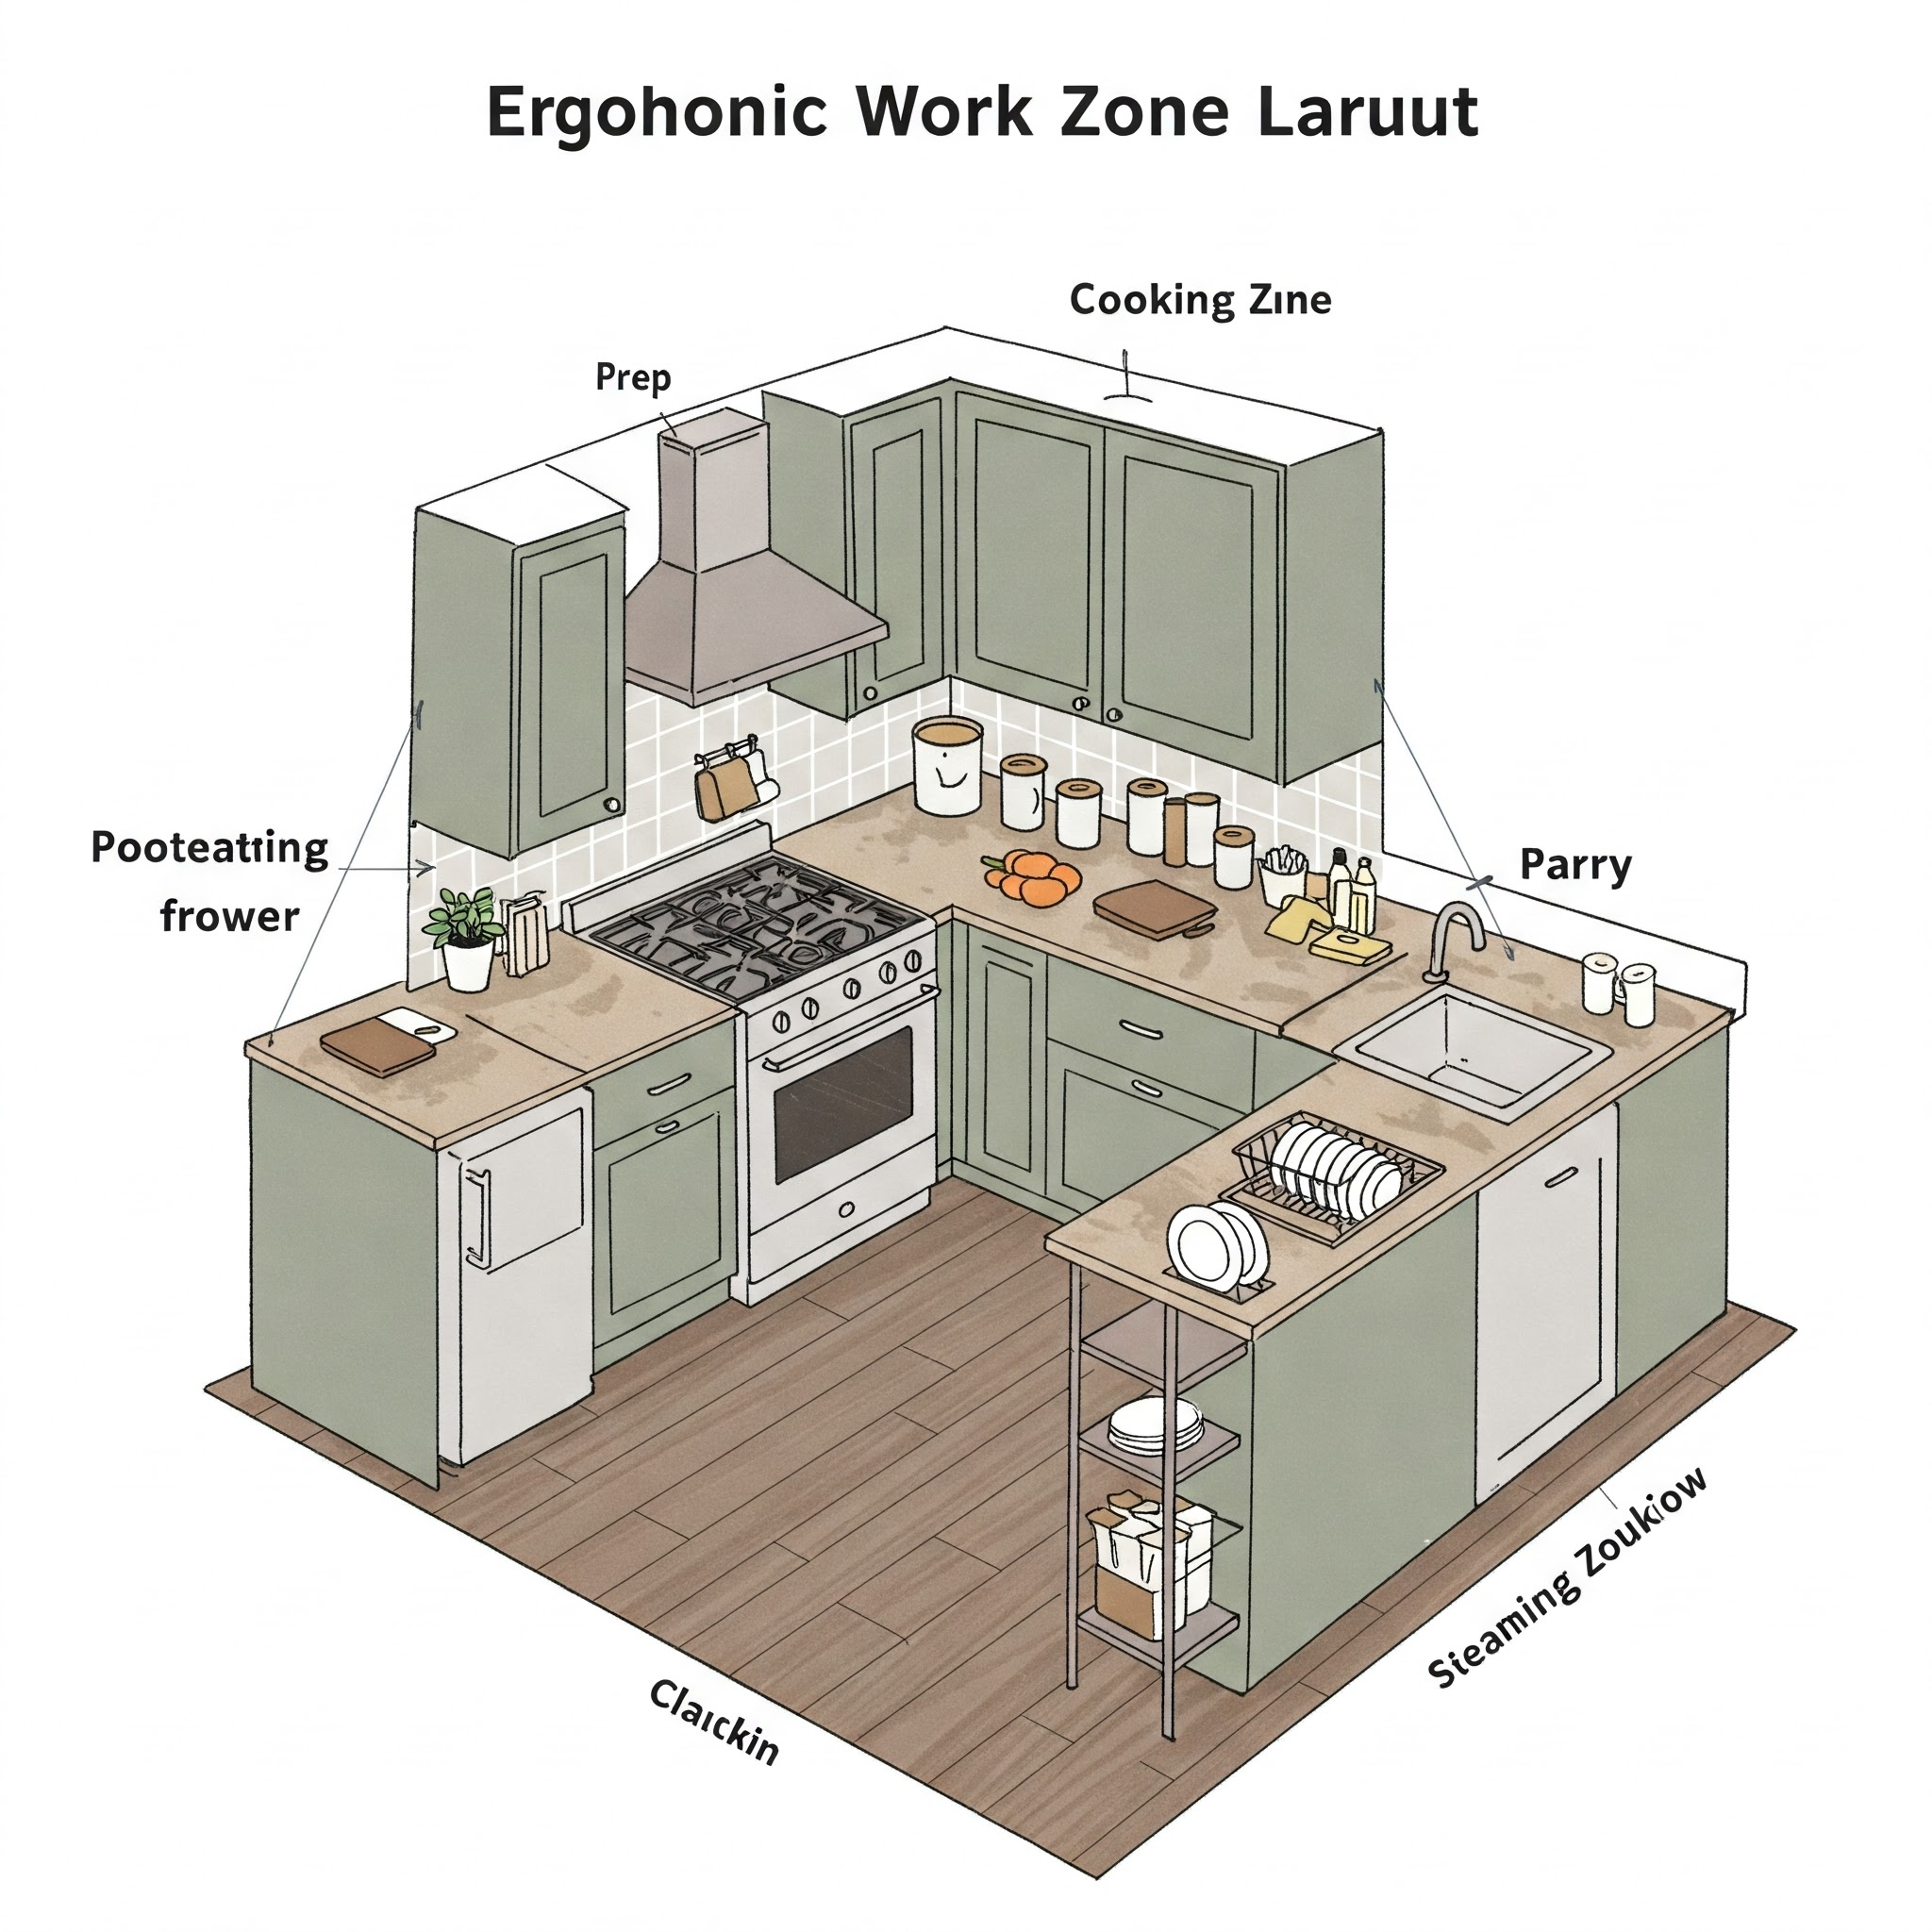
Picture standing in the heart of a newly renovated kitchen. The light catches the warm white oak floors, bounces off unblemished quartz countertops, and traces the clean lines of hand-painted Shaker cabinetry. Every detail feels intentional, bespoke, and calm. Then, your eye catches the gleaming stainless steel monolith breaking the rhythm of the base cabinets—a metallic rectangle stamped with a digital timer and corporate logo. That single appliance interrupts the visual flow, transforming an architectural sanctuary into a standard showroom floor.
For decades, the standard dishwasher has been the awkward teenager of kitchen design. No matter how high-end the brand or how quiet the motor, its stainless steel or black plastic face remains an unavoidable patch of utility. It screams "machine" in a room striving for furniture-like warmth. Homeowners and interior architects have spent years fighting this battle, trying to match hardware finishes or hiding appliance zones behind awkward kitchen layouts, all to avoid the harsh metallic break in a continuous run of custom millwork.
The antidote to this design friction lies in camouflage. By outfitting the kitchen with a panel ready dishwasher, the line between appliance and furniture blurs entirely. This approach invites the dishwasher to wear the same face as its surrounding cabinets, transforming a functional necessity into an invisible extension of the room’s architecture. Achieving this level of stealth requires more than just screwing a piece of wood onto a door frame; it demands precision engineering, a deep understanding of weight distribution, and absolute synchronization between appliance spec sheets and custom millwork shops.
The Evolution of Kitchen Camouflage and Appliance Integration
The philosophy of concealing functional machinery within domestic spaces is hardly new, yet its execution has evolved dramatically over the last generation. Early attempts at appliance concealment often felt like compromises—clunky refrigerator panels that bowed under their own weight or rudimentary dishwasher door skins that warped the moment steam escaped the wash cycle. Today, high-end kitchen design rejects the notion that utility must look industrial. Panel ready appliances have matured into sophisticated architectural components built to handle the unique mechanical demands of modern cabinetry.
At the center of this evolution is the transition from surface-mounted aesthetic hacks to fully integrated engineering. A true panel ready dishwasher does not simply accept a decorative skin over a standard door. Instead, it features an unadorned structural chassis designed specifically to anchor custom door panels of varying weights, thicknesses, and styles. Manufacturers like Bosch, Thermador, Miele, and Asko design their chassis to accept custom millwork ranging from traditional five-piece raised panels to sleek, minimalist slab doors. This mechanical flexibility ensures that whether a kitchen leans toward transitional warmth or ultra-contemporary flat-panel minimalism, the dishwasher chassis remains entirely hidden behind the design language of the room.
Furthermore, the mechanics of modern dishwashers have adapted to accommodate these heavy custom overlays. Because a solid wood or heavy MDF cabinet panel adds significant weight to the appliance door, integrated dishwashers utilize specialized spring-tension systems and counter-balancing hinges. Without these engineering adjustments, a heavy custom panel would cause the dishwasher door to slam open aggressively or fail to stay propped open during loading. Understanding this underlying mechanical capability is the first step toward achieving a flawless, high-end installation that functions as smoothly as it looks.
Architectural Harmonization and the Physics of Visual Flow
Visual cohesion in a kitchen is governed by rhythm, proportion, and line continuity. When the eye travels across a bank of base cabinets, it relies on consistent stile-and-rail alignments, uniform toe-kick heights, and harmonious hardware placements. A standard dishwasher disrupts this rhythm by introducing foreign vertical lines, mismatched handles, and a distinct material texture. Integrating a custom panel restores this architectural cadence, allowing the base run of cabinetry to read as a single, uninterrupted piece of furniture.
Achieving this illusion requires careful attention to alignment details that amateur designers often overlook. For instance, the horizontal rail lines of the dishwasher panel must line up precisely with the adjacent drawer banks or door heights. If the top edge of the dishwasher panel sits a quarter-inch higher or lower than the neighboring cabinet drawer, the human eye instantly detects the anomaly, ruining the illusion of seamless integration. This requires collaboration between the kitchen designer, the cabinet maker, and the appliance installer long before the first piece of wood is cut.
Material selection plays an equally critical role in this visual harmonization. Wood is a living, breathing material that reacts to ambient humidity and temperature fluctuations by expanding and contracting. When applying a custom wood panel to a dishwasher—an environment subjected to regular steam, moisture, and heat—the construction of the panel must be stable. Solid wood slabs are prone to warping under these conditions, which is why skilled fabricators typically utilize stable medium-density fiberboard (MDF) cores wrapped in matching wood veneers or frame-and-panel assemblies with floating center panels designed to absorb seasonal wood movement without throwing off the appliance alignment.
Step-by-Step Methodology for Seamless Panel Installation
Executing a flawless panel ready dishwasher installation requires a disciplined, sequential approach that bridges carpentry and appliance mechanics. Skipping a step or miscalculating tolerances by even a fraction of an inch can lead to binding doors, scraping toe-kicks, or uneven gasket seals.
- Step 1 (Appliance Chassis Specification & Clearance Verification): Select a panel-ready dishwasher model that matches your exact cabinetry depth and toe-kick requirements. Review the manufacturer’s specification sheet to verify the maximum and minimum weight tolerances for the custom door panel, as well as the exact template coordinates for mounting brackets.
- Step 2 (Custom Panel Fabrication and Conditioning): Fabricate the custom door panel and matching toe-kick from stable substrates (such as moisture-resistant MDF or stabilized multi-ply plywood) finished to match the surrounding cabinetry. Allow the panels to acclimate to the home’s indoor humidity levels for at least 48 hours before finishing to prevent subsequent warping.
- Step 3 (Hardware Placement and Alignment Mapping): Align the custom panel against the adjacent cabinetry to map out horizontal sightlines. Transfer the handle or pull placement measurements meticulously, ensuring that the hardware matches the position, height, and finish of neighboring cabinet pulls to maintain absolute visual symmetry.
- Step 4 (Mounting Bracket Attachment and Weight Distribution): Secure the manufacturer-supplied mounting templates to the backside of the custom panel. Fasten the brackets using precision-depth screws that will not pierce the front face of the decorative panel, ensuring the weight load is evenly distributed across the dishwasher’s metal door frame.
- Step 5 (Final Chassis Adjustment and Toe-Kick Integration): Hang the panel onto the dishwasher door and adjust the internal spring-tension system until the door glides smoothly and stays balanced at any angle. Install the continuous or custom- notched toe-kick plate, ensuring adequate ventilation and clearance for the dishwasher door to open fully without striking the floor or adjacent hardware.
Navigating Common Pitfalls and Field-Tested Workarounds
Even experienced contractors occasionally run into unique integration challenges when dealing with custom panel dishwashers. Anticipating these hurdles prevents costly tear-outs and ensures the final product maintains its bespoke appearance over years of daily use.
- Pitfall 1 (Panel Warping Due to Moisture and Steam): Unsealed or solid-wood panels absorb moisture venting from the dishwasher cycle, causing the wood to cup or twist. Workaround: Always use moisture-resistant substrates like Medex or marine-grade MDF, and ensure all unexposed edges and screw holes are thoroughly sealed with polyurethane or moisture-barrier primer before final installation.
- Pitfall 2 (Toe-Kick Interference and Door Binding): Standard dishwasher doors swing down in an arc that often collides with high or flush-mounted toe-kicks. Workaround: Utilize a European-style articulating hinge system or specify a custom-beveled or matching magnetic removable toe-kick that allows the dishwasher door to clear the base during its downward travel.
- Pitfall 3 (Mismatched Hardware Alignment): Placing the dishwasher handle at a standard factory height rather than aligning it with adjacent drawer rails creates an jarring visual break. Workaround: Treat the dishwasher front as a tall drawer stack or a paired cabinet door during the design phase, matching pull heights and centers exactly to neighboring cabinet runs.
- Pitfall 4 (Control Panel Accessibility Confusion): Fully integrated dishwashers hide their controls on the top edge of the door, making it difficult to monitor wash cycles without opening the door. Workaround: Opt for models featuring status light projection (such as a floor beam indicator light) or interior acoustic signals that indicate when a cycle is running or complete.
- Pitfall 5 (Weight Overload Causing Door Drop): Exceeding the manufacturer’s maximum weight limit for the custom panel causes the door to drop heavily or fail to stay closed. Workaround: Weigh the custom panel prior to installation, select lightweight composite materials if necessary, and carefully tension the internal spring balancers to compensate for the exact weight of the millwork.
The Broader Impact of Integrated Kitchen Architecture
The shift toward panel-ready appliances reflects a profound psychological shift in how we inhabit our living spaces. For decades, the kitchen was treated as a clinical laboratory—a utilitarian zone segregated from the rest of the home by swinging doors and stainless steel finishes. Today’s open-plan living spaces demand that the kitchen function as an aesthetic extension of the living room and dining area. When appliances like dishwashers and refrigerators recede behind custom millwork, the kitchen sheds its industrial identity and adopts the warmth of fine furniture.
This design evolution also carries significant economic implications for residential real estate. High-end buyers routinely scrutinize the execution of kitchen millwork, recognizing that the difference between off-the-shelf appliance integration and bespoke paneling separates a standard renovation from a truly luxury build. A cohesive kitchen design that utilizes integrated refrigeration and dishwashing units creates an immediate sense of architectural volume, making spaces feel larger, calmer, and more unified.
Furthermore, this approach encourages sustainable building practices by fostering durability. Because custom panels are tied to the structural layout of the millwork rather than a transient appliance finish, future kitchen refreshes often require only minor refacing rather than a complete gut renovation. If a homeowner decides to update their kitchen’s color palette five or ten years down the line, the cabinet panels can be repainted or replaced while retaining the reliable dishwasher chassis hidden behind them.
Actionable Recommendations for Planning Your Integrated Kitchen
Mastering the integration of a panel-ready dishwasher requires a structured game plan that brings together cabinetry, plumbing, and electrical planning from day one. To ensure your project hits every design and mechanical benchmark, keep these core principles at the forefront of your planning phase:
- Collaborate Early with Your Cabinet Maker: Never purchase a dishwasher chassis before finalizing your cabinet door style and millwork specifications. Different brands require specific panel dimensions, thicknesses, and clearance margins.
- Prioritize Acoustic Performance: Because integrated dishwashers are enclosed within solid wood or MDF housings, sound dampening is crucial. Invest in models rated at 42 decibels (dB) or lower to ensure whisper-quiet operation that won’t disrupt open-concept living areas.
- Plan for Floor and Countertop Tolerances: Ensure your flooring material (whether hardwood, tile, or stone) runs completely underneath the dishwasher footprint. If flooring stops short, pulling the appliance out for service in the future becomes nearly impossible without damaging the surrounding floor.
- Incorporate Integrated Safety and Leak Protection: Work with your plumber to ensure that integrated units feature automatic leak shut-off systems, as concealed appliances require proactive water management to protect custom cabinetry from unseen moisture damage.
The pursuit of a cohesive kitchen is ultimately an exercise in removing visual noise. By replacing standard stainless steel facades with custom millwork panels, we honor the architectural integrity of the home and restore a sense of calm to the busiest room in the house. A panel-ready dishwasher ceases to be an intrusive machine and becomes part of the room’s overarching design story.
As kitchen design continues to evolve toward cleaner lines, smarter technology, and more personalized material palettes, the demand for invisible utility will only accelerate. Approaching this design challenge with patience, engineering precision, and a commitment to quality craftsmanship ensures that your kitchen will remain timeless, functional, and breathtakingly seamless for years to come.