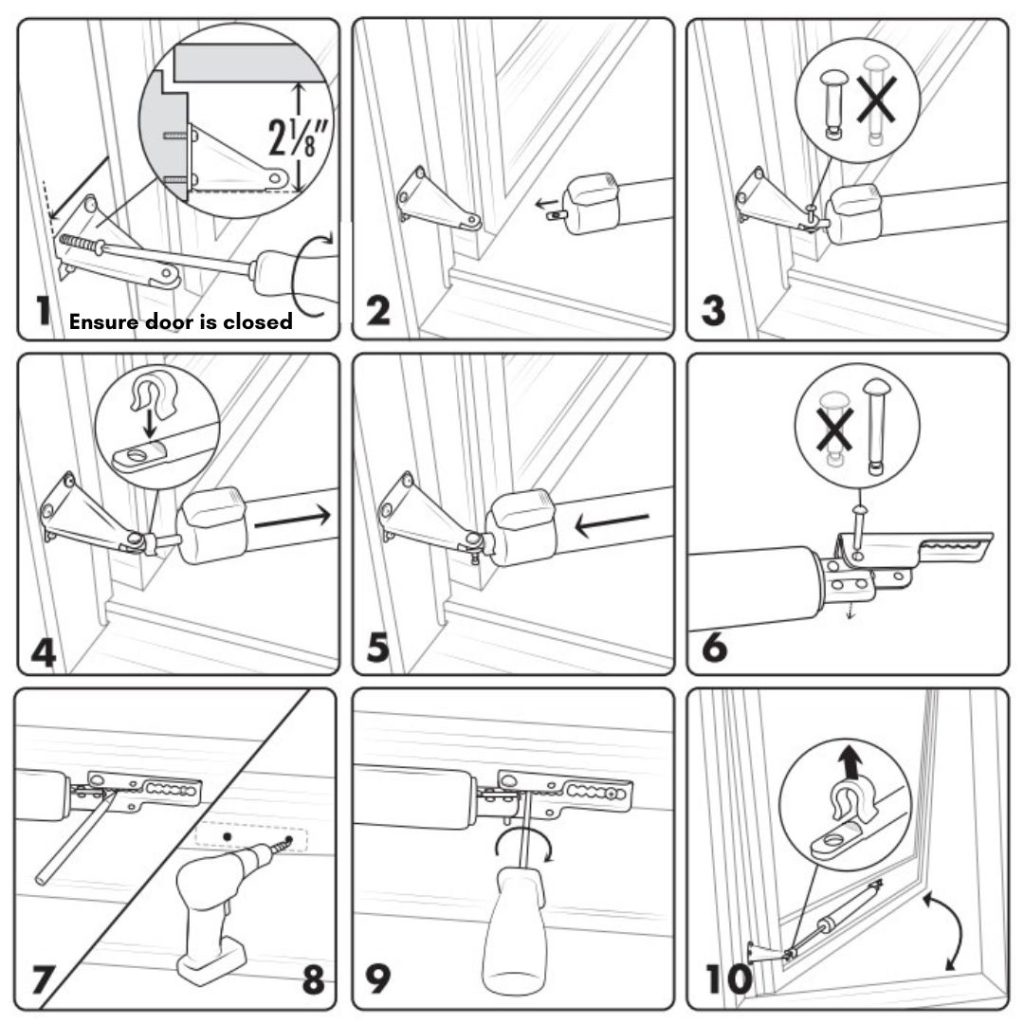
If a storm door slams when the main door is open but barely latches when it is closed, test both conditions before turning the closer screw. The air between the doors can change the way the storm door shuts. A dragging sweep or a latch that misses its opening can also make a sound closer look weak. This guide walks through a repeatable test, with the Andersen full-view laminated-glass model as an example. Use the instructions for your own door and closer if the hardware differs.
Watch where the door slows or stops
Pick a calm moment and keep the doorway clear of people and pets. Open the storm door partway, move clear of the swing and let it shut without a push. Note what happens through the middle of the swing and at the last few inches. Does the door rush the whole way, rub at the same spot each time, or move smoothly until the latch meets the rail? Repeat from the same opening angle so you can compare the result after an adjustment.
Run that test with the main entry door shut and again with it open. The Andersen installation guide for its full-view laminated-glass storm door says the storm door will close more quickly with the entry door open and calls for checking a safe speed in both positions. If you can reproduce a difference this way, write it down. You will need to check both conditions again when you finish, even if you care most about the quieter result when the entry door is closed.
Check the latch and sweep before changing the speed
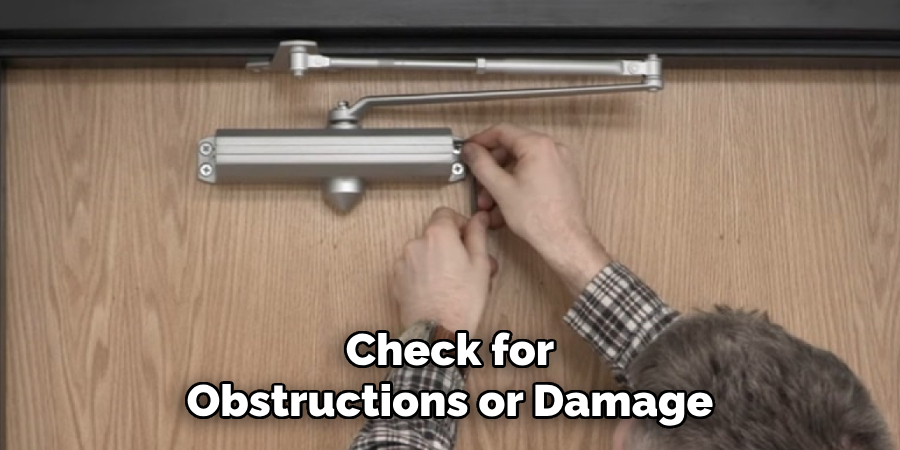
Guide the door slowly through the last part of the swing by the handle, keeping your hands clear of the edges. Look for a rub mark at the threshold or a spot where the latch contacts the rail beside its opening. If the door stops at a hard point during a slow hand-guided close, investigate that contact before asking the closer to pull the door past it. Use a pencil or a removable piece of tape to mark where the latch meets the rail. Then check the handle and strike alignment against the instructions for your model before touching the speed screw.
Look at the bottom sweep as it passes over the threshold. Loose debris can make it hard to tell how the sweep is sitting. If the sweep still drags after you clear the threshold, check your door’s instructions for its proper position and mounting. Follow the model’s parts or service instructions if a bracket moves against the frame, a pin looks loose or the rod is bent. Those observations are worth photographing before you call for help because they identify a physical problem that will still be there after a speed change.
Make one small change at the correct screw
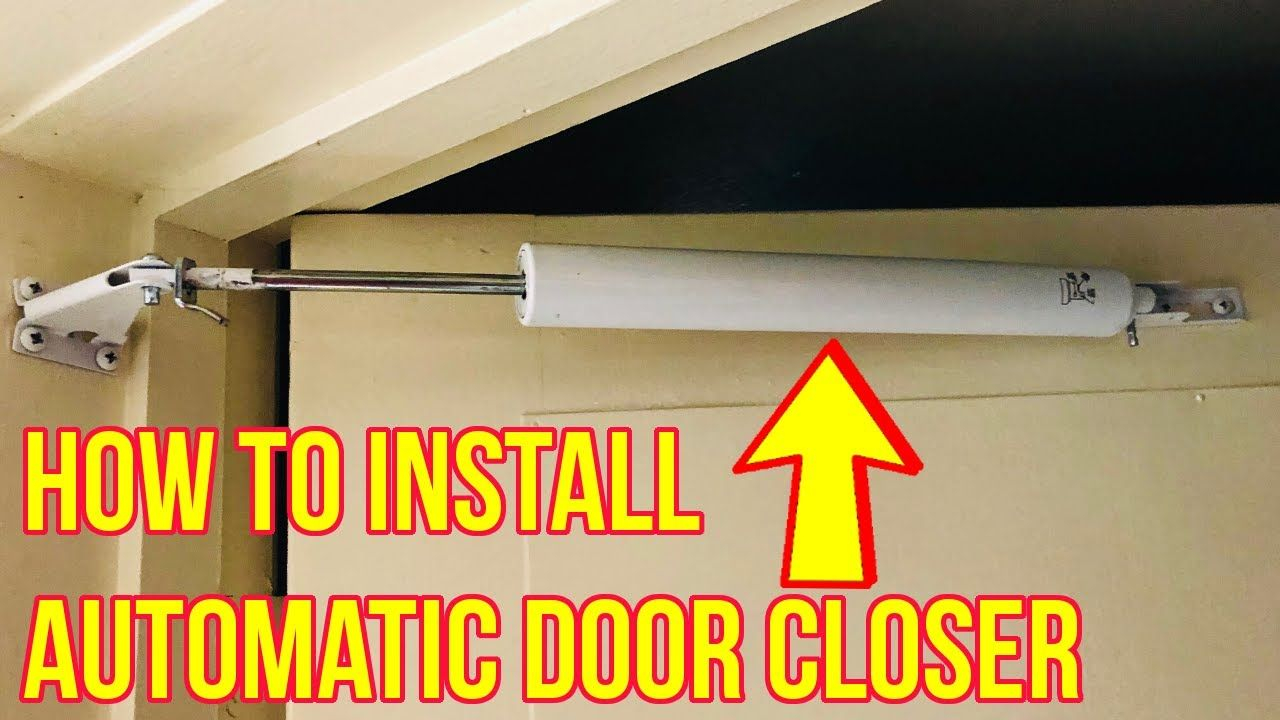
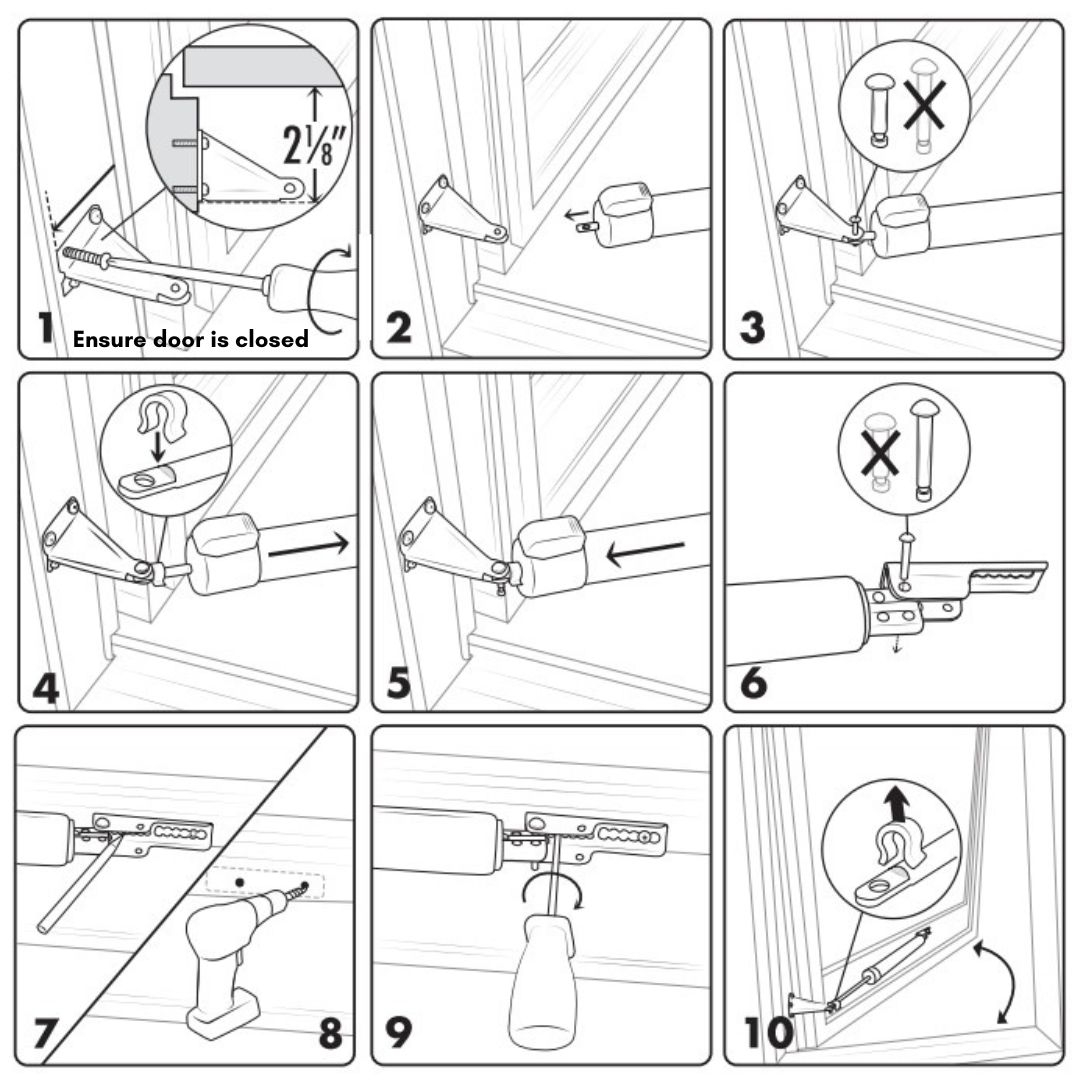
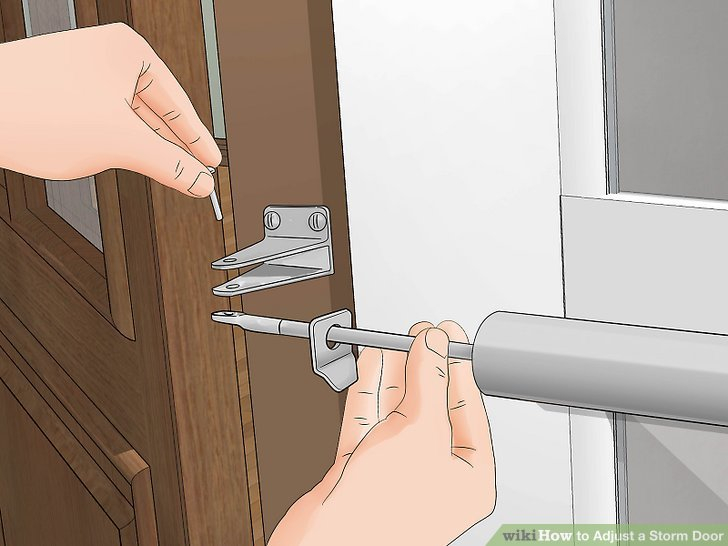
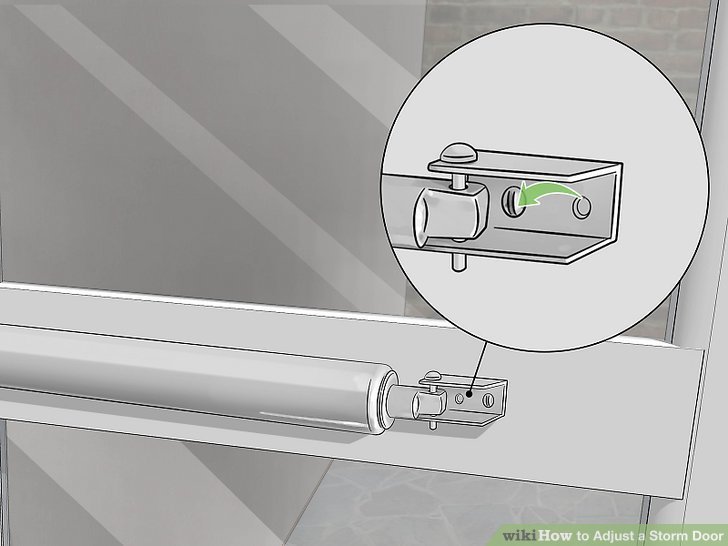
Find the door model information and compare the closer with the illustration in its manual. A visible cylinder, a concealed closer and a pair of closers can have different procedures. Use the drawing to identify the speed adjustment screw and leave the mounting fasteners where they are. Photograph or mark the starting orientation so you can reverse a change if the door behaves worse.
On the Andersen model in the linked guide, use a Phillips screwdriver at the adjustment screw. Keep the screw in place while testing settings and follow the manual if an adjustment does not resolve the problem. Turning it clockwise slows the close. Turning it counterclockwise speeds it up. Make a small turn in the direction your model’s instructions call for and test before turning again. For instance, if the door shuts hard with the main door open, make one small slowing adjustment on this model. Then repeat the same release with the main door open and closed. If the open-door test improves but the shut-door test now stops before the latch clicks, return toward the starting setting and recheck alignment before trying anything further.
Keep a short note of each test. A line that says “main door open, smooth close” and “main door shut, latch touches rail but does not engage” gives you enough detail to compare changes. It also avoids losing track after several small turns. When the model has multiple closers or a concealed mechanism, follow its own adjustment sequence before touching a second control.
Confirm the door closes safely and latches on its own
Use the same partial opening for a final pass, then try again from a wider position within the door’s normal travel. Check both tests with the main door open and closed. Listen for the latch and check gently at the handle that the door has latched without a push. If the storm door cannot latch in both conditions at a speed you can control, take your notes, model information and photos to the manufacturer’s support team or a door repair professional.
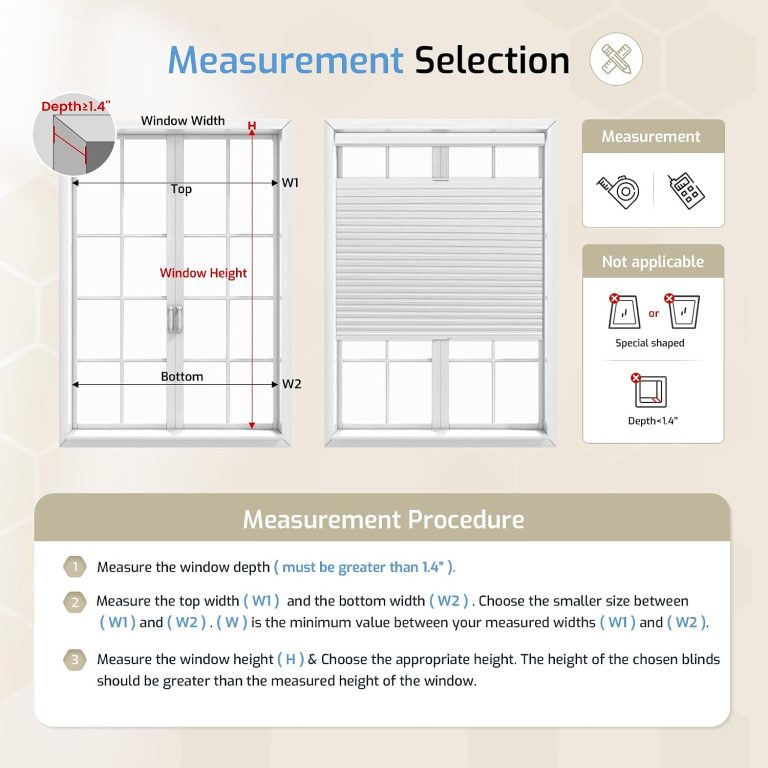
If the inspection points to an opening or trim problem and you are considering a replacement, the storm door measuring guide covers the opening dimensions and handle clearance. For the closer adjustment you just made, the finish line is simpler. The door should move freely, shut without a slam and latch on its own with the entry door in either position.