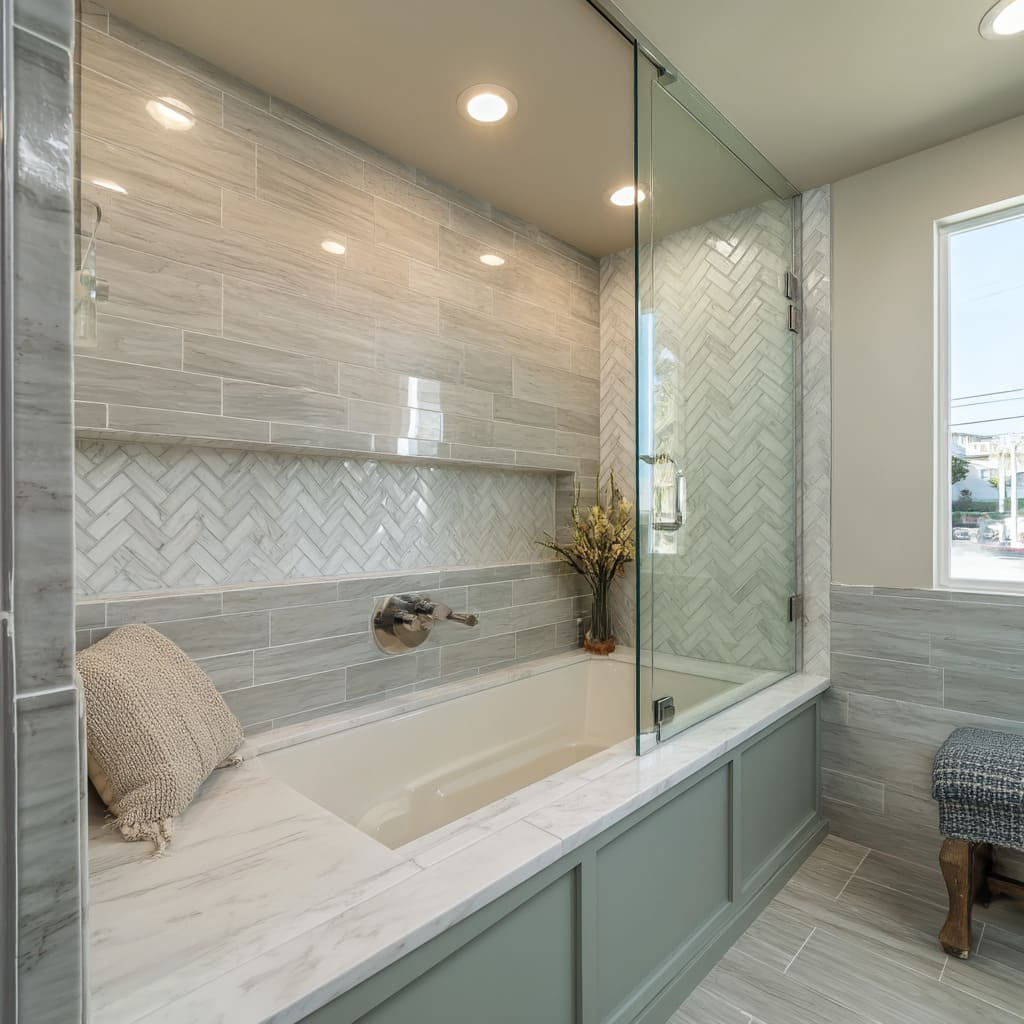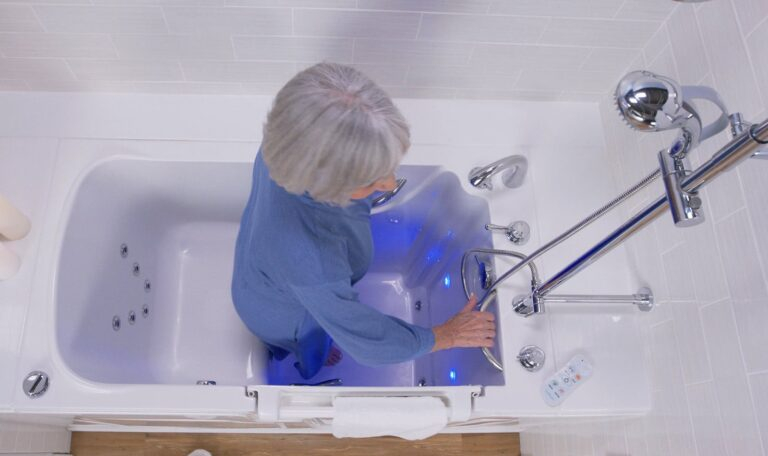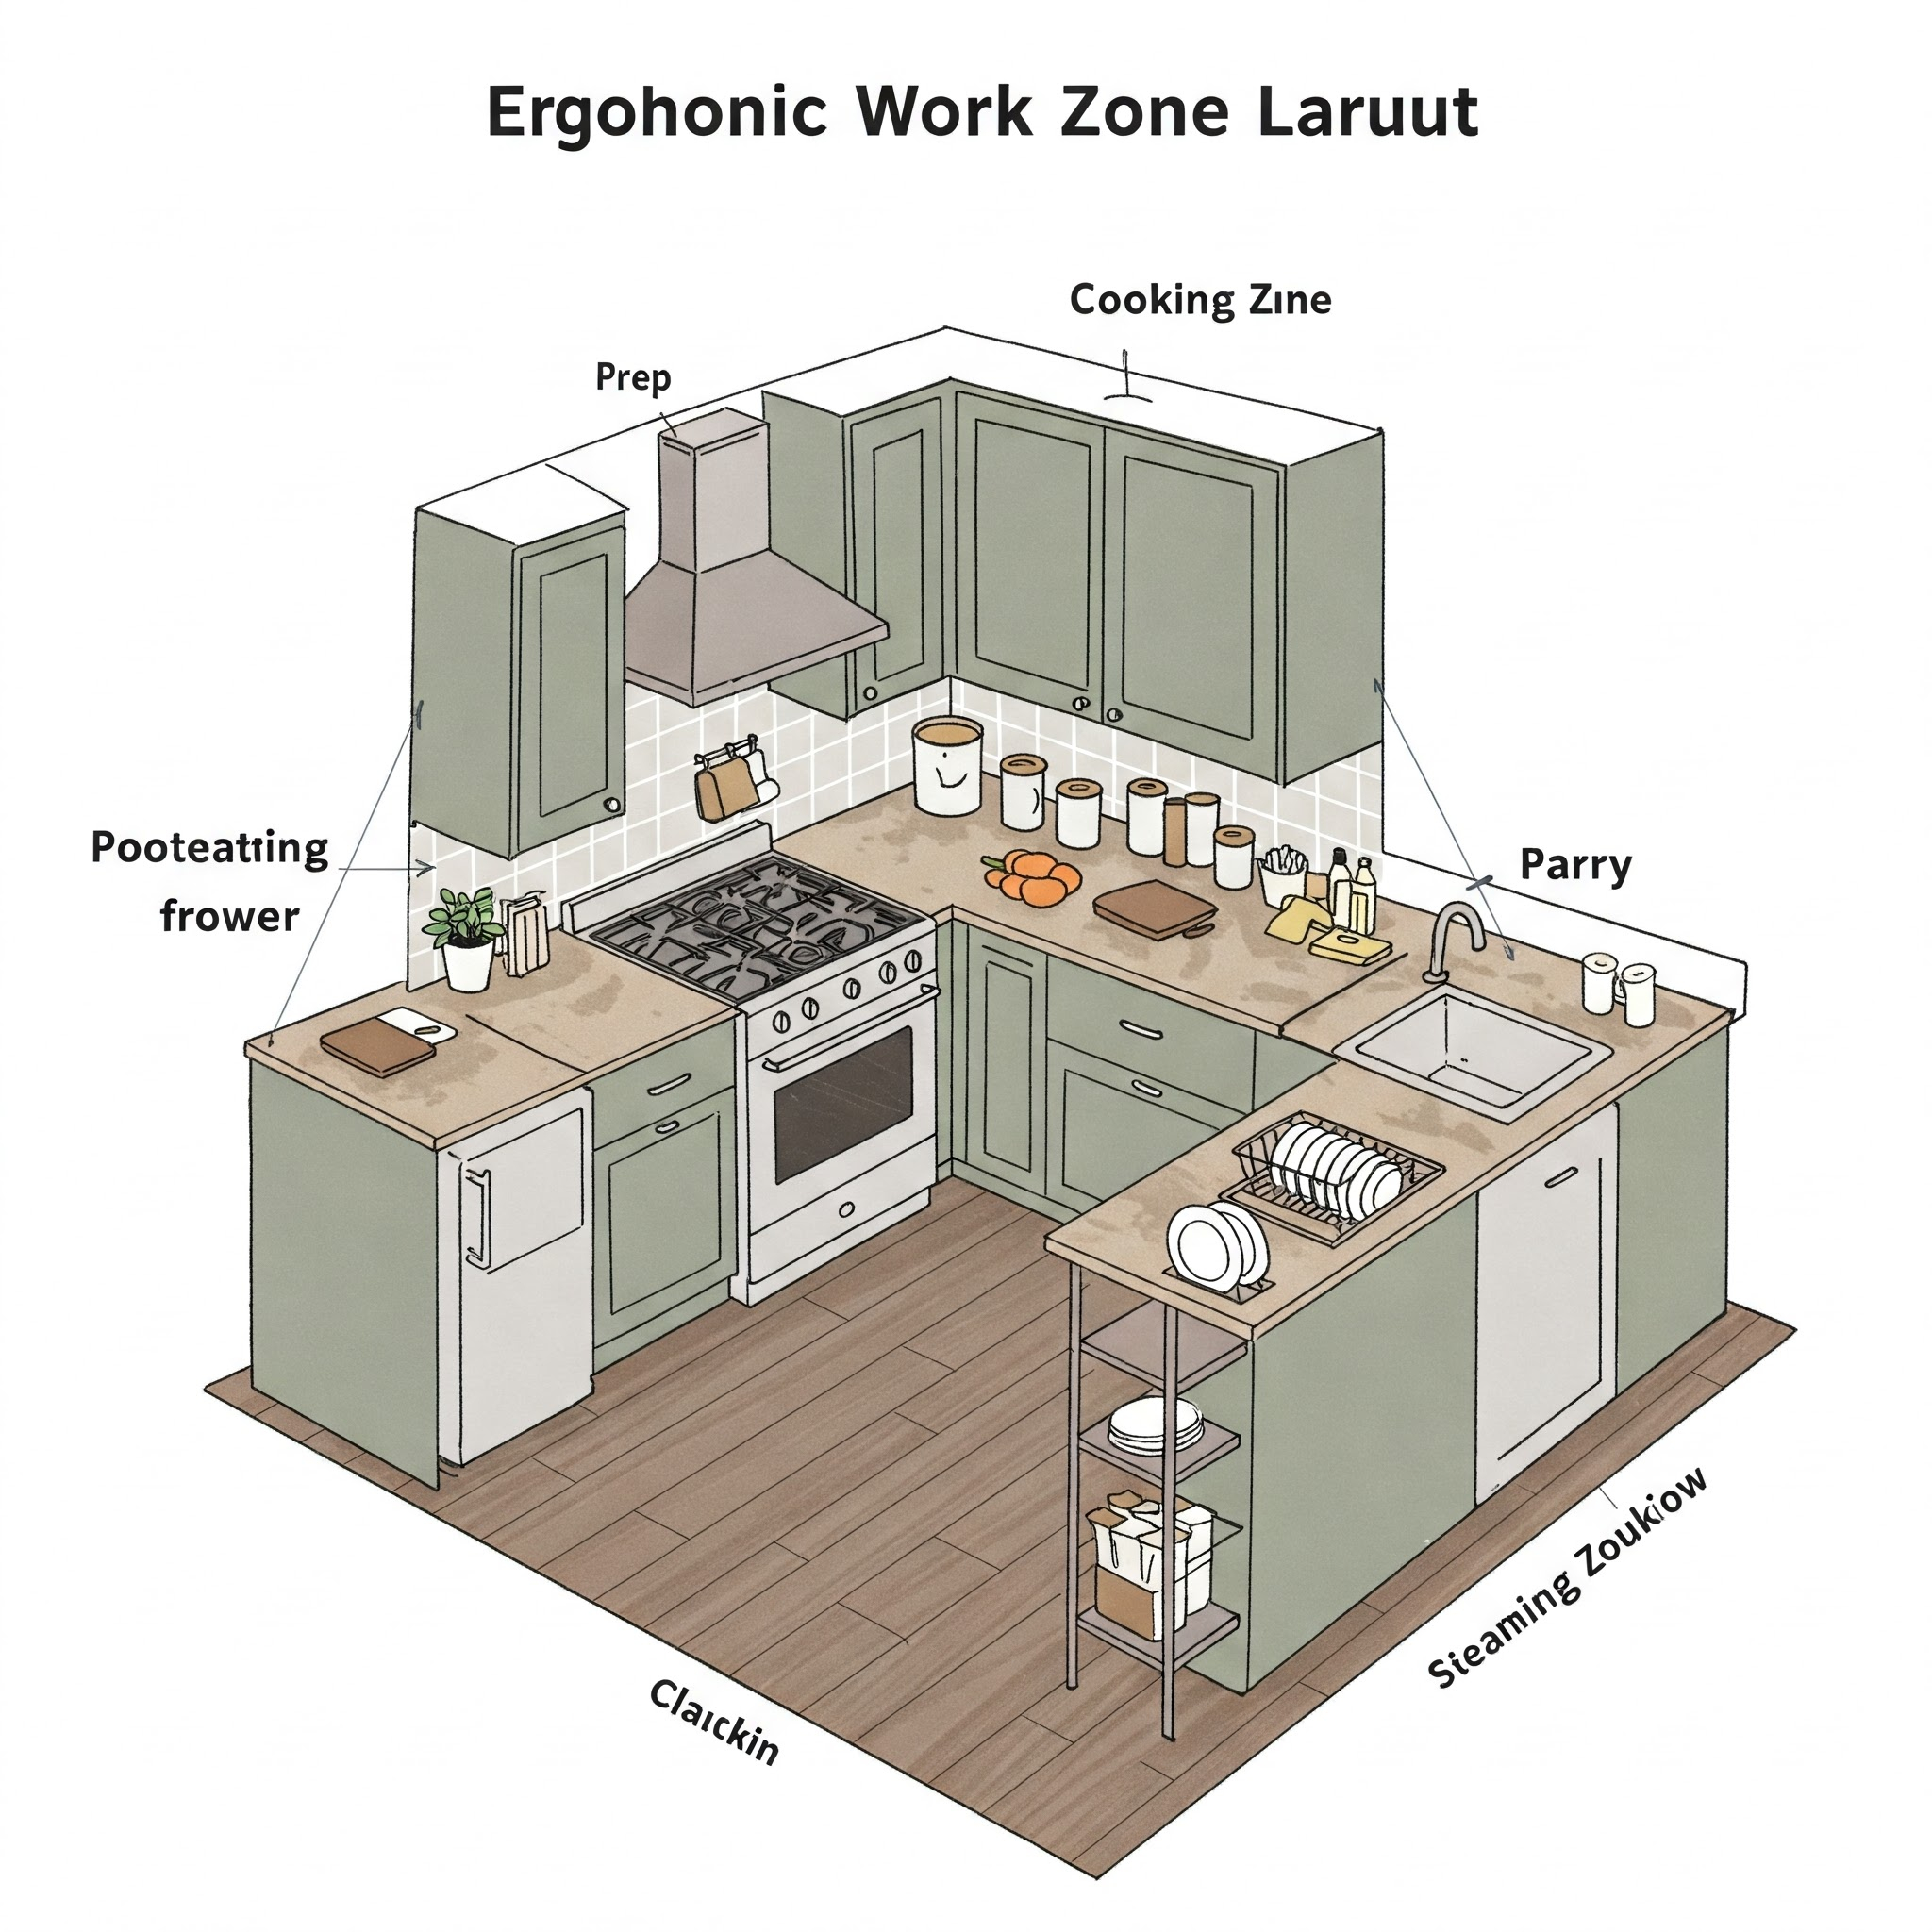
Step into any bathroom undergoing a gut renovation, and you will eventually reach a quiet crossroads where contractors, plumbers, and homeowners stop to catch their breath. The framing is open, the subfloor exposed, and the plumbing rough-ins are waiting. Right there, taped to the drywall or floating in an email chain, sits the blueprint question that has divided the remodeling world for decades: Are we dropping in an acrylic alcove unit, or are we sweating over the brutal logistics of a cast iron monster?
On paper, a bathtub is simply a waterproof basin designed to hold water and a soaking human. In practice, it is the heavy-duty anchor of the modern bathroom. It must endure boiling water, harsh chemical cleaners, dropped glass shampoo bottles, and the dead weight of daily life without flexing, cracking, or staining. Yet, the material science dictating how a tub handles these stresses has created two entirely different user experiences. One champions industrial-grade permanence and old-world thermal mass. The other offers modern engineering flexibility, surface warmth, and structural ease.
The stakes of this choice extend far beyond a quick trip to the building supply warehouse. Picking the wrong material for your specific subfloor, family dynamics, or architectural layout can turn a simple weekend bathroom swap into a structural engineering nightmare or leave you staring at a hairline crack five years down the line. To understand how these materials truly perform once the drywall is patched and the tiles are grouted, we have to look past the sales brochures and dive straight into how cast iron and acrylic behave under real-world conditions.
Anatomy of the Basin: Understanding Material Science and Manufacturing
At the microscopic level, enamelled cast iron and acrylic are worlds apart. Cast iron is born in a foundry from molten metal poured into a sand mold, creating a rigid, heavy skeleton of raw iron. Once cooled, this metal skeleton is blasted with powdered glass and fired in a high-temperature kiln, fusing porcelain enamel directly onto the iron base. The result is a surface that is essentially glass fused to steel-strength metal. It does not flex, it does not warp, and under normal residential conditions, it is virtually indestructible. The trade-off for this atomic rigidity is an immense baseline weight, with standard alcove models regularly tipping the scales past three hundred pounds before a single drop of water or a human body enters the equation.
Acrylic bathtubs, by contrast, rely on advanced polymer chemistry. They are manufactured by heating a sheet of petrochemical acrylic plastic until it becomes pliable, vacuum-forming it into a mold, and then reinforcing the underside with layers of fiberglass resin or wood-composite backing boards for structural rigidity. This manufacturing process makes acrylic wonderfully versatile. It can be molded into ergonomic lumbar supports, sleek armrests, and precise geometric lines that fit snugly into standard three-wall alcoves. Because the color is uniform throughout the thickness of the acrylic sheet, minor scratches can often be buffed out with fine-grit sandpaper and polishing compound, a maintenance trick that would spell disaster for a porcelain-enameled surface.
The structural difference dictates how each tub interacts with your home’s framing. An acrylic tub relies heavily on a rigid mortar bed or high-density foam supports beneath its base to prevent flexing when you step inside. If a builder skips the mortar bed beneath an acrylic basin, every step feels spongy, and the flexing will eventually stress the acrylic-fiberglass bond, leading to premature hairline cracks and catastrophic leaks. Cast iron laughs at poor mortar beds; its sheer mass keeps it anchored to the subfloor. However, that very same weight demands that your floor joists are up to code, often requiring structural blocking or sistering joists in older homes just to bear the load safely.
Thermal Dynamics and Heat Retention Realities
There is an old myth in remodeling circles that acrylic bathtubs drain your bathwater of heat instantly, while cast iron holds onto warmth like a wood-burning stove. The truth is more nuanced, governed by the physics of thermal conductivity, specific heat capacity, and ambient bathroom drafts. Cast iron boasts high thermal mass. When you fill a cast iron tub, the metal absorbs a significant amount of thermal energy during the initial fill cycle, acting as a heat sink until the iron reaches the temperature of the water. Once saturated, however, that iron mass acts as a thermal buffer, stabilizing the water temperature and keeping your soak comfortable over long periods. Industry testing shows that while acrylic experiences a slightly higher initial cooling amplitude during long-term immersion, the difference in everyday residential use is measured in narrow margins, usually just a few degrees over a forty-five-minute soak.
Where acrylic wins hands down is initial tactile warmth. Touch a cast iron tub in a chilly winter bathroom before the water is running, and it feels glacial. It actively pulls heat away from your skin on contact. Acrylic is a poor thermal conductor, meaning it matches room temperature rapidly and feels warm and inviting the moment your bare skin touches the side or backrest. For families with small children or older adults who lean against the tub rim while stepping in, that initial lack of chill makes a noticeable difference in daily comfort.
Wall thickness and structural reinforcement layers also play a quiet role in thermal performance. Premium multi-layer acrylic tubs with dense fiberglass backing or structural foam cores trap heat far better than thin, builder-grade budget units. Similarly, older cast iron tubs with thick, heavy-gauge walls outperform modern lightweight cast iron variants designed to meet shipping weight constraints. If your primary goal is an hour-long, magazine-worthy therapeutic soak without constantly reaching for the hot water handle, both materials can deliver, provided you choose quality manufacturing over economy-tier compromises.
Navigating the Logistics of Alcove Installation and Subfloor Engineering
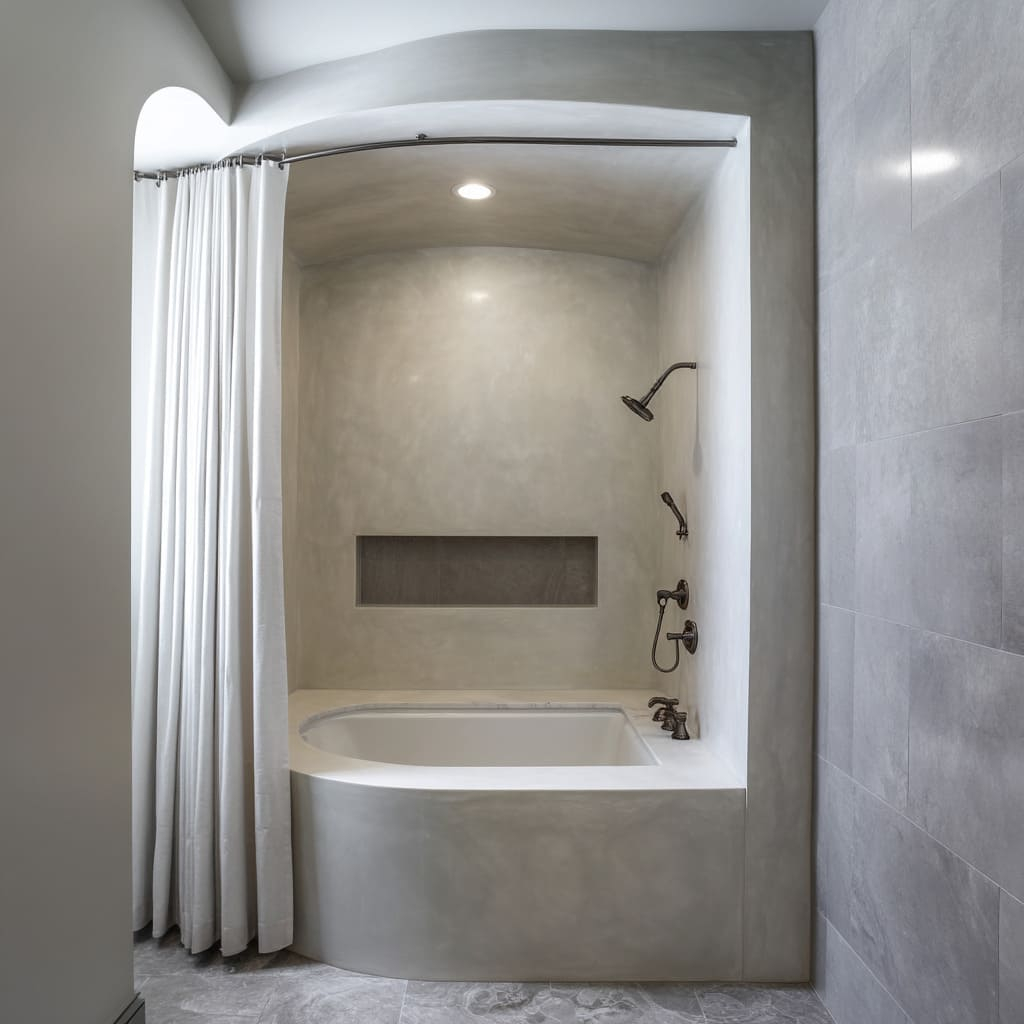
Swapping out a bathtub in an existing alcove sounds straightforward until you are standing in a cramped hallway trying to maneuver a three-hundred-pound metal box around a ninety-degree corner without punching a hole in the freshly painted drywall. This is where installation reality sharply divides the two materials. An acrylic alcove tub typically weighs between seventy and one hundred pounds. A single contractor or a dedicated DIYer can carry it upstairs, slide it effortlessly into the framing pocket, and level it with basic shims. It is forgiving, agile, and engineered specifically for fast-paced remodeling projects where labor hours translate directly to bottom-line dollars.
Cast iron installation, conversely, is an exercise in strategic planning, chiropractic caution, and heavy lifting equipment. Moving a standard cast iron alcove tub usually requires a minimum of three strong professionals, specialized furniture straps, and prayer. If your bathroom is located on the second or third floor of a historic home with tight stairwells, bringing a cast iron tub up can require removing door frames or hoisting it through a second-story window. Furthermore, you must verify that your floor joists can handle the concentrated dead load. A filled cast iron tub holding fifty gallons of water plus a human occupant can easily exert over six hundred pounds of downward force onto a localized footprint.
The actual framing and water-proofing steps also demand different techniques. With acrylic, building a solid mortar bed beneath the floor pan is non-negotiable. Without this foundational support, stepping onto the center of the tub creates micro-flexing that eventually breaks the waterproof seal along the ledger board. Cast iron requires precise shimming and leveling at the floor contact points, but because the rim is rigidly square and heavy, it stays put once leveled. Both materials require careful attention to the drywall or cement board overlap to ensure water sheds directly into the basin rather than wicking behind the tile flange.
Longevity, Maintenance, and the Fifty-Year Wear Cycle
When evaluating long-term value, you are looking at two entirely different aging curves. Acrylic is a resilient material, but it is softer than porcelain and glass. Drop a heavy cast-iron skillet or a sharp masonry tool into an acrylic tub during a messy bathroom remodel, and you are likely looking at a deep gouge or puncture. Scouring powders, abrasive pads, and harsh chemical solvents can dull the high-gloss finish of acrylic over time, leaving a micro-textured surface that attracts soap scum and mildew. However, major scratches or even localized cracks in acrylic can be repaired using specialized acrylic repair kits, wet-sanding, and buffing compounds, restoring the finish to a factory-fresh shine.
Cast iron represents the ultimate definition of a generational asset. The porcelain enamel coating baked onto iron is exceptionally hard, highly resistant to scratching from everyday use, and impervious to standard household cleaning agents, bleach, and abrasive scrubs. It maintains its mirror-like gloss for decades without special chemical treatments. The vulnerability of cast iron lies in heavy impact. If a massive, dense object strikes the interior porcelain glaze at precisely the right angle, it can chip the enamel, exposing the dark iron beneath. While porcelain chip repair kits exist, matching the original factory gloss and color on a decades-old tub can be challenging, and exposed iron will eventually rust if left unprotected.
Water quality also plays a silent role in the lifespan of both surfaces. Homes with hard water rich in calcium, iron, and magnesium face mineral scale buildup. On cast iron, hard water stains can be scraped or cleaned with acidic solutions without harming the tough porcelain glaze. On acrylic, aggressive acidic cleaners or harsh scrubbing tools used to combat hard water can permanently etch or dull the polymer surface. Understanding your home’s water profile and committing to the correct cleaning chemistry is the single most effective way to ensure either tub material looks pristine twenty years down the line.
Step-by-Step Practical Implementation Guide for Your Alcove Upgrade
Executing a flawless bathtub installation in a standard three-wall alcove requires precision, patience, and adherence to manufacturer specifications. Whether you choose the featherlight agility of acrylic or the immovable heft of cast iron, following a structured installation workflow prevents costly callbacks and structural failures.
- Step 1 (Subfloor Preparation and Structural Verification): Inspect the subfloor framing for level, squareness, and load capacity. If installing cast iron, verify that floor joists meet or exceed deflection standards, sistering joists if necessary. If installing acrylic, ensure the subfloor is clean, dry, and rigid, sweeping away all construction debris that could puncture the tub bottom.
- Step 2 (Dry-Fitting and Plumb Line Alignment): Place the tub into the alcove framing without adhesive or mortar to check squareness against the studs. Use a 4-foot spirit level across the top rim and string lines to ensure the waste and overflow align precisely with the P-trap and drain rough-ins below. Mark stud locations on the tub’s tile flange for future anchoring.
- Step 3 (Bedding and Foundation Installation): For acrylic units, mix and pour a structural mortar bed or high-density foam support directly onto the subfloor within the footprint of the tub base. Set the tub firmly into the wet mortar, checking for level as the weight displaces the mixture, which eliminates subfloor flex and hollow spots. For cast iron, use manufacturer-approved shims to level the leveling feet securely against the subfloor.
- Step 4 (Mechanical Fastening and Waterproofing): Secure the tub’s tile flange directly to the wall studs using galvanized roofing nails or corrosion-resistant screws through pre-drilled holes, taking care not to overtighten and warp the flange. Install a continuous bead of high-grade silicone sealant along the entire ledger board and junction points before hanging cement backer board or greenboard over the flange.
- Step 5 (Drain Assembly and Pressure Testing): Attach the waste and overflow shoe using a generous bead of plumber’s putty or manufacturer-supplied rubber gaskets, tightening securely without stripping threads. Fill the tub completely with water to test the structural settling and verify that the drain assembly and P-trap hold water under pressure without any signs of dripping or seepage.
Common Pitfalls and Field-Tested Workarounds for Contractors and DIYers
Even experienced renovation professionals occasionally run into costly mistakes when managing alcove tub retrofits. Recognizing these common traps before your tools touch the framing saves time, money, and frustration.
- Pitfall 1 (Skipping the Mortar Bed Under an Acrylic Tub): Skipping the mortar base causes the acrylic floor to flex under body weight, eventually cracking the fiberglass backing. Practitioner Workaround: Always mix a standard structural sand-mix mortar bed, spreading it uniformly across the base so the bottom of the tub rests fully supported on a solid, rigid foundation.
- Pitfall 2 (Underestimating Structural Weight Constraints for Cast Iron): Dropping a three-hundred-pound cast iron tub into a second-story bathroom without checking joist spans can cause structural sag and cracked tile grout lines below. Practitioner Workaround: Consult a structural engineer or local building code tables to verify joist sizing, and install lateral blocking or steel reinforcing plates if joist spans exceed standard limits.
- Pitfall 3 (Overtightening Flange Fasteners): Screwing the tile flange too tightly against the wall studs distorts the frame, causing the tub rim to bow and preventing proper water drainage toward the basin. Practitioner Workaround: Drive fasteners just flush with the flange surface, leaving a tiny micro-gap that allows the material to expand and contract naturally with temperature shifts.
- Pitfall 4 (Using Abrasive Cleaners on Acrylic Surfaces): Scrubbing an acrylic tub with scouring pads or harsh bleach formulas strips the protective top gloss, leaving a porous surface that traps stubborn dirt. Practitioner Workaround: Stick to non-abrasive liquid dish soaps, specialized acrylic cleaners, and microfiber cloths, addressing stains gently with baking soda pastes instead of steel wool.
- Pitfall 5 (Failing to Protect the Tub Finish During Framing): Leaving a brand-new tub exposed during subsequent drywall sanding, tile cutting, and painting work leads to deep gouges, mortar stains, and chemical burns. Practitioner Workaround: Drop a heavy-duty, impact-resistant corrugated cardboard or plastic tub protector shield into the basin immediately after installation, leaving it sealed until the final cleanup day.
Economic Value, Sustainability, and the Long-Term Investment Horizon
Looking at the financial equation of a bathroom remodel reveals a clear split between short-term project budgets and long-term asset value. Acrylic alcove tubs represent the ultimate value champion for standard residential flips, rental properties, and budget-conscious family bathroom upgrades. With initial material costs hovering between three hundred and nine hundred dollars, combined with minimal labor requirements and zero heavy equipment rental fees, acrylic keeps remodeling budgets firmly under control. Homeowners who plan to sell within five to seven years rarely recoup the premium cost of a cast iron installation through resale value alone, making acrylic the pragmatic financial choice.
Cast iron is an investment in permanence. While the initial purchase price is significantly higher—often double or triple that of standard acrylic—and the specialized labor required to hoist and install it adds to the upfront invoice, its lifecycle cost tells a different story. A cast iron tub can easily outlive the mortgage on the house. It does not yellow, it does not warp, and its porcelain finish resists the ravages of time. For "forever homes," historic restorations, and discerning homeowners who value tactile authenticity and generational durability, cast iron is unmatched.
From an environmental perspective, both materials present unique sustainability trade-offs. Acrylic is a petroleum-derived polymer, making its raw material extraction carbon-intensive, though modern manufacturing facilities increasingly incorporate recycled plastics and zero-waste vacuum-forming processes. Cast iron is forged from abundant iron ore and limestone, and because it is virtually indestructible, old cast iron tubs are routinely salvaged, re-enameled, and reused in historic preservation projects, embodying true cradle-to-cradle circular sustainability.
Actionable Recommendations and Strategic Frameworks for Your Project
Choosing between acrylic and cast iron should never be decided by a coin toss or a quick glance at a showroom price tag. It requires a deliberate audit of your home’s structural realities, your family’s daily habits, and your long-term living plans.
If you are renovating a second-story master bathroom in a mid-century home with standard framing, where quick installation turnaround and a warm, inviting surface are top priorities, invest in a high-quality, multi-layer reinforced acrylic alcove tub paired with a meticulously poured mortar bed. It provides modern ergonomic styling, eliminates cold-touch shock, and keeps your structural engineer and contractor smiling.
If you are restoring a historic craftsman home, building a ground-floor forever bathroom, or seeking an indestructible, high-mass soaking vessel that will stand the test of time without flexing, structural compromises, or surface wear, commit to the logistical challenge of enamelled cast iron. Budget for professional rigging, verify your floor joists, and enjoy a bathtub that will still be performing flawlessly fifty years from now.
The bathtub remains the emotional anchor of the home—a private sanctuary where we wash away the stress of the working day, soothe sore muscles, and steal moments of quiet reflection. In our rush toward technological novelty and disposable convenience, the choice between acrylic and cast iron reminds us that material substance still matters.
Whether you choose the high-tech polymer flexibility of modern acrylic or the unyielding, fire-forged permanence of traditional cast iron, success lies in respecting the physics of the material. By aligning your architectural framing, installation methodology, and maintenance habits with the unique properties of your chosen basin, you transform a simple plumbing fixture into an enduring centerpiece of domestic comfort. The road ahead for bathroom design will undoubtedly introduce new composite materials and smart integrations, but the fundamental friction between weight, warmth, and longevity will always anchor us back to these two timeless titans of the alcove.