The right screen spline depends on the groove in your frame and the thickness of the replacement mesh. It is not determined by the width of the window, and a package marked “window screen spline” is not automatically the right fit. Before buying a roll, identify the existing profile, measure the channel, and check the guidance for the exact screening material you plan to install.
This guide is for a removable window or door insect-screen frame with a groove that holds flexible spline. It uses the decimal-inch sizes commonly shown on US packaging. A proprietary screen panel may use a different retention system; check its manufacturer before taking it apart.
Identify the spline profile before measuring its size
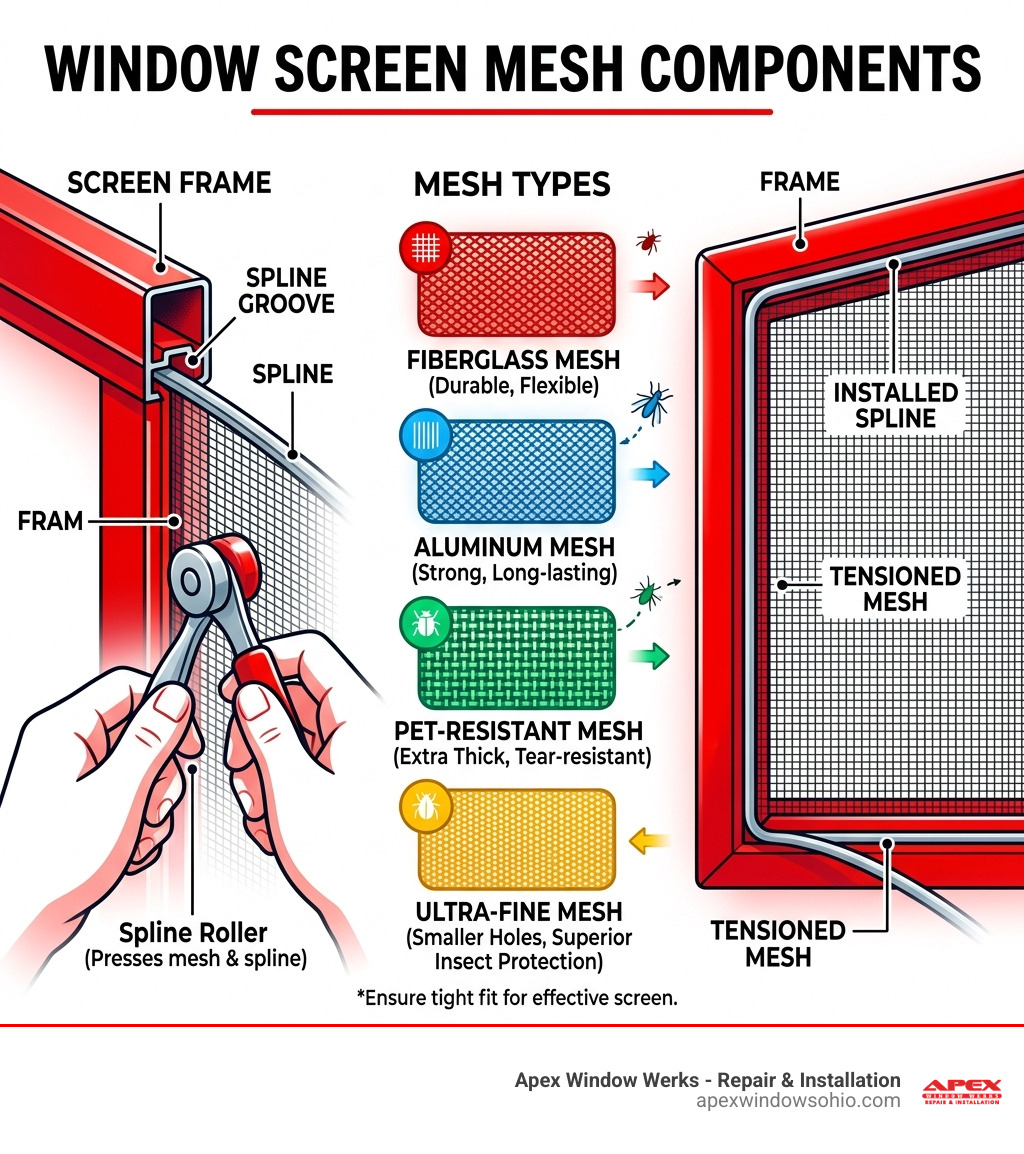
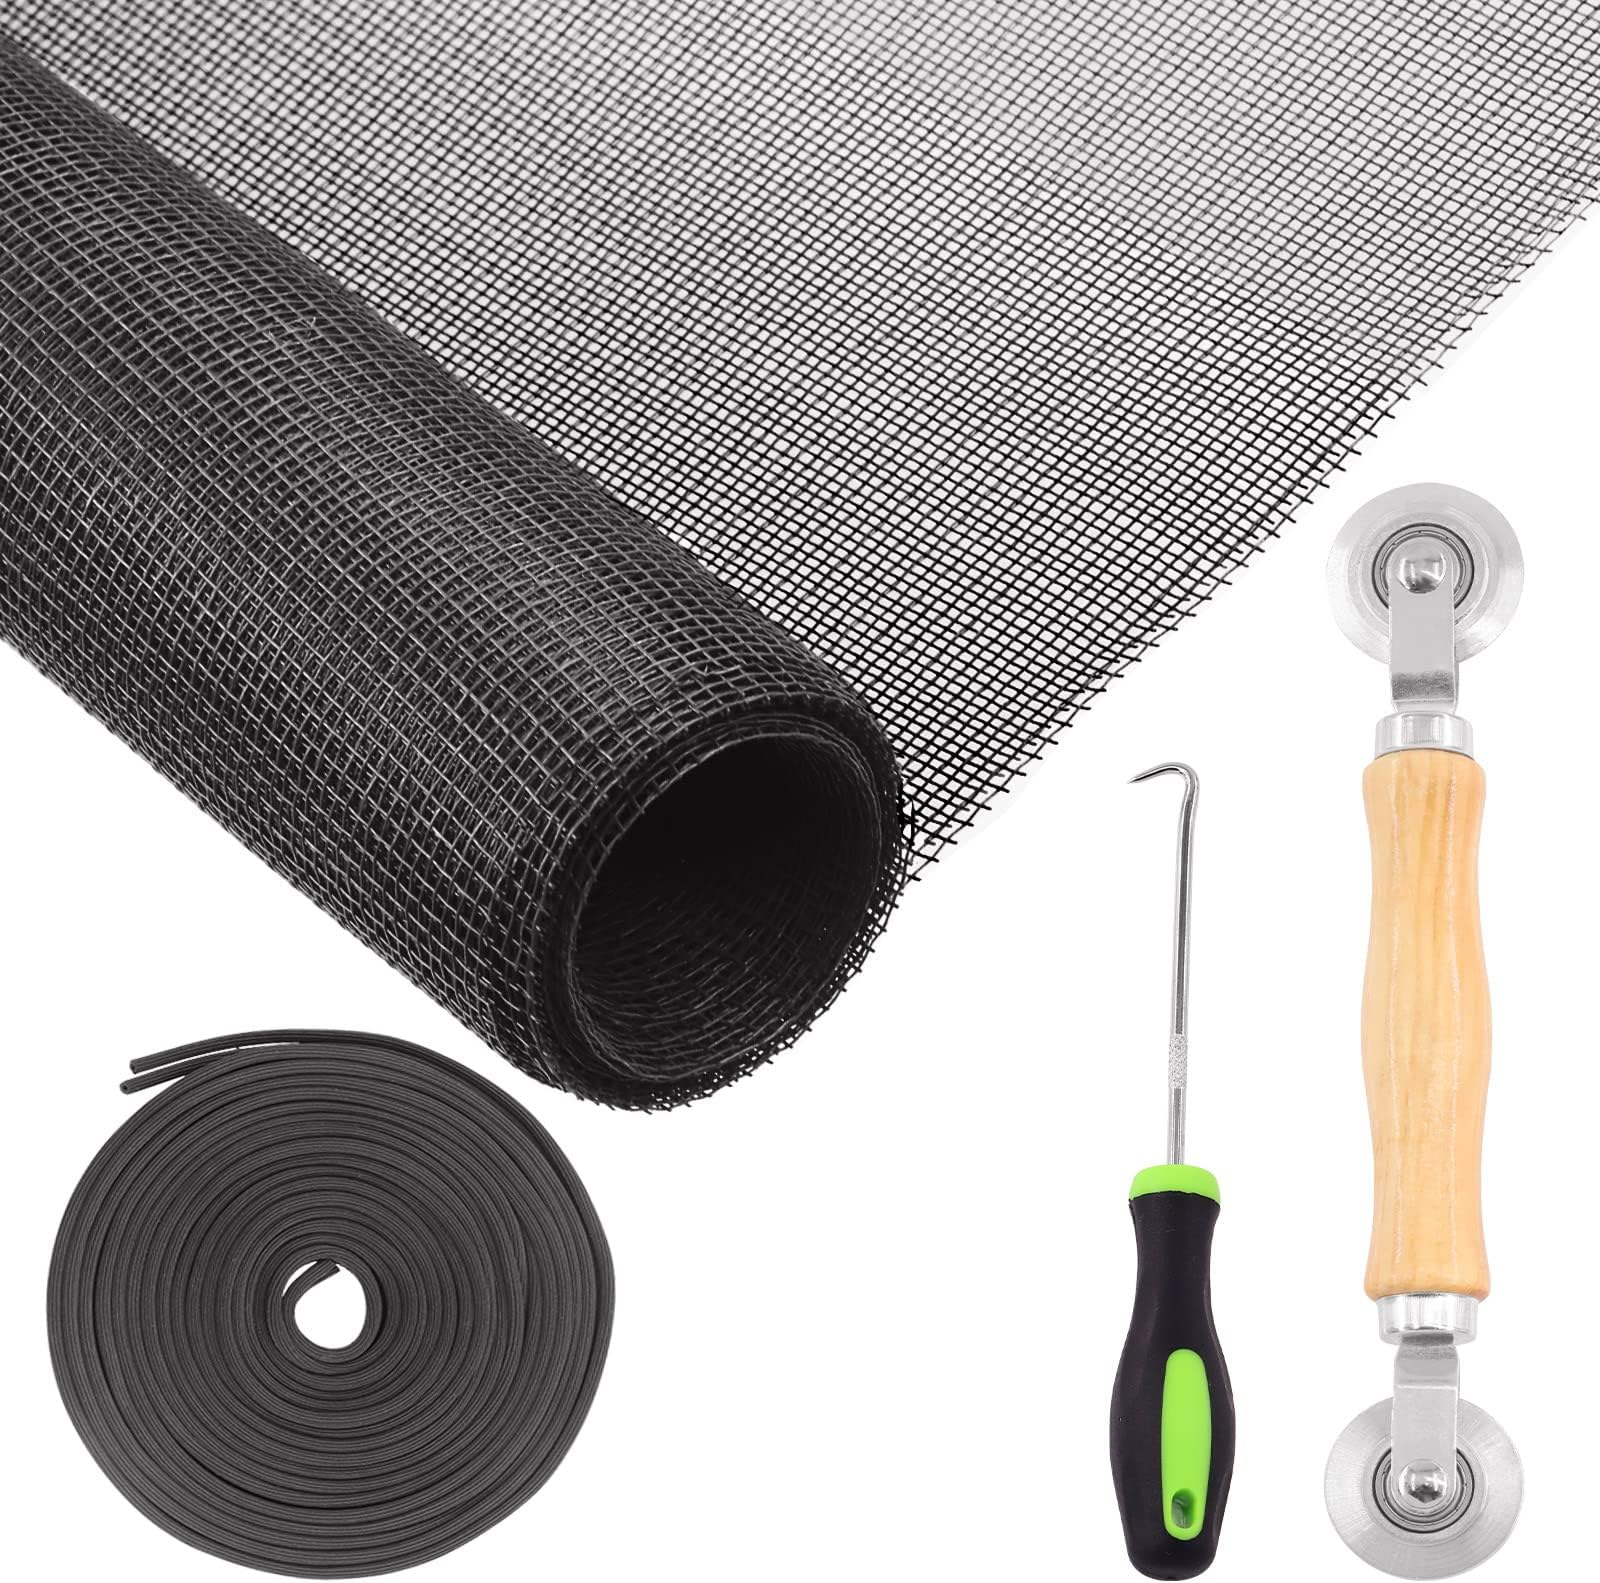
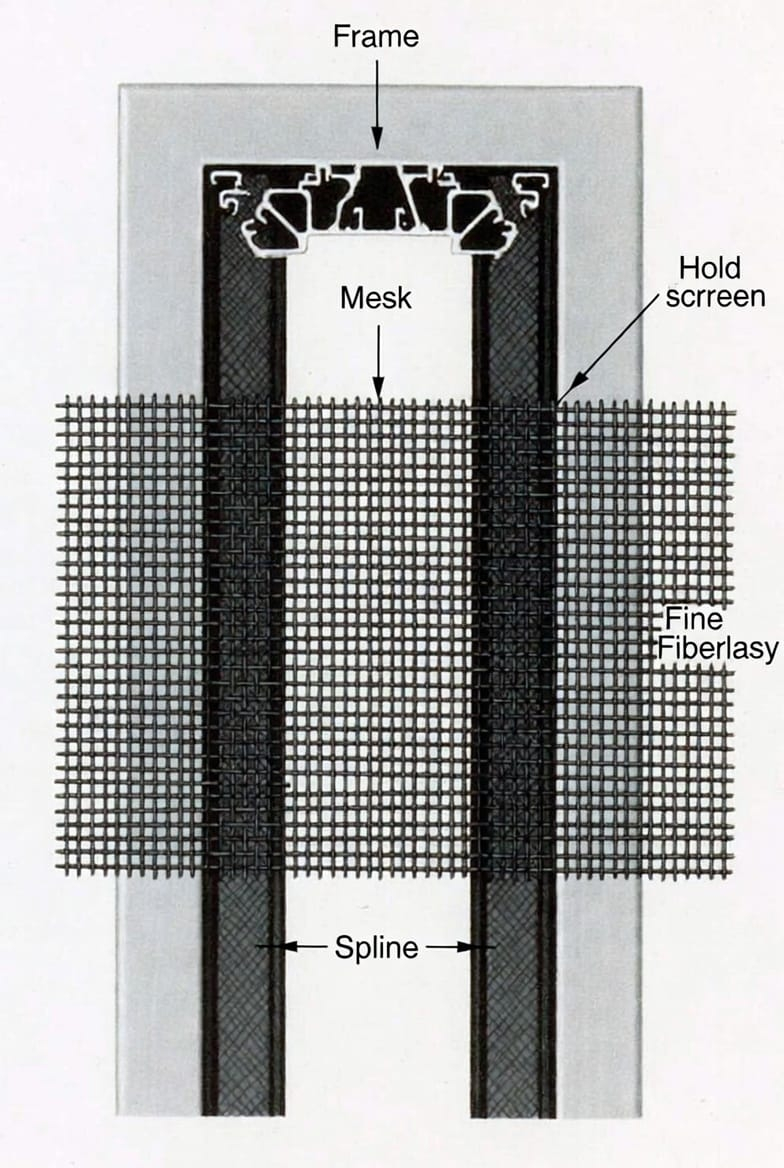
Spline is the flexible cord pressed into the frame groove to secure the mesh. Phifer explains in its screen spline sizing guide that round spline is measured by diameter. That diameter describes the cord, rather than the outside dimensions of the finished screen or the width of the frame rail.
First inspect a corner of the panel. Photograph how the material sits in the groove, then carefully lift a short accessible section of the old spline. Keep the sample with the frame. If it is round, record the diameter; if it has a flat or shaped profile, record that shape as well. A measurement alone does not establish that two profiles are interchangeable.
Phifer’s guide to spline types says most screen frames accept round spline, while some extrusions, particularly those used in Florida pool enclosures, use flat spline. Do not replace a shaped system with round cord merely because the package looks familiar. Ask the frame supplier if you cannot identify the profile.
Measure the groove and keep the old cord as a reference
Work on a stable surface where the frame can lie flat without twisting. Clear loose debris from the short exposed section so you are measuring the groove rather than dirt or leftover mesh. Measure the groove width and, separately, the diameter of an undamaged portion of the old round cord. A caliper can help you read a small dimension; do not crush the flexible sample while taking the reading.
Write the measurements down exactly as your tool reports them. Keep decimal inches consistent with the replacement packaging instead of rounding to a size that seems close. Phifer identifies the groove width as a starting reference for standard screening and warns that channel dimensions vary between frames. The outside frame size is useful context for a supplier, but it does not replace checking the channel.
If the old material is brittle, stretched, flattened, or missing, treat its apparent size as uncertain. Bring the frame or a clear channel photograph to the supplier and ask for a match to the specific system. Phifer notes that usable old spline can sometimes be reused when it is not too old and comes out easily. That is a conditional option, rather than a reason to reinstall damaged cord.
Choose the replacement mesh before finalizing the spline
A screen repair changes when you switch fabrics. Replacing standard mesh with a thicker pet-resistant or solar-screening product means that the fabric and cord must share the same groove differently. Reusing the old diameter without checking the new mesh can therefore give you a poor starting match.
Phifer says that replacing the exact same screening in the same frame calls for the same spline size. Its guidance for thicker products such as PetScreen and TuffScreen is to consider the next smaller diameter than the spline previously used with standard screening. Apply that advice to the named products and compatible frames; do not treat it as a universal rule for every heavy-duty mesh on a store shelf.
Read the instructions for your selected fabric and the frame together. If they leave the fit unclear, give the supplier the mesh product name, groove measurement, frame profile, and old spline sample. This is more useful than asking for the “usual” size. Phifer lists some common diameters, but a common retail size is not proof that it belongs in your particular panel.
Test a short section before committing to the whole frame
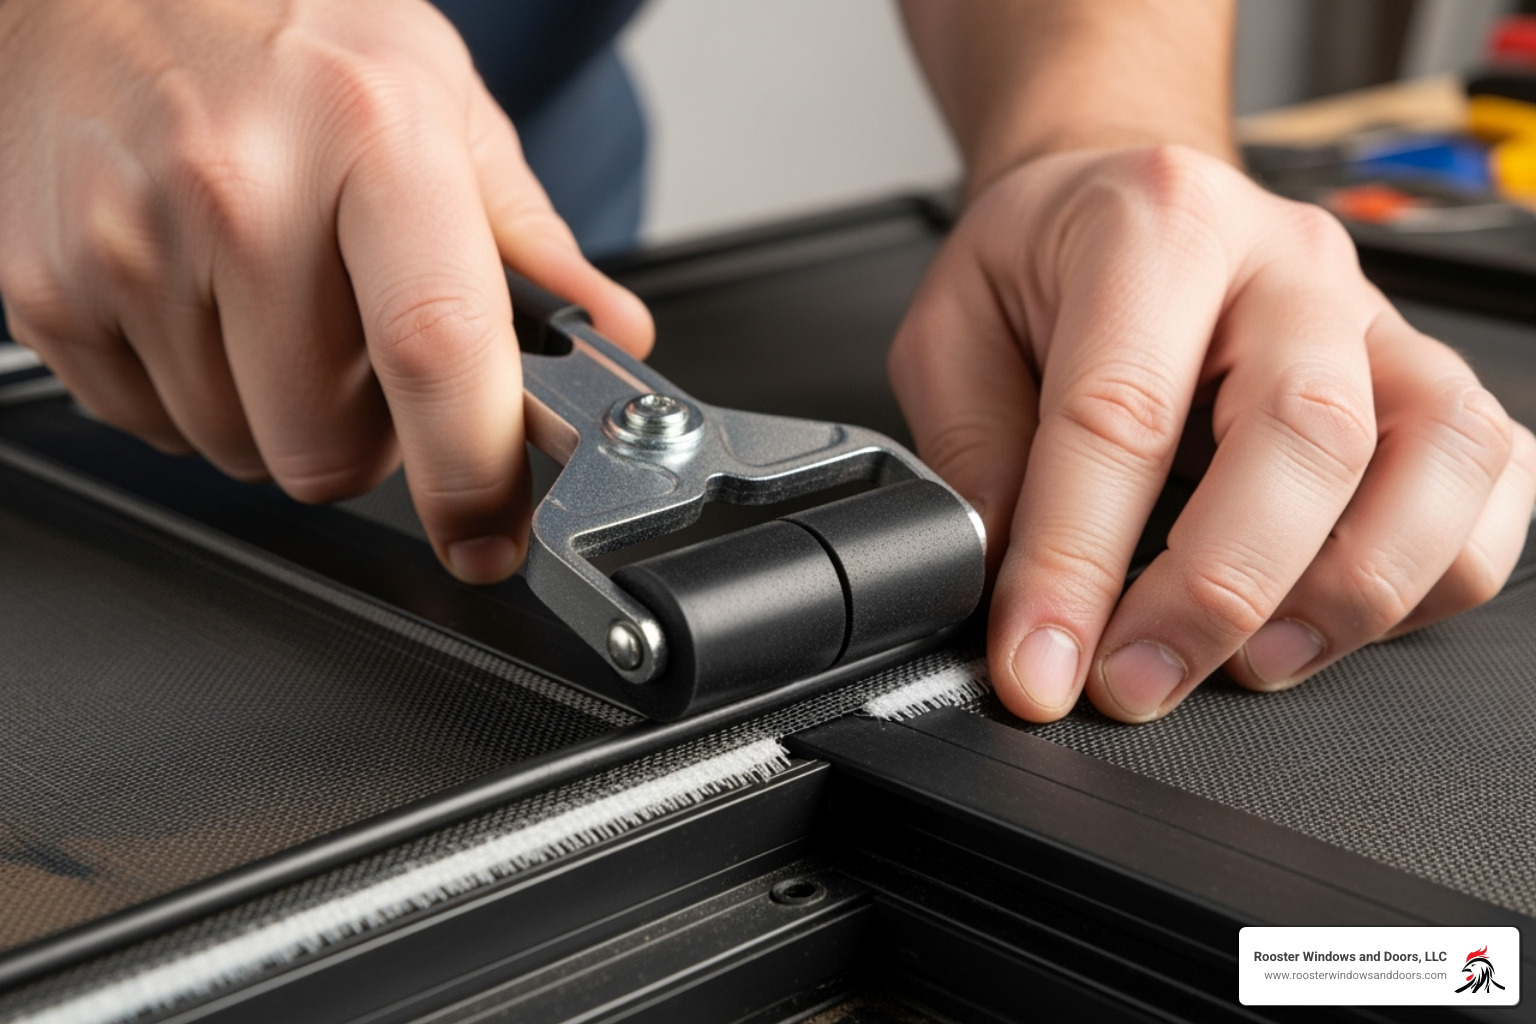
After matching the specifications, test the proposed spline with the actual replacement mesh in a short section of the frame. Use the installation method and roller specified for the material. The purpose is to check the combination, rather than discovering halfway around the panel that the cord will not seat or the mesh will not stay in place.
If the cord lifts out, the mesh slips, or seating the cord appears to distort the rail, stop and recheck the profile, channel, and mesh requirements. These observations do not identify a single cause by themselves. A damaged groove or an incompatible fabric can matter as much as the nominal spline diameter. Do not keep adding force to make an uncertain combination fit.
A trial section is especially useful when different windows have similar-looking frames. Label your measurements by panel location and verify each frame type. Once the test fit is satisfactory, follow the screening manufacturer’s full replacement sequence. This size-selection check does not replace its directions for tensioning, corners, trimming, or reinstalling the panel.
Avoid these buying shortcuts
- Buying by window opening size: the opening helps identify the panel, but spline fit comes from the retention groove and mesh.
- Assuming thicker cord means stronger screening: a larger diameter is not automatically an upgrade. It still has to work with the frame and fabric.
- Copying another screen’s size: neighboring windows may use different frames, replacement panels, or screen materials.
- Choosing from a chart without checking its scope: use the chart for the named product and frame combination, then confirm uncertain details with the supplier.
Keep a simple record for the next repair
Save the mesh product name, spline profile and diameter, panel location, and a photograph of the frame channel. Keep a small labeled offcut after a successful installation. A future repair then starts with a tested combination instead of a guess based on what the old cord looks like after years in service.
For a wider porch project, our screened porch design article offers separate ideas for the space around the screening. For this repair, finish the purchasing decision first: match the profile, measure the groove, account for mesh thickness, and test the specified combination before replacing the full panel.