Heating season has a way of announcing drafty windows one cold evening at a time: the curtain moves, the plant by the glass shivers, the thermostat keeps running. Sealing those leaks is a late-fall job with a real deadline — every week of cold weather that passes before you seal it is a week of heated air leaving through gaps measured in sixteenths of an inch.
Find the Leaks Before You Buy Anything
ENERGY STAR’s air-sealing guidance lists the tell-tale signs: “Drafts around your closed window or door, Visible gaps around the window or door trim, Noticeable pests and dust entering through gaps or holes in or around the window or door… Peeling paint around the window or door frame” (ENERGY STAR). On a windy day, move a slow hand around the sash meeting rails, sash channels and the trim joints; a tissue strip taped to a pencil makes slow air movement visible. Write down which windows leak and where — sash gap, frame joint, or the trim line — because each location gets a different fix.
Match the Seal to the Gap
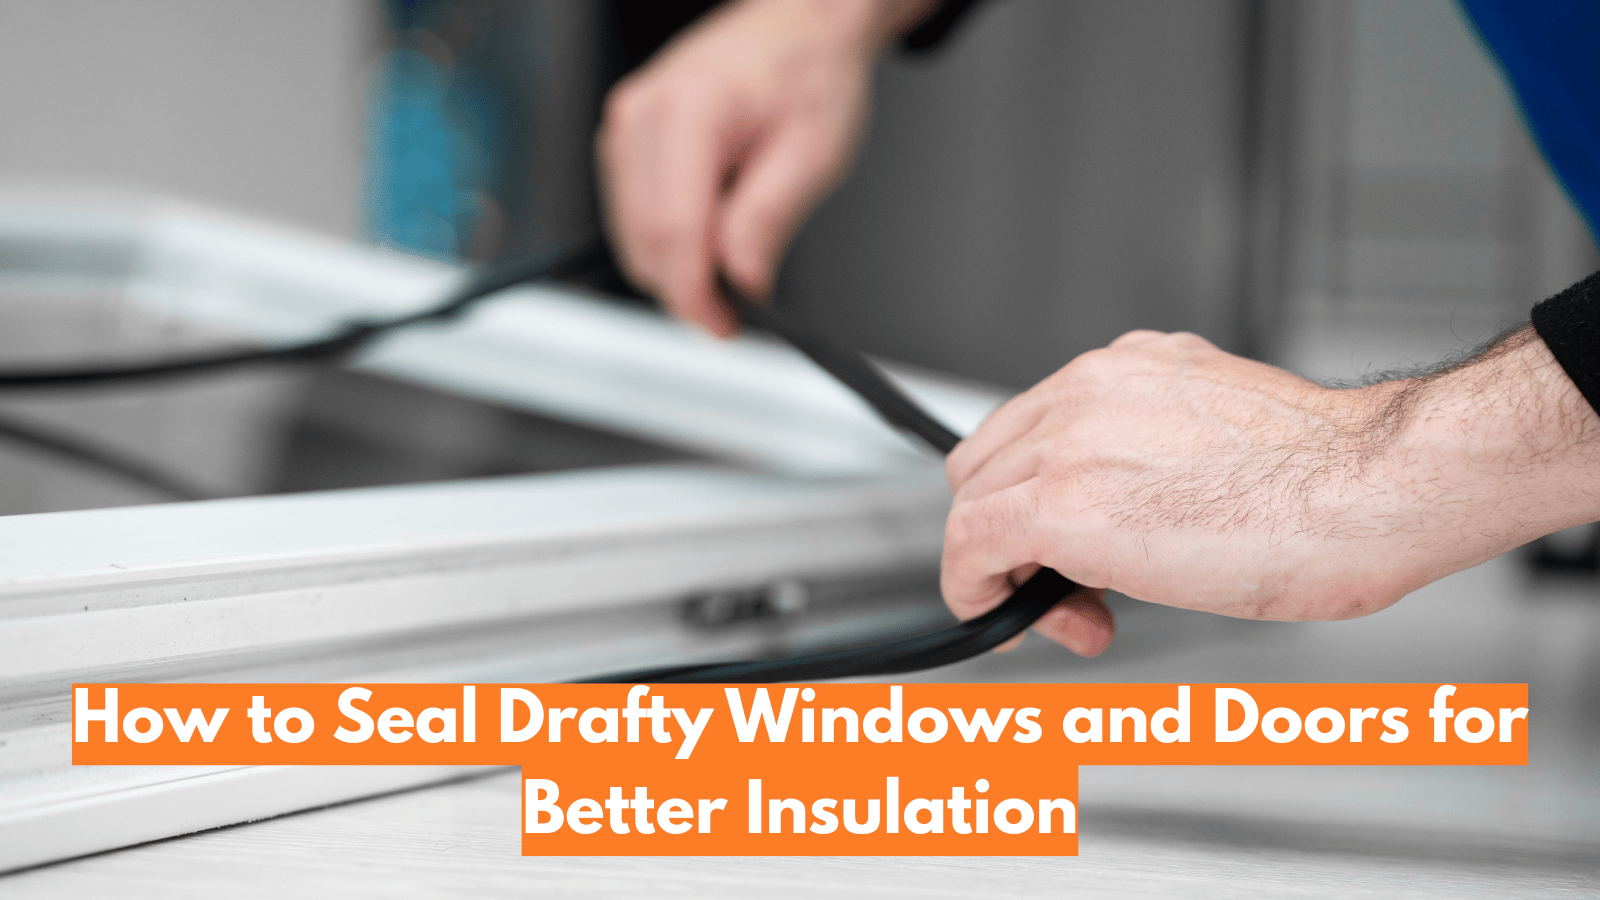
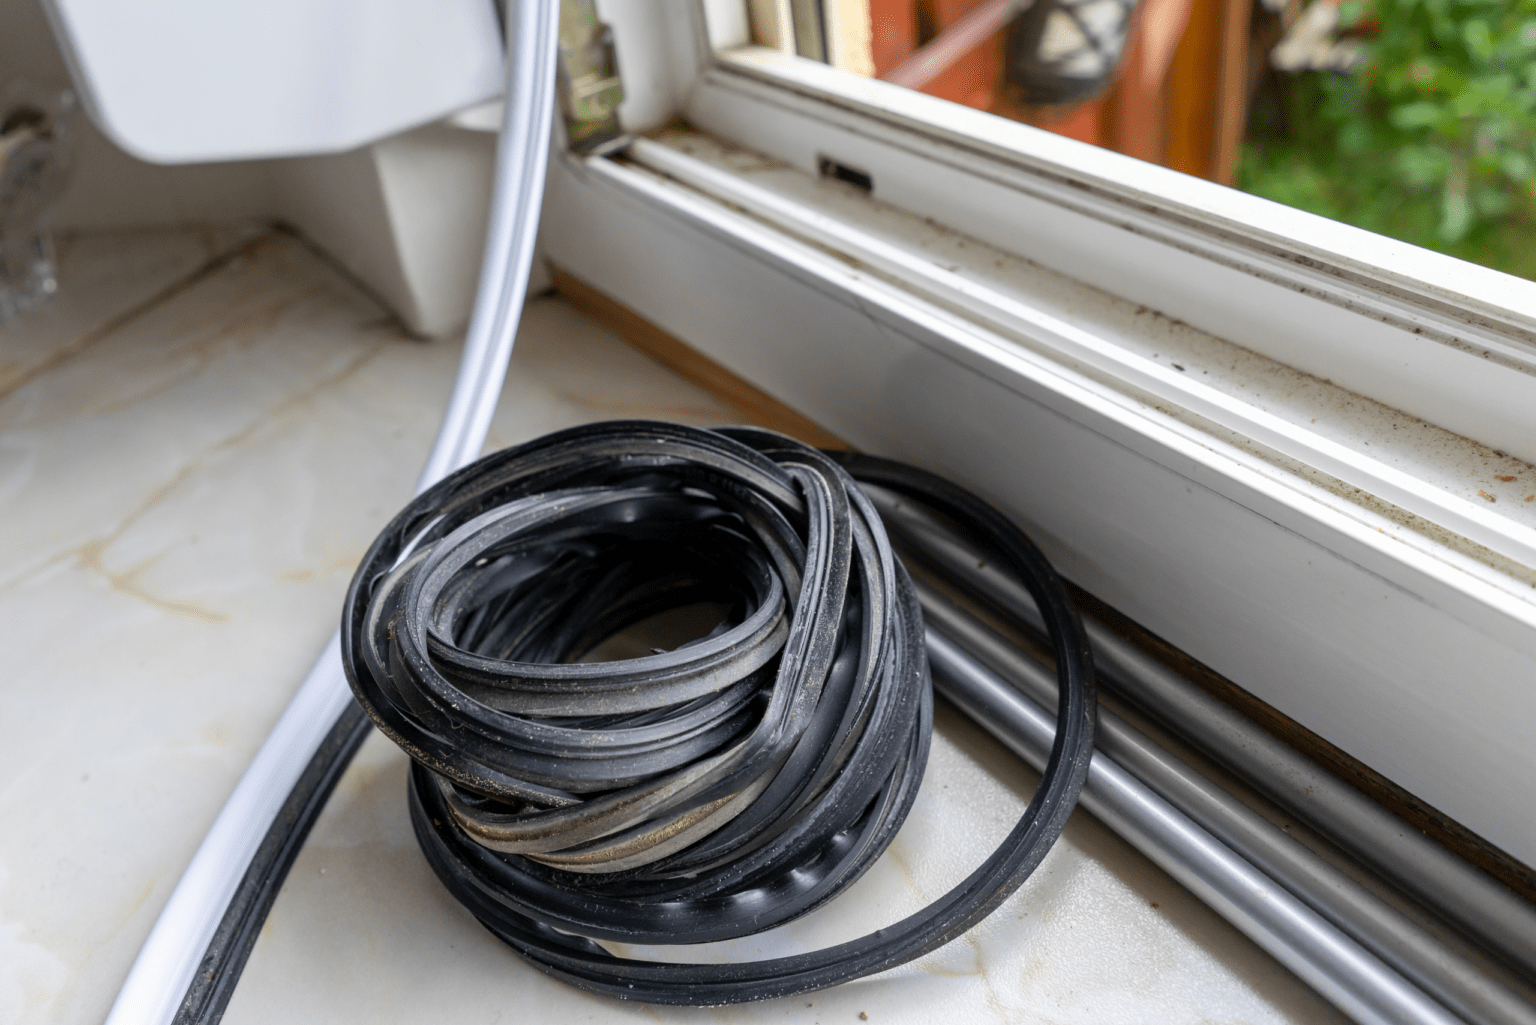
The U.S. Department of Energy’s Guide to Air Sealing sorts DIY materials by job: “Weather-stripping (such as around doors and between window frames and sashes), including tension seal, felt, reinforced foam, rubber tape, aluminum or stainless steel door sweeps, metal gaskets, bulb or fin seals,” alongside caulk for the fixed joints that never move (DOE Guide to Air Sealing). The rule that keeps it simple: moving parts get weatherstripping; joints that never move get caulk.
- Double-hung sash gaps: a V-shaped tension seal (plastic V-strip) pressed into the channels and along the top of the lower sash seals the slide paths where the window actually travels.
- Meeting rails: adhesive-backed foam or tubular gasket on the face where the two sashes close against each other.
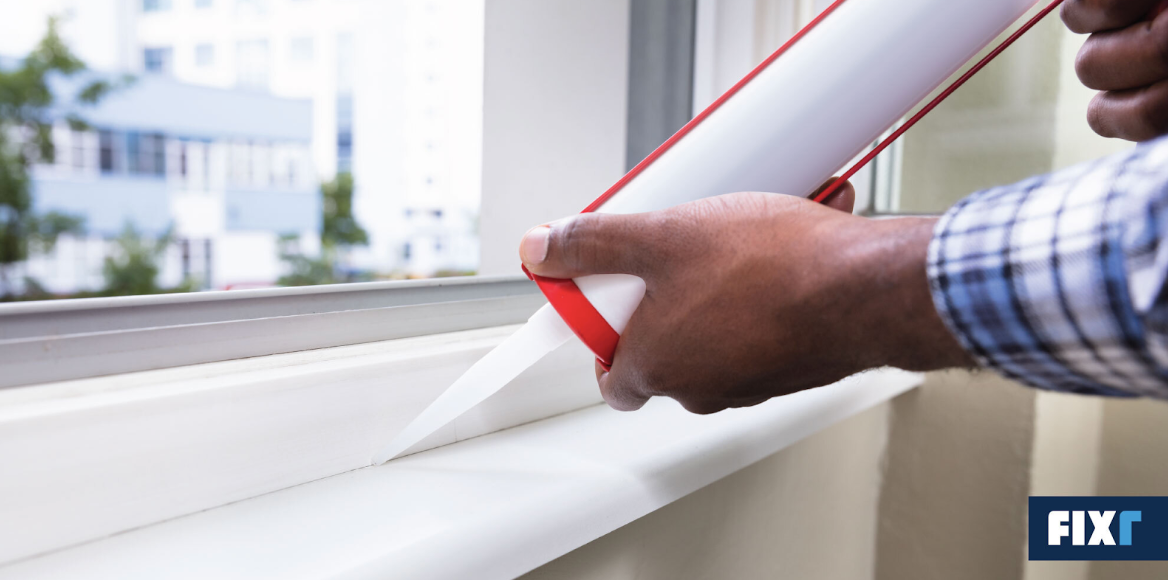
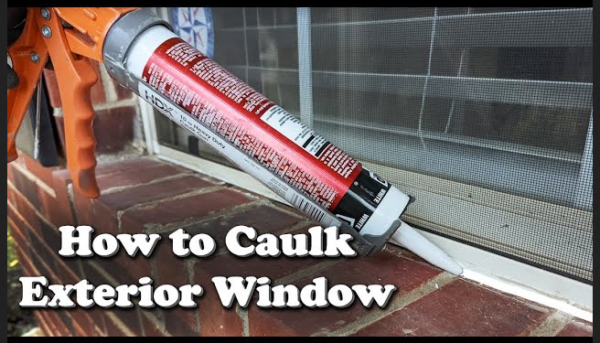
- Frame-to-wall joints and trim edges: a paintable acrylic latex caulk bead, tooled smooth — these joints are static and caulk outlasts foam tape there.
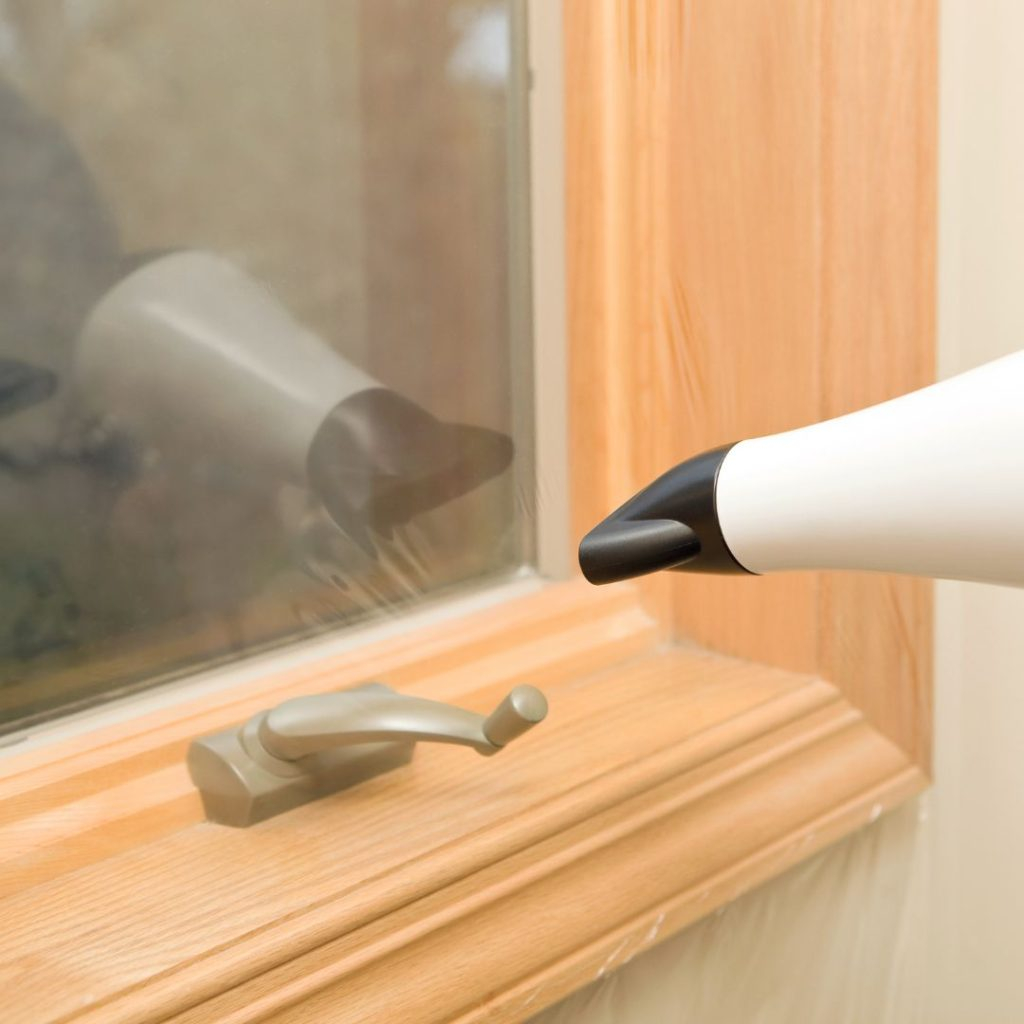
- Whole single-pane sash, rental, or historic glass: an interior window-film kit shrinks tight with a hair dryer and adds an insulating air layer for the season; it is invisible from the street and removes cleanly in spring.
Install So the Window Still Closes
Weatherstripping fails two ways: dirty surfaces and overstuffing. Clean the sash and channel with dish soap and water, let them dry fully, then measure and cut each strip to length. Press the seal into place, and — this is the step everyone skips — open and close the window several times. The sash should compress the seal and still latch fully. If the latch strains or the window rides open, the seal is too thick; peel it back and step down one thickness. Weatherstripping a window takes twenty minutes and pays back the first cold snap.
When a Draft Means Something Bigger
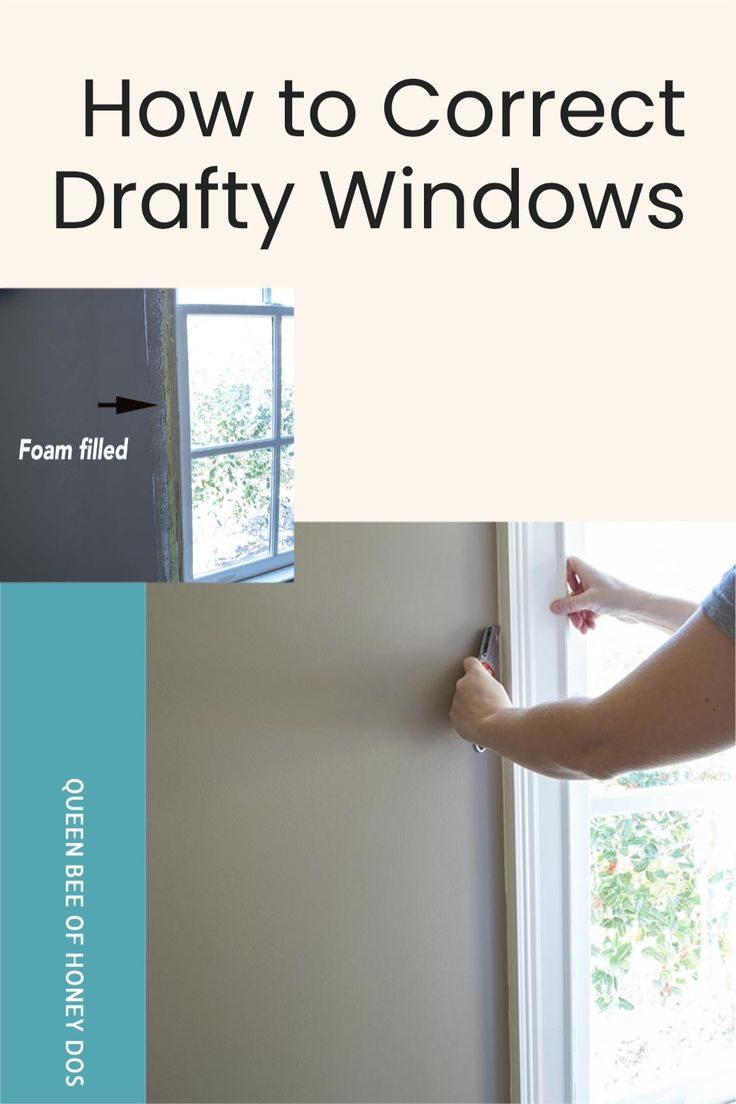
If a window still feels cold after the sashes are sealed, the leak may be behind the trim: many homes were never air-sealed in the rough opening between the frame and the stud wall, so outside air travels inside the wall and exits around the frame. ENERGY STAR’s sealing-behind-the-trim project covers pulling the interior casing, sealing that gap, and reinstalling the trim — a bigger job, but it is the actual source, and no amount of foam tape on the sash will fix it (ENERGY STAR). Also distinguish a draft from a condensation problem before you seal: moisture on the glass behaves differently, and our guide to window condensation and where it forms tells you which one you actually have. If the sash itself is rotten or the glass fogs between panes, sealing is a bridge, not a cure — that is replacement territory, and the numbers to compare quotes by are in our window energy-label guide (compare window energy labels).
A Sensible Order of Attack
Do not strip the hardware-store shelf on day one. Rank the windows using the diagnosis you already wrote down: the one where the curtain visibly moves and the plant by the glass shivers gets the full treatment — weatherstrip plus caulk, plus film if it is a single pane in a room you use nightly. Windows with only a faint draft at the meeting rail get a V-strip and nothing else. Windows that feel cold but show no air movement at all are usually conduction losses through the glass rather than leaks; those belong on the storm-window or replacement list, and no roll of foam tape will change that. Work the north- and wind-facing elevations first, then the rooms you actually sit in all evening — a sealed home office pays back faster than a sealed guest room. Bring each window’s gap notes to the store and buy one thickness down and one up from your best guess; returning a seven-dollar roll beats a second trip in a cold car.
Conclusion
One dry fall Saturday, a roll of V-strip, a tube of acrylic caulk and a film kit will neutralize most of a home’s window drafts: weatherstripping for the moving sash, caulk for the still joints, film for the hopeless pane, and a closer look behind the trim for the leak that laughs at tape. Do it before the first hard freeze and the furnace runs less all winter — which is the entire point.