You’ve probably seen it happen. A neighbor builds a gorgeous stone fire pit one summer. It looks amazing. But by the next winter, the joints are crumbling. Cracks spiderweb across the face. Maybe a brick even falls out. It’s heartbreaking, honestly. And expensive to fix.
Most folks think the problem is the stones or the bricks. They blame the design. But nine times out of ten, the culprit is hiding in plain sight. It’s the stuff holding everything together. The mortar. Pick the wrong kind, and you’re basically building a time bomb of disintegration. Pick the right one, and that hearth will outlast your mortgage. Let’s talk about how to get it right the first time.
Why Regular Mortar Fails Under Fire
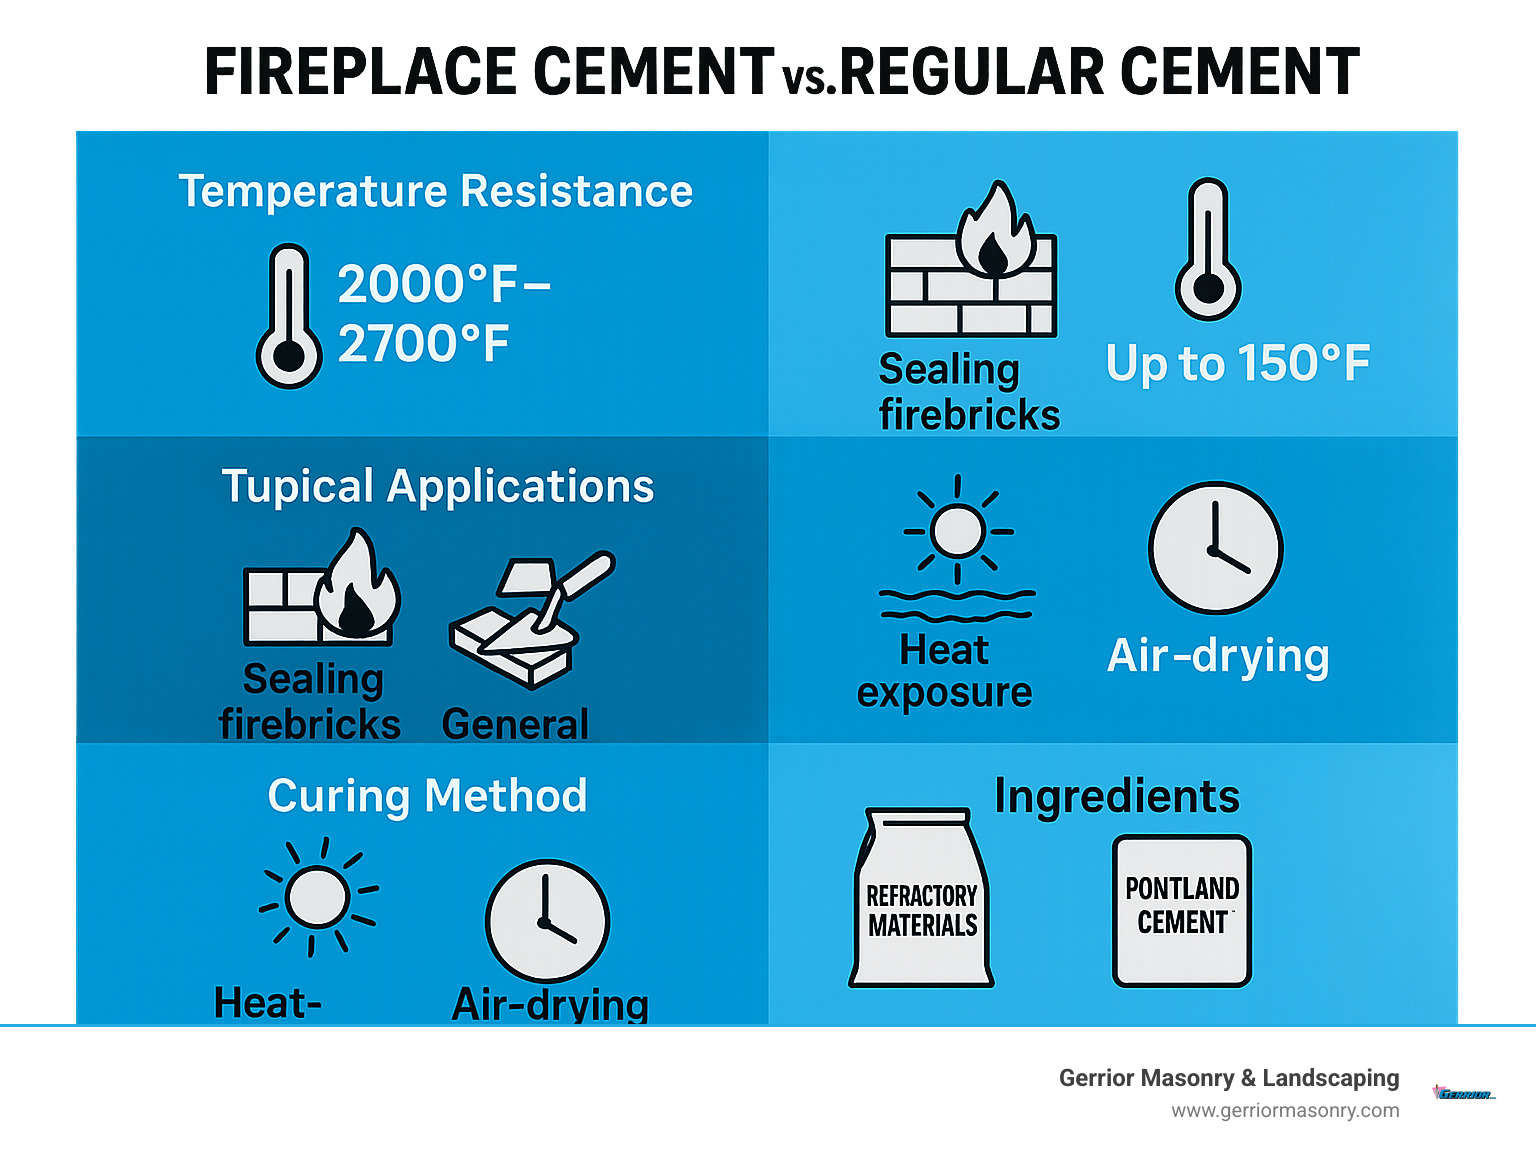
Here’s the thing about standard masonry mortar. It’s great for building walls. It’s fantastic for patios. But put it next to a roaring fire, and it turns into dust. Literally. Most regular mortars use Portland cement as their base. This stuff starts to break down and crumble once temperatures hit around 500°F.
Think about that for a second. A cozy campfire can easily reach 1,000°F or more in the center. Even the outer edges of a well-built fire box get hot. When regular mortar heats up past its limit, the water inside turns to steam rapidly. This creates pressure. The mortar expands unevenly. Then it cracks. Over time, those tiny cracks let moisture in during rainstorms. Freeze-thaw cycles do the rest. Before you know it, your beautiful structure is leaning like the Tower of Pisa.
It’s not just about heat, either. Regular mortar isn’t designed for the thermal shock of going from scorching hot to freezing cold overnight. It lacks the flexibility needed to handle that stress. So, while it might look fine on day one, it’s already failing on a molecular level. Don’t make this mistake. It’s the most common reason DIY hearths fail within two years.
Enter Refractory Mortar: The Heat Warrior
So, what’s the alternative? Refractory mortar. You might hear it called fireclay mortar or high-heat mortar. Whatever you call it, this is the secret sauce. Unlike regular mortar, refractory mixes are engineered to withstand extreme temperatures. We’re talking 2,000°F and beyond. Some specialized blends can handle even more.
How does it work? Instead of just Portland cement, refractory mortar uses calcium aluminate cement or other heat-resistant binders. It often includes aggregates like fireclay, perlite, or vermiculite. These materials don’t just resist heat; they insulate against it. They expand and contract at a rate similar to firebricks, which means they move together instead of pulling apart.
In 2025 and 2026, we’ve seen some great advancements in ready-mix refractory products. Brands like Stone Age Manufacturing offer multi-purpose ready-mixes that take the guesswork out of blending. You just add water. These modern blends are formulated specifically for outdoor ovens, fire pits, and fireplaces. They provide consistent performance without needing a chemistry degree to mix properly. It’s a game-changer for homeowners who want professional results without the hassle.
Understanding the Different Types of Heat-Resistant Mixes
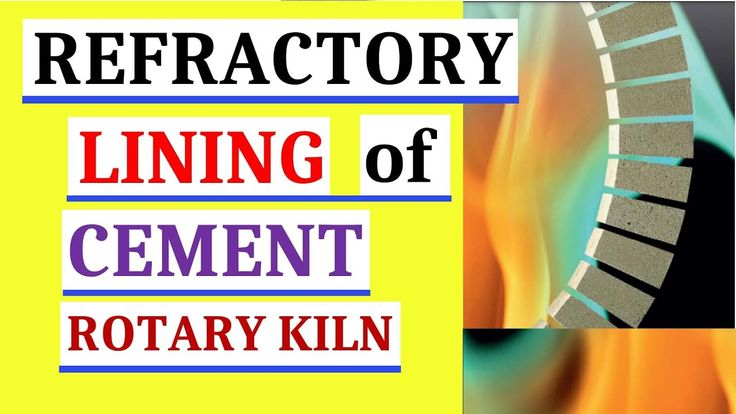
Not all refractory mortars are created equal. There are subtle differences you should know about. First, there’s pure refractory mortar. This is the heavy-duty stuff used for lining industrial kilns or the inner core of a wood-fired oven. It’s incredibly tough but can be brittle if not mixed with the right aggregates.
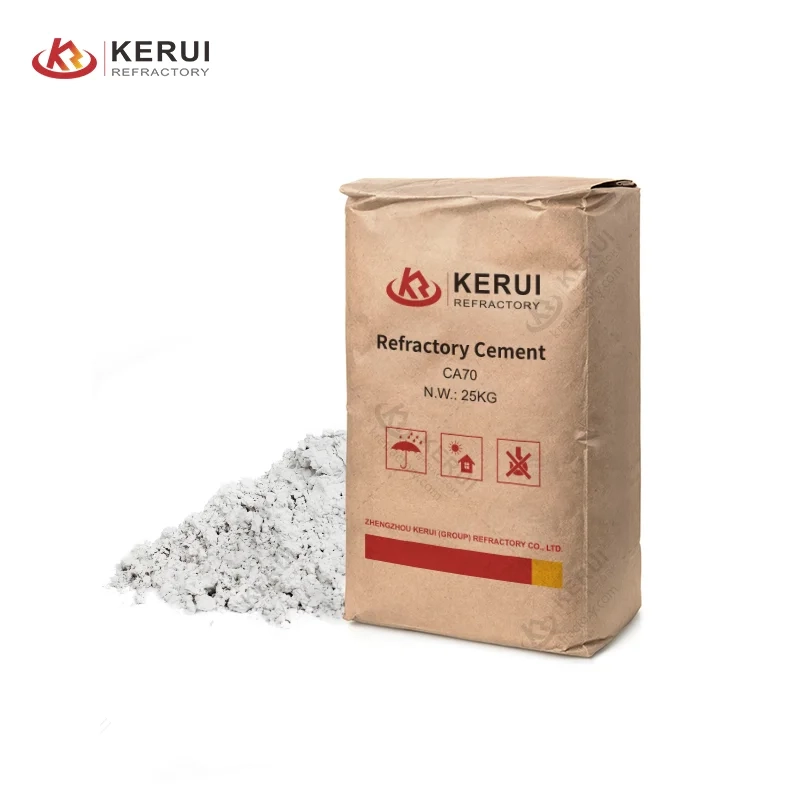
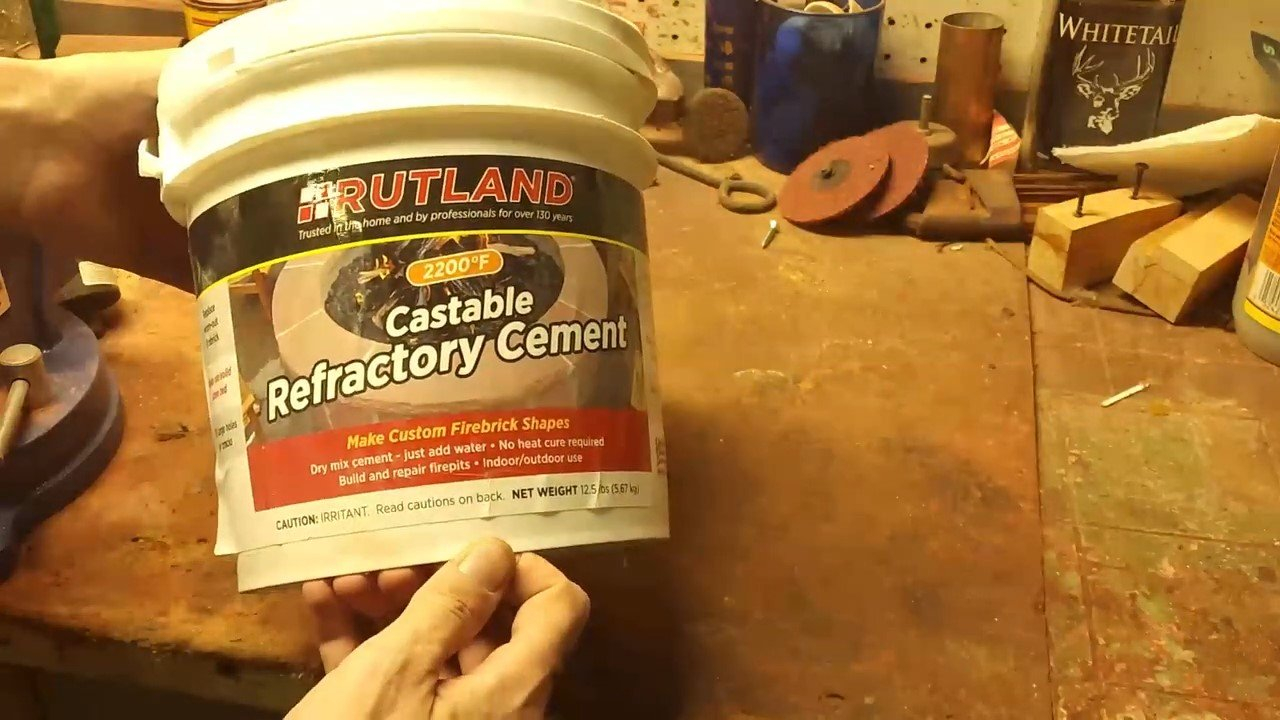
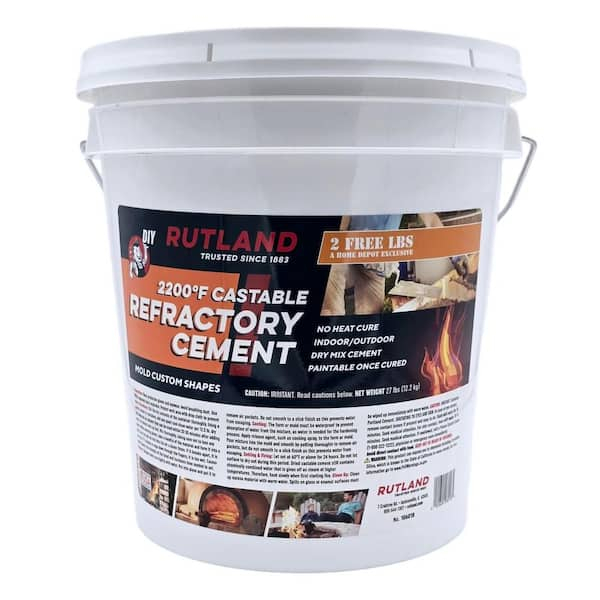
Then there’s refractory cement. This is similar but often sets harder and faster. It’s excellent for structural integrity in high-heat zones. However, it can be less forgiving if your foundation shifts slightly. For most backyard hearths, a balanced refractory mortar blend is ideal. It offers strength plus a bit of flexibility.
Some people ask about lime-based mortars. Traditional lime mortar has been used for centuries. It’s breathable and flexible, which is great for historic stone restoration. But standard lime mortar isn’t enough for direct flame contact. If you’re building a rustic stone hearth where the fire sits back from the face, a hydraulic lime mix might work for the outer layers. But for the firebox itself? Stick to refractory. Always check the manufacturer’s temperature rating. If it doesn’t explicitly say "refractory" or list a high temp rating, keep walking.
Mixing and Application: Getting the Consistency Right
Even the best mortar fails if you mix it wrong. This is where many DIYers stumble. Refractory mortar needs to be mixed thoroughly. Use a drill with a paddle mixer if you can. Hand mixing is possible, but it takes serious elbow grease. You want a uniform color and texture. No dry pockets.
The consistency should be like thick peanut butter. Not soupy. Not crumbly. If it’s too wet, it’ll shrink excessively as it dries, leading to cracks. If it’s too dry, it won’t bond properly to the bricks. Add water gradually. Mix, let it sit for a few minutes, then mix again. This "slaking" process helps the chemicals activate fully.
When applying, keep your joints thin. For firebricks, aim for 1/8 inch or less. Thick joints are weak points. Press the brick firmly into place and give it a slight twist to ensure good contact. Scrape off excess mortar immediately. Once it hardens, removing it is a nightmare. And remember, refractory mortar cures differently than regular mortar. It often needs heat to fully cure. Follow the product instructions carefully. Some require a slow build-up of heat over several fires to reach maximum strength. Patience is key here.
Weatherproofing and Long-Term Maintenance
Your hearth lives outside. That means rain, snow, sun, and wind. Even refractory mortar isn’t invincible to the elements. Water is the enemy. If water gets into the joints and freezes, it expands. This can spall the surface of the mortar and bricks. To prevent this, consider using a breathable water repellent sealant after the mortar has fully cured. Don’t use a film-forming sealer that traps moisture inside. You want the structure to breathe.
Inspect your hearth annually. Look for small cracks or loose joints. Catching problems early is easy to fix. A little fresh refractory patching compound can seal a hairline crack before it becomes a gap. Clean out ash and debris regularly. Trapped moisture under ash piles can cause corrosion and degradation over time.
Also, think about drainage. Make sure your fire pit has a way for water to escape if it gets flooded. Standing water sitting against the base of your hearth for days is a recipe for trouble. Elevate the structure slightly if possible. Good design prevents many maintenance headaches down the road. A well-built hearth with proper care can easily last 20, 30, or even 50 years. I’ve seen century-old fireplaces still going strong because they were built with respect for the materials.
Let’s talk about pitfalls. One big mistake is mixing refractory mortar with regular mortar. Don’t do it. They have different chemical properties and curing times. Mixing them creates a weak, unpredictable bond. Stick to one type per layer. Another error is ignoring the foundation. Your mortar can only do so much if the base is shifting. Ensure your footing is solid, level, and below the frost line if you live in a cold climate.
People also rush the curing process. Just because it feels dry to the touch doesn’t mean it’s fully cured. Refractory materials often need weeks to reach full strength, and heat cycling helps. Don’t build a bonfire the day after you finish laying bricks. Start with small, gentle fires. Gradually increase the intensity over several weeks. This allows the mortar to adjust to thermal stress slowly.
Finally, don’t skimp on quality. Cheap refractory mortar might save you twenty bucks now, but it’ll cost you hundreds in repairs later. Look for reputable brands. Read reviews. Check the date on the bag. Old mortar can lose its effectiveness. Investing in good materials is the cheapest insurance policy you can buy for your project. It’s worth every penny.
Building a backyard hearth is more than just stacking stones. It’s about creating a gathering place. A spot for stories, marshmallows, and quiet evenings. The mortar you choose is the silent partner in all those memories. Get it right, and you’re not just building a fire pit. You’re building a legacy. Take your time. Choose wisely. And enjoy the warmth for decades to come.
[sps_html tag=”img” src=”https://cdn.northcarolinafinearchitecture.com/2026/06/best-fireplace-cement-ultimate-guide-for-2025-and-beyond-regarding-refractory-vs-portland-cement-for-outdoor-fire-features-explained.jpg” alt=”Best Fireplace Cement: Ultimate Guide For 2025 And Beyond regarding Refractory vs Portland Cement for Outdoor Fire Features Explained” style=”width: 100%; height: auto;”]
[sps_html tag=”img” src=”https://cdn.northcarolinafinearchitecture.com/2026/06/refractory-cement-properties-types-and-applications-with-regard-to-outdoor-fire-mortar-design.jpg” alt=”Refractory Cement: Properties, Types, And Applications with regard to Outdoor Fire Mortar Design” style=”width: 100%; height: auto;”]
[sps_html tag=”img” src=”https://cdn.northcarolinafinearchitecture.com/2026/06/high-temperature-refractory-cement-inside-outdoor-fire-mortar-design.jpg” alt=”High Temperature Refractory Cement inside Outdoor Fire Mortar Design” style=”width: 100%; height: auto;”]
[sps_html tag=”img” src=”https://cdn.northcarolinafinearchitecture.com/2026/06/refractory-castable-vs-refractory-cement-key-differences-and-throughout-refractory-vs-portland-cement-for-outdoor-fire-features-explained.webp” alt=”Refractory Castable Vs. Refractory Cement: Key Differences And … throughout Refractory vs Portland Cement for Outdoor Fire Features Explained” style=”width: 100%; height: auto;”]
[sps_html tag=”img” src=”https://cdn.northcarolinafinearchitecture.com/2026/06/refractory-bricks-installation-in-cement-kiln-regarding-outdoor-fire-mortar-design.jpg” alt=”Refractory Bricks Installation In Cement Kiln regarding Outdoor Fire Mortar Design” style=”width: 100%; height: auto;”]