A broken crank or missing latch can turn a small window repair into a frustrating search. Before choosing a replacement by its photograph, build a record that identifies the window and the particular part. A recognizable brand name is a starting point; it is not confirmation that every component sold under that brand will fit.
This guide helps US homeowners collect accessible product information before contacting a manufacturer or parts supplier. It uses Andersen’s published identification guidance as a specific example. Other manufacturers use different labels and locations, so follow the instructions for the brand you actually find. The goal is a useful parts request, not a diagnosis made from one number.
Start with the whole window and the part you need
Take an indoor photograph showing the entire opening, followed by closer views of the handle, lock, hinges, and any damaged component. Note whether the window slides sideways, moves vertically, swings outward, or remains fixed. Describe what you observe rather than assigning a product series from appearance alone.
Label the record by room and position, such as “upstairs bedroom, left window.” Several similar-looking windows can belong to different installation or repair projects. Keep each window’s photographs and numbers together instead of assuming a label from the kitchen also describes the bedroom.
Explain the task in plain language: “The crank turns but the sash does not move,” or “The latch cover is missing.” Those are illustrative descriptions, not diagnoses. Ask the supplier to confirm the component’s name and compatibility. Avoid removing a sash or taking apart operating hardware just to obtain a clearer photograph.
Look for the manufacturer’s product identification
Andersen’s service page says product IDs are commonly found at the top of the window frame when the window is open, or etched into the logo. That is manufacturer-specific guidance, not a promise that every window has an accessible sticker in that location.[4]
If the window operates normally and the location is safely visible, inspect the accessible frame and glass. Photograph the complete label, then take a second close view with readable characters. Keep the original image. Cropping too tightly can leave out a prefix, line break, or nearby field that the manufacturer needs to interpret the code.
Transcribe the characters exactly, including punctuation and leading zeros. Mark an unclear character as uncertain in your notes rather than silently deciding that a letter is a number. A picture lets the service representative check your transcription. Do not scrape paint, remove trim, or lean outside to hunt for a hidden label; use the manufacturer’s support route when access is difficult.
Read the glass marking as supporting evidence
Andersen’s glass-identification article explains that its etching can help identify glass type, manufacturing date, tempering information, and an FX-number where applicable. It says the Andersen logo is typically in a lower corner, although it can also appear in an upper corner.[1]
The same article suggests a magnifying glass, a zoomed digital photograph, light shone across the glass, or dark paper behind the glass to improve visibility. Use only an accessible position. A close photograph can be more useful than repeatedly guessing at faint characters while standing at the window.[1]
Save each marking separately. Andersen explains that the manufacturing date in its glass logo may refer to when the window was made or when a sash or door panel was replaced. A date on the glass therefore should not automatically become the installation date of the entire window.[1]
It also says the tempering code does not identify the glass type. Copying a safety marking into a field labeled “model number” can give a supplier the wrong starting point. Send the photograph and describe where the marking appears, allowing the manufacturer to interpret the relevant fields.[1]
Keep product identity separate from size and performance
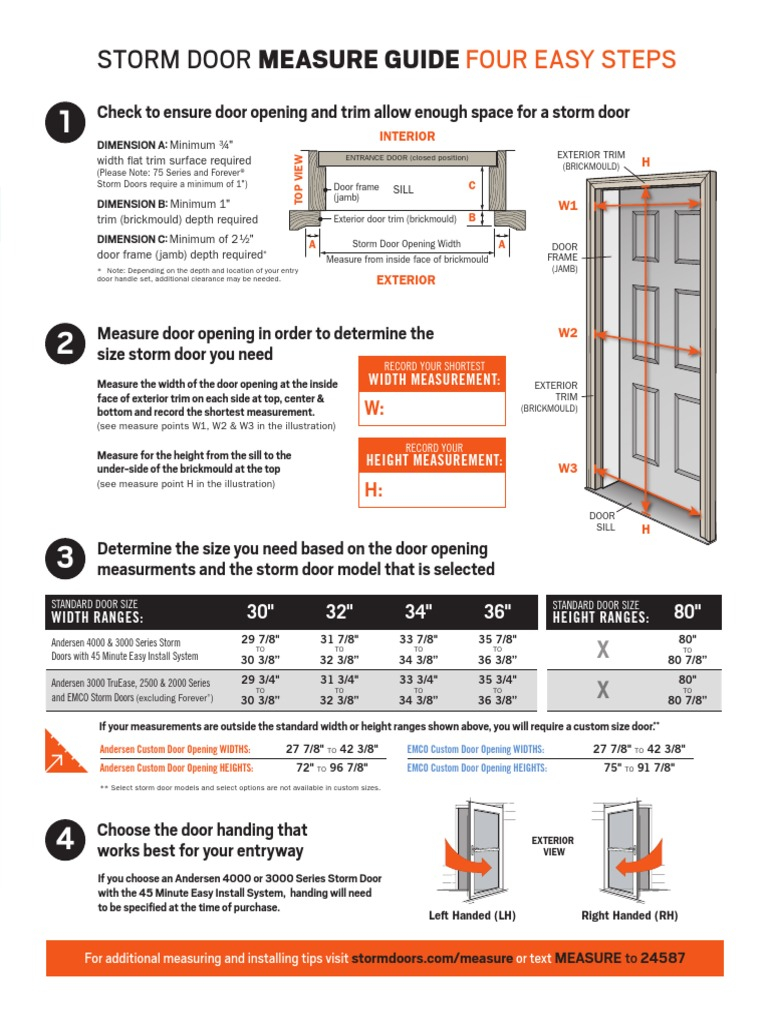
Prepare a small worksheet with separate spaces for manufacturer, product ID, glass marking, operating style, room location, and the part being requested. Add measurements only when the supplier explains which reference points matter. A glass width, a sash width, and an overall frame width describe different objects.
For US parts conversations, record inches and the fractions you actually measure. If an instruction asks for another unit, keep the original reading alongside the requested value. Do not round a measurement to a familiar nominal window size or let a similar dimension stand in for confirmed compatibility.
A performance label answers another question again. If you have old paperwork containing energy ratings, retain it with the order documents, but ask which information identifies the installed unit and which describes its rated performance. Keep a supplier’s confirmed part number in its own field so it cannot be confused with a code copied from the glass.
Send a focused request and ask what remains uncertain
A useful first message contains the whole-window photograph, readable label and glass images, the operating style, the room location, and a short description of the problem. Include the original order or installation paperwork if available, while leaving unrelated personal information out of shared photographs.
Ask for written confirmation of the replacement part number and the window information used to choose it. If the supplier needs dimensions, ask for a diagram showing exactly where to measure. If the part has changed, ask whether the proposed replacement needs additional compatible pieces or a different installation procedure. A visual resemblance alone should not close those questions.
For a hypothetical example, a homeowner might send a photograph of a casement window, its accessible label, and the crank assembly, then ask whether a proposed operator fits that identified unit. This does not establish that every crank problem requires a new operator. It gives the supplier enough context to ask the next specific question.
Save the answer and separate the next repair
Keep the confirmed part number, supplier response, label images, and installation instructions in one folder. Record any unresolved issue before placing an order. If the manufacturer cannot identify the unit from accessible information, arrange help rather than dismantling unfamiliar parts to complete the worksheet.
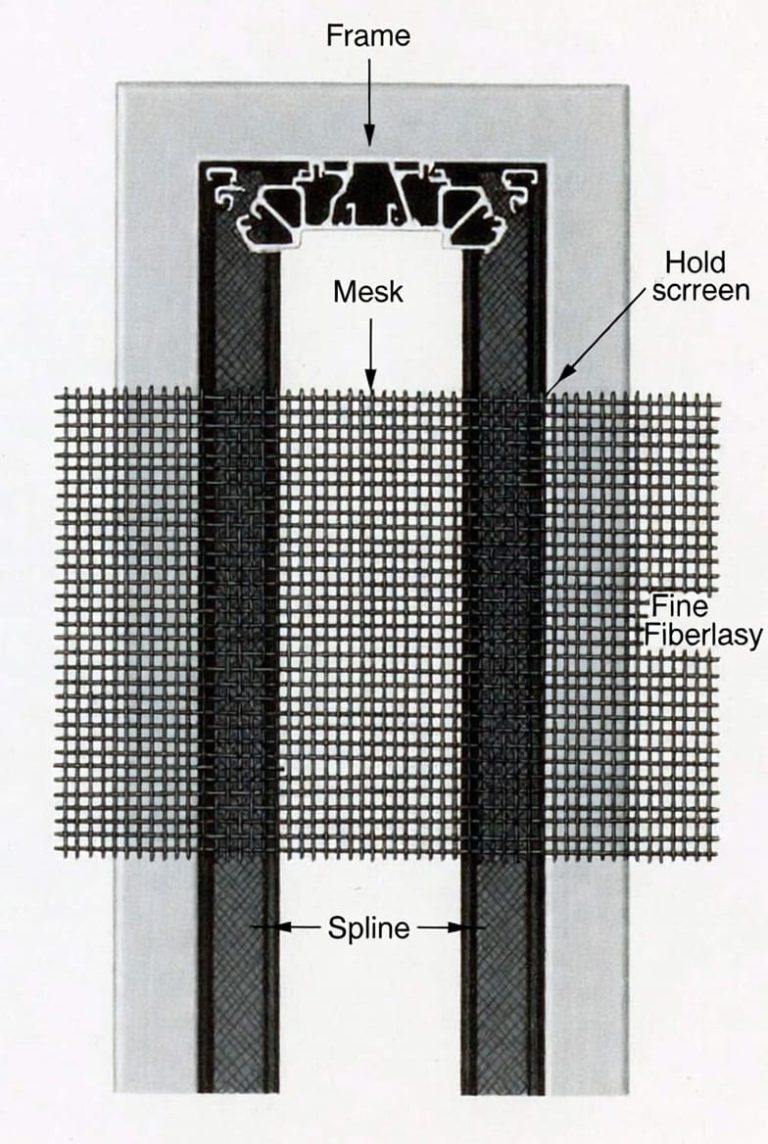
An insect-screen repair has its own fit questions. Our guide to choosing window screen spline discusses the screen groove, profile, and mesh; those measurements should not be substituted for the identity of the operating window.
Finish with a record you can reuse: which window you inspected, which numbers you actually found, which part the supplier confirmed, and which questions still need an answer. That makes a small repair easier to review without turning an uncertain code or a familiar-looking photograph into an unsupported purchase.
Sources
- [1] Identify Glass Type on Andersen Windows and Patio Doors
- [4] Andersen Service & Support | Andersen Windows