There’s something magical about gathering around food outdoors. The smell of charcoal, the sound of sizzling steaks, the laughter echoing off the patio walls. It’s not just about eating; it’s about connecting. But here’s the thing most people miss when they start dreaming up their perfect backyard setup. They focus on the grill. Or the pizza oven. Or that fancy fridge they saw in a magazine.
They forget the anchor. The centerpiece.
That big, beautiful island or counter space that holds everything together. If you get this wrong, your outdoor kitchen feels like a temporary campsite. Get it right? It becomes the soul of your home’s exterior. A place where memories are made, not just meals cooked. And the secret isn’t just picking pretty stones. It’s about designing for time. For rain, sun, snow, and all the seasons in between. You want something that looks better in ten years than it does today. Sounds impossible? It’s not. It just takes a different mindset.
Choosing Materials That Laugh at the Weather
Let’s talk stone. Not just any stone, but the kind that has seen centuries pass and barely blinked. Natural granite, quartzite, or high-quality porcelain slabs are your best friends here. In 2026, we’re seeing a huge shift away from delicate marbles that stain if you look at them wrong. People want resilience. They want materials that can handle a spilled glass of red wine during a summer party or the freeze-thaw cycles of a harsh winter without cracking.
Concrete is another powerhouse, but it needs to be done right. Standard concrete will crack. It’s inevitable. But fiber-reinforced concrete with proper sealing? That’s a different story. It can be cast into any shape, colored to match your aesthetic, and sealed against moisture. Just remember, sealing isn’t a one-and-done deal. It’s part of the rhythm of owning an outdoor space. Think of it like changing the oil in your car. Neglect it, and things break down. Keep up with it, and it runs smooth for ages.
Don’t overlook stainless steel either. Specifically, marine-grade 316 stainless. It’s pricier than the standard 304 grade, but it resists salt air and corrosion far better. If you live near the coast, this isn’t optional. It’s essential. The shine might dull slightly over time, developing a patina that many find charming, but it won’t rust through. That’s the difference between a centerpiece that lasts seasons and one that lasts decades. It’s in the details of the alloy.
Layout Logic: Flow Over Flash
A pretty island is useless if you can’t move around it. Imagine trying to cook burgers while someone is trying to grab a beer from the fridge behind you. Awkward, right? That’s bad flow. The layout of your centerpiece dictates how people interact with the space. The "work triangle" concept from indoor kitchens still applies, but it’s looser outdoors. You need zones. A prep zone, a cooking zone, and a serving zone.
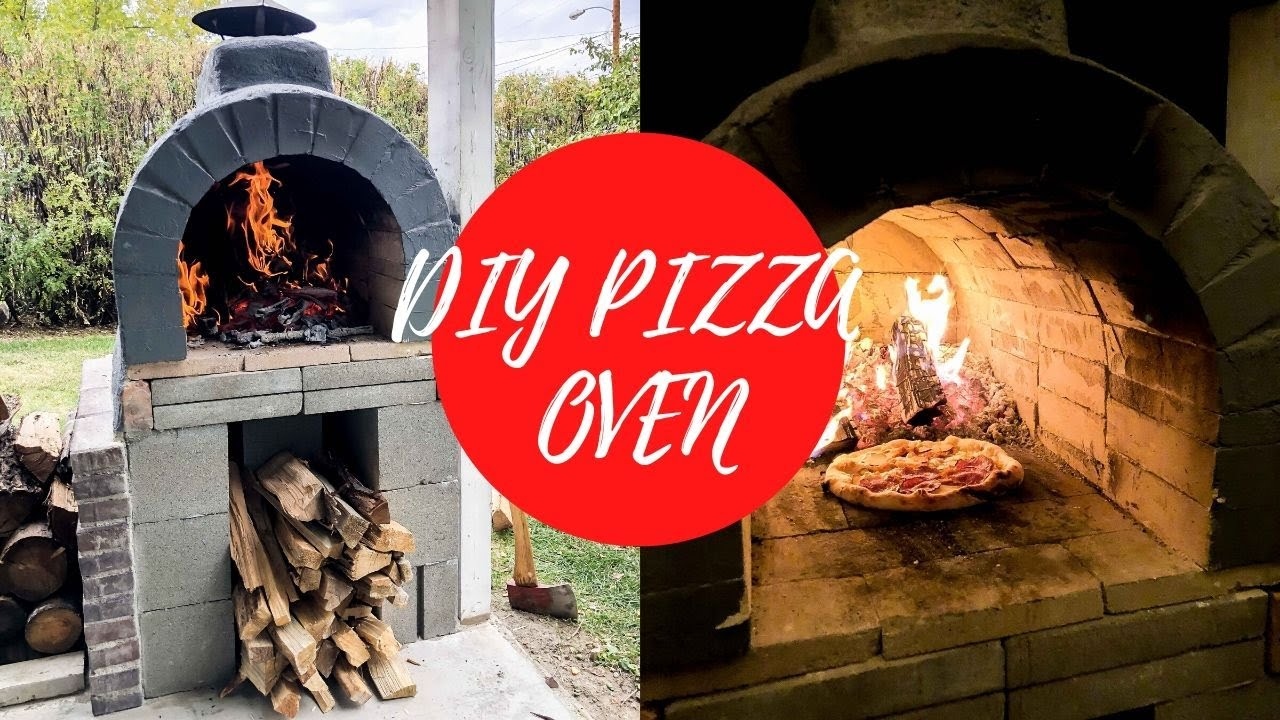
Keep the prep area close to the grill but not so close that heat becomes an issue. Leave at least 24 inches of counter space on either side of the grill. This gives you room to set down hot pans or raw ingredients without crowding. If you’re adding a pizza oven, give it its own breathing room. These ovens get incredibly hot. You don’t want radiant heat melting your plastic utensil holder or making the prep area unbearable in July.
Think about height too. Standard counter height is 36 inches, but consider adding a section at 42 inches for bar seating. This creates a natural barrier between the cook and the guests. It keeps people out of the splash zone while letting them chat. It turns the cooking process into a performance, which is half the fun of an outdoor kitchen. Make sure there’s enough knee clearance under the bar—about 12 inches deep and 24 inches wide per person. Comfort matters. If your guests are squirming on stools, they won’t stay long.
Integrating Appliances Without Clutter
We’ve all seen those outdoor kitchens that look like a appliance showroom exploded. Grills, smokers, fryers, ice makers, wine fridges—it’s too much. A true centerpiece balances function with simplicity. Choose two or three key appliances that fit your lifestyle. Do you really need a built-in deep fryer if you only use it once a year? Probably not. Stick to what you’ll use weekly.
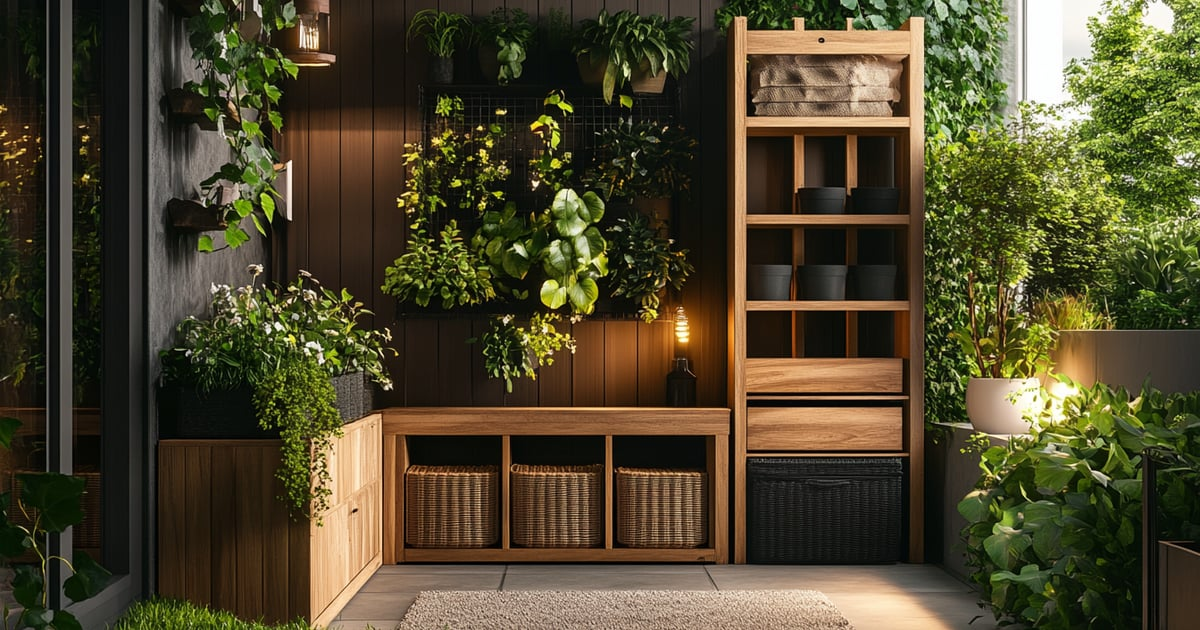
Storage is where many designs fail. Outdoor cabinets take a beating. Humidity, pests, and temperature swings can warp wood and rust cheap metal. Opt for powder-coated aluminum or polymer-based cabinets. They don’t rot, they don’t rust, and they’re easy to wipe down. Inside, use adjustable shelves. You might store large platters today, but next year you might want to organize spices and tools differently. Flexibility is key.
Lighting is often an afterthought, but it’s crucial for both safety and ambiance. Under-counter LED strips provide task lighting for prep work without blinding anyone. Pendant lights over the bar add style and define the space. Make sure all fixtures are rated for wet locations. IP65 or higher is the gold standard. This ensures they can handle direct rain and hose-down cleaning. Don’t let a flickering bulb ruin the mood of your evening gathering.
Climate-Smart Design Choices
Your location dictates your design. What works in Arizona won’t fly in Maine. In hot, dry climates, light-colored materials reflect heat and keep the surface cooler to the touch. Dark granite might look sleek, but it can burn your hands in mid-summer. Consider adding shade structures. A pergola with retractable canvas covers offers protection from the sun while allowing airflow. It extends the usability of your kitchen into the hottest parts of the day.
In colder, wetter regions, drainage is critical. Ensure your countertop has a slight slope away from the appliances to prevent water pooling. Standing water is the enemy of durability. It seeps into cracks, freezes, and expands, causing damage. Also, think about wind. If your area is prone to gusts, avoid lightweight umbrellas. Instead, build solid windbreaks using glass panels or masonry walls. These protect the flame of your grill and keep guests comfortable.
Humidity is a silent killer. In tropical or coastal areas, mold and mildew thrive. Avoid porous materials like untreated wood or certain natural stones that absorb moisture. Stick to non-porous surfaces like porcelain or sealed concrete. Regular cleaning with mild soap and water helps, but choosing the right material from the start saves you hours of scrubbing later. It’s about working with nature, not fighting it.
The Human Element: Social Zones
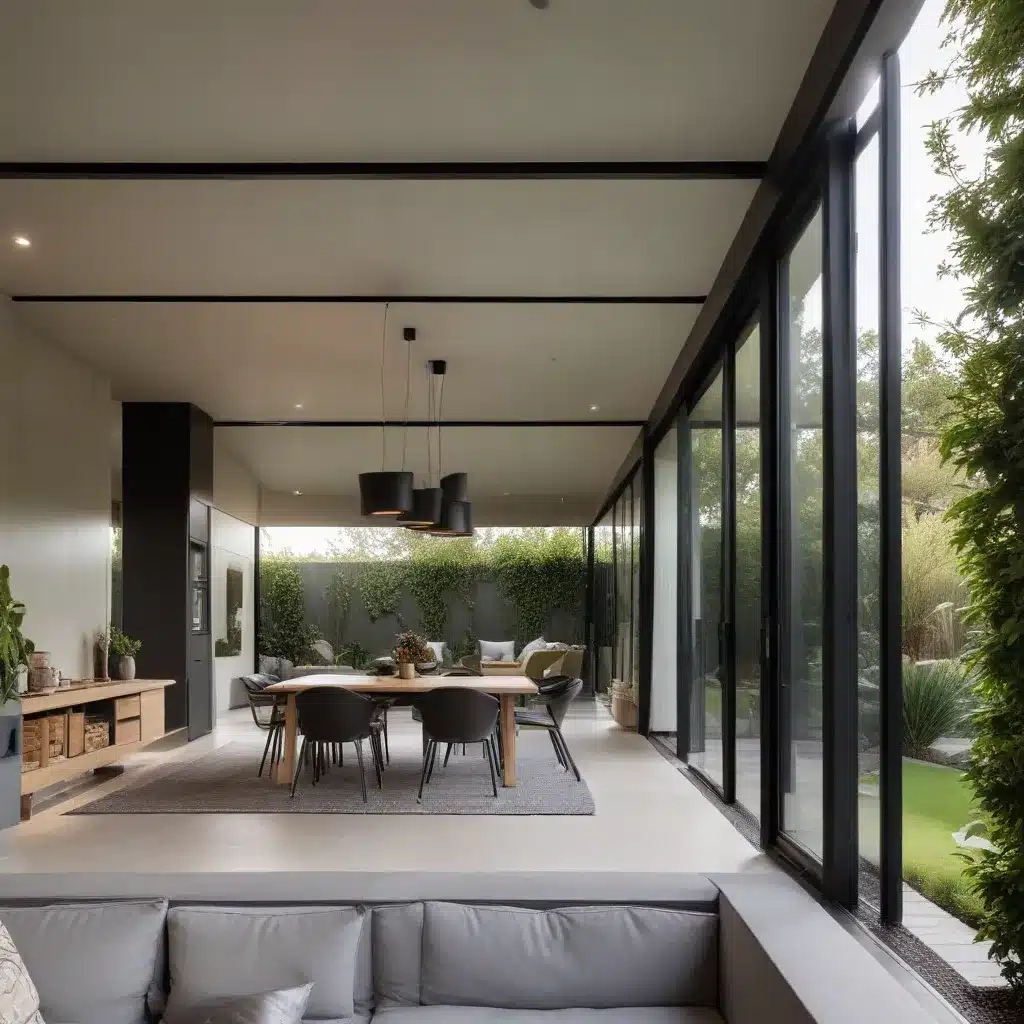
An outdoor kitchen isn’t just a place to cook; it’s a place to be. The centerpiece should invite interaction. Leave open sides where possible. A U-shaped layout can feel封闭 (closed off), while an L-shaped or straight run with an island encourages movement and conversation. Position the island so the cook faces the yard or the view, not a wall. This keeps the chef part of the party.
Add soft elements to balance the hard surfaces. Potted plants, herb gardens built into the counter, or even a small water feature nearby can soften the look and sound. Herbs like rosemary, thyme, and basil are practical and aromatic. They add freshness to your cooking and your space. Plus, tending to them becomes a ritual, a moment of calm before the chaos of hosting begins.
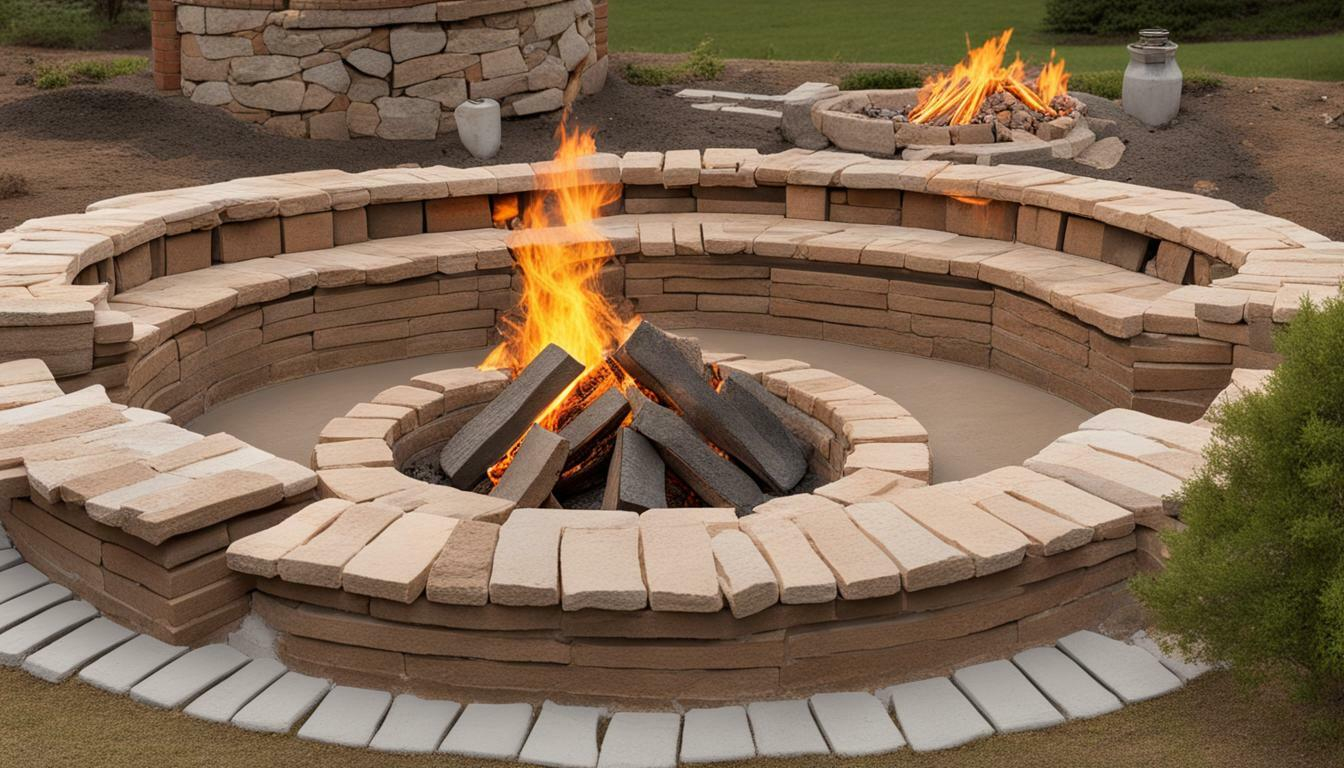
Consider the ground beneath your feet. Pavers, stone, or concrete pads provide a stable foundation. Avoid grass or dirt directly under the cooking area. It gets muddy, uneven, and hard to clean. Define the space with a change in texture or color. This psychological boundary tells guests, "This is the kitchen zone," helping to organize the flow of traffic naturally. It’s subtle, but effective.
Let’s bust a myth: Outdoor kitchens are high maintenance. Not if you design them right. The goal is low-effort upkeep. Choose materials that age gracefully. Teak wood turns silver-gray. Copper develops a green patina. Stone gets character. Embrace these changes rather than fighting them. It reduces the pressure to keep everything looking brand new every single day.
Cleaning should be simple. A hose, a soft brush, and mild detergent are usually enough. Avoid harsh chemicals that can strip sealants or damage finishes. Cover your appliances when not in use, especially during long periods of non-use like winter. High-quality fitted covers protect against dust, bird droppings, and UV rays. It’s a small step that adds years to the life of your investment.
Inspect your space seasonally. Check for loose tiles, cracked sealant, or rust spots. Catching small issues early prevents big repairs later. It’s like going to the dentist. Regular checkups save you pain and money. Keep a small kit of touch-up supplies handy—extra sealant, touch-up paint for metal, and replacement bulbs. Being prepared means you spend less time fixing and more time enjoying.
Building an outdoor kitchen centerpiece that lasts isn’t about spending the most money. It’s about making smart choices. It’s about understanding how materials behave, how people move, and how weather impacts structure. It’s about creating a space that feels good to be in, year after year.
When you stand back and look at your finished project, you shouldn’t just see a grill and some counters. You should see a stage for future memories. A place where your kids will learn to cook, where friends will gather for holidays, where quiet mornings with coffee become a ritual. That’s the real value. That’s what lasts.
So take your time. Plan thoughtfully. Choose wisely. And then, light the fire. The rest will follow.
[sps_html tag=”img” src=”https://cdn.northcarolinafinearchitecture.com/2026/06/how-to-build-wood-fired-pizza-oven-plans-at-brian-christensen-blog-pertaining-to-build-a-wood-fired-pizza-oven-in-your-backyard-with-these-free-2026-plans.jpg” alt=”How To Build Wood Fired Pizza Oven Plans At Brian Christensen Blog pertaining to Build a Wood Fired Pizza Oven in Your Backyard with These Free 2026 Plans” style=”width: 100%; height: auto;”]
[sps_html tag=”img” src=”https://cdn.northcarolinafinearchitecture.com/2026/06/woodwork-how-to-build-wood-fired-pizza-oven-pdf-plans-for-build-a-wood-fired-pizza-oven-in-your-backyard-with-these-free-2026-plans.jpg” alt=”Woodwork How To Build Wood Fired Pizza Oven Pdf Plans for Build a Wood Fired Pizza Oven in Your Backyard with These Free 2026 Plans” style=”width: 100%; height: auto;”]
[sps_html tag=”img” src=”https://cdn.northcarolinafinearchitecture.com/2026/06/how-to-build-a-pizza-oven-with-the-wood-fired-pizza-oven-diy-kit-with-regard-to-outdoor-pizza-oven-design.png” alt=”How To Build A Pizza Oven With The Wood Fired Pizza Oven Diy Kit … with regard to Outdoor Pizza Oven Design” style=”width: 100%; height: auto;”]
[sps_html tag=”img” src=”https://cdn.northcarolinafinearchitecture.com/2026/06/how-to-build-a-commercial-wood-fired-pizza-oven-at-tracy-jacoby-blog-pertaining-to-build-a-wood-fired-pizza-oven-in-your-backyard-with-these-free-2026-plans.jpg” alt=”How To Build A Commercial Wood Fired Pizza Oven At Tracy Jacoby Blog pertaining to Build a Wood Fired Pizza Oven in Your Backyard with These Free 2026 Plans” style=”width: 100%; height: auto;”]
[sps_html tag=”img” src=”https://cdn.northcarolinafinearchitecture.com/2026/06/how-to-build-a-wood-fired-pizza-oven-diy-backyard-pizza-oven-youtube-pertaining-to-build-a-wood-fired-pizza-oven-in-your-backyard-with-these-free-2026-plans.jpg” alt=”How To Build A Wood Fired Pizza Oven // Diy Backyard Pizza Oven - Youtube pertaining to Build a Wood Fired Pizza Oven in Your Backyard with These Free 2026 Plans” style=”width: 100%; height: auto;”]