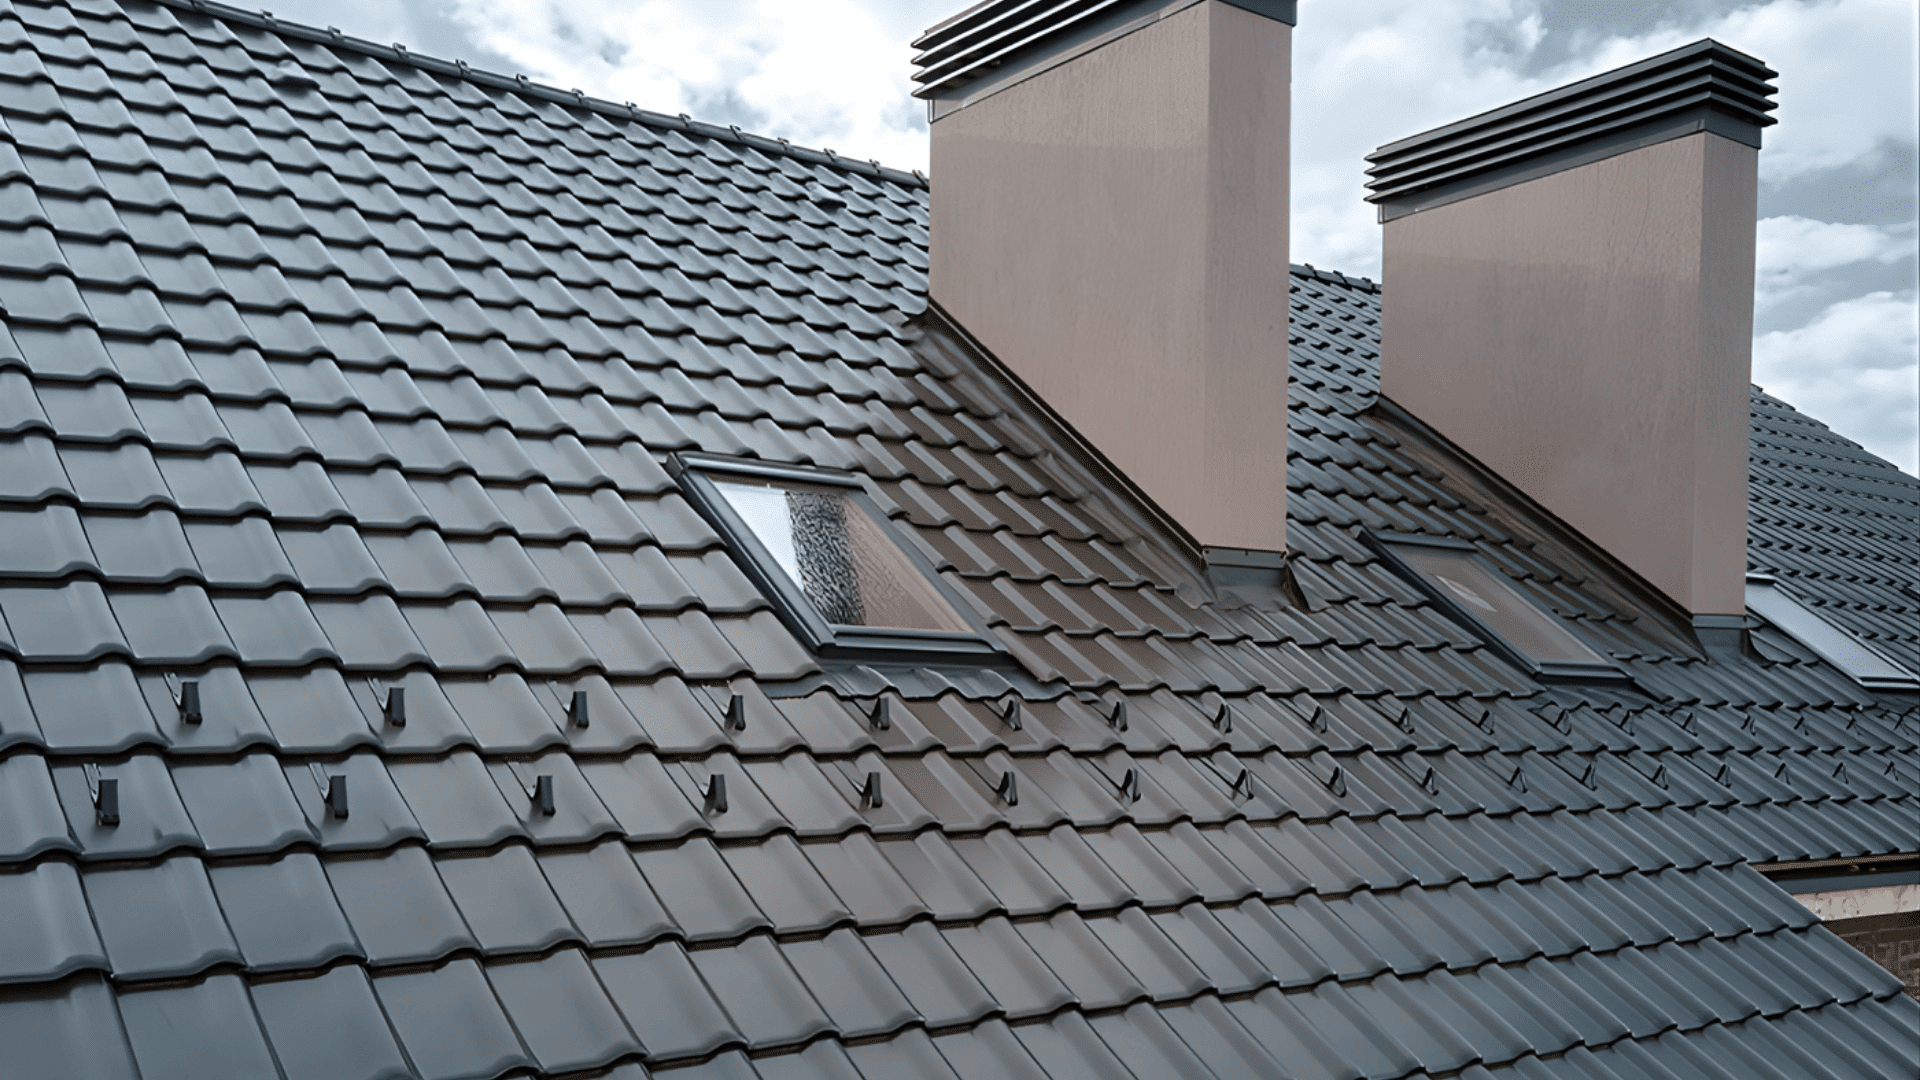
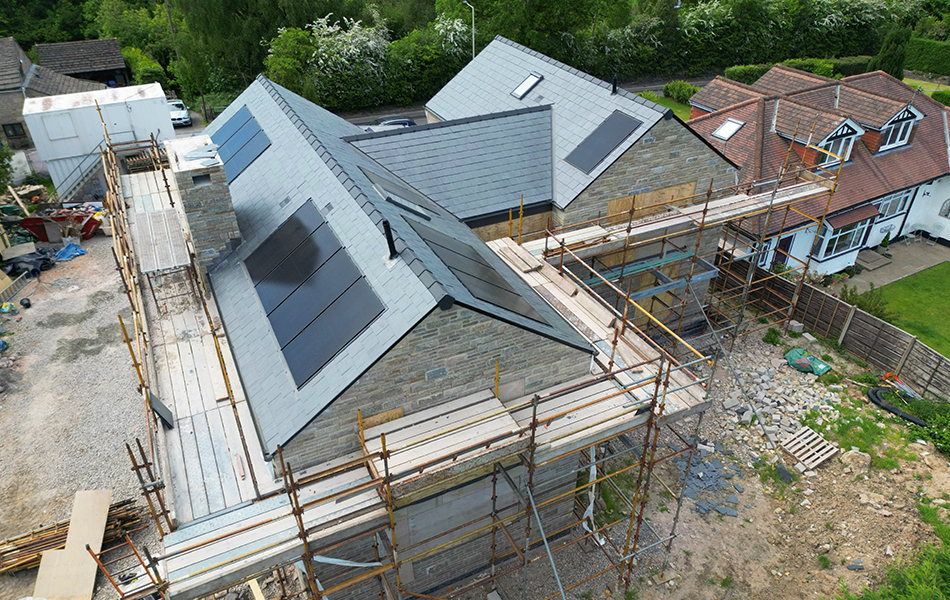
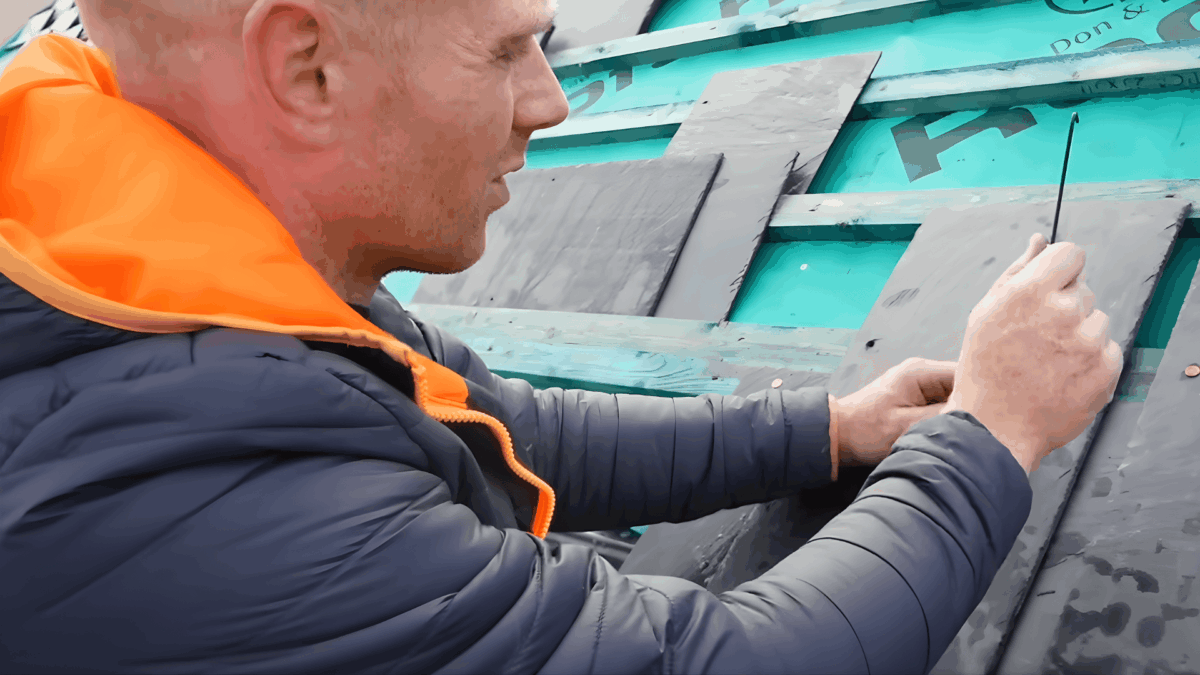
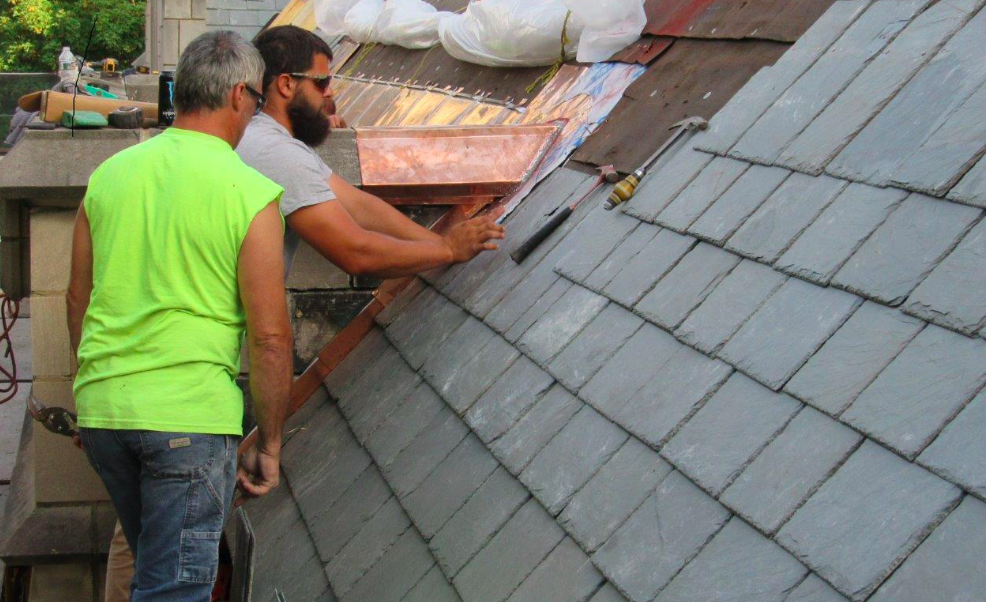
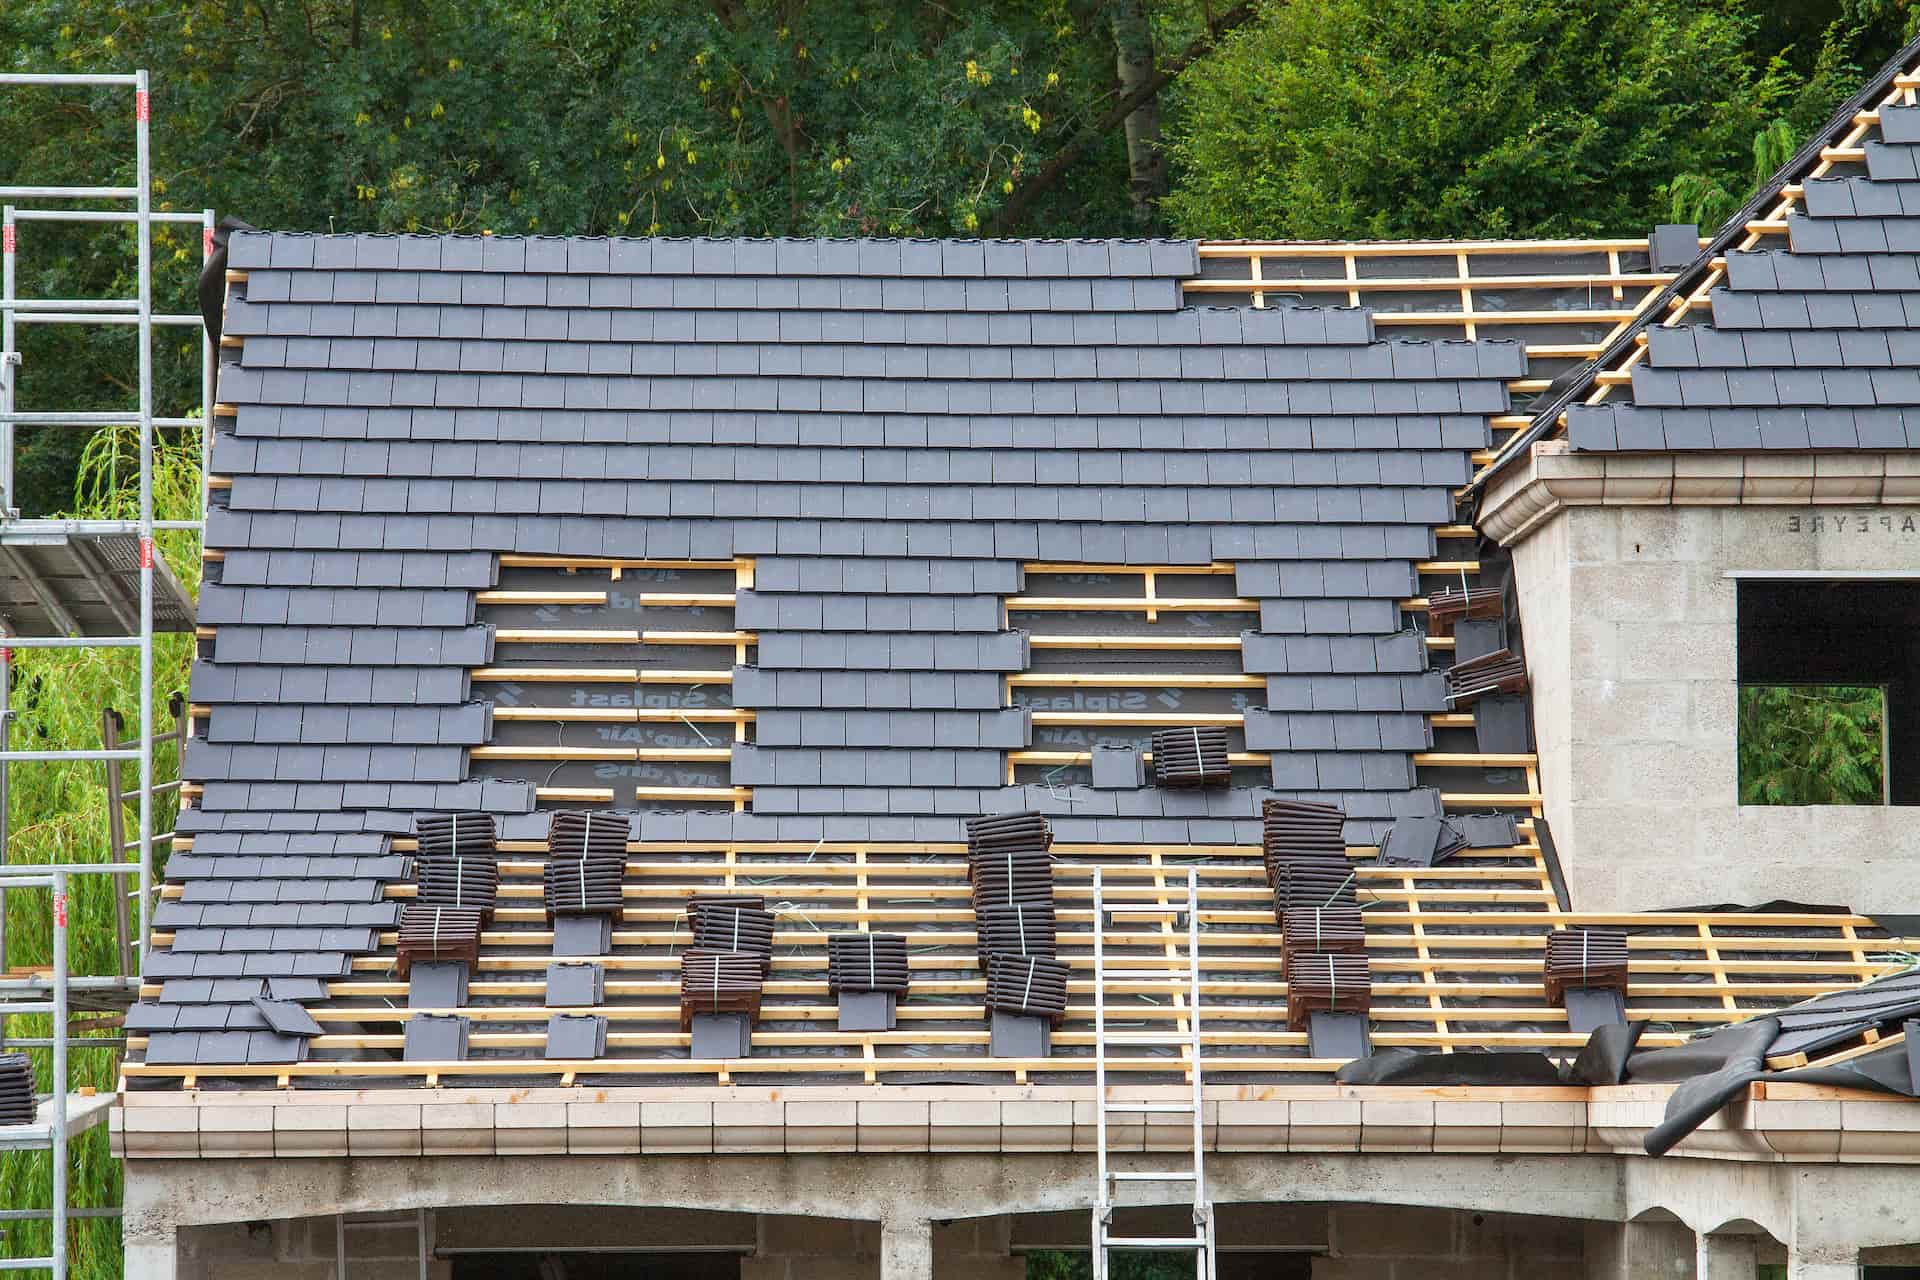
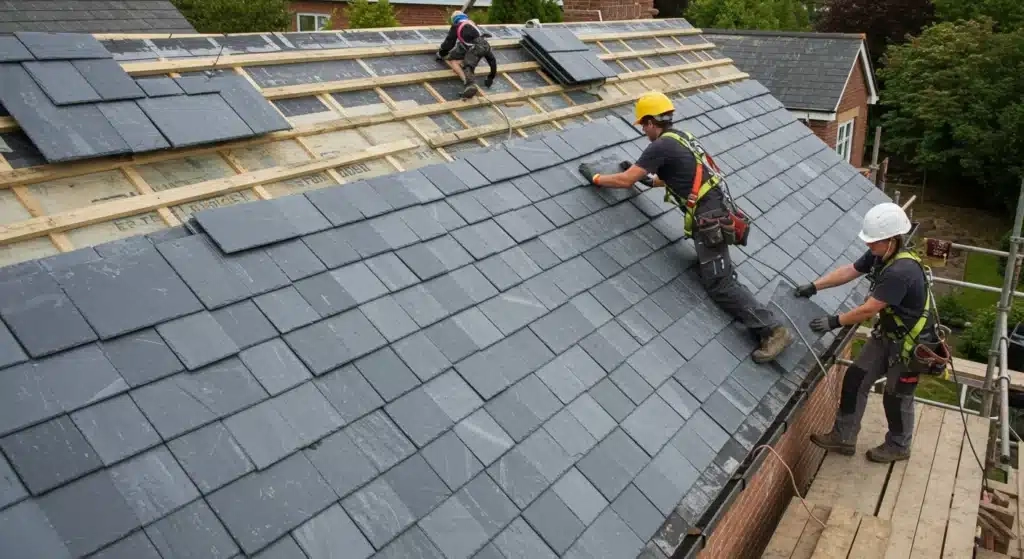
The morning chill of late autumn cuts straight through a heavy canvas jacket, but up on the scaffolding, the only sound is the rhythmic, damp clack of a roofing hammer striking an anvil stake. A craftsman holds a jagged slab of Pennsylvania black slate, scores it with a scratch awl, and with a single, calculated flick of his wrist, punches a clean, countersunk nail hole through the metamorphic rock. Below him lies a sprawling 19th-century country estate, its roofline a complex geometric puzzle of sweeping valleys, cricketed chimneys, and delicate eyebrow dormers. Every single slate tile resting in that roofer’s hands represents millions of years of geological pressure, yet its survival against winter gales depends entirely on millimeters of metal and the precise geometry of a hidden valley flashing.
Slate roofing sits at the intersection of geology and architecture, a craft where a single miscalculated headlap can trigger a catastrophic leak decades down the line. Whether you are patching a quaint, centuries-old stone cottage in the Cotswolds or engineering a multi-phase slate installation for a sprawling North American manor, the true measure of craftsmanship lives entirely in the details. While laying standard field slates across a uniform gable is straightforward mechanical labor, managing the transitions—the valleys, hips, ridges, and abutments—separates an amateur patching job from a generational masterpiece.
For centuries, master slaters guarded their layout methods like trade secrets, passing down proportional rules and nailing configurations through word-of-mouth apprenticeship. Today, modern restoration architects and preservationists must contend with shifting material supplies, stringent wind-uplift codes, and the ongoing challenge of sourcing matching geologic veins from quarries across Vermont, Virginia, or Wales. Mastering this art requires more than just knowing how to swing a slating hammer; it demands a deep appreciation for water management, thermal expansion, and structural load distribution across diverse architectural scales.
Decoding the Geologic and Structural Anatomy of Natural Slate
Natural quarried slate is not a manufactured shingle; it is a dynamic, anisotropic stone shaped by intense tectonic forces. Understanding its mineral composition—primarily quartz, muscovite, and chlorite—is the first step in successful detailing. The cleavage planes that allow a block of stone to be split into 3/16-inch or 1/4-inch architectural tiles also dictate how the stone reacts to moisture, freezing temperatures, and structural settling. If a specification calls for unfading green slate from Vermont or weathering gray slate from Buckingham, the installer must account for the stone’s hardness and resonant ring when cut. A dull or improperly struck blow can create internal micro-fractures, turning a pristine tile into a delayed frost-spalling hazard.
At a structural level, slate roofs impose a massive dead load on the timber framing below, often weighing between 700 and 900 pounds per square square (100 square feet) depending on the thickness of the grade. This staggering weight means that valley rafters, hip boards, and roof decks must be engineered with zero tolerance for deflection. When a cottage or country estate undergoes structural assessment, the framing must be stabilized before a single pallet of stone is hoisted. Sagging roof decks place uneven stress on the nail lines, causing slates to bind against one another and snap under thermal expansion cycles.
Furthermore, the choice of fastener is just as critical as the stone itself. Copper nails are the gold standard, offering a lifespan that matches or exceeds the 75-to-150-year durability of hard-vein slates. Galvanized or iron nails are a fatal mistake in high-end slate work; when moisture inevitably penetrates the nail hole, the rusting fastener expands, exerts pressure on the brittle stone, and pops the slate loose—a phenomenon known in the trade as "nail sickness." Modern specifications also require ring-shank copper nails in high-wind zones to prevent uplift forces from working the fasteners out of the wood boarding or plywood deck.
Geometry and Water Shedding Principles in Complex Roofscapes
Water does not flow down a roof in a polite, uniform sheet; it hunts for capillary paths, driven by wind pressure and surface tension. Slate detailing is, at its core, an exercise in hydraulic warfare. Every junction where two planes meet represents a potential vulnerability where water can be driven sideways or upward beneath the tile surface. The fundamental rule of slate roofing is the headlap—the distance by which the lower edge of a third-course slate overlaps the upper edge of the first-course slate. On standard sloped roofs, a 3-inch headlap is standard, but low-slope detailing or wind-swept country estates require expanding this overlap to 4 inches or even installing a double-underlayment ice and water shield system.
Transitioning from expansive estate main roofs down to diminutive cottage additions requires a masterclass in proportional scaling. On a sprawling manor, large 12×24-inch slates create a bold, dignified texture that complements massive masonry chimneys and deep overhangs. Conversely, applying oversized tiles to a small, undulating cottage overwhelms the architecture, requiring smaller graduated slates—sometimes starting at 14 inches at the eaves and tapering down to 8 inches at the ridge—to maintain visual harmony and tight weather seals. These graduated layouts demand meticulous pre-sorting on the ground, ensuring that every course matches the thickness and width profile required for that specific zone of the roof.
Flashing integration is where the true engineering of a slate roof occurs. Step flashings woven between individual courses must be fabricated from heavy-gauge copper (typically 16-ounce or 20-ounce cold-rolled) with hemmed edges to prevent wind catch. Each step flashing must extend at least 4 inches up the vertical wall and 4 inches out onto the slate surface, tucked securely beneath the overlapping tile. In valleys, open copper valleys must be tapered—wider at the bottom than at the top—to accommodate the increasing volume of runoff as water cascades down the roof plane. Neglecting this taper leads to water spilling over the valley edges during torrential downpours, rotting the underlying timber soffits and framing.
Step-by-Step Practical Implementation Guide for Precision Detailing
Executing flawless slate details requires a disciplined, sequential workflow that leaves no room for improvisation on the scaffolding. Whether you are sealing a chimney cricket or finishing an open valley, precision is paramount.
- Step 1 (Deck Preparation and Underlayment): Install a heavy-duty, high-temperature self-adhering ice and water membrane across the entire roof deck, paying special attention to eaves, valleys, and wall abutments. Avoid traditional organic asphalt felts, as premium slate roofs outlast standard underlayments by decades, making synthetic or rubberized membranes mandatory.
- Step 2 (Eave and Starter Course Installation): Establish a rigid starter strip using doubled starter slates or a cant strip that tilts the eave slates upward. This ensures that the first visible course of slate has the exact same pitch and shadow line as the rest of the roof, preventing water from dripping backward over the fascia board.
- Step 3 (Field Slate Laying and Nail Management): Lay slates using a chalk line snapped at every third course to maintain absolute horizontal alignment. Drive copper nails snugly against the slate surface without over-tightening; the slate must hang slightly loose on the nail shank to allow for micro-movements caused by thermal expansion and wind vibration.
- Step 4 (Flashing and Valley Integration): Interweave custom-bent copper step flashings with every single course of slate along vertical wall abutments. Ensure that counter-flashing is mortared into masonry reglets at least one inch deep, sealed with high-grade polyurethane or silicone sealant to accommodate masonry expansion.
- Step 5 (Ridge and Hip Completion): Cap the roof using saddle ridges or closed mitered hips fabricated from matching slates or copper ridge rolls. Fasten ridge slates with concealed stainless steel or copper straps where direct nailing is impossible, sealing all exposed fastener heads with structural elastomeric sealants.
Common Pitfalls and Field-Tested Workarounds in Slate Craftsmanship
Even seasoned roofing contractors can fall victim to subtle errors that compromise an otherwise flawless slate installation. Recognizing these pitfalls before they manifest as interior leaks saves thousands of dollars in call-back repairs.
- Pitfall 1 (Nailing Too Tightly Against the Stone): Driving copper nails flush or sinking the nail head into a counter-sunk hole creates rigid clamping pressure. When the roof deck expands and contracts with seasonal temperature swings, the pinned slate snaps directly across the nail line. Workaround: Always leave a microscopic gap—about the thickness of a thick business card—between the nail head and the slate surface, allowing the tile to float freely.
- Pitfall 2 (Failing to Taper Open Valleys): Installing a straight-sided parallel valley copper channel results in water overflowing at the bottom where runoff volume is highest. Workaround: Fabricate open valleys with a 1/8-inch per foot expansion flare, making the valley wider at the eaves than at the ridge to safely handle peak hydraulic loads.
- Pitfall 3 (Using Substandard Fasteners in Marine Environments): Using standard electro-galvanized roofing nails on coastal country estates where salt air accelerates metal corrosion. Workaround: Strictly specify solid copper or silicon-bronze ring-shank nails for every slate tile and flashing component on coastal or high-moisture structures.
- Pitfall 4 (Ignoring Thermal Bridging and Ventilation at Eaves): Sealing slate tightly over unventilated roof decks, causing trapped attic moisture to condense against the underside of cold slate tiles and rot the nail boards. Workaround: Integrate continuous strip soffit vents and high-profile ridge ventilation systems tailored specifically for slate assemblies without disrupting historic exterior sightlines.
- Pitfall 5 (Mixing Incompatible Slate Veins): Blending soft, high-carbon slates with hard, dense metamorphic slates within the same repair section, leading to uneven weathering and premature erosion. Workaround: Source replacement slates exclusively from the original quarry vein or utilize petrographic analysis to match mineral densities and chemical composition before installation.
Holistic Perspectives on Longevity, Economics, and Sustainable Architecture
When evaluating building materials through a modern sustainability lens, natural slate is peerless. While a standard architectural asphalt shingle roof requires replacement every 15 to 25 years—sending millions of tons of petroleum-based waste to landfills—a properly detailed slate roof easily spans a century or more with minimal maintenance. This makes slate one of the most environmentally responsible roofing choices available today, despite its higher initial capital outlay. The embodied carbon of quarried stone is amortized over generations, and when a historic building is eventually decommissioned, slate tiles can often be salvaged, re-trimmed, and re-laid on an entirely new structure.
Economically, the initial sticker shock of a natural slate installation often deters budget-conscious developers, yet life-cycle cost analysis reveals a different story. Over a 75-year window, an asphalt roof must be replaced three to four times, factoring in escalating labor costs, disposal fees, and material inflation. A slate roof, installed with premium copper flashings and fastened by an experienced crew, requires only minor localized maintenance—such as replacing the occasional wind-damaged tile or re-securing a loose copper strap. For historic country estates, maintaining authentic slate detailing also preserves property valuation and secures vital heritage tax credits and architectural preservation grants.
Furthermore, the architectural psychology of slate detailing cannot be overstated. A hand-cut slate roof adds an undeniable gravitas to a building, casting crisp shadow lines that accentuate roof pitches and dormer intersections. Whether restoring a modest 18th-century stone cottage or detailing a sprawling contemporary country estate designed to evoke historical vernaculars, the roof serves as the crown of the architecture. The interplay between patinated copper flashings and the rich, earthy tones of Vermont or Welsh slate creates a living canvas that matures gracefully alongside the landscape.
Actionable Recommendations and Frameworks for Project Success
Approaching a slate roofing project—whether new construction or complex restoration—requires a structured methodology that bridges architectural design with field execution.
- Establish Rigorous Material Audits: Always require physical sample boards from quarry suppliers to verify color consistency, ribbon presence, and thickness tolerances before ordering bulk pallets for estate projects.
- Employ Certified Slate Craftsmen: Never delegate slate detailing to general roofing crews unfamiliar with hand-punching, slater’s stakes, and copper soldering; mandate National Slate Association (NSA) guidelines in all project specifications.
- Incorporate Comprehensive Maintenance Protocols: Schedule professional roof inspections every five years, specifically targeting valley flashings, chimney crickets, and hidden gutter systems to clear accumulated debris and check for slipped tiles.
- Maintain an On-Site Slate Salvage Stock: Purchase an extra 5 to 10 percent of surplus field and ridge slates during initial construction, storing them safely on-site to ensure exact matching for future localized repairs without color variance.
The art of slate roof detailing is a quiet defiance against the disposable building culture of the modern era. Up on the scaffolding, amidst the scent of wet stone and cold metal, a master slater is engaging in a dialogue with centuries of architectural tradition. Every precise hammer blow, every neatly hemmed copper valley, and every carefully calculated headlap is an investment in permanence.
As we look toward the future of sustainable, high-performance building design, the principles of traditional slate craftsmanship remain startlingly relevant. By respecting the natural properties of stone, honoring the physics of water management, and refusing to cut corners on hidden flashings, builders ensure that today’s cottages and country estates will stand resiliently against the elements for generations yet unborn. The slate will outlast us all; our job is simply to lay it so that it tells a story worth remembering.