Let’s be honest for a second. That old kitchen linoleum floor has seen better days, hasn’t it. Between dropped coffee mugs, muddy dog paws, and the relentless foot traffic of daily life, it’s easy for this resilient material to lose its luster. But before you go ripping it out and spending a fortune on new tile, what if you could make it look absolutely stunning yourself?
It is 2026, and the trend of restoring what we already have is bigger than ever. People are realizing that linoleum is actually an eco-friendly hero made from natural stuff like linseed oil and wood flour. With a little bit of elbow grease and the right approach, you can transform your dated kitchen floor into a modern masterpiece that stands up to anything.
Deep Scrubbing: The Foundation of Every Good Floor Project
You can’t build a house on a shaky foundation, and you certainly can’t update a floor if it’s covered in years of hidden grime. A basic mop just won’t cut it here. You need a deep, restorative clean to get rid of old wax, grease, and built-up dirt that dims the original color.
Grab a heavy-duty floor stripper or a mix of warm water, baking soda, and a splash of dish soap. Use a stiff scrub brush to really get into the texture. It’s amazing how much brighter the room looks just by removing that invisible layer of film. Once you are done scrubbing, rinse it thoroughly with clean water at least twice so no residue stays behind.
Precision Patching for Those Annoying Dents and Tears
Life happens, and linoleum often bears the scars in the form of gouges or lifted edges near the baseboards. Leaving these spots open is an open invitation for moisture to seep underneath, which spells disaster for the subfloor. Fixing them now is crucial for long-term durability.
For small cuts, clear waterproof sealants or clear epoxy work like magic. If you happen to have a leftover scrap of the original flooring hiding in the garage, you can scrape off a bit of its backing to mix with wood glue, creating a perfect color-matched paste to fill the hole. Press it down flat, wipe away the excess, and let it dry completely.
The Magic of Floor Stencils for a Modern Patterned Look
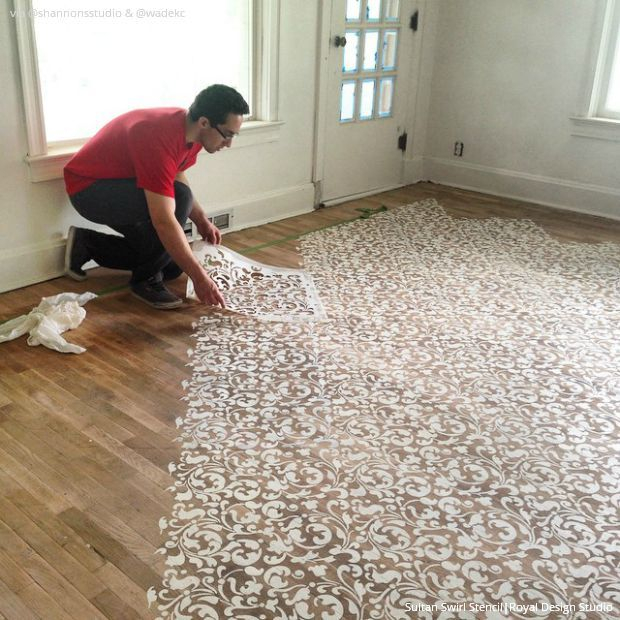
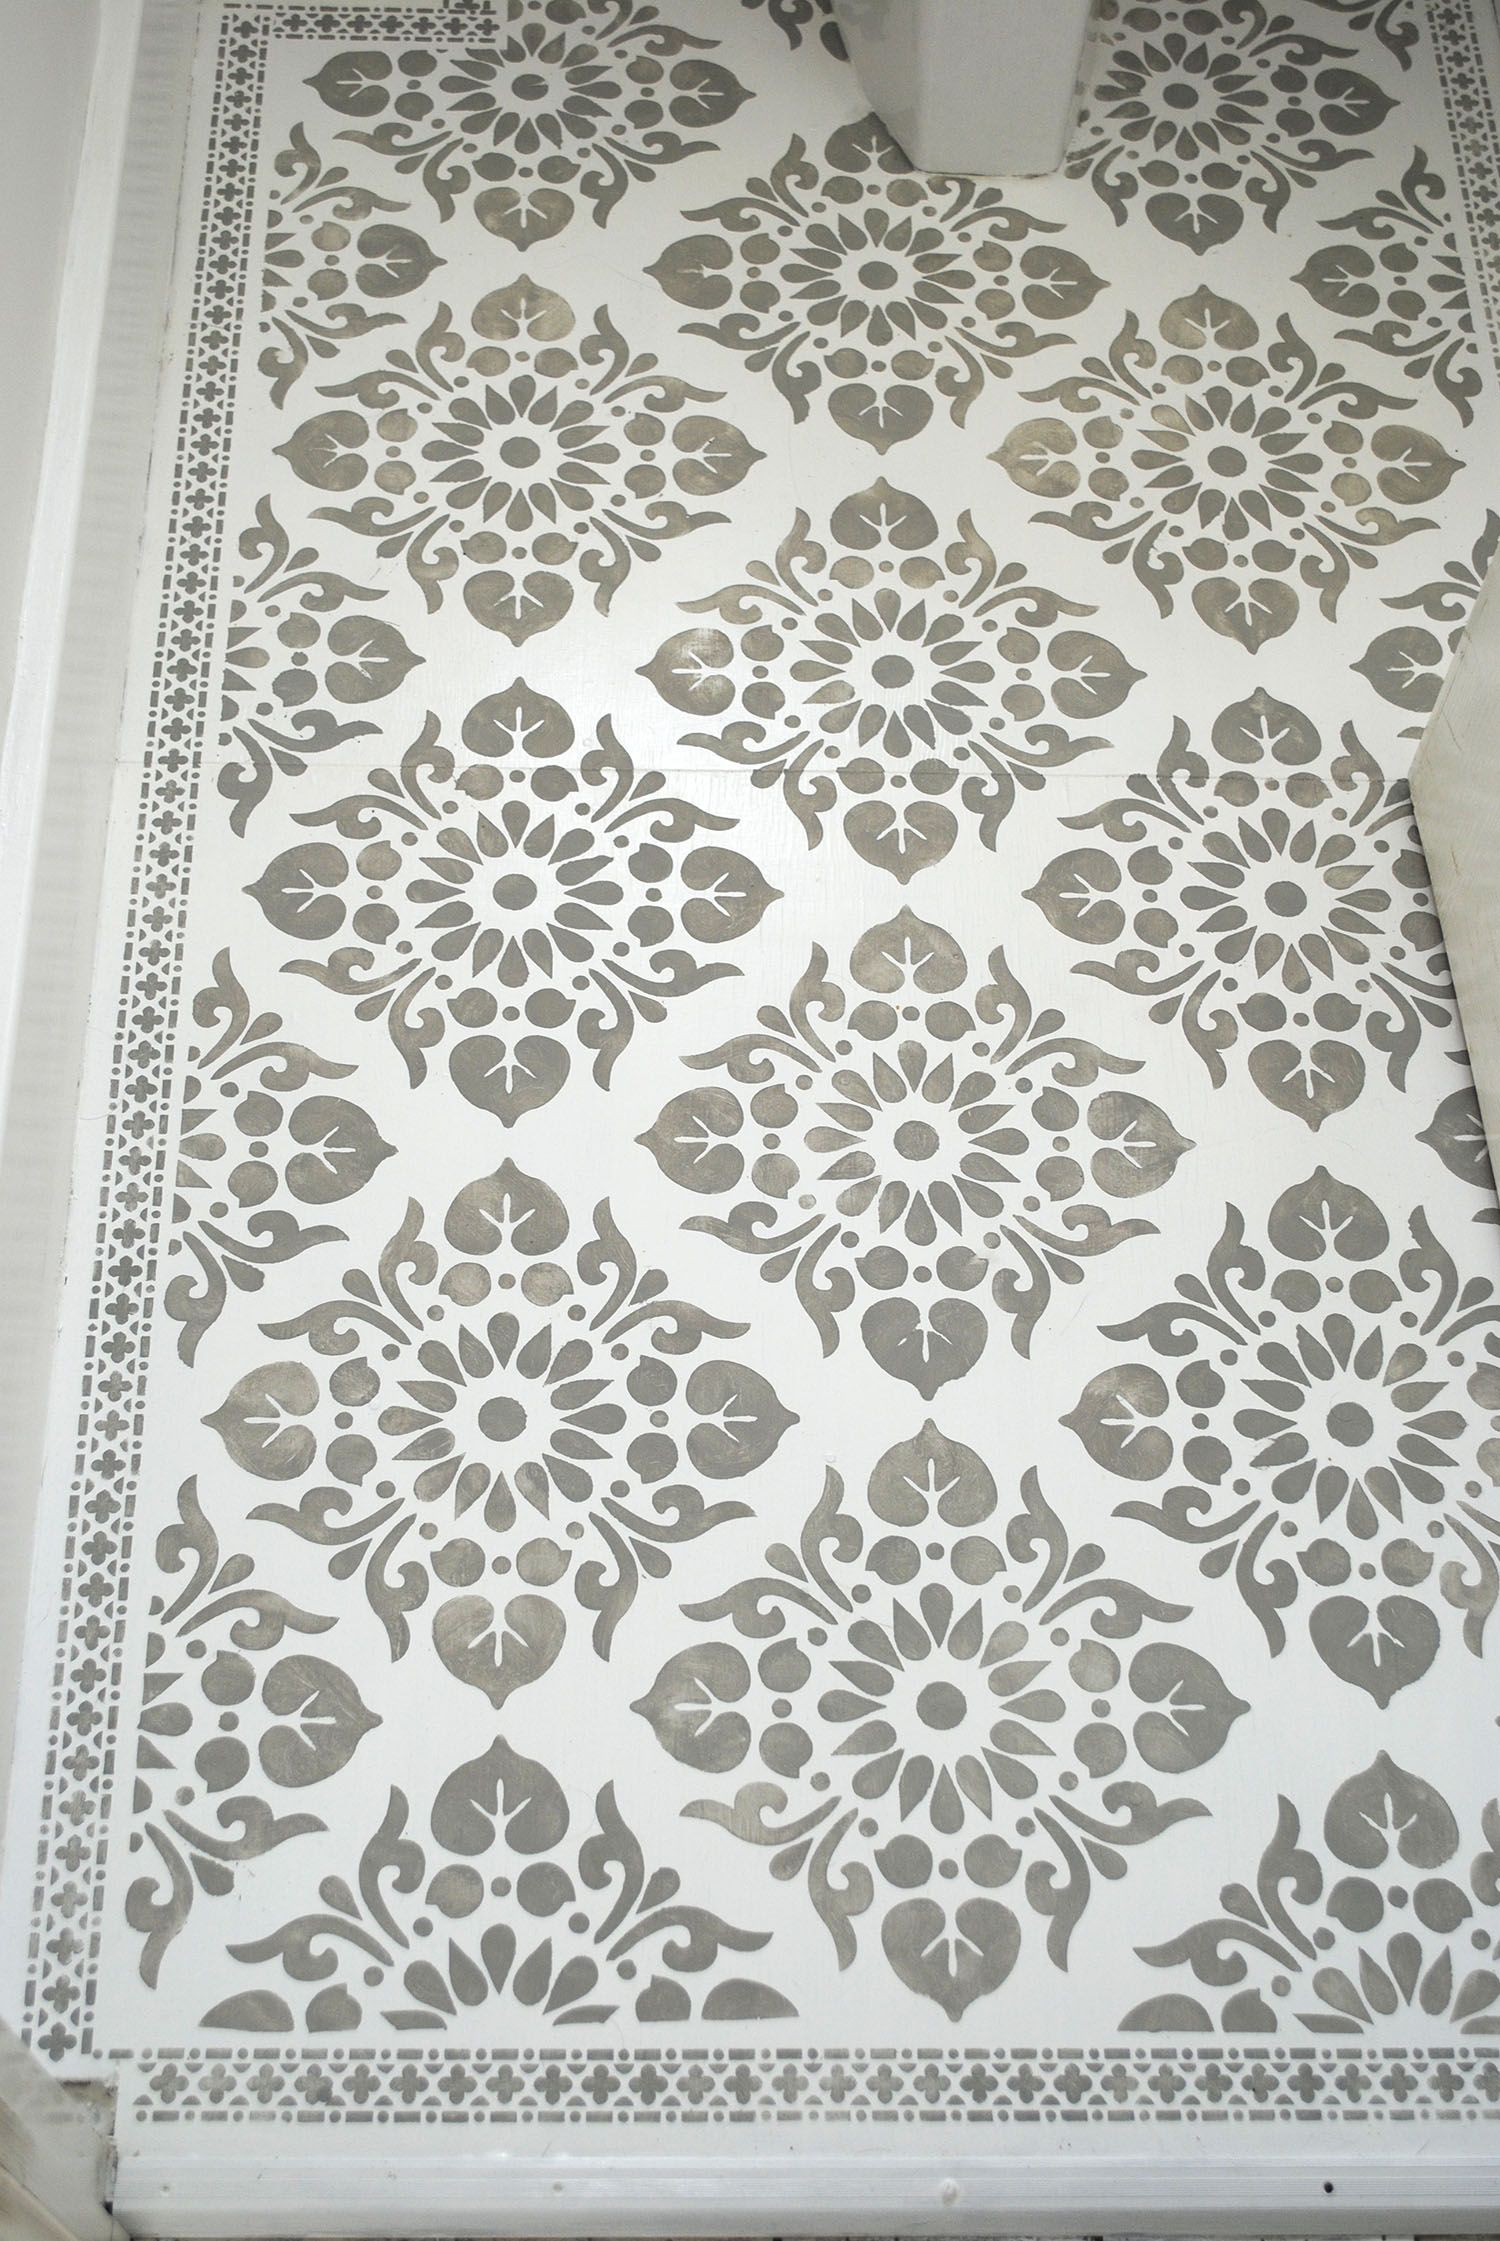
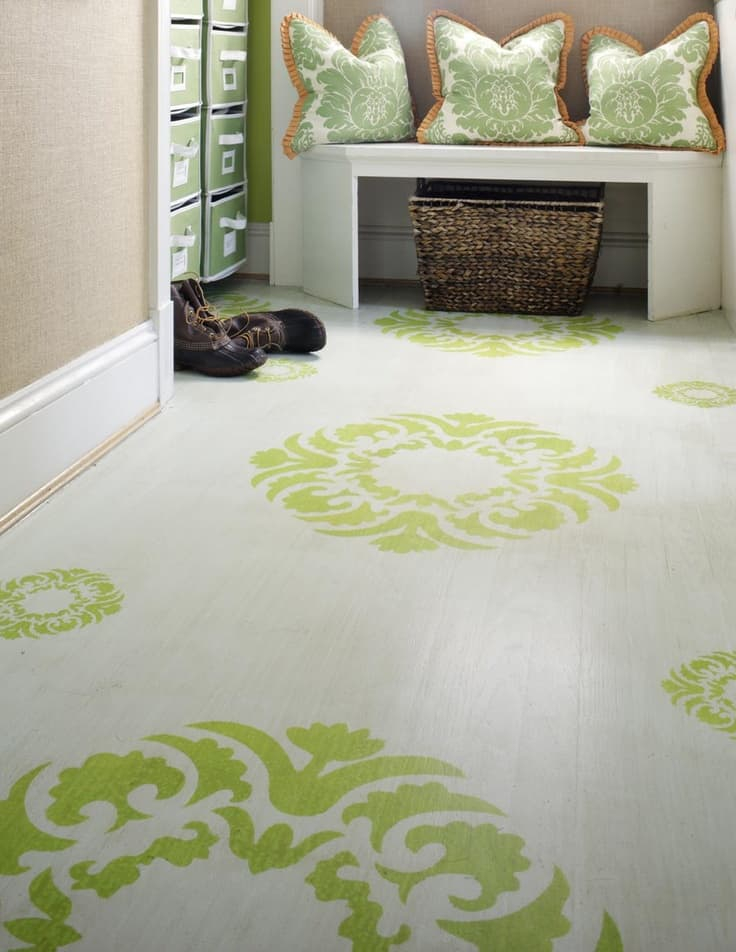
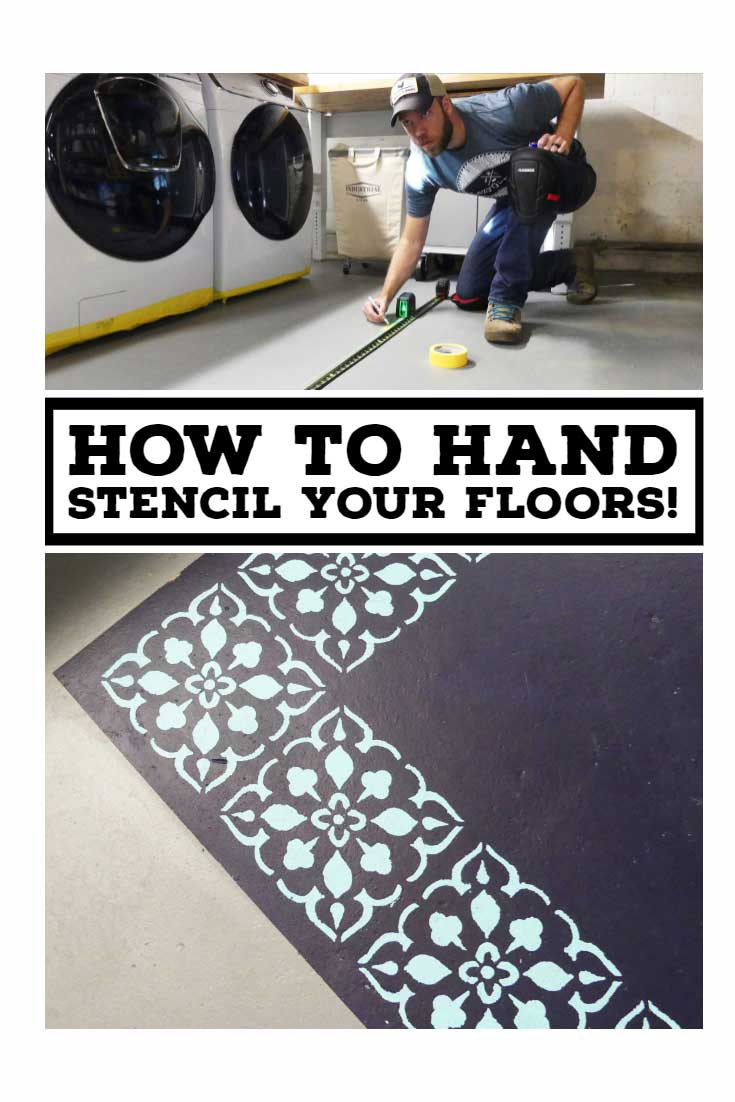
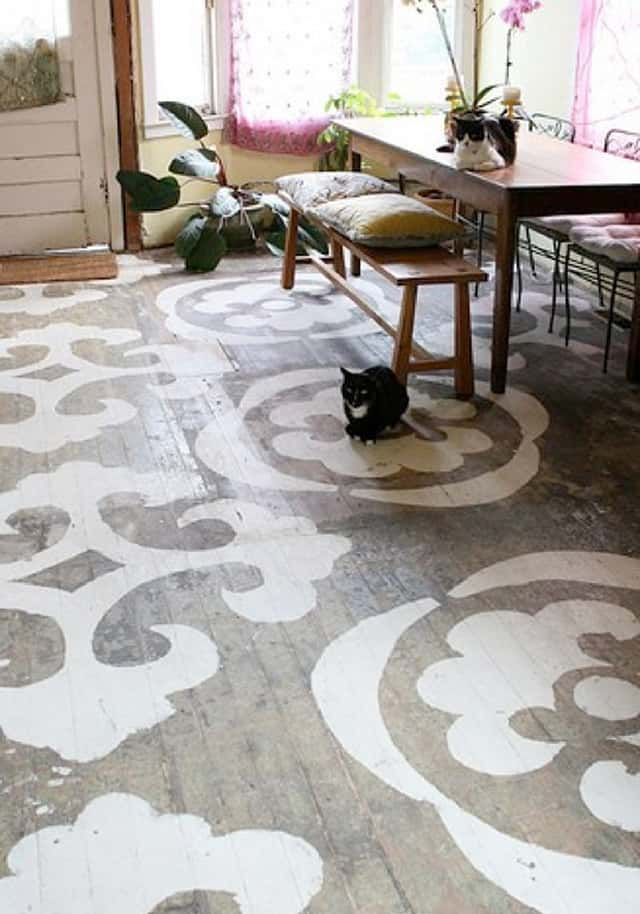
If the color of your floor makes you cringe every time you walk into the kitchen, paint is your best friend. Stenciling has taken off recently because it gives you the look of high-end encaustic tiles for a fraction of the cost.
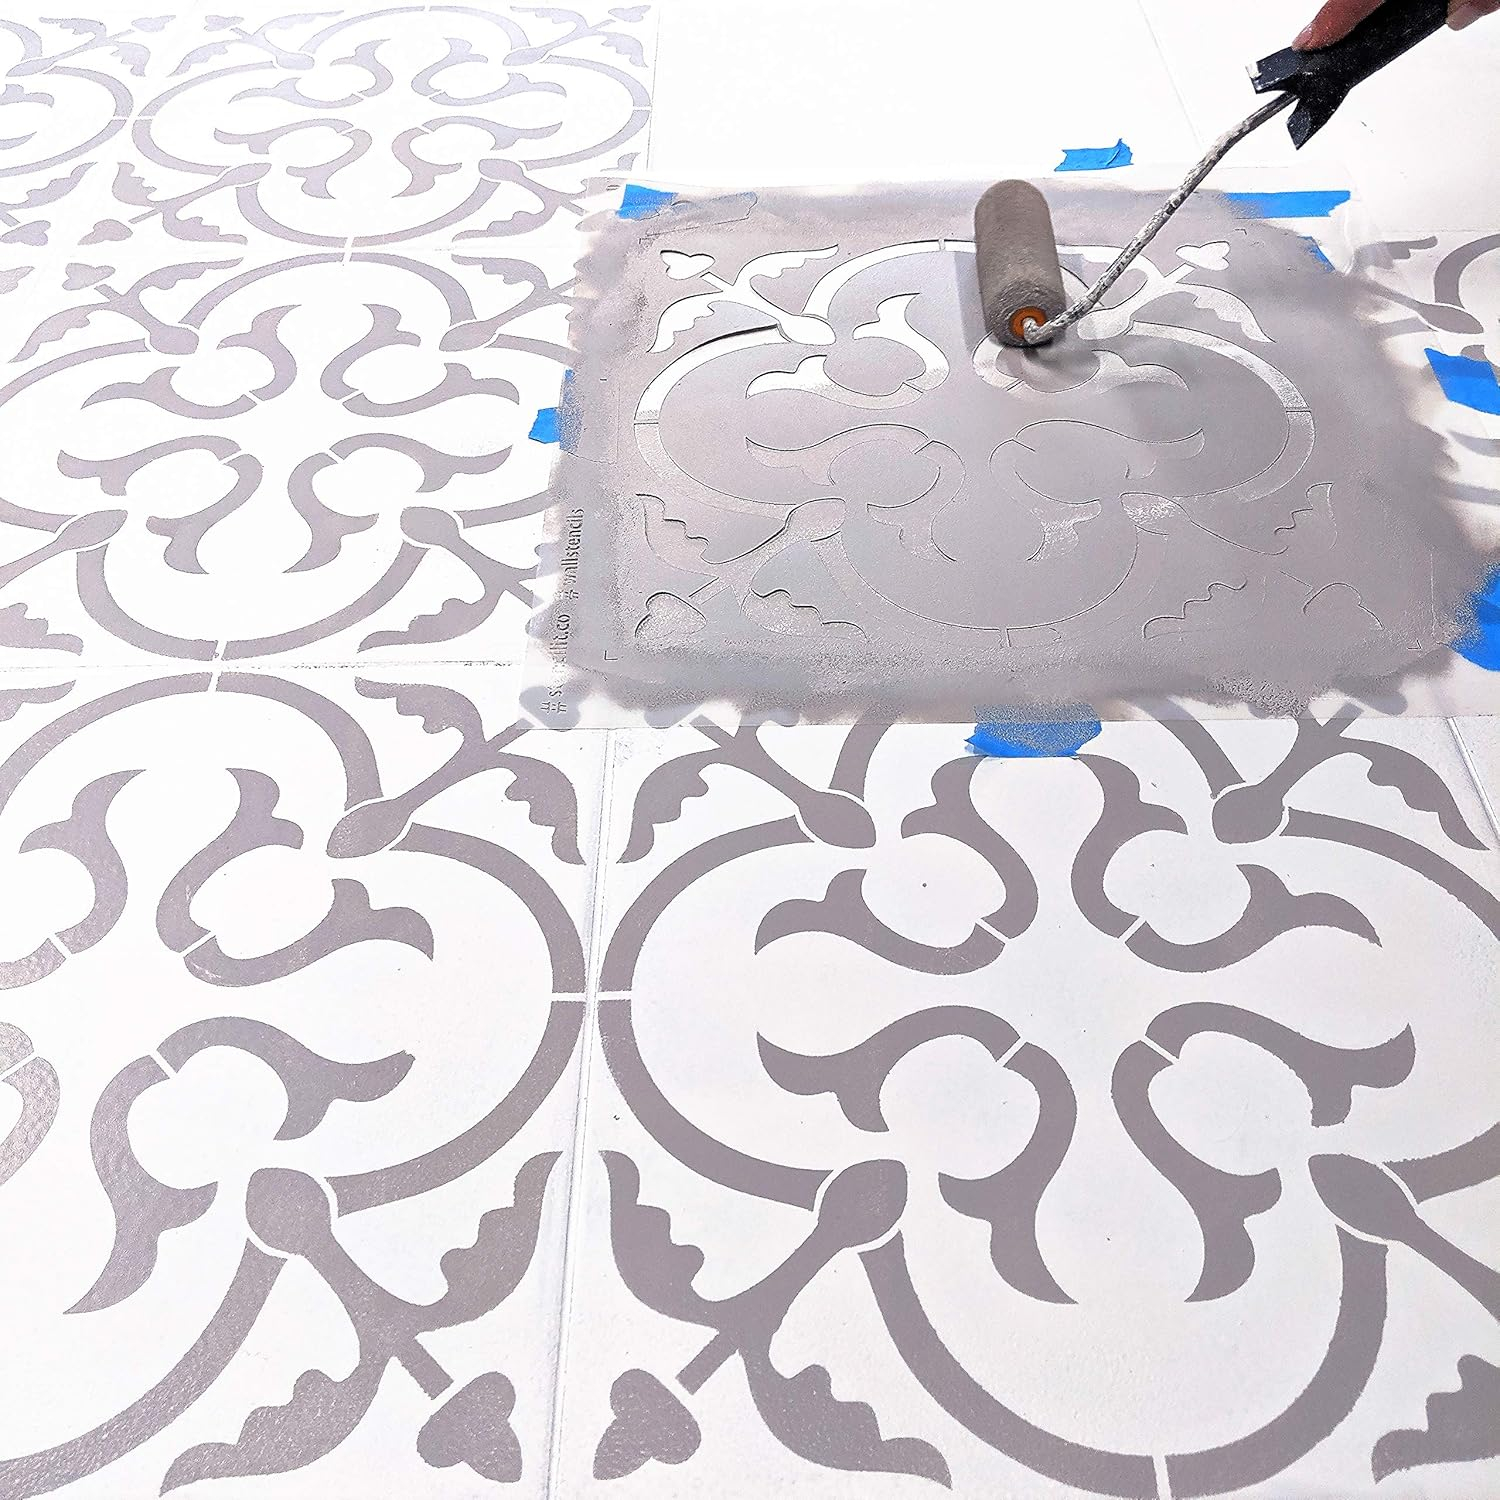
Start with a high-quality primer made specifically for slick surfaces. Once that base coat is dry, tape down your chosen stencil and use a dense foam roller with very little paint on it to avoid bleeding. Geometric patterns or classic floral motifs can completely change the vibe of the room, making the space feel instantly larger and brighter.
The Underrated Power of a Clear Protective Topcoat
Painting or patching your floor is only half the battle. If you want that new charm to last through the next decade, you absolutely must seal it properly. Kitchens are high-risk zones for spills, splashes, and dropped utensils.
Apply two or three thin layers of a heavy-duty, non-yellowing polyurethane sealer designed for floors. This creates a hard shield that takes the brunt of the daily wear and tear instead of your actual linoleum. Plus, it makes future cleanup incredibly easy because dirt wipes right off the smooth surface.
Framing the Floor with Fresh Caulking and Trim
Sometimes, a floor looks bad not because of the center, but because of the edges. Gaps between the linoleum and the baseboards collect dust bunnies and moisture, making the whole room look unfinished.
Run a clean bead of silicone caulk along the edges to seal out water. If your quarter-round molding looks beat up, replacing it or giving it a quick coat of bright white paint acts like a frame around a picture, pulling the whole DIY project together and making it look professionally done.
Now that the physical floor is tough and beautiful, you want to highlight it. The right accessories can hide minor imperfections that you couldn’t completely fix and add that final touch of warmth to the heart of your home.
Consider adding a stylish, low-profile runner rug in front of the sink area. Not only does it protect the highest-traffic zone from water drops, but it also adds texture and color. Choose a rug with a non-slip backing that won’t discolor the linoleum underneath, ensuring both safety and style.
Upgrading your kitchen linoleum doesn’t require a massive budget or a team of contractors. By taking it step by step—from a deep clean to a protective topcoat—you can rescue a tired floor and give it a personality that matches your home. It’s all about working smarter with what you already have.
Take a weekend to focus on these small but impactful details. The satisfaction of stepping onto a beautiful, durable floor that you revived with your own hands is worth every bit of effort. Your kitchen will thank you for it, and your wallet will too.