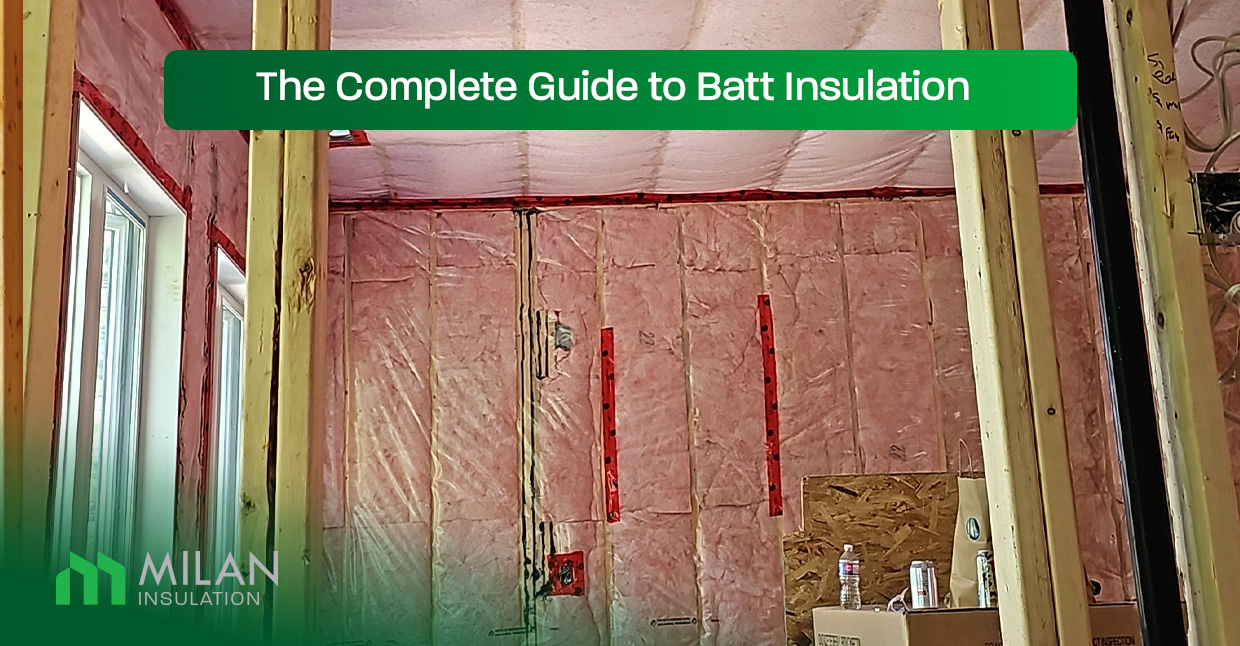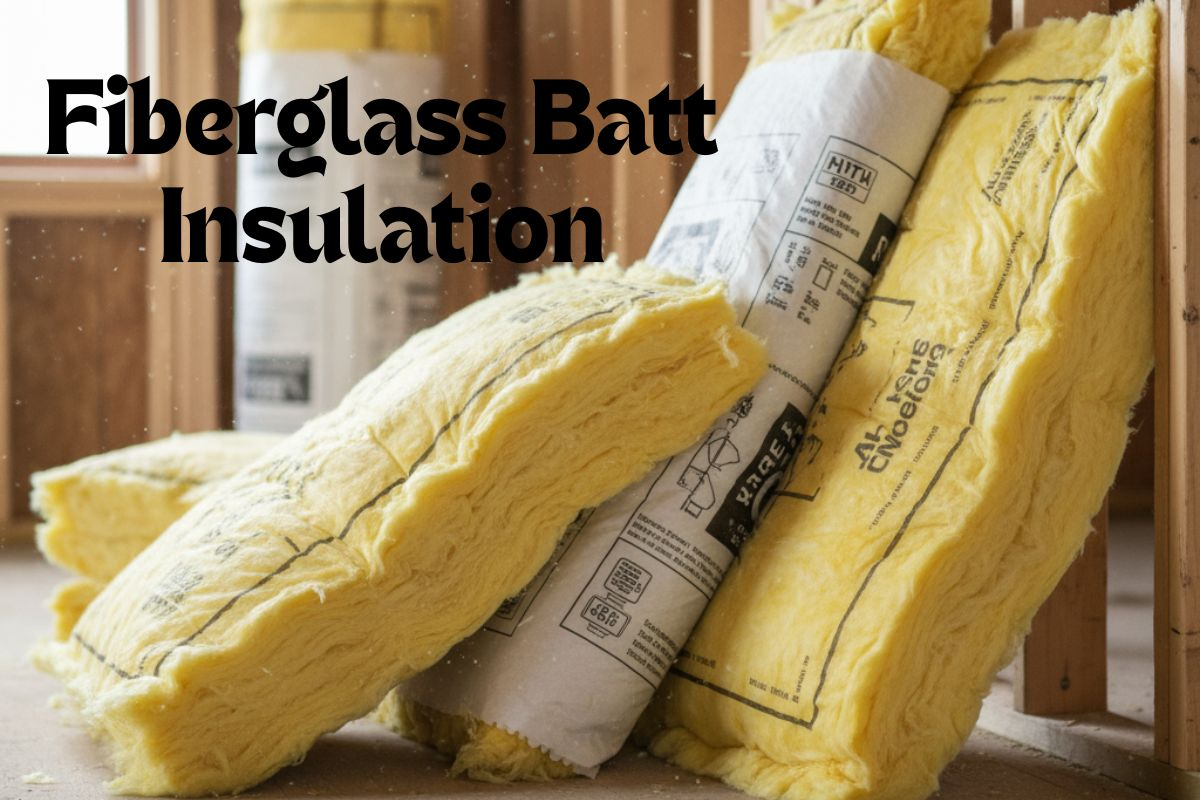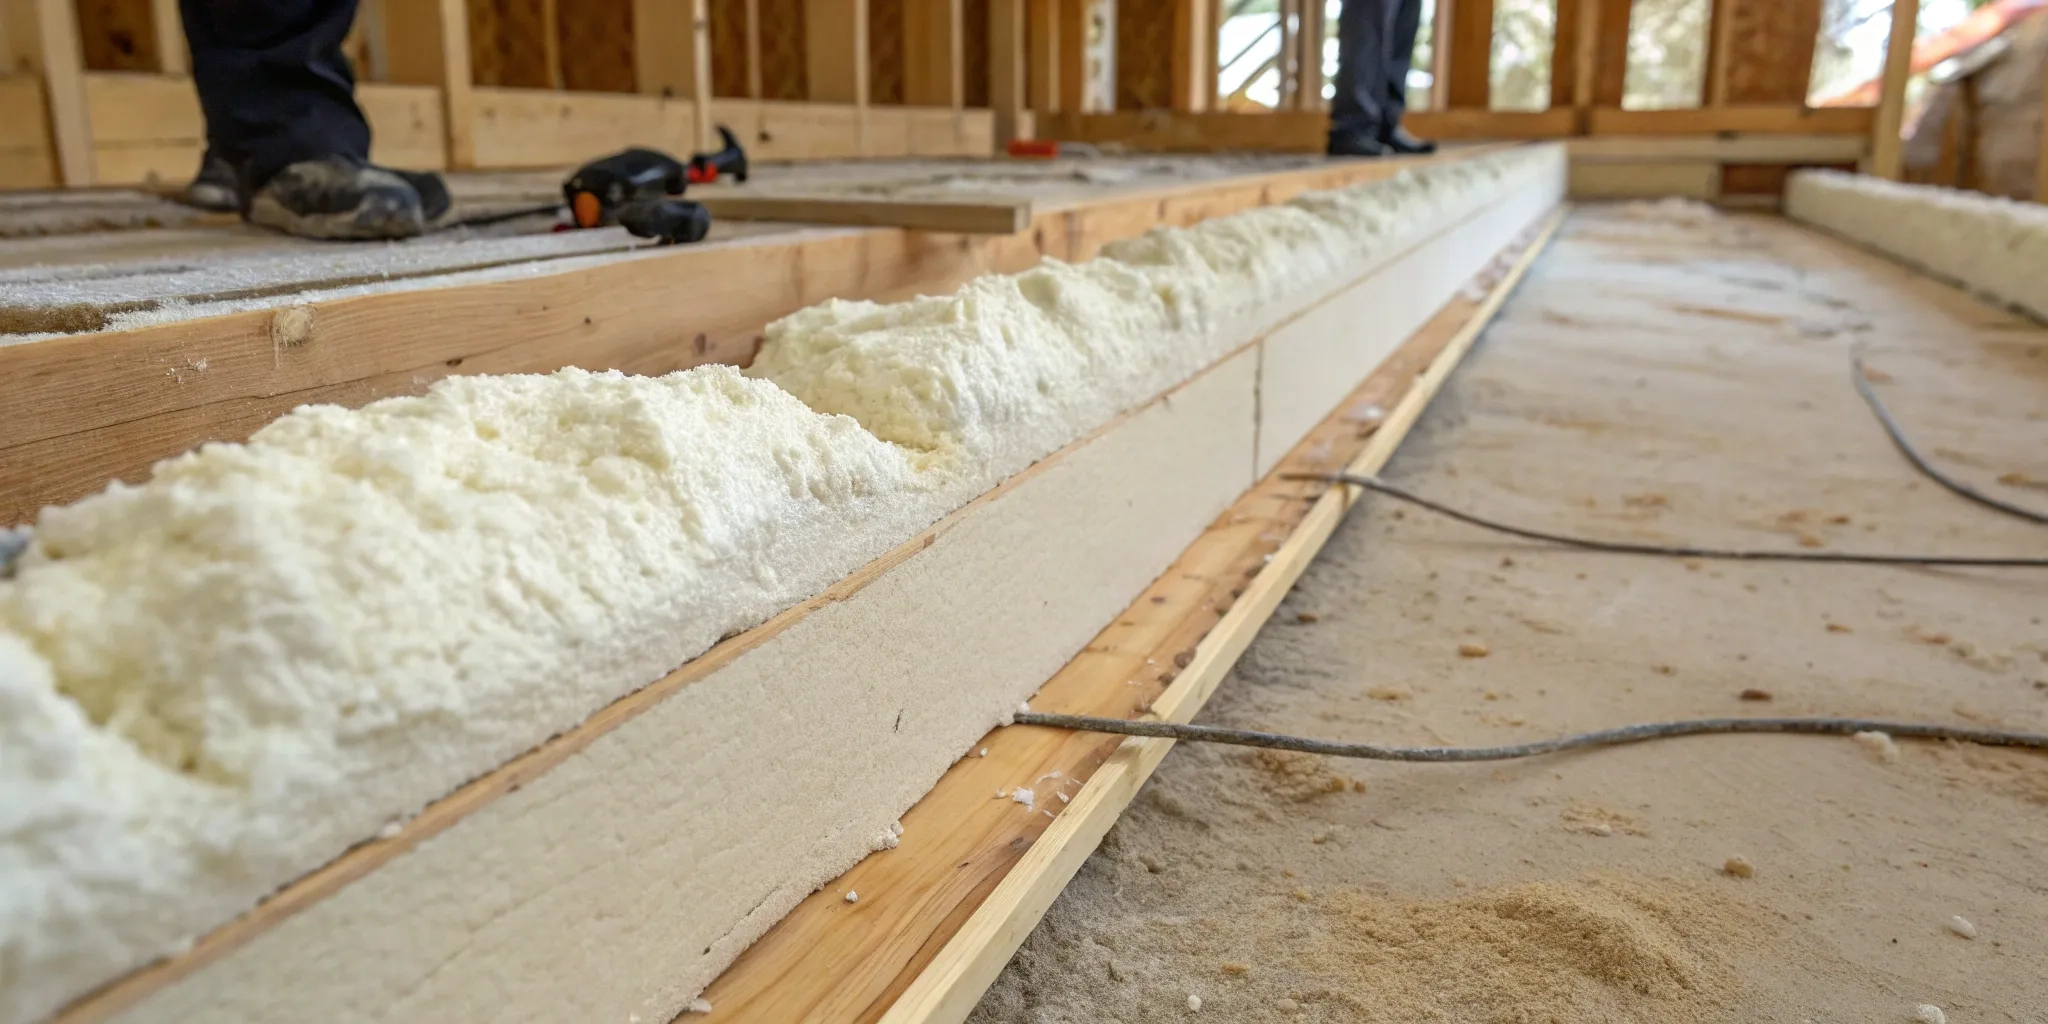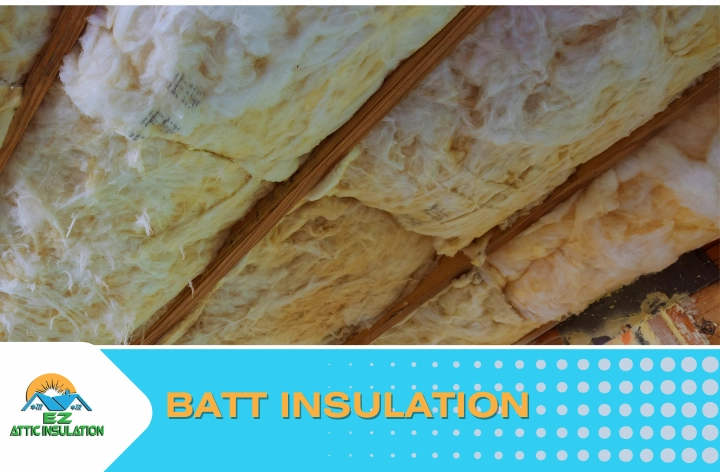
You’re standing in the hardware aisle, staring at two packages of fiberglass batts. One is labeled R-19 and fits perfectly into your 2×4 walls. The other is a beefy R-21, designed for deeper 2×6 cavities. But here’s the thing—your walls are only 2x4s. It’s tempting, right? Just squish that thicker, higher-rated insulation into the narrower space. It feels like a hack. A way to get better performance for the same footprint. Maybe you even think you’re being clever.
But hold up. That little squeeze? It’s not a shortcut. It’s a trap.
When you compress fiberglass, you aren’t just making it fit; you’re fundamentally changing how it works. You’re trading air pockets for density, and in the world of thermal resistance, that’s a bad deal. We’ve seen this mistake happen countless times in homes across the country, from new builds in the suburbs to retrofits in older city houses. The result isn’t just a slightly less effective wall. It’s a cascade of hidden costs that show up in your energy bills, your comfort levels, and sometimes, in the structural health of your home. Let’s talk about what’s really happening inside those walls.
The Physics of Fluff: Why Thickness Matters
Fiberglass insulation doesn’t work because glass is warm. Glass is cold. It works because of the air trapped between those tiny glass fibers. Think of it like a down jacket. The feathers don’t keep you warm; the pockets of still air they create do. When you buy an R-19 batt, you’re paying for a specific thickness—usually around 6.25 inches—designed to trap a specific amount of air. That thickness is crucial. It’s the engine of the insulation’s performance.
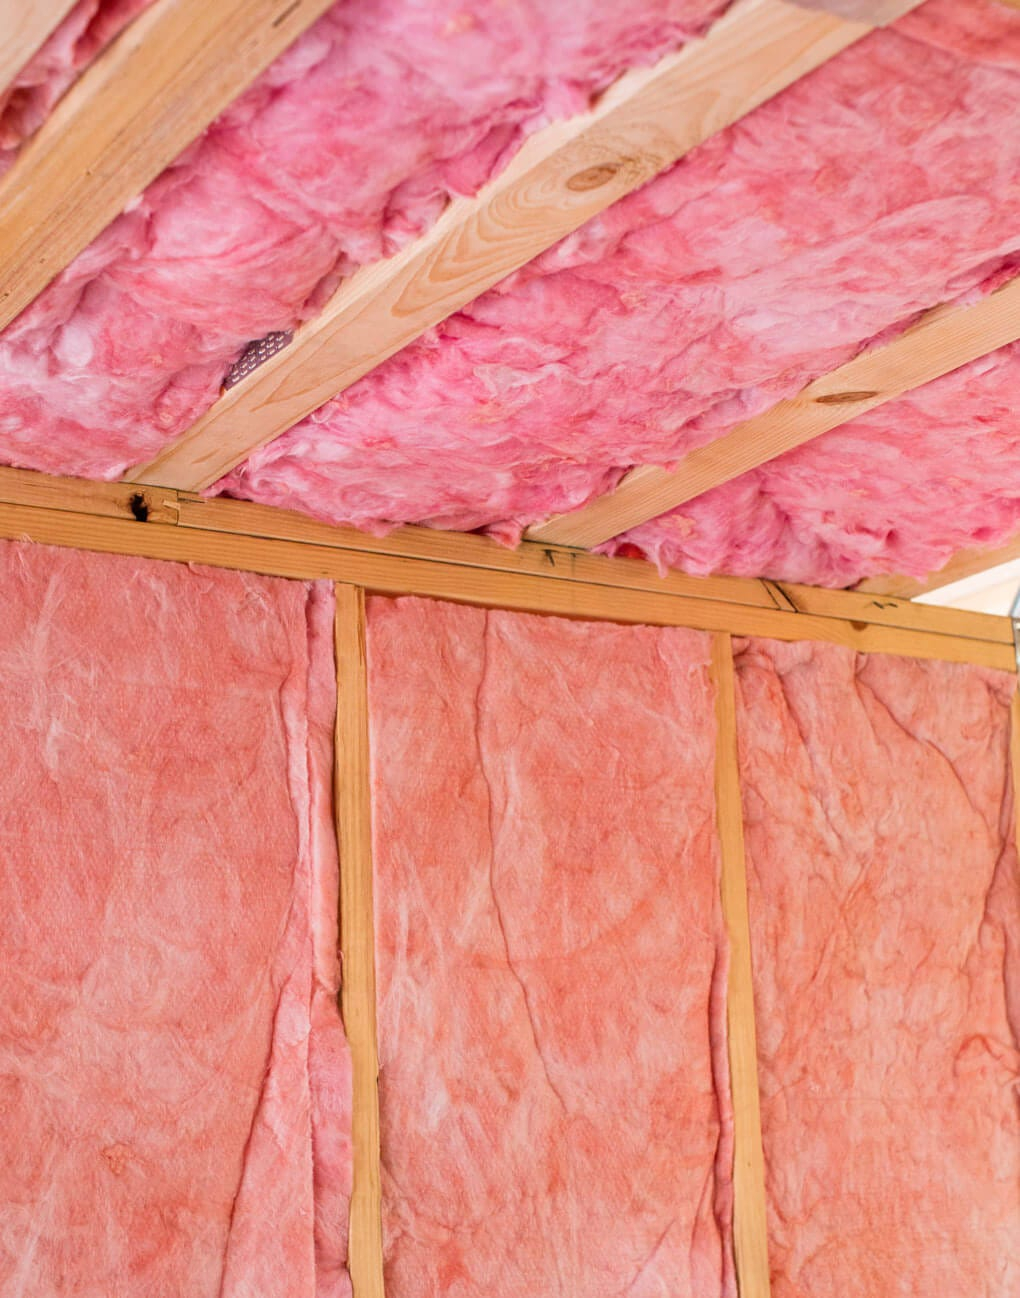
Now, imagine taking that fluffy, airy batt and shoving it into a 3.5-inch deep 2×4 wall cavity. You’re compressing it by nearly half. What happens to those air pockets? They get crushed. The fibers pack tighter together, yes, but the total volume of trapped air drops significantly. According to recent data from energy efficiency experts, compressing an R-19 batt into a 2×4 cavity doesn’t give you R-19. It might barely give you R-15 or R-16. You paid for R-19, but you installed R-15. That’s a 20% loss in performance before you even hang the drywall.
It’s counterintuitive. We’re taught that denser is often better, like with soundproofing. But for thermal resistance in fiberglass, loft is king. When you remove the loft, you remove the barrier. The heat flows through those compressed fibers much faster than it would through the fluffy, uncompressed version. It’s like trying to stay warm in a wet t-shirt instead of a dry sweater. The material is the same, but the structure is all wrong.
The Math Doesn’t Lie: R-Value Drop-offs
Let’s get into the numbers, because they tell a stark story. In 2026, energy costs aren’t getting cheaper. Every bit of R-value counts. If you look at standard installation guides, an R-21 batt is typically 5.5 inches thick, meant for 2×6 walls. If you force that into a 2×4 wall (which is actually 3.5 inches deep after accounting for drywall and siding), you’re compressing it by 2 inches. That’s a massive reduction.
Some DIY forums suggest that high-density R-21s can handle compression better. And sure, they are denser to begin with. But even then, the physics holds. You cannot maintain the same R-value with less thickness unless you change the material entirely (like switching to spray foam). With fiberglass, the rule is simple: compress it, and the R-value per inch goes up slightly, but the total R-value of the assembly goes down.
Consider this example from a recent case study. A homeowner in Ohio decided to use R-30 batts in his 2×4 attic floor joists because he had extra material lying around. He thought he was supercharging his attic. Instead, the compression reduced the effective R-value to roughly R-22. He lost nearly a third of the insulating power he thought he had. Over a winter, that difference meant his furnace ran 15% longer to maintain the same temperature. That’s not a small number. That’s hundreds of dollars wasted, year after year.
And it’s not just about the label on the package. It’s about the reality of the installed product. When you see "R-19" on the bag, that assumes proper installation at full thickness. Anything else is a compromise. And in building science, compromises usually bill you later.
The Gap Problem: Slumping and Voids
Here’s another issue that doesn’t get enough attention: slumping. When you compress a batt, you’re putting it under tension. It wants to expand. Over time, gravity and that stored energy can cause the insulation to shift. This is especially true in vertical wall cavities. If the batt isn’t friction-fit perfectly—and compression makes it harder to get a perfect fit—it can settle.
What does settling look like? It creates gaps. Usually at the top of the wall, near the top plate. Or sometimes in the middle, if the batt buckles. These gaps are uninsulated voids. They’re essentially holes in your thermal envelope. Heat loves these holes. In the winter, warm air escapes through them. In the summer, hot air pours in.
We’ve used thermal imaging cameras to inspect walls where compressed batts were installed. The results are often shocking. You’ll see bright red streaks at the top of the walls, indicating significant heat loss. The rest of the wall might look okay, but those gaps act like chimneys, pulling conditioned air out of the house. This phenomenon, known as convective looping, can degrade the performance of the entire wall assembly, not just the spot where the gap is.
Moreover, when you compress batts around obstacles like electrical boxes or plumbing pipes, it’s almost impossible to get a seal. You end up with jagged edges and tiny cracks. Spray foam expands to fill these nooks. Fiberglass, when squished, just leaves them open. Those small leaks add up. They create drafts that make a room feel chilly even when the thermostat says it’s 72 degrees. You end up turning up the heat, burning more fuel, all because the insulation couldn’t fill the space it was forced into.
Moisture Traps and Mold Risks
This is the scary part. The part that keeps building scientists up at night. When insulation doesn’t perform as expected, it can lead to moisture issues. Here’s how: Cold surfaces attract condensation. If your wall cavity is colder than it should be because the insulation is compressed and ineffective, the interior side of the exterior sheathing can drop below the dew point.
When warm, moist indoor air hits that cold surface (often through those tiny gaps we talked about), water condenses. It turns into liquid. Inside your wall. You can’t see it. You can’t smell it, at first. But it’s there. And where there’s moisture, there’s mold.
Compressed insulation also loses some of its ability to dry out. Fiberglass needs to breathe. It needs air circulation to evaporate any incidental moisture. When it’s packed tight against the studs and the drywall, that airflow is restricted. If water gets in—from a leaky window, a roof drip, or just condensation—it stays there.
In 2026, we’re seeing more extreme weather events. Heavy rains, rapid temperature swings. Homes need to be resilient. A wall with properly installed insulation can handle minor moisture intrusions. A wall with compressed, soggy, mold-prone insulation cannot. We’ve interviewed remediation specialists who say that a significant portion of mold cases they see stem from poor insulation practices, not just big leaks. It’s the slow, silent damage of trapped humidity.
And let’s be clear: fixing mold is expensive. We’re talking thousands of dollars. Tearing out drywall, treating the wood, replacing the insulation, repainting. All because someone tried to save a few bucks by squeezing a batt. It’s a false economy that can literally rot your house from the inside out.
Labor and Material Waste: The Hidden Invoice
Let’s talk money. Not just energy bills, but the upfront cost. You might think compressing insulation saves money because you’re using fewer bags or fitting more coverage into less space. But experienced installers know the opposite is true. Working with compressed batts is a hassle. It’s physically harder. It takes more time.
When you try to jam a thick batt into a narrow cavity, you’re fighting the material. It springs back. It tears. You have to cut it precisely, trim it around every wire and pipe, and ensure it’s not too loose or too tight. This increases labor time. And labor is the biggest cost in any insulation job. In 2026, with labor rates rising, every extra minute counts.
Then there’s waste. When you cut and trim compressed batts, you generate more scraps. Those scraps can’t always be reused, especially if they’re torn or misshapen. You end up buying more material than you calculated because of the inefficiency of the installation process. Plus, disposal fees for construction waste are climbing. More waste means higher tipping fees at the landfill.
Some homeowners try to compensate by adding rigid foam board over the studs to make up for the lost R-value. That’s a valid strategy, but it adds another layer of complexity and cost. Now you’re buying foam, taping seams, and dealing with two different materials. It’s doable, but it’s not the simple fix people think it is. It’s a patch for a problem that didn’t need to exist if you’d just bought the right size batt to begin with.
And don’t forget the protective gear. Fiberglass itch is real. The more you handle, cut, and struggle with the stuff, the more exposure you have. Proper safety gear—respirators, gloves, suits—adds to the cost. Rushing through a difficult installation often leads to skipped safety steps, which is a risk no one should take.
Getting It Right: Best Practices for 2026
So, what’s the solution? It’s simpler than you think. Buy the right batt for the cavity. If you have 2×4 walls, buy R-13 or R-15 batts designed for 3.5-inch depths. If you have 2×6 walls, buy R-19 or R-21 batts designed for 5.5-inch depths. Don’t try to outsmart the physics. Work with it.
If you want higher R-values in existing 2×4 walls, consider adding continuous insulation on the exterior or interior. Rigid foam boards or mineral wool panels can be layered without compression issues. They bridge the studs and reduce thermal bridging, which is another huge benefit. This approach is gaining traction in 2026 as energy codes get stricter. It’s more effective than squishing fiberglass.
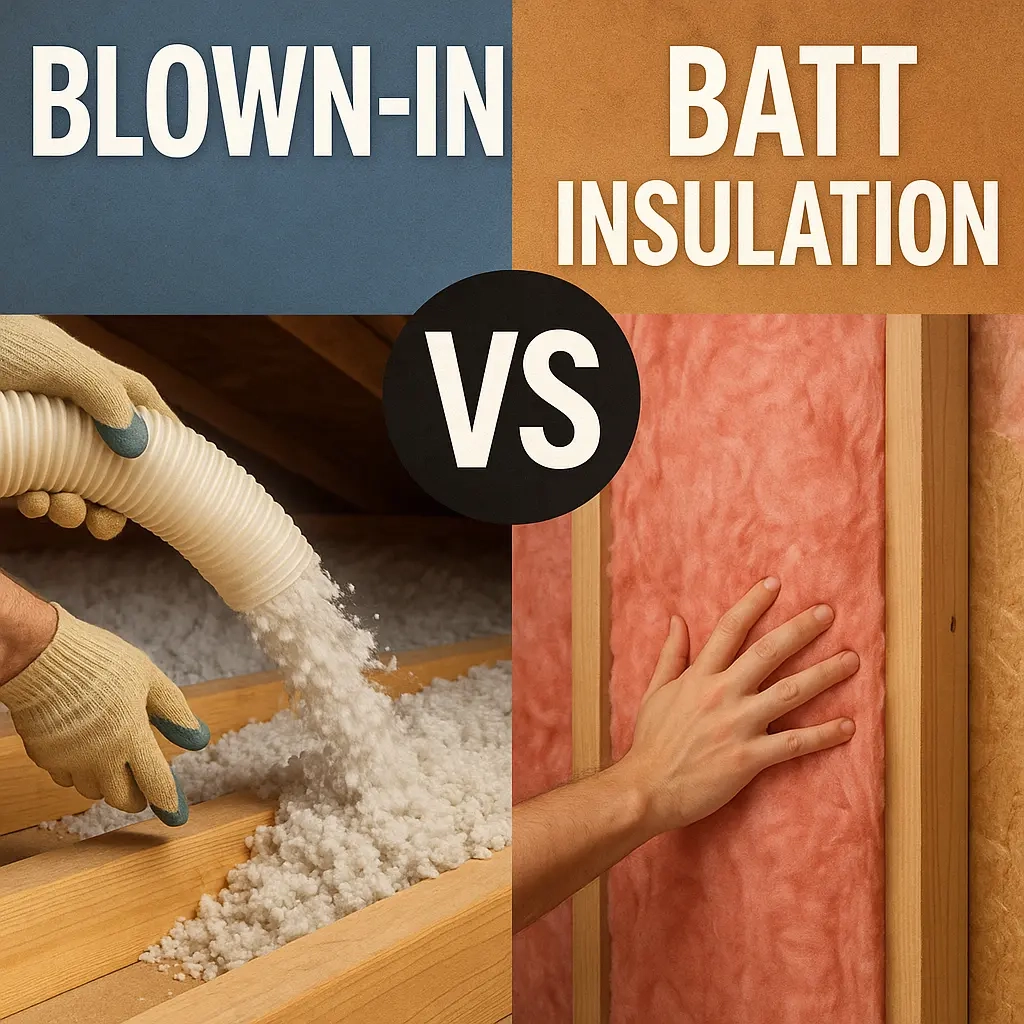
Another option is blown-in fiberglass or cellulose. These materials are poured or sprayed into the cavity, filling every nook and cranny without compression. They conform to the space rather than fighting it. For retrofit jobs, this is often the superior choice. It eliminates the gaps and voids that plague batt installations. Yes, it requires specialized equipment, but many rental centers offer blowers, or you can hire a pro. The performance gain is worth it.
And if you’re building new, consider advanced framing techniques. Spacing studs at 24 inches on center instead of 16 gives you more room for insulation and less wood (which conducts heat). It’s a small change with a big impact. Pair that with the correct batt size, and you’ve got a high-performance wall.
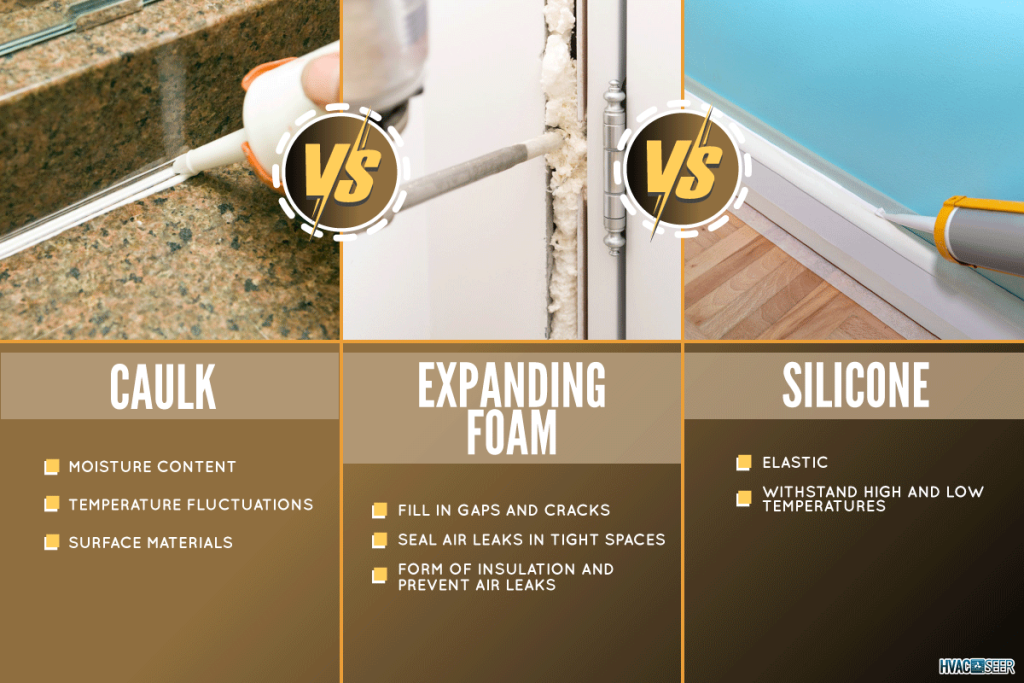
Finally, air seal. Before you install any insulation, seal the gaps. Use caulk or foam around windows, doors, and penetrations. Insulation stops heat flow; air sealing stops air flow. You need both. Compressed insulation fails at both. Properly installed insulation, paired with good air sealing, creates a tight, efficient envelope. It’s the gold standard.
At the end of the day, insulating your home is an investment. It’s about comfort, savings, and longevity. When you compress fiberglass batts, you’re undermining that investment. You’re paying for performance you don’t get. You’re risking moisture damage. You’re wasting labor and material. And you’re ending up with a home that’s harder to heat and cool.
It’s easy to see why the temptation exists. We all want the best rating for the lowest price. But in building science, there’s no free lunch. The label on the package is a promise, but only if you keep that promise during installation. Respect the loft. Respect the air pockets. Let the insulation do what it was designed to do.
Take a step back. Look at your walls. Measure them. Buy the right stuff. It might cost a few dollars more upfront, or it might save you money by avoiding waste. Either way, it’s the right call. Your future self, shivering less in winter and sweating less in summer, will thank you. And your wallet? It’ll thank you too. Don’t let the hidden costs of compression catch you off guard. Build it right, once, and enjoy the warmth.
[sps_html tag=”img” src=”https://cdn.northcarolinafinearchitecture.com/2026/06/essential-tips-for-batt-insulation-update-2026-milan-insulation-pertaining-to-why-your-batt-insulation-fails-and-how-to-fix-it-in-2026.jpg” alt=”Essential Tips For Batt Insulation | Update 2026 | Milan Insulation pertaining to Why Your Batt Insulation Fails and How to Fix It in 2026″ style=”width: 100%; height: auto;”]
[sps_html tag=”img” src=”https://cdn.northcarolinafinearchitecture.com/2026/06/blown-in-vs-batt-insulation-which-is-best-for-your-home-pure-eco-inc-intended-for-batt-insulation-design.webp” alt=”Blown-In Vs Batt Insulation & Which Is Best For Your Home? | Pure Eco Inc. intended for Batt Insulation Design” style=”width: 100%; height: auto;”]
[sps_html tag=”img” src=”https://cdn.northcarolinafinearchitecture.com/2026/06/a-manual-for-why-fiberglass-batt-insulation-fails-to-meet-expectations-pertaining-to-batt-insulation-design.jpeg” alt=”A Manual For Why Fiberglass Batt Insulation Fails To Meet Expectations … pertaining to Batt Insulation Design” style=”width: 100%; height: auto;”]
[sps_html tag=”img” src=”https://cdn.northcarolinafinearchitecture.com/2026/06/fiberglass-batt-insulation-energy-efficient-home-comfort-regarding-why-your-batt-insulation-fails-and-how-to-fix-it-in-2026.jpg” alt=”Fiberglass Batt Insulation Energy Efficient Home Comfort regarding Why Your Batt Insulation Fails and How to Fix It in 2026″ style=”width: 100%; height: auto;”]
[sps_html tag=”img” src=”https://cdn.northcarolinafinearchitecture.com/2026/06/rim-joist-insulation-why-batt-insulation-isnt-enough-residential-intended-for-why-your-batt-insulation-fails-and-how-to-fix-it-in-2026.webp” alt=”Rim Joist Insulation: Why Batt Insulation Isn't Enough - Residential … intended for Why Your Batt Insulation Fails and How to Fix It in 2026″ style=”width: 100%; height: auto;”]