You know that sinking feeling. You spent a Saturday afternoon meticulously smoothing out that bead of white stuff around your bathtub. It looked perfect. Smooth. Clean. You felt like a pro. Then, three months later, you notice it. A tiny crack. Maybe some black mold creeping in from the edges. Or worse, water leaking onto the floor below. You sigh, grab the scraper, and wonder why you have to do this all over again.
It’s frustrating, right? And expensive in the long run. Most folks think they bought "caulk." They see the tube at the hardware store, grab the cheapest one, and call it a day. But here’s the thing. Not all tubes are created equal. In fact, what you probably bought isn’t even a true sealant. It’s just caulk. And there is a massive, critical difference between the two that nobody talks about until it’s too late.
Let’s fix that confusion once and for all. By the end of this, you’ll know exactly what to buy, where to use it, and why spending a few extra dollars now saves you hundreds later. No more guessing. No more re-doing jobs. Just solid, lasting results.
The Great Misconception: They Are Not Interchangeable
Walk into any hardware aisle in 2026, and you’ll see rows of tubes that look identical. White labels. Similar branding. Prices ranging from $3 to $15. It’s easy to assume they all do the same job. After all, they’re all used to fill gaps, right? Wrong. This is the biggest trap DIYers fall into. Caulk and sealant are cousins, sure. But they aren’t twins. Treating them like they are is like using duct tape when you really needed welding. It might hold for a bit, but it won’t last.
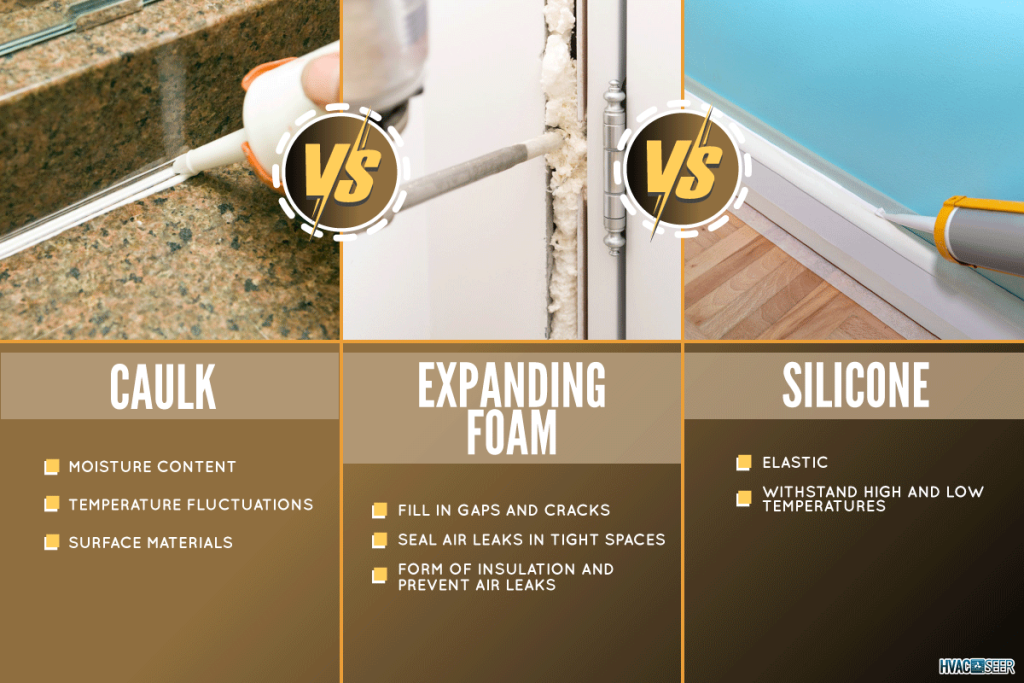
Caulk is basically a filler. Think of it as spackle for gaps. It’s rigid. It dries hard. Its main job is to look good and stay put in places that don’t move. If you’re filling a small crack in drywall or trimming around a window frame indoors where the temperature stays pretty steady, caulk is your friend. It’s cheap, usually acrylic or latex-based, and paints beautifully. But ask it to stretch? Ask it to handle water constantly? It will fail. It cracks. It shrinks. It lets moisture in.
Sealant, on the other hand, is an engineer’s dream. It’s flexible. Elastic. It’s designed to move. Buildings breathe. Wood expands in summer and contracts in winter. Tiles shift slightly when you walk on them. A true sealant—like silicone or polyurethane—stretches with these movements. It doesn’t crack because it bends. It repels water instead of just sitting there hoping nothing gets wet. When people say "silicone," they’re usually talking about a type of sealant. And that flexibility is the secret sauce.
Inside the Tube: What’s Actually in There?
Let’s get a little nerdy for a second, but keep it simple. The ingredients define the performance. Cheap caulk is mostly made of acrylic latex. Sometimes vinyl. These are water-based materials. That’s why they clean up easily with water and why they paint so well. The water evaporates, the material hardens, and you get a solid, static fill. It’s great for aesthetics. It’s terrible for dynamics. If the gap moves even a millimeter, the rigid caulk snaps. It’s brittle by nature.
True sealants use different chemistry. Silicone sealants, for example, are made from silicon-oxygen bonds. These bonds are incredibly stable and flexible. They don’t dry out the same way caulk does; they cure into a rubber-like substance. Polyurethane sealants are another beast entirely. They’re tough, adhesive, and can handle heavy traffic areas. Then there are hybrid sealants, like MS Polymers, which are gaining huge traction in 2026 because they combine the best of both worlds: paintable like caulk, flexible like silicone.
Why does this matter? Because environment dictates survival. If you put acrylic caulk in a shower, the constant heat and cold cycles make it expand and contract. Since it can’t stretch, it pulls away from the tile. Water gets behind it. Mold grows. Rot starts. You didn’t just buy the wrong product; you invited damage into your home. Sealants resist these changes. They bond chemically to surfaces, creating a waterproof barrier that moves with the building, not against it.
The Flexibility Factor: Movement Is Everything
Here is the single most important rule: Does the joint move? If yes, you need sealant. If no, caulk might work. It sounds simple, but we mess this up constantly. Think about your exterior siding. The sun hits it, it gets hot and expands. Night falls, it cools and shrinks. That’s movement. If you used cheap latex caulk there, it would crack within a year. A high-quality silicone or polyurethane sealant will stretch up to 50% or more of its original width without breaking. That’s the difference between a five-year repair and a fifty-year solution.
Interior joints move too, just less dramatically. Door frames shift when you slam them. Floorboards creak and settle. Even plumbing vibrates slightly when water rushes through pipes. In high-moisture areas like bathrooms and kitchens, the movement is compounded by thermal shock. Hot showers create steam and heat; cold water cools things down. This constant cycling demands elasticity. Cheap caulk becomes chalky and crumbly under this stress. Sealants remain rubbery and intact.
Don’t believe me? Try this test next time you’re in a store. Squeeze a bit of cured caulk and cured sealant (ask for samples or check old tubes). Poke the caulk. It’s hard. Maybe you can dent it, but it doesn’t bounce back. Poke the sealant. It gives way, then springs back. That spring-back is called recovery. It’s what keeps the seal tight. Without it, you’re just plugging a hole temporarily. With it, you’re engineering a barrier.
Where to Use What: A Room-by-Room Breakdown
So, where do you actually use each? Let’s walk through your house. Start with the living room and bedrooms. Baseboards, crown molding, door casings. These are low-movement, dry areas. You want a smooth finish that blends in with the wall. Use paintable acrylic latex caulk. It’s cheap, easy to tool, and disappears under paint. Don’t waste expensive silicone here; it won’t take paint well, and you don’t need the flexibility. Save your money.
Now, head to the bathroom. Shower corners, tub edges, sink rims. This is sealant territory. Specifically, 100% silicone or a high-grade hybrid. Never use acrylic here. The moisture is too high. The movement is too frequent. You need something waterproof and mold-resistant. Many modern sealants come with mildewcides built-in, which is a huge plus for 2026 homes where air-tightness can sometimes trap humidity. Make sure it says "100% Silicone" or "Kitchen & Bath Sealant" on the label.
What about the outside? Windows, doors, siding, gutters. Exterior conditions are harsh. UV rays, rain, snow, wind. Acrylic caulk will degrade quickly outdoors. Use a polyurethane or silicone sealant rated for exterior use. Polyurethane is great for brick and concrete because it sticks like glue and handles abrasion. Silicone is better for glass and metal because it handles UV light without yellowing or cracking. Check the label for "Exterior Grade" and "UV Resistant." It’s worth the extra few bucks per tube.
The Cost Illusion: Cheap Now, Expensive Later
Let’s talk money. A tube of basic acrylic caulk costs maybe $4 to $6. A tube of quality silicone or polyurethane sealant runs $8 to $12, sometimes up to $20 for specialized types. It’s tempting to grab the cheap stuff. You’re doing ten windows; that’s a $60 difference. Seems significant. But here’s the reality check. If that cheap caulk fails in two years, you have to scrape it out. Scraping is hard work. It damages the surrounding paint or wood. You have to buy new caulk. You spend another weekend fixing it.
Now multiply that by every failure in your home. The leaking shower that ruins the drywall behind it. The rotting window sill because water got past the cracked caulk. The energy bills going up because air is leaking through failed exterior seals. The cost of repairing water damage is exponentially higher than the cost of a good tube of sealant. We’re talking hundreds, sometimes thousands of dollars. The "cheap" option is actually the most expensive choice you can make.
In 2026, labor costs are high. If you hire someone to fix a botched caulking job, you’re paying for their time to remove the mess, prep the surface, and apply the right product. Doing it right the first time with a true sealant isn’t just about durability; it’s about insurance. It’s peace of mind. You apply it once, and you forget about it for a decade. That’s value. That’s smart spending. Don’t be penny-wise and pound-foolish.
Even the best sealant will fail if applied poorly. Preparation is key. You can’t just slap it over dirt, old caulk, or dust. It won’t stick. First, remove all old material. Use a sharp blade or a dedicated caulk removal tool. Get it clean. Then, wipe the area with rubbing alcohol or a degreaser. Let it dry completely. Moisture or oil on the surface is the enemy of adhesion. This step takes five minutes but adds years to the life of your seal.
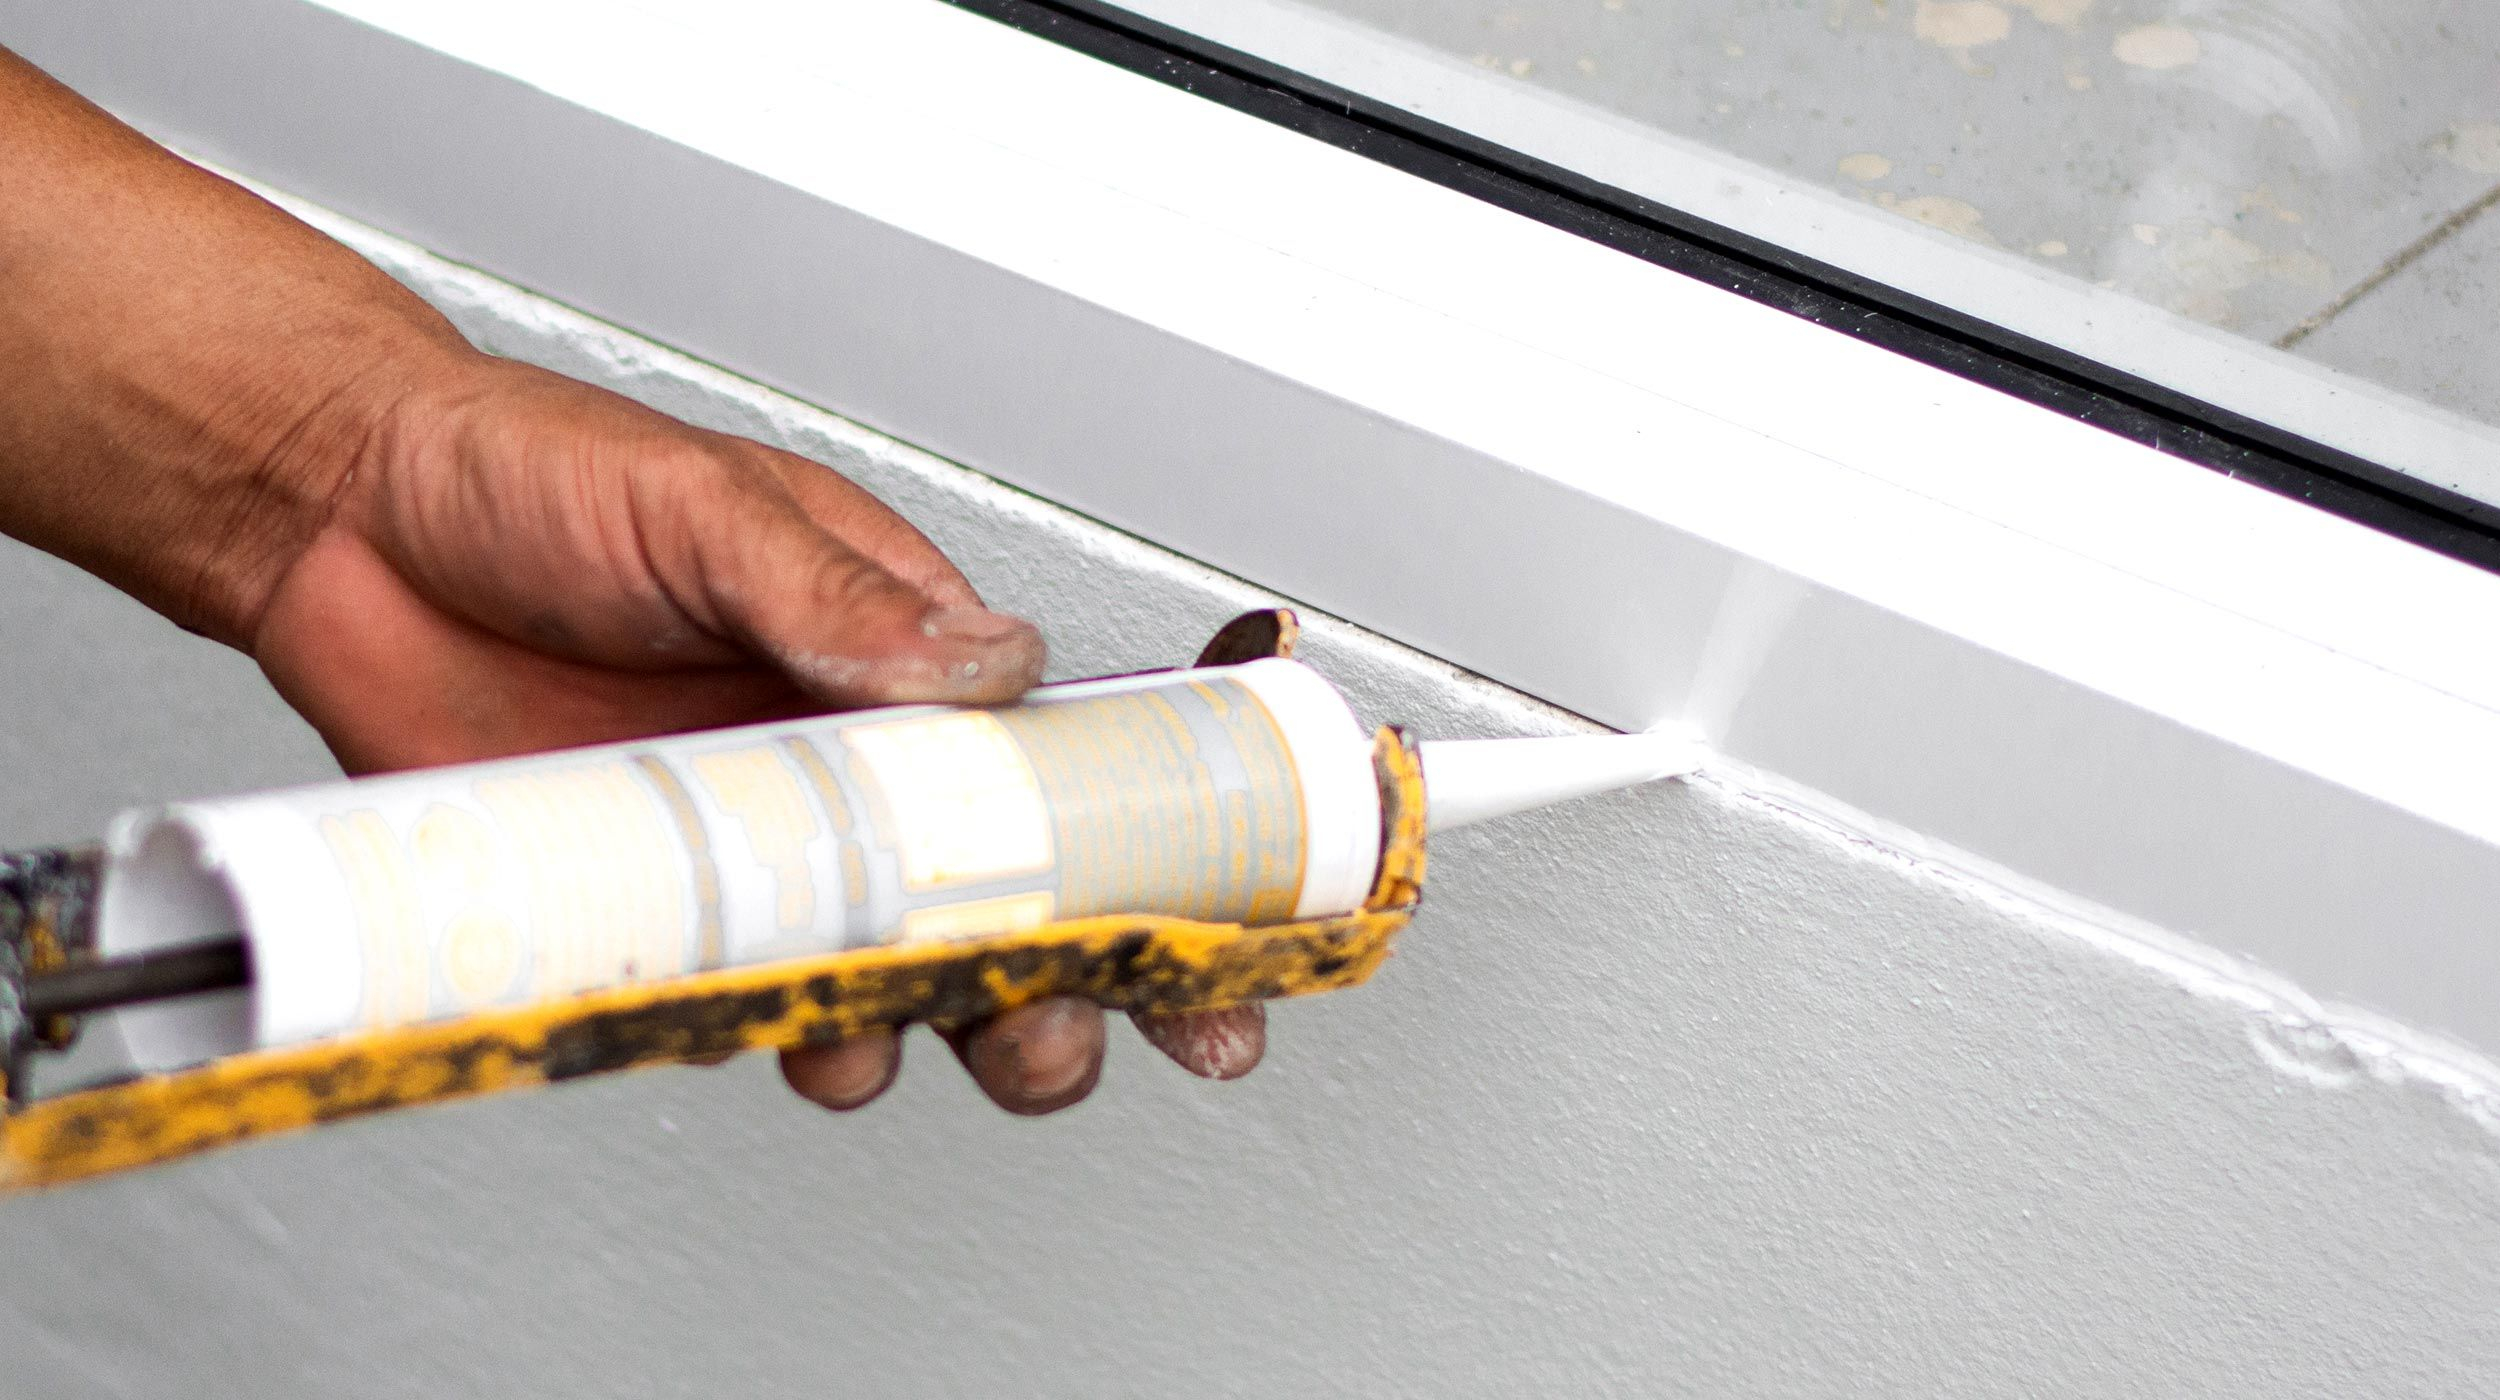
Next, use painter’s tape if you’re nervous about messy lines. Apply the sealant in a steady bead. Don’t rush. Use a caulking gun with a smooth trigger mechanism; cheap guns jerk and make bubbles. After applying, tool the bead. This means smoothing it with a wet finger, a spoon, or a specialized tool. Tooling pushes the sealant into the gap, ensuring contact on both sides. It also creates a concave shape that sheds water better than a flat or convex bead. Wipe away excess immediately.
Finally, let it cure. This is where patience pays off. Caulk dries fast, but sealants cure slowly. Silicone can take 24 hours to skin over and up to a week to fully cure. Don’t use the shower during this time. Don’t paint over it unless it’s specifically labeled paintable (most silicones aren’t). Read the instructions on the tube. They vary by brand and type. Rushing this step ruins the chemical bond. Wait it out. Your future self will thank you.
Choosing between caulk and sealant isn’t rocket science, but it feels like it when you’re standing in the hardware aisle confused. Remember the core truth: Caullk fills, sealant protects. Caulk is for static, dry, indoor looks. Sealant is for dynamic, wet, outdoor durability. Know the difference, pick the right tool, and prep properly. It’s a small shift in thinking that makes a massive difference in your home’s health and your wallet. Stop settling for cracks. Start sealing for good.
[sps_html tag=”img” src=”https://cdn.northcarolinafinearchitecture.com/2026/05/how-to-use-a-caulk-gun-like-a-pro-a-step-by-step-guide-pertaining-to-stop-guessing-which-caulk-to-use-with-this-simple-selection-guide-for-2026.webp” alt=”How To Use A Caulk Gun Like A Pro: A Step-By-Step Guide pertaining to Stop Guessing Which Caulk to Use With This Simple Selection Guide for 2026″ style=”width: 100%; height: auto;”]
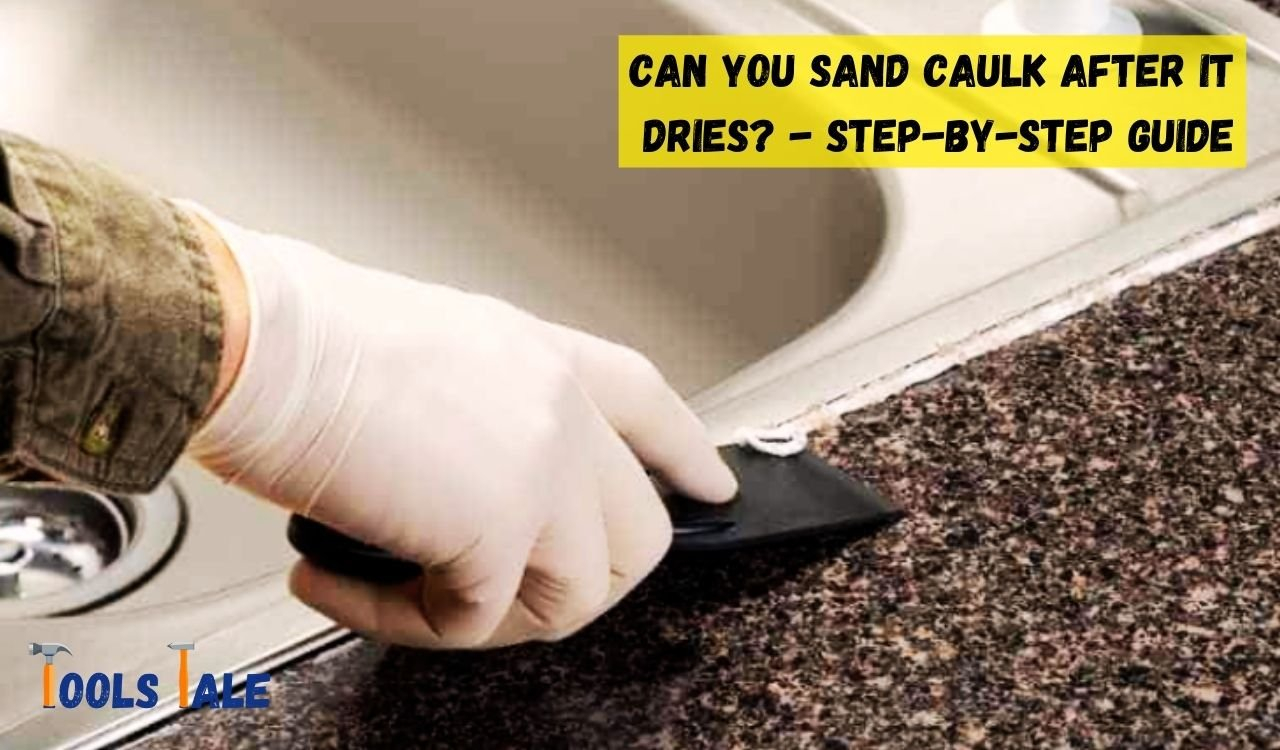
[sps_html tag=”img” src=”https://cdn.northcarolinafinearchitecture.com/2026/05/can-you-sand-caulk-after-it-dries-exploring-post-caulking-finishing-with-regard-to-stop-guessing-which-caulk-to-use-with-this-simple-selection-guide-for-2026.jpg” alt=”Can You Sand Caulk After It Dries? Exploring Post-Caulking Finishing with regard to Stop Guessing Which Caulk to Use With This Simple Selection Guide for 2026″ style=”width: 100%; height: auto;”]
[sps_html tag=”img” src=”https://cdn.northcarolinafinearchitecture.com/2026/05/caulking-windows-a-quick-diy-guide-to-help-seal-windows-homebuilding-within-caulk-design.jpg” alt=”Caulking Windows: A Quick Diy Guide To Help Seal Windows | Homebuilding within Caulk Design” style=”width: 100%; height: auto;”]
[sps_html tag=”img” src=”https://cdn.northcarolinafinearchitecture.com/2026/05/resources-stop-guessing-with-stop-guessing-which-caulk-to-use-with-this-simple-selection-guide-for-2026.png” alt=”Resources — Stop Guessing with Stop Guessing Which Caulk to Use With This Simple Selection Guide for 2026″ style=”width: 100%; height: auto;”]
[sps_html tag=”img” src=”https://cdn.northcarolinafinearchitecture.com/2026/05/when-to-use-silicone-vs-caulk-at-thomas-gabaldon-blog-intended-for-caulk-design.png” alt=”When To Use Silicone Vs Caulk At Thomas Gabaldon Blog intended for Caulk Design” style=”width: 100%; height: auto;”]