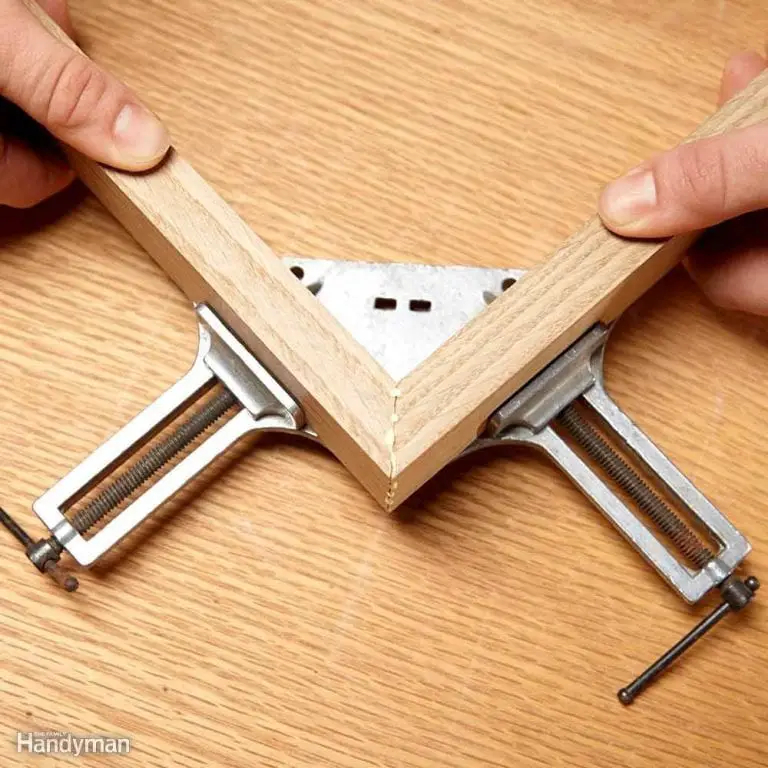
We’ve all been there. You spend hours selecting the perfect walnut board, cutting it with surgical precision, and clamping up what should be a flawless picture frame. Then, you let go of the clamp. Crack. Or worse, it holds together for a week, only to fall apart when someone barely bumps it. It’s frustrating. It feels like a personal failure. But here’s the secret nobody tells you when you’re starting out: a plain miter joint is weak. Like, really weak. It relies on gluing end grain to end grain, which is basically the woodworking equivalent of trying to stick two pieces of dry sponge together with water. It just doesn’t want to hold.
But what if that weakness wasn’t a bug, but a feature? What if the very thing you add to make the corner strong also becomes the star of the show? In 2026, we’re seeing a huge shift away from hiding our joinery. People want to see how things are made. They want to see the craft. By reinforcing your miters with visible keys, splines, or wedges, you aren’t just fixing a structural problem. You’re adding a layer of visual interest that screams "quality." You’re turning a potential failure point into a deliberate design choice. It’s about embracing the mechanics of the piece and letting them shine.
So, why do we even bother with miters if they’re so tricky? Because they look clean. They create that seamless flow of grain around a corner that butt joints just can’t match. A well-executed miter makes a box look like it was carved from a single block of wood. The challenge has always been making them last. For decades, the standard advice was to hide the reinforcement—use biscuits, dominoes, or hidden dowels. And sure, those work. But they’re invisible. They don’t tell a story. Today’s makers are choosing methods that leave a mark. They’re choosing strength that you can see and touch.
The Science of the Weak Corner
Let’s get technical for a second, but keep it simple. Wood is fibrous. Think of it like a bundle of straws glued together. When you cut a miter, you’re exposing the ends of those straws. Glue works by soaking into the fibers and hardening, creating a bond. But on end grain, the glue soaks in too deep, leaving little on the surface to hold the two pieces together. It’s a shallow, brittle connection. Any lateral stress—like dropping a frame or leaning on a box—snaps that bond instantly. This is why your grandmother’s old photo frames often have gaps at the corners. The glue failed because the joint had no mechanical lock.
Reinforcement changes the game by introducing long-grain to long-grain contact. When you insert a spline or a key, you’re running a piece of wood across the joint line. The grain of the spline runs perpendicular to the miter cut. Now, when force is applied, it’s not pulling against the weak end-grain glue line. It’s pulling against the strong side-grain of the spline. It’s a mechanical lock. The glue still helps, sure, but the wood itself is doing the heavy lifting. This is the difference between a joint that holds for a year and one that lasts for generations.
Understanding this physics helps you choose the right reinforcement. If you’re building a lightweight frame for a mirror, a thin spline might be enough. If you’re building a heavy toolbox that gets tossed in the back of a truck, you need something more robust, like a through-tenon or a large wedge. The size and orientation of your reinforcement should match the stress the piece will endure. Don’t overbuild a delicate jewelry box, but don’t underbuild a workbench. It’s all about balance. And honestly, getting this right feels good. It’s knowing your creation can handle real life.
Splines: The Elegant Standard
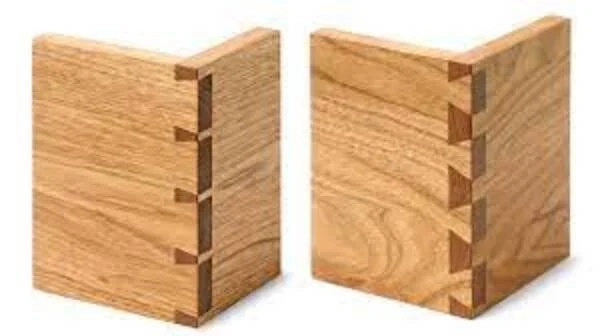
Splines are probably the most common way to beef up a miter, and for good reason. They’re versatile, relatively easy to cut, and offer a clean look. A spline is just a thin strip of wood inserted into slots cut into both sides of the miter joint. You can keep them hidden inside the corner, or you can let them peek out. In recent years, the trend has shifted toward letting them show. It adds a nice contrast. Imagine a dark walnut frame with a bright maple spline running through the corner. It draws the eye. It highlights the craftsmanship.
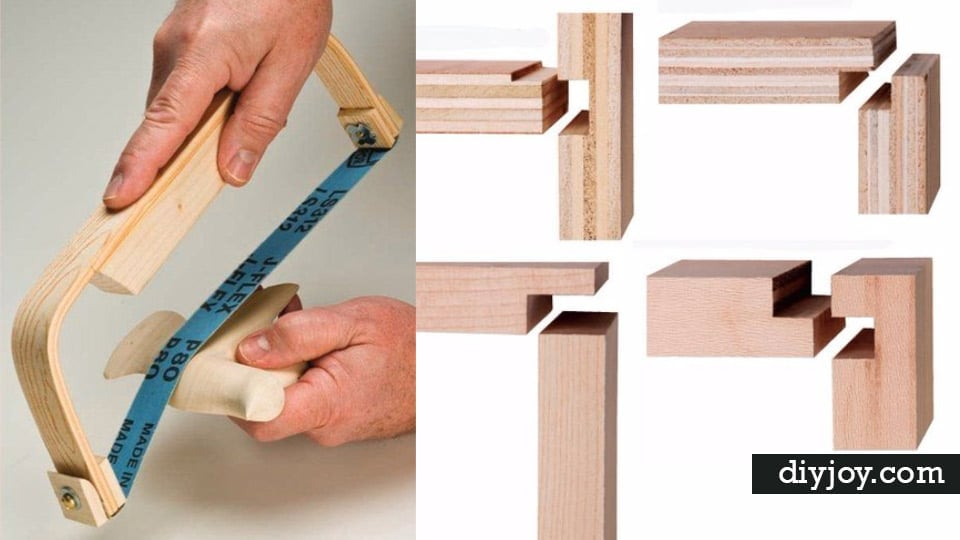
Cutting slots for splines used to be a headache. You’d have to fiddle with table saw blades or router bits, hoping to get the depth just right. But in 2026, dedicated spline jigs are more accessible than ever. These little devices clamp onto your workpiece and guide your router or saw perfectly. They ensure the slot is centered and at the right angle every time. Consistency is key here. If one slot is deeper than the other, the joint won’t close tight. You’ll get a gap that no amount of clamping can fix. A good jig removes that guesswork. It lets you focus on the wood, not the setup.
The beauty of splines is their subtlety. You can make them thin, almost like a hairline accent. Or you can go bold with a wider strip. You can even use different materials. While wood is standard, some makers are experimenting with metal or acrylic splines for a modern, industrial vibe. Just remember, the spline needs to fit snugly. Not too tight, or you’ll split the miter. Not too loose, or it won’t reinforce anything. Aim for a friction fit that requires a gentle tap with a mallet. That’s the sweet spot. Once glued and trimmed flush, it’s solid as a rock.
Keys and Wedges: Adding Visual Flair
If splines are the quiet professionals, keys and wedges are the showoffs. And we love them for it. A key is essentially a spline that goes all the way through the corner, visible on both the inside and outside. A wedge is similar but often tapered, hammered in to create tension. These aren’t just structural elements; they’re decorative punctuation marks. They break up the monotony of a long grain line. They add rhythm to a piece. Think of a blanket chest with four contrasting maple keys at each corner. It looks intentional. It looks designed.
Box keys are a popular variation. These are rectangular inserts, usually about 1/4-inch wide, that span the corner. Using contrasting woods is the trick here. Maple in walnut, cherry in oak, or even exotic woods like purpleheart in mahogany. The contrast makes the joint pop. It turns the corner into a focal point. Instead of trying to hide the joinery, you’re celebrating it. This approach fits perfectly with the current design ethos of transparency in making. People appreciate seeing how things fit together. It builds trust in the quality of the object.
Wedges take this a step further by adding dynamic energy. Because they’re tapered, they draw the eye inward or outward depending on how you orient them. Hammering them in creates a tight mechanical fit that’s incredibly strong. It’s satisfying, too. There’s a primal joy in hearing that solid thunk as the wedge seats home. Just be careful not to split the wood. Pre-drilling or cutting a kerf for the wedge helps control the expansion. And if you mess up? Well, that’s part of the charm. Hand-cut wedges have a slight irregularity that proves they were made by human hands, not a machine. Embrace the imperfection.
Hidden Strength: When Less Is More
Sometimes, you don’t want the reinforcement to show. Maybe you’re restoring an antique piece where visible keys would look out of place. Or maybe you’re going for a ultra-minimalist aesthetic where any interruption in the grain line feels wrong. In these cases, hidden reinforcement is your friend. Techniques like biscuits, dominoes, or internal dowels keep the exterior clean while providing the necessary strength. It’s the best of both worlds: the look of a pure miter with the durability of a reinforced joint.
The challenge with hidden joinery is assembly. As noted in recent discussions among woodworkers, getting all four corners of a box to close simultaneously can be a nightmare. If you’re using perpendicular reinforcements like dominoes, you have to spread the corners apart to insert the last tenon. It’s a puzzle. One wrong move and you’re stuck with a gap that won’t close. This is where patience and dry-fitting come in. Always assemble the piece without glue first. Check the fit. Make adjustments. Only when everything slides together smoothly should you reach for the glue bottle.
Modern tools have made this easier. The Domino XL and similar systems allow for larger, stronger floating tenons that are easier to align. But the principle remains the same: precision is non-negotiable. Hidden joints forgive nothing. A fraction of a millimeter off, and the whole thing falls apart. That’s why many pros still prefer visible splines for complex boxes. It’s easier to troubleshoot. But if you’re up for the challenge, a perfectly executed hidden miter is a thing of beauty. It’s a secret strength. A private joke between you and the wood.
Practical Tips for Perfect Execution
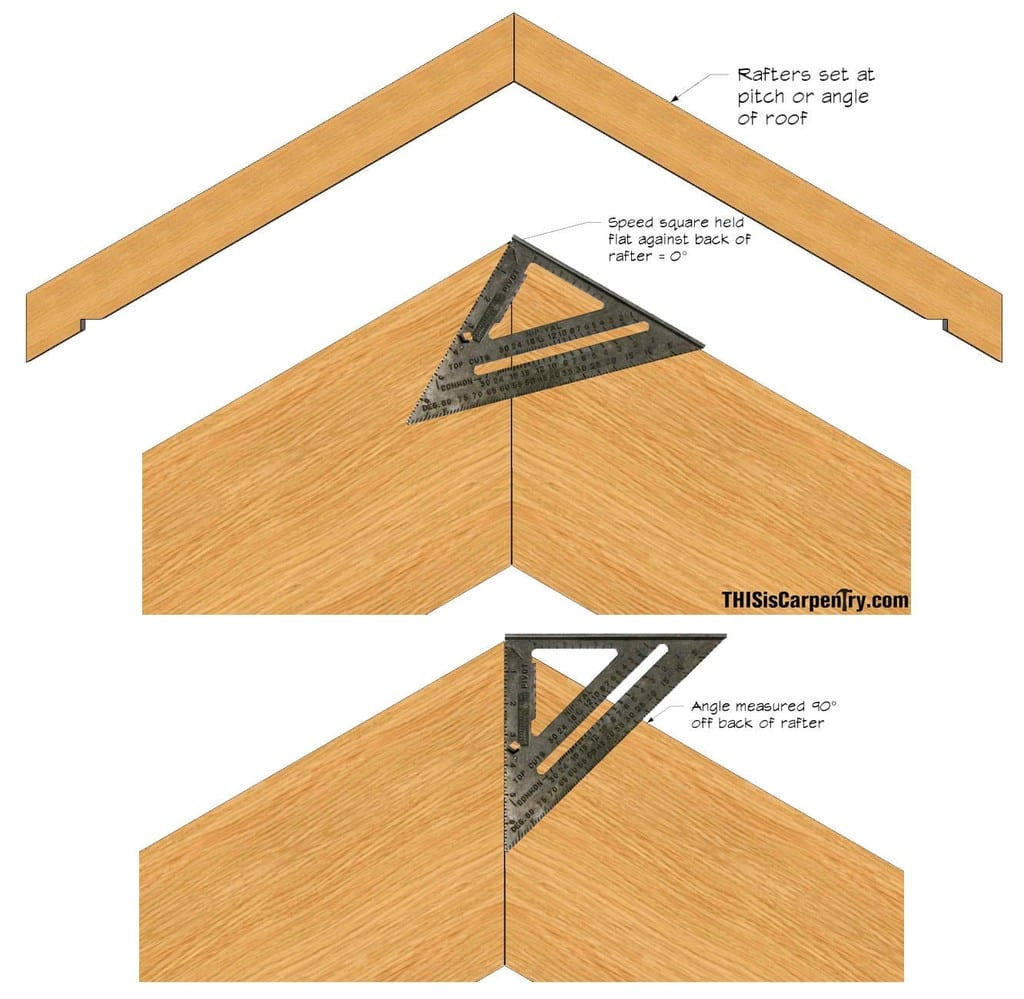
So, how do you actually pull this off without losing your mind? Start with sharp tools. Dull blades tear wood, leaving rough surfaces that don’t glue well. A sharp blade gives you a clean cut, which is half the battle. Next, check your square. Your miter gauge or sled needs to be exactly 45 degrees. If it’s off by even a degree, your corners won’t close. Use a digital angle finder to verify. Don’t trust the markings on your saw. They’re often wrong. Test cuts on scrap wood are your best friend. Make a small test frame before committing to your final piece.
When cutting slots for splines or keys, consistency is king. Use a stop block to ensure every slot is the same distance from the edge. This ensures the reinforcement lines up perfectly when you assemble the joint. And speakign of alignment, pay attention to grain direction. Your spline or key should run perpendicular to the miter cut. If it runs parallel, it won’t add any strength. It’ll just be a decorative strip that might even weaken the joint. Take your time here. Rushing leads to mistakes. And mistakes in joinery are hard to hide.
Finally, don’t skimp on the glue-up. Use enough glue to cover the surfaces, but not so much that it squeezes out everywhere. Wipe away excess immediately with a damp cloth. And clamp evenly. Use cauls to distribute pressure and prevent the clamps from denting your wood. Let the glue cure fully before removing the clamps. Overnight is best. Rushing this step is the most common cause of failed joints. I know, it’s tempting to peek. But wait. Let the chemistry do its work. Your patience will be rewarded with a joint that’s stronger than the wood itself.
Design Integration and Aesthetics
Reinforced miters aren’t just about strength; they’re about style. Think about how the reinforcement interacts with the rest of the piece. Does the contrast complement the wood tone? Does the width of the key match the scale of the object? A massive key on a delicate frame looks clumsy. A tiny spline on a heavy chest looks insignificant. Proportion matters. Consider the overall design language. If your piece is modern and sleek, thin, precise splines might work best. If it’s rustic and rugged, bold wedges could be the perfect touch.
Color plays a huge role too. Contrasting woods create visual interest, but they can also clash if not chosen carefully. Warm tones like cherry and maple play well together. Cool tones like walnut and ash create a sophisticated look. Don’t be afraid to experiment with unusual combinations. Purpleheart, bloodwood, or even dyed woods can add a pop of color that surprises and delights. Just make sure the woods have similar movement rates. You don’t want one wood expanding and contracting at a different rate than the other, causing the joint to crack over time.
In 2026, we’re also seeing a rise in mixed-material reinforcements. Brass or copper keys add a metallic accent that ages beautifully. Epoxy resin splines can introduce color and translucency. These choices push the boundaries of traditional woodworking. They blur the line between furniture and art. But remember, the reinforcement should serve the design, not dominate it. It should feel integrated. Natural. Like it was always meant to be there. When you get it right, the joint becomes the highlight. It’s the detail people notice first. And that’s the goal.
Turning weak corners into design features isn’t just a clever trick. It’s a mindset shift. It’s about accepting the limitations of the material and working with them, not against them. By reinforcing your miters with visible keys, splines, or wedges, you’re adding strength, beauty, and character to your work. You’re telling a story about how the piece was made. And in a world full of mass-produced, disposable goods, that story matters. It connects the maker to the user. It creates value beyond function.
So, the next time you’re facing a miter joint, don’t dread it. Embrace it. See it as an opportunity. Choose a reinforcement method that speaks to your style. Cut it with care. Assemble it with patience. And stand back and admire the result. You’ve not only solved a structural problem; you’ve created a design feature. You’ve turned weakness into strength. And that’s pretty powerful. Whether you’re a beginner or a seasoned pro, this approach will elevate your work. It’s time to let your corners shine.
[sps_html tag=”img” src=”https://cdn.northcarolinafinearchitecture.com/2026/05/10-wood-working-joinery-techniques-part-1-kaltimber-timber-throughout-stop-guessing-angles-with-these-proven-techniques-for-flawless-wood-corners.webp” alt=”10 Wood Working Joinery Techniques - Part 1 — Kaltimber - Timber … throughout Stop Guessing Angles with These Proven Techniques for Flawless Wood Corners” style=”width: 100%; height: auto;”]
[sps_html tag=”img” src=”https://cdn.northcarolinafinearchitecture.com/2026/05/20-woodworking-tips-for-the-diyer-within-miter-joint-design.jpg” alt=”20 Woodworking Tips For The Diyer within Miter Joint Design” style=”width: 100%; height: auto;”]
[sps_html tag=”img” src=”https://cdn.northcarolinafinearchitecture.com/2026/05/how-to-join-two-pieces-of-wood-at-a-45-degree-angle-cut-the-wood-for-miter-joint-design.jpg” alt=”How To Join Two Pieces Of Wood At A 45 Degree Angle | Cut The Wood for Miter Joint Design” style=”width: 100%; height: auto;”]
[sps_html tag=”img” src=”https://cdn.northcarolinafinearchitecture.com/2026/05/how-to-join-2×4-at-corner-cut-the-wood-throughout-miter-joint-design.jpg” alt=”How To Join 2X4 At Corner | Cut The Wood throughout Miter Joint Design” style=”width: 100%; height: auto;”]