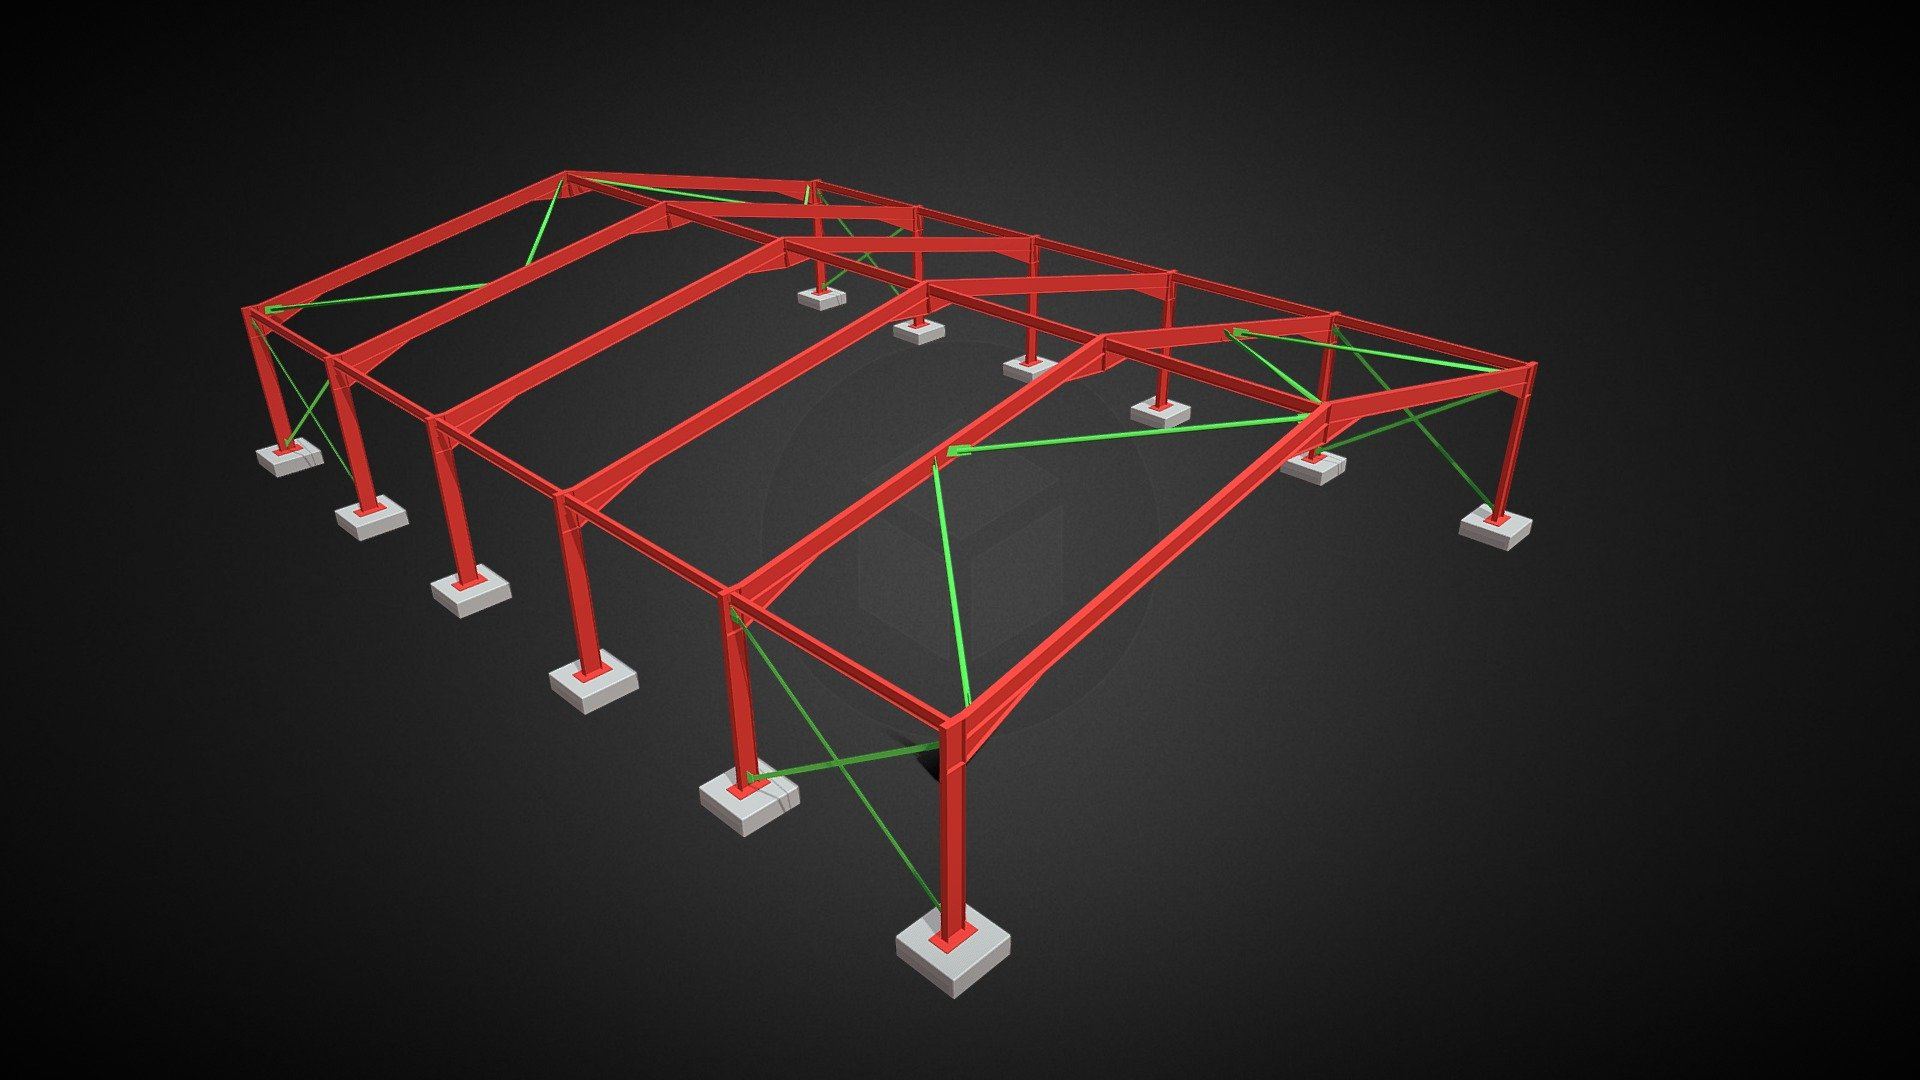
You’ve got the plans. They look crisp on paper, don’t they? Clean lines, perfect angles, and a foundation that seems like it’ll just slide into the earth without a fuss. But anyone who’s ever stood in a muddy trench at 6 AM knows that dirt doesn’t care about your CAD drawings. The gap between that initial sketch and the actual concrete pouring is where projects go to die—or where they’re truly built. It’s messy. It’s unpredictable. And honestly? It’s the most important part of the whole structure.
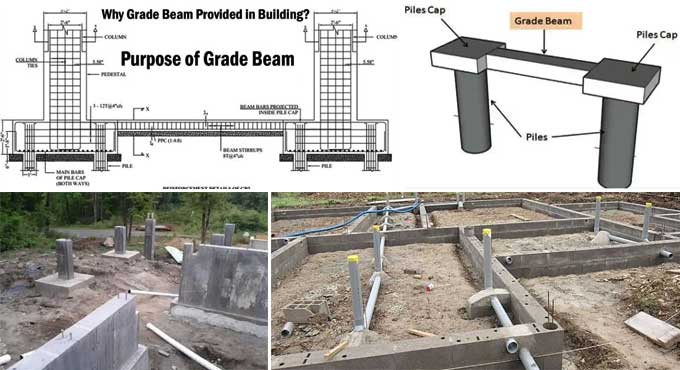
Grade beams are the unsung heroes of modern construction. They tie everything together, literally. But getting them right isn’t just about mixing cement and water. It’s about reading the land, fighting the weather, and making split-second decisions when the soil report says one thing but the excavator bucket reveals another. In 2026, with material costs still fluctuating and labor shortages biting hard, you can’t afford to guess. You need to know what’s coming before you break ground.
The Soil Doesn’t Lie (But Reports Might)
Let’s start with the ground beneath your feet. Or rather, what you think is beneath your feet. Geotechnical reports are essential, sure. They give you a snapshot. But soil is a living, breathing entity that changes with moisture, season, and even the vibration of nearby traffic. I’ve seen too many crews dig down only to find a pocket of loose fill or an unexpected water table that wasn’t on the map. This is where the real work begins. You can’t just pour concrete into a hole and hope for the best. You have to adapt.
When you hit a soft spot, the temptation is to just keep digging until you hit "hard" stuff. But that’s a trap. Over-excavation leads to more concrete, which means more cost and potentially different structural dynamics. Instead, talk to your engineer immediately. Sometimes, a simple change in the beam depth or adding a bit of crushed stone for drainage is enough. Other times, you might need to adjust the reinforcement schedule. The key is communication. Don’t let the excavator operator make engineering calls. Stop. Look. Ask.
Also, consider the moisture content. In early 2026, we’ve seen weird weather patterns swing from drought to deluge in weeks. Wet soil expands. Dry soil shrinks. If you’re building on clay, this is your nightmare. You need to ensure the subgrade is compacted properly and kept at a consistent moisture level before you lay any forms. A quick Proctor test isn’t just bureaucracy; it’s your insurance policy against future cracks. Ignore it, and you’re gambling with the integrity of the entire building.
Rebar Rage: When Steel Meets Reality
Reinforcement is the skeleton of your grade beam. Without it, concrete is just brittle rock. But getting that steel into place is often a logistical nightmare. The drawings show nice, straight bars with perfect spacing. The reality? Bent bars, tangled meshes, and workers trying to fit ten pounds of steel into a five-pound hole. It’s frustrating. I’ve watched seasoned ironworkers curse at a simple corner detail because the bend radius was too tight for the bar size specified.
Here’s the thing: congestion kills quality. If you can’t get the concrete vibrator into the spaces between the rebar, you’re going to get honeycombing. Those voids weaken the beam significantly. So, before you tie a single wire, walk the forms. Look at the density of the steel. Is there room for the aggregate to flow? If not, talk to your designer about using larger diameter bars with wider spacing, or maybe even switching to welded wire mesh in non-critical areas. It’s not about cutting corners; it’s about buildability.
And don’t forget the spacers. Plastic chairs or concrete dobies might seem trivial, but if your rebar is sitting on the dirt, it’s useless. Corrosion starts immediately. In coastal areas or places with high sulfate soils, this is even more critical. Make sure your crew understands that cover distance isn’t a suggestion. It’s a requirement. I’ve seen inspectors fail a pour because the bottom mat was half an inch too low. It cost thousands in delays and cleanup. Just get it right the first time. It’s cheaper than fixing it later.
Formwork Follies and the Art of Containment
Forms are the mold for your masterpiece. If they’re weak, they’ll blow out. If they’re leaky, you’ll get ugly fins and wasted concrete. In the rush to finish, crews often skimp on bracing. Big mistake. Concrete is heavy. Really heavy. When that truck starts pumping, the pressure builds fast. I remember a job back in ’24 where the side forms bowed out nearly two inches because the stakes were spaced too far apart. The beam ended up looking like a banana. Not ideal for a load-bearing element.
Use sturdy materials. Old plywood can work if it’s in good shape, but don’t try to save money by using warped boards. Straight forms mean straight beams. And brace everything. Cross-brace the tops. Stake the bottoms securely into undisturbed soil, not just the loose fill you just dug out. If you’re working on a slope, things get trickier. You might need to key the beam into the hillside or use stepped forms. This requires careful planning. You can’t just wing it on site.
Also, think about removal. When can you strip the forms? Too early, and the concrete might sag or crack. Too late, and you’re wasting time. Generally, you want to wait at least 24 to 48 hours, depending on the mix and the weather. In colder months, it takes longer. In 2026, with new accelerated curing additives becoming more common, you might be able to strip sooner, but always check with your supplier. Don’t guess. A little patience here saves a lot of repair work down the line. And hey, if the forms stick, a little release agent goes a long way. Just don’t overdo it, or you’ll mess up the bond for any future plaster or stucco.
The Concrete Mix: It’s Not Just Gray Sludge
Concrete isn’t one-size-fits-all. The mix design matters. A lot. For grade beams, you typically want a mix that’s workable but not too wet. A slump of 4 to 6 inches is usually the sweet spot. Too dry, and you can’t get it into the corners. Too wet, and you get segregation, where the rocks sink and the paste rises. That weakens the beam. Talk to your ready-mix provider. Tell them exactly what you’re doing. Are you pumping it? Hand placing it? Using a vibrator? They need to know.
In recent years, we’ve seen more use of supplementary cementitious materials like fly ash or slag. These can improve durability and reduce heat generation, which is great for massive pours. But they also change the setting time. If you’re using a high-fly-ash mix, don’t expect it to set as fast as traditional Portland cement. Plan your finishing crew accordingly. You don’t want them standing around waiting for the surface to harden while the sun beats down.
Weather plays a huge role too. In the summer heat of 2026, evaporation is your enemy. You need to protect the fresh concrete. Use misters, windbreaks, or evaporative retarders. If the surface dries out too fast, you’ll get plastic shrinkage cracks. They might look cosmetic, but they can let water in, which leads to rebar corrosion. In winter, it’s the opposite. You need to keep the concrete warm. Insulated blankets are your friend. Freezing concrete in the first 24 hours can destroy its strength permanently. Don’t take chances. Monitor the temperature. Keep it above 50 degrees Fahrenheit if you can.
Pour Day Chaos: Managing the Human Element
Pour day is chaotic. Trucks arrive late. The pump breaks down. The crew is tired. It’s a high-stress environment. And that’s when mistakes happen. Communication is key. Have a clear plan. Who’s directing the trucks? Who’s running the vibrator? Who’s checking the levels? Everyone needs to know their role. I’ve seen pours turn into disasters because no one was in charge. The concrete piled up in one spot, overflowing the forms, while another section sat empty.
Keep the pour continuous. Cold joints are weak points. If you have to stop, stop at a logical location, like near a column or a third point in the span. Use a keyway or waterstop if necessary. But try to avoid stopping if you can. Coordinate with the ready-mix plant. Make sure they know your pace. If you’re slow, tell them to space out the trucks. If you’re fast, ask for more frequent deliveries. It’s a dance. You have to lead.
And watch the consolidation. Vibrating is an art. You want to remove air pockets, but you don’t want to over-vibrate. Over-vibration causes segregation. Move the vibrator slowly. Insert it vertically. Pull it out slowly. Watch the surface. When the bubbles stop rising and the surface looks glossy, you’re good. Move on. Don’t linger. It takes practice. Make sure your crew is trained. A bad vibrators job can ruin a good mix. It’s that simple. Also, keep an eye on the weather. If it starts raining, have tarps ready. Don’t let rainwater wash out the cement paste from the surface.
The pour is done. The crew goes home. You think you’re finished. Wrong. This is where the concrete gains its strength. Curing is critical. Many people skip it or do it poorly. They just let the concrete dry out. Bad idea. Concrete needs moisture to hydrate. If it dries out too fast, the chemical reaction stops, and the concrete stays weak. You need to keep it wet or sealed for at least seven days. Seven! I know, it’s a hassle. But it’s worth it.
There are several ways to cure. You can spray on a curing compound. It’s easy and effective. Just make sure you apply it evenly. Or you can cover the concrete with wet burlap or plastic sheeting. If you use plastic, make sure it’s in full contact with the surface. Air pockets underneath will cause discoloration. In hot weather, you might need to sprinkle water on the burlap regularly to keep it damp. In cold weather, use insulated blankets. The goal is to maintain a consistent temperature and moisture level.
Don’t load the beam too soon. Wait at least seven days before putting any significant weight on it. And even then, be gentle. No heavy equipment driving over it unless it’s fully cured and designed for it. I’ve seen contractors drive fork lifts over fresh grade beams to move materials. It’s crazy. You’ll crack it. Be patient. Let the concrete do its thing. It’s getting stronger every hour. Respect the process. And once it’s cured, inspect it. Look for cracks. Look for honeycombing. Fix any issues now, before you backfill. It’s much harder to fix later.
So, there you have it. Grade beams aren’t just concrete trenches. They’re a complex interaction of soil, steel, and human effort. From the initial sketch to the final cure, every step matters. You can’t cut corners. You can’t ignore the details. But if you pay attention, if you communicate, and if you respect the materials, you’ll build something that lasts. Something solid. Something safe. And isn’t that what we’re all trying to do? Build things that stand the test of time. Even if the soil tries to fight back. Even if the rain comes down. You’ve got this. Just keep your eyes open and your boots muddy.
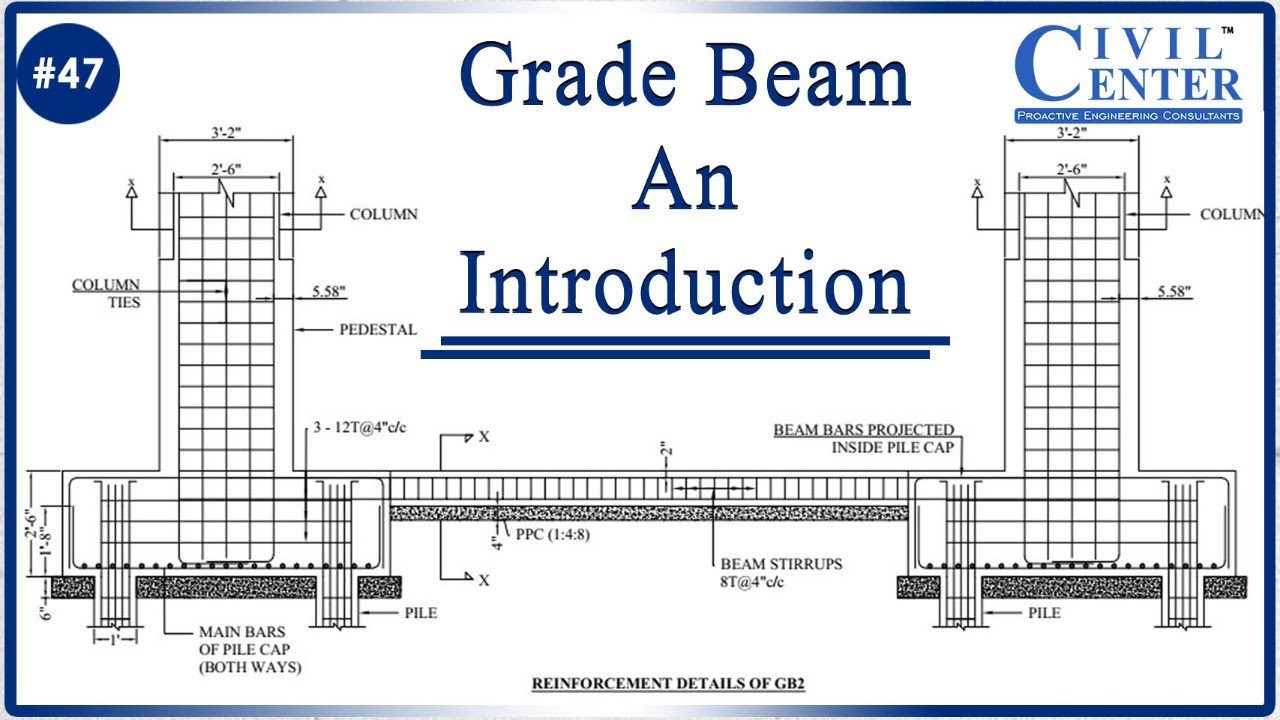
[sps_html tag=”img” src=”https://cdn.northcarolinafinearchitecture.com/2026/05/design-of-continuous-slab-and-beam-strip-footing-structville-in-grade-beam-design.jpg” alt=”Design Of Continuous Slab And Beam Strip Footing - Structville in Grade Beam Design” style=”width: 100%; height: auto;”]
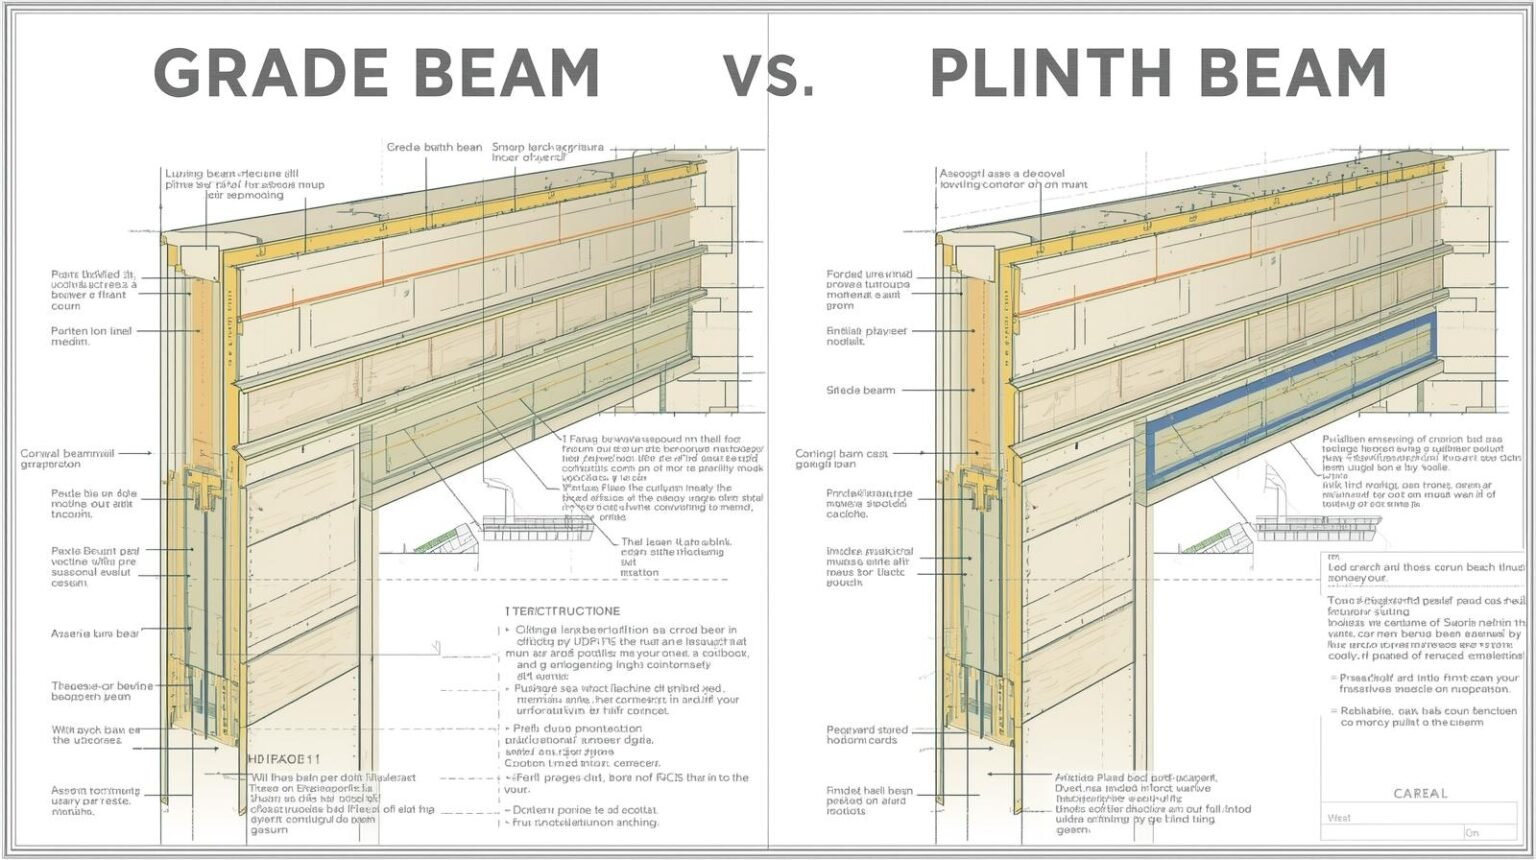
[sps_html tag=”img” src=”https://cdn.northcarolinafinearchitecture.com/2026/05/grade-beam-vs-plinth-beam-key-differences-uses-and-design-inside-grade-beam-design.jpg” alt=”Grade Beam Vs Plinth Beam:– Key Differences, Uses, And Design … inside Grade Beam Design” style=”width: 100%; height: auto;”]
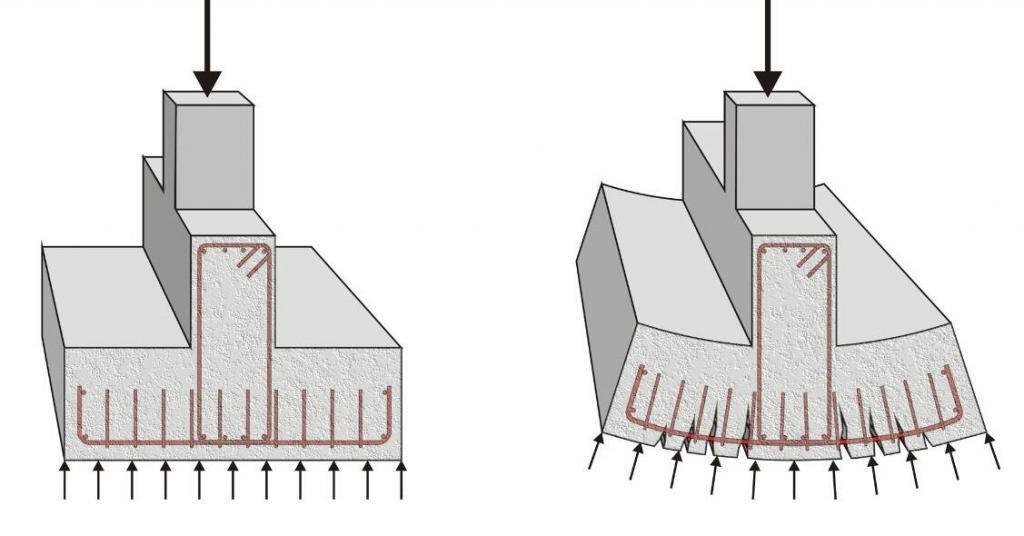
[sps_html tag=”img” src=”https://cdn.northcarolinafinearchitecture.com/2026/05/concrete-grade-beam-design-grade-beam-architectural-engineering-pertaining-to-grade-beam-design.jpg” alt=”Concrete Grade Beam Design Grade Beam Architectural Engineering pertaining to Grade Beam Design” style=”width: 100%; height: auto;”]
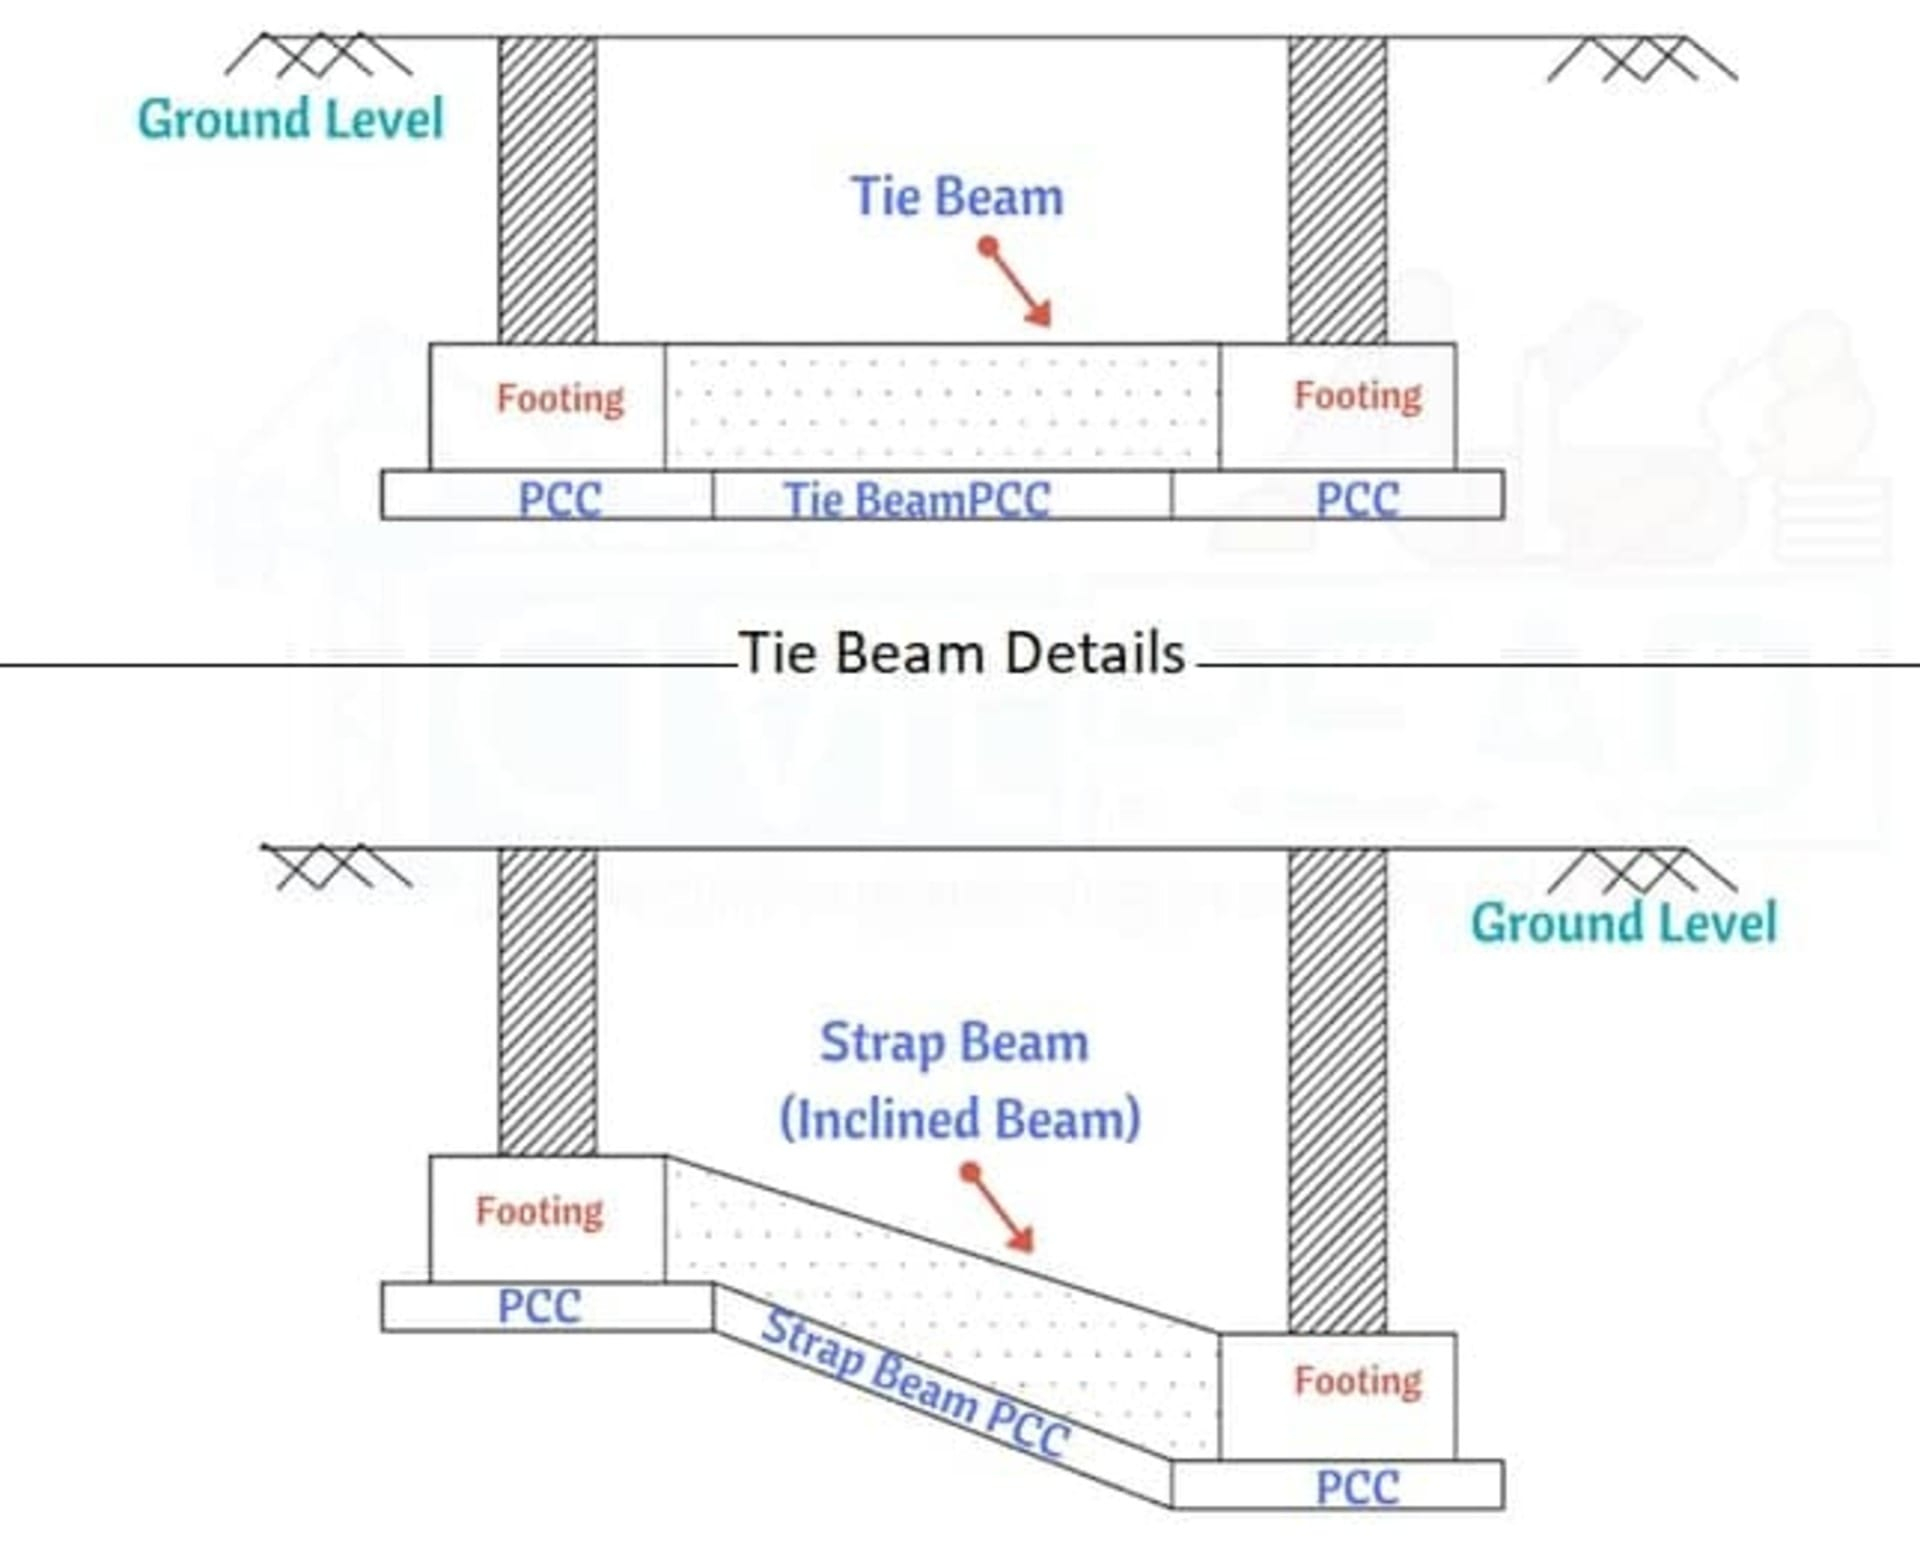
[sps_html tag=”img” src=”https://cdn.northcarolinafinearchitecture.com/2026/05/grade-beam-and-tie-difference-the-best-picture-of-beam-within-the-real-difference-between-grade-beams-and-strip-footings-explained.jpg” alt=”Grade Beam And Tie Difference - The Best Picture Of Beam within The Real Difference Between Grade Beams and Strip Footings Explained” style=”width: 100%; height: auto;”]
[sps_html tag=”img” src=”https://cdn.northcarolinafinearchitecture.com/2026/05/grade-beam-foundation-grade-beam-design-within-the-real-difference-between-grade-beams-and-strip-footings-explained.jpg” alt=”Grade Beam Foundation | Grade Beam Design within The Real Difference Between Grade Beams and Strip Footings Explained” style=”width: 100%; height: auto;”]