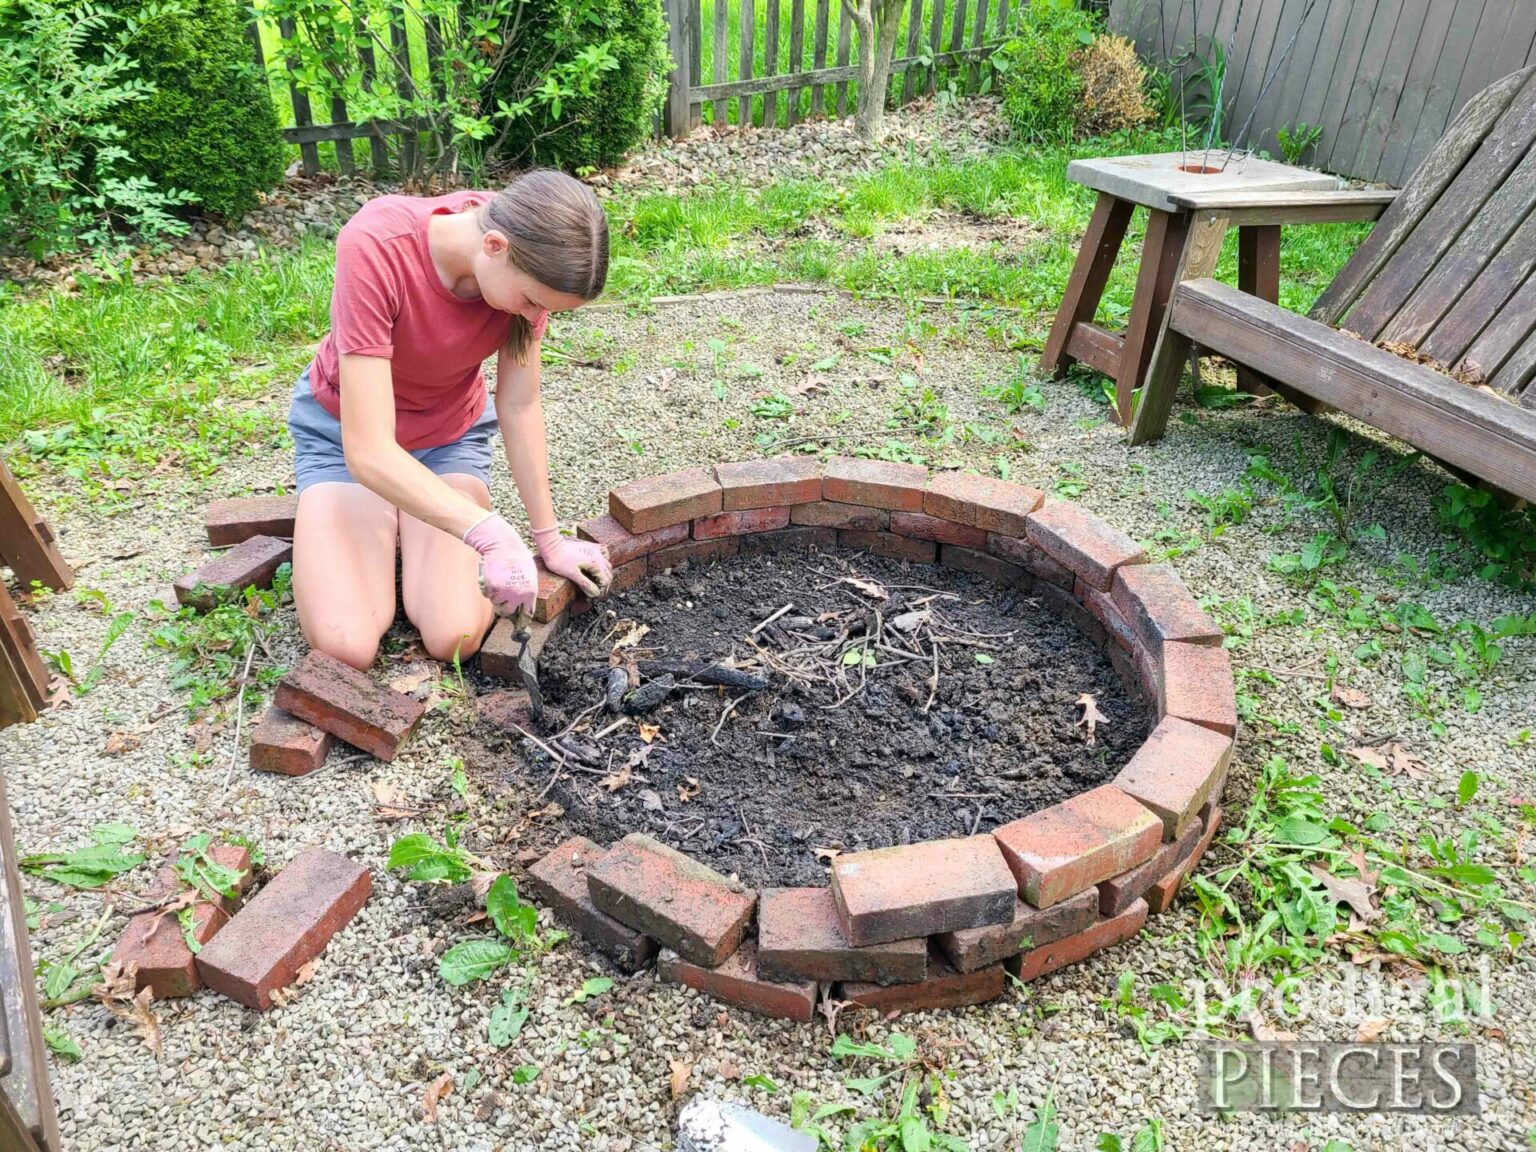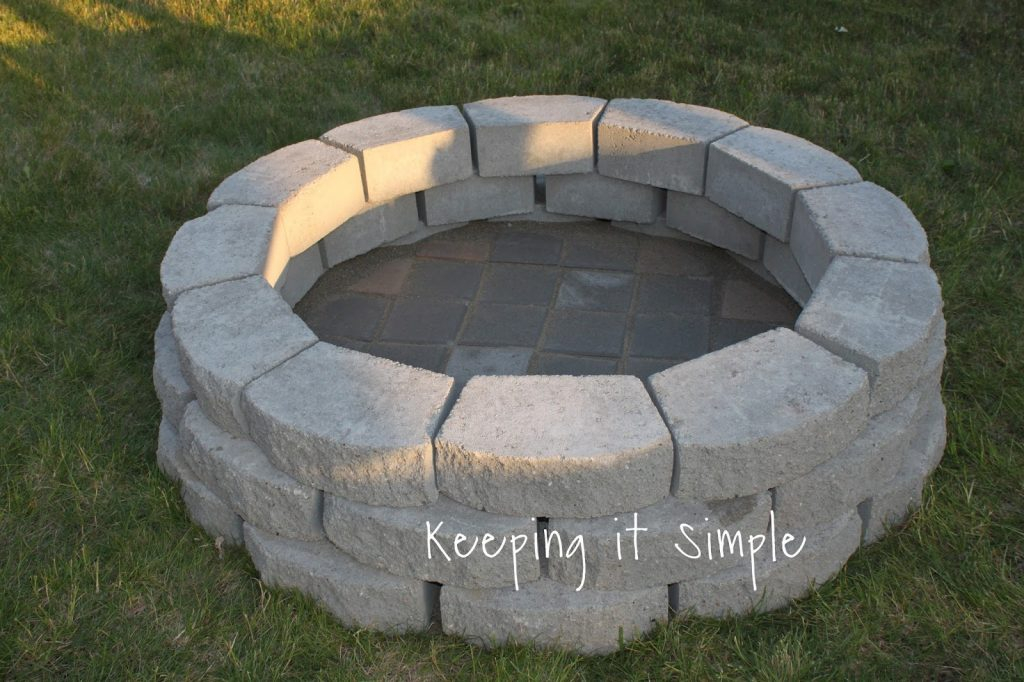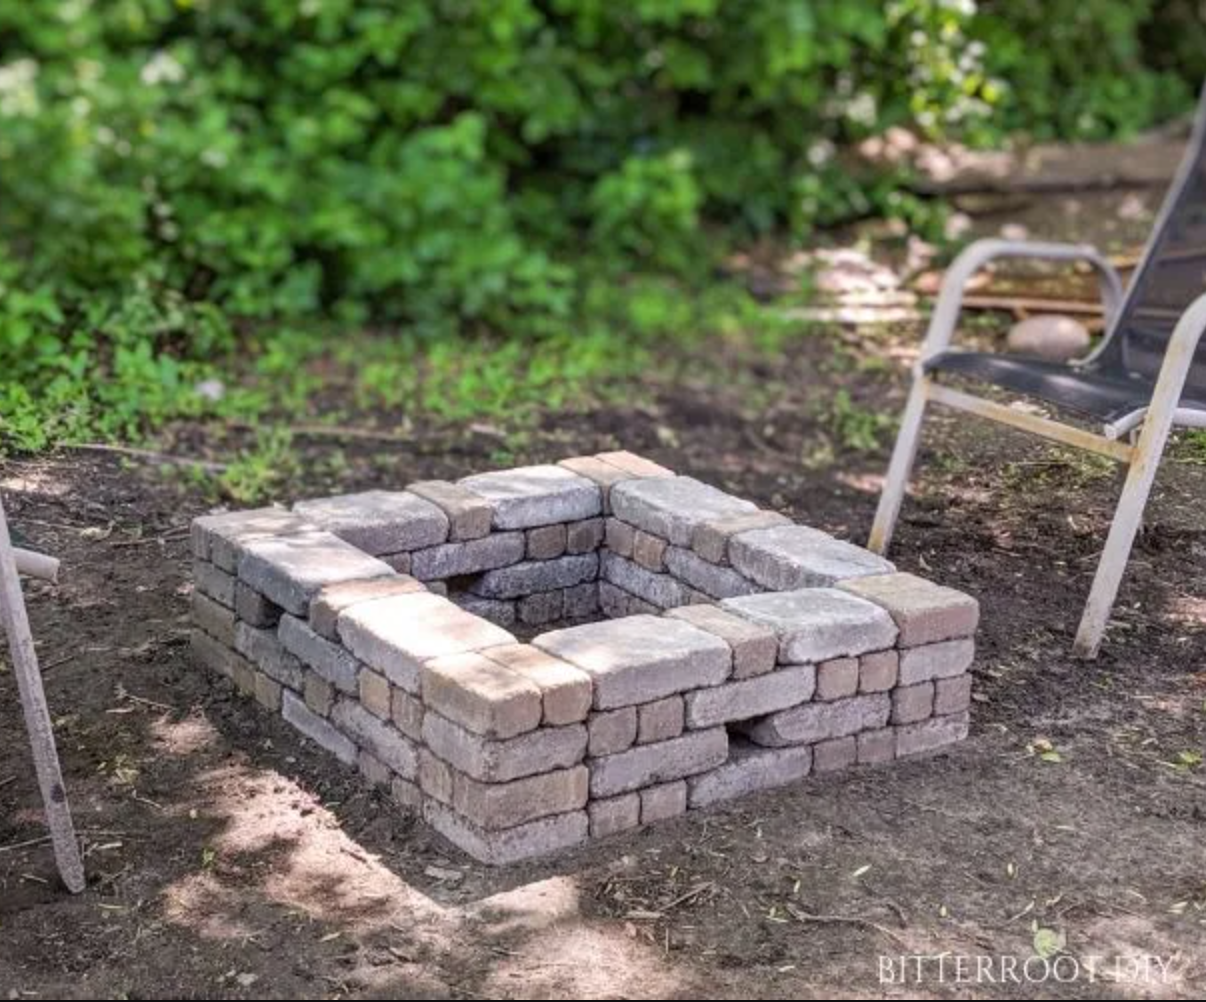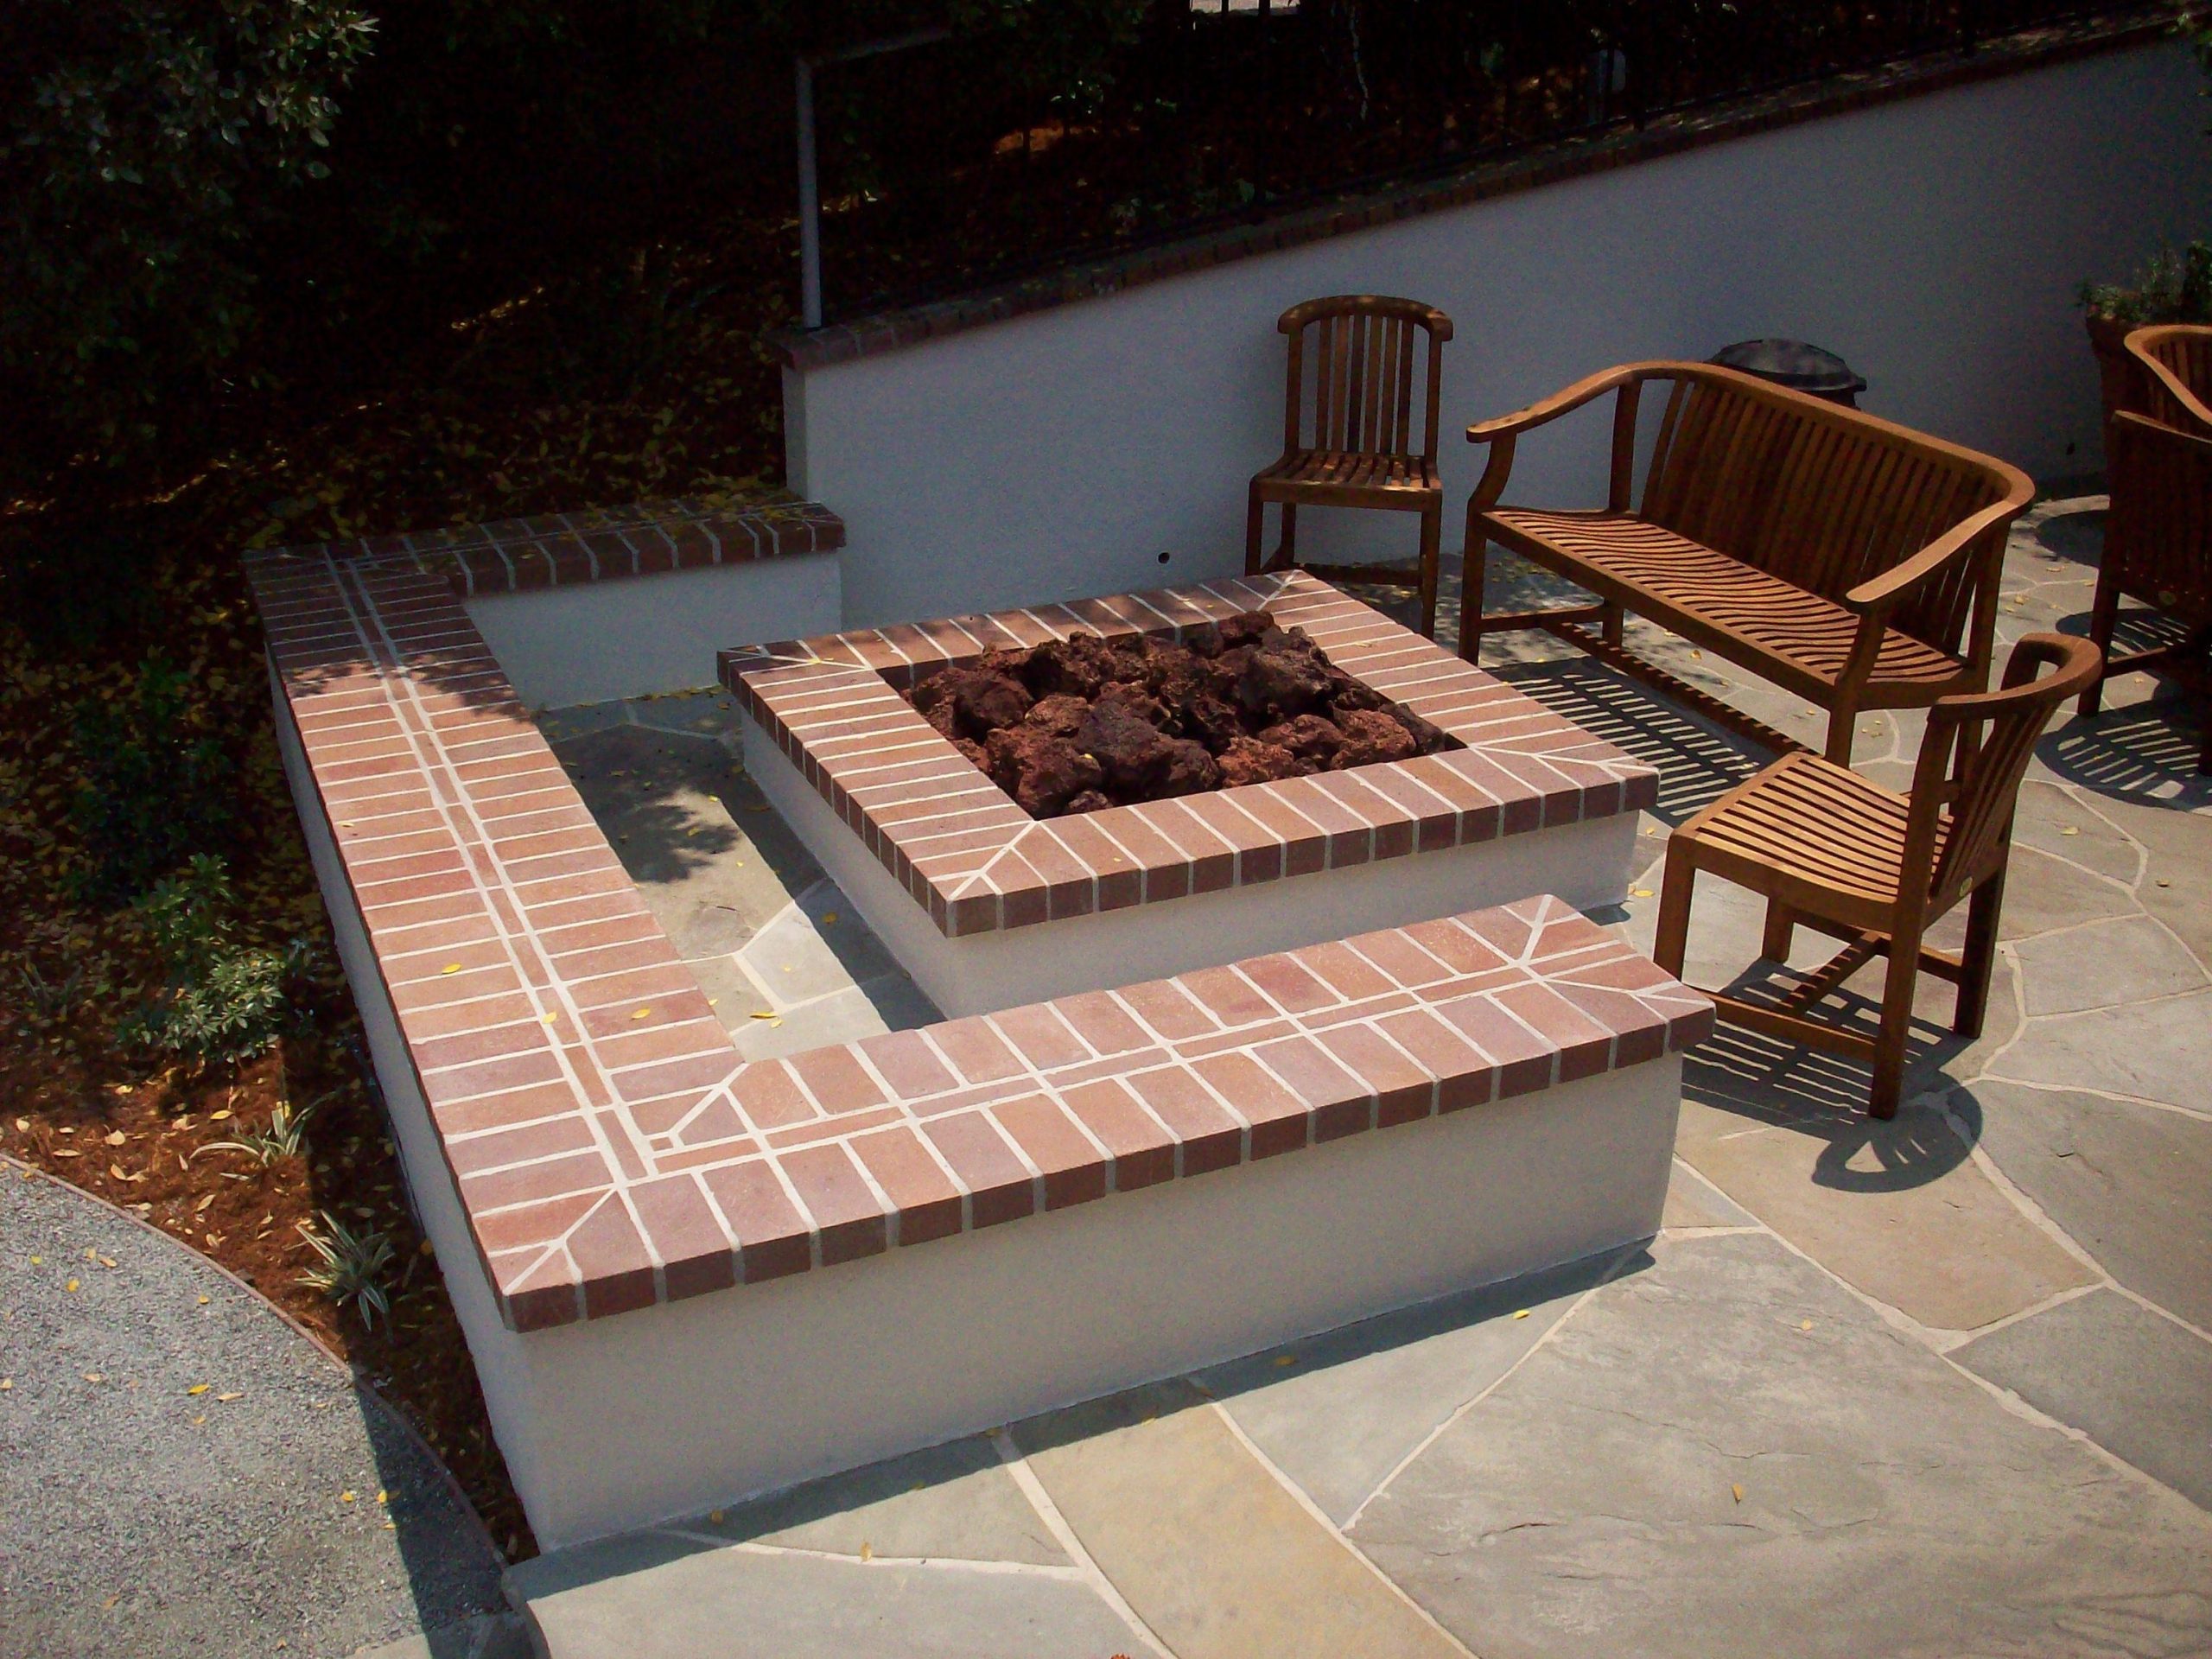
There is something primal about gathering around a fire. It pulls us in. We lean forward, warming our hands, watching the flames dance. It’s not just about heat; it’s about connection. But have you ever stood near a fire pit that felt… off? Maybe the smoke blew right into your face, or the bricks looked like they were about to tumble over. That ruins the vibe instantly. You want a centerpiece that feels solid, safe, and undeniably gorgeous. Not a hazard.
Building one isn’t as hard as you might think, but getting the brick layout right is everything. It’s the difference between a DIY disaster and a backyard landmark. In 2026, we are seeing a huge shift back toward natural materials. People are tired of flimsy metal bowls that rust out in two seasons. They want permanence. They want character. And they want to know their family is safe while roasting marshmallows. Let’s dig into how you can achieve that perfect balance of form and function.
Choosing the Right Bricks for Heat and Style
Not all bricks are created equal. This is the first mistake most beginners make. They grab some leftover red bricks from a renovation project and start stacking. Bad idea. Regular clay bricks, the kind used for house walls, can crack or even explode when exposed to the intense, direct heat of a fire. Why? Because they trap moisture. When that water turns to steam quickly, the pressure has nowhere to go. Boom. You don’t want shrapnel in your s’mores.
You need fire-rated materials. Look for firebricks, also known as refractory bricks. These are dense, heavy, and designed to withstand temperatures exceeding 1,800 degrees Fahrenheit. They usually come in a tan or buff color, which actually looks quite elegant against darker landscaping. If you want a more rustic look, you can use standard concrete pavers for the outer decorative ring, but the inner wall—the part touching the fire—must be firebrick. Always check the manufacturer’s specs. In recent years, suppliers have started labeling these more clearly, so look for terms like "kiln-fired" or "high-heat resistant."
Another option gaining traction in 2026 is using a steel liner inside a brick shell. This gives you the best of both worlds. The steel handles the extreme heat and contains the fire, while the brick provides the aesthetic warmth and structural mass. If you go this route, ensure there is an air gap between the steel and the brick to allow for expansion. It’s a bit more complex to build, but it lasts forever. Remember, investing in the right material now saves you from rebuilding next summer.
The Foundation: Where Safety Begins Underground
You can’t build a castle on sand, and you certainly can’t build a fire pit on loose dirt. A solid foundation is non-negotiable. It prevents sinking, tilting, and cracking. Start by marking your circle. A standard diameter is 36 to 44 inches on the inside. Anything smaller feels cramped; anything larger gets hard to manage without professional tools. Once marked, dig down about 4 to 6 inches. Remove all grass, roots, and organic matter. You want bare earth.
Next, add a layer of gravel. Crushed stone works best because it locks together. Pack it down tight. This layer helps with drainage, ensuring water doesn’t pool under your pit and freeze-thaw cycle its way into destruction. On top of the gravel, you need a level bed of sand or a concrete pad. For a permanent structure, a 4-inch concrete slab reinforced with wire mesh is the gold standard. It won’t shift. Ever. If you’re doing a simpler sand base, use paver sand and screed it perfectly flat. Use a level. Check it twice. A wobbly base means wobbly bricks, and wobbly bricks mean danger.
Consider the location carefully. Keep the pit at least 10 feet away from your house, deck, or any overhanging branches. Check your local codes for 2026, as many municipalities have updated fire safety regulations regarding open flames. Some areas require a spark screen or specific setbacks from property lines. It’s boring paperwork, sure, but it keeps the firefighters away from your yard. Also, think about wind patterns. Place the pit where prevailing winds won’t blow smoke directly into your seating area or toward your neighbor’s laundry line. Nobody likes smoky clothes.
Classic Brick Patterns That Stand the Test of Time
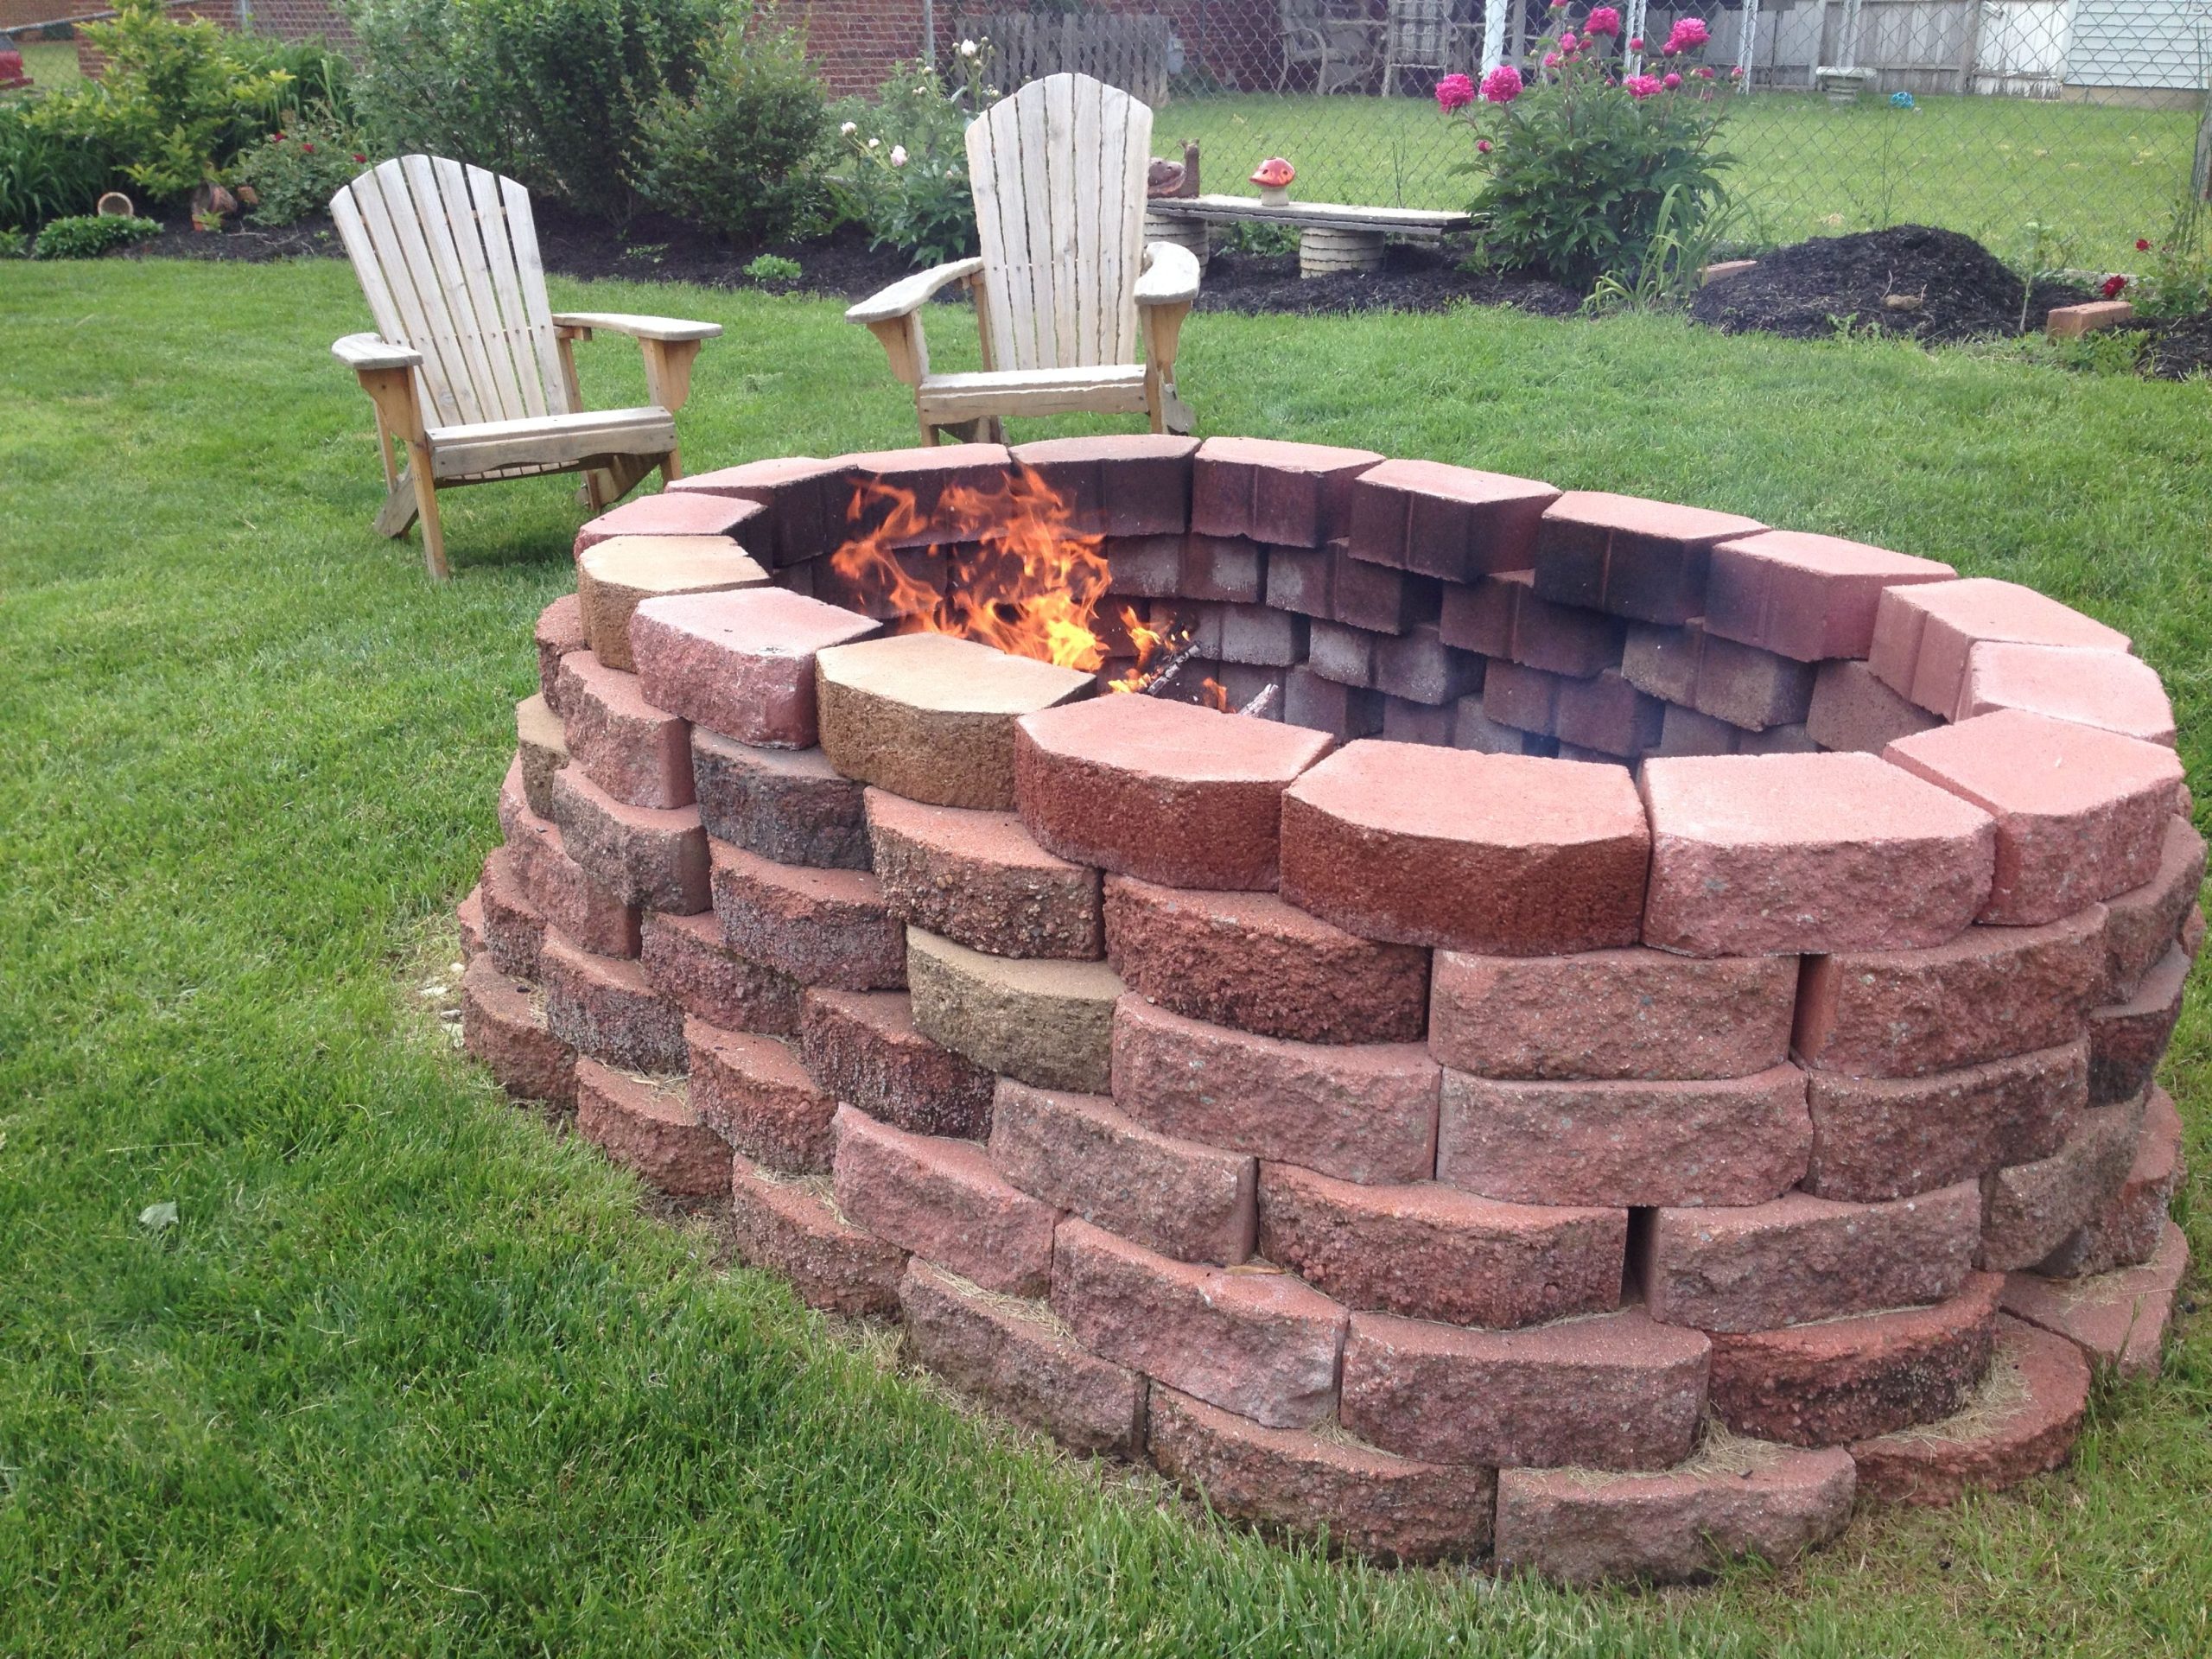
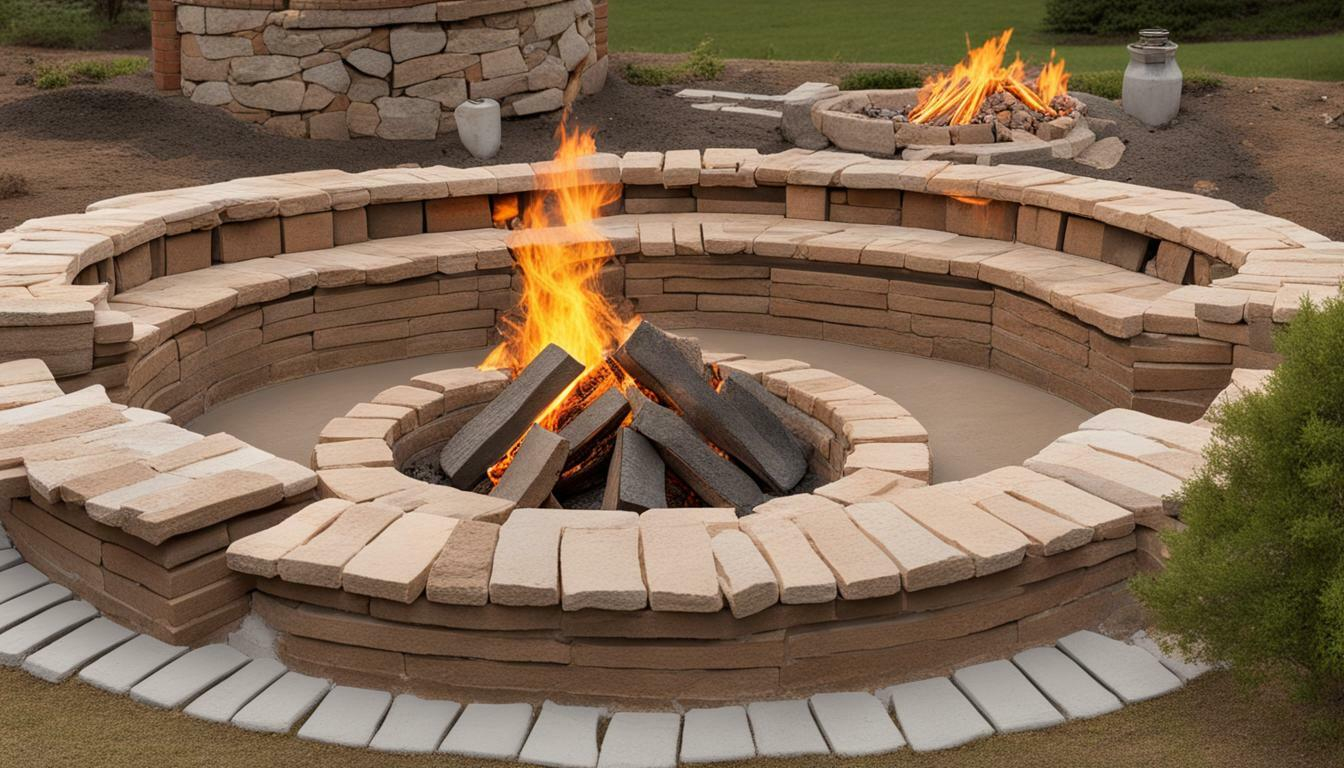
Now for the fun part: the layout. The pattern you choose affects both the look and the strength of the wall. The simplest is the stacked bond, where bricks are placed directly on top of each other. It’s modern and clean, but structurally weak for curved walls. Avoid this unless you have a very short, wide pit. Instead, go for the running bond. This is where each brick overlaps the joint below it by half. It’s the standard for a reason. It distributes weight evenly and creates a strong, interlocking structure.
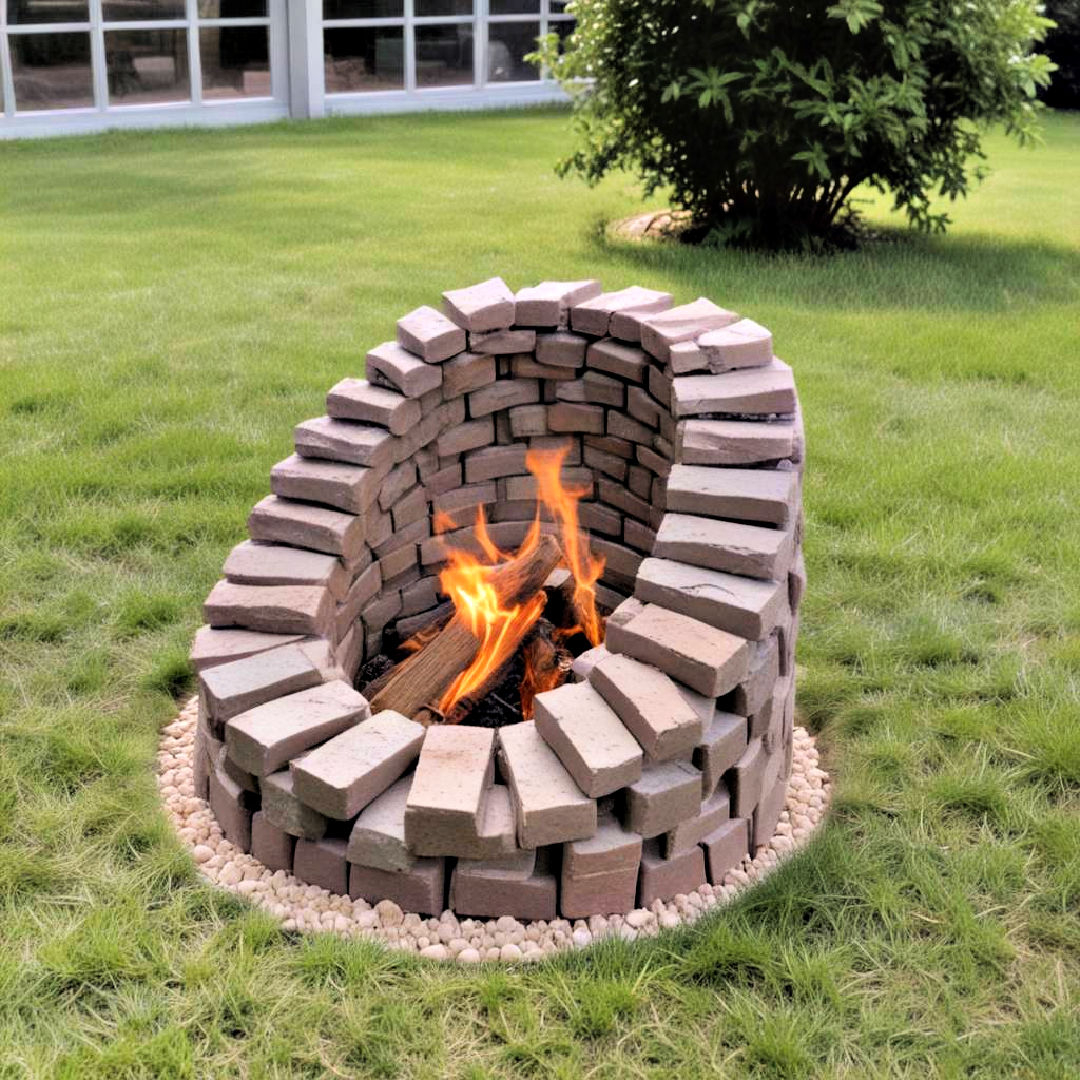
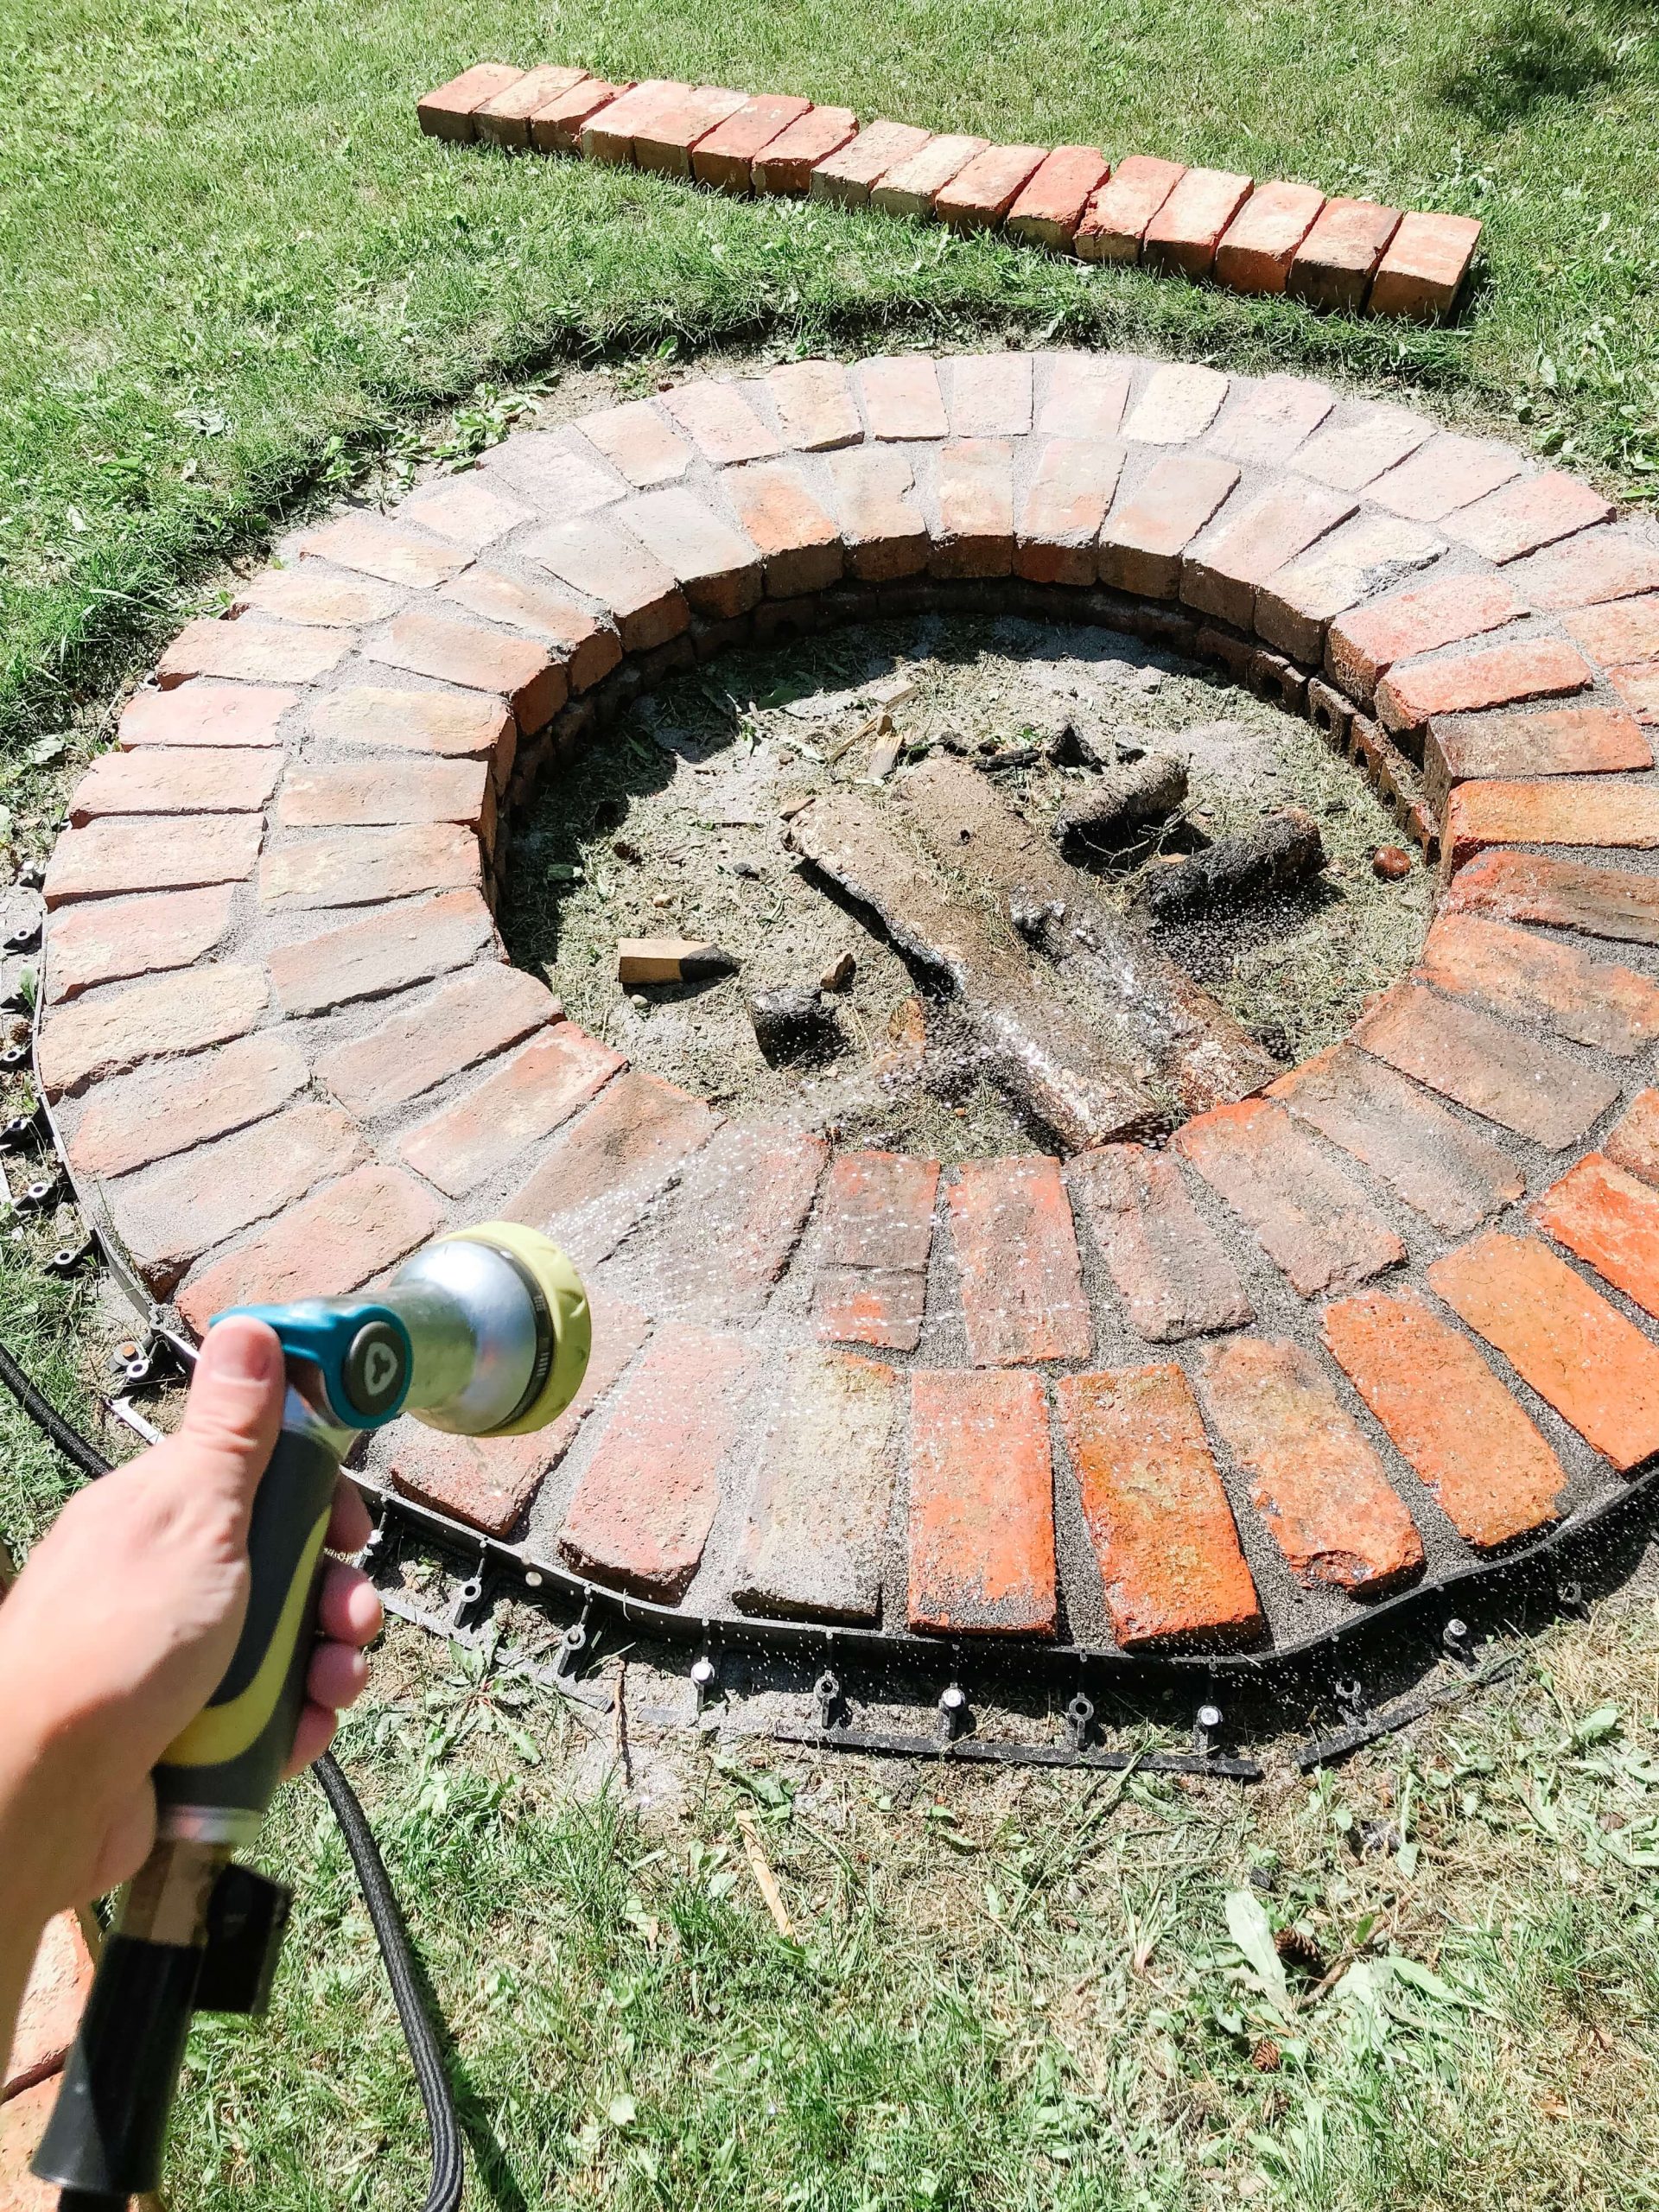
For a circular pit, you’ll need to adjust the joints slightly. Since bricks are rectangular and the pit is round, you can’t get a perfect fit without cutting. This is where the "soldier course" comes in handy for the top rim. Standing bricks vertically around the edge creates a finished, sophisticated look. It also caps the wall, protecting the mortar from rain. Another popular style is the herringbone pattern, but that’s tricky on a curve. Stick to running bond for the main walls. It’s forgiving and looks classic.
If you want to get fancy, try alternating colors. Use dark charcoal firebricks for the bottom two courses and lighter tan ones for the top. This adds visual interest and breaks up the monotony. Just ensure the transition is clean. Dry-fit your bricks before applying any mortar. Lay them out in the circle to see how they fit. You’ll likely need to cut a few bricks to close the circle. A masonry saw with a diamond blade makes quick work of this. Wear your safety glasses. Dust is no joke. Taking time here ensures the final result looks intentional, not accidental.
Mortar Matters: Binding It All Together
Bricks alone won’t hold. You need the right glue. Standard mortar mix is okay, but for high-heat applications, you should use refractory mortar. This stuff is formulated to handle thermal expansion without crumbling. Regular mortar will eventually turn to powder after repeated heating and cooling cycles. Refractory mortar stays flexible enough to move with the bricks but hard enough to hold them secure. It’s a small detail that makes a massive difference in longevity.
Mix your mortar according to the package instructions. Don’t guess. Too much water makes it weak; too little makes it crumbly. Aim for a consistency like thick peanut butter. Apply it with a trowel, spreading an even layer on the bottom brick before setting the next one. Tap each brick gently with the handle of your trowel to set it into place. Check your level constantly. If one brick is off, the whole row will be off. It’s a domino effect. Clean up excess mortar as you go. Once it dries, it’s a pain to remove.
Let the mortar cure properly. This is where patience pays off. Don’t light a fire the next day. Wait at least 48 to 72 hours. Better yet, wait a week if you can. The chemical process of curing takes time. If you heat it up too soon, the moisture trapped inside will escape rapidly, causing cracks. Think of it like baking a cake; you can’t rush the oven. During this curing period, cover the pit with a tarp if rain is forecasted. You want it to dry slowly and evenly. This step is often skipped, leading to premature failure. Don’t be that person.
Adding Functional Features for Comfort and Safety
A fire pit is more than just a hole with bricks. Think about how you’ll use it. Do you want to cook? Consider adding a grill grate insert. Make sure the brick height allows for easy access to the food without burning your arms. A height of 12 to 16 inches is usually comfortable for sitting around and reaching in. If you plan to use wood logs, keep the walls low. If you prefer gas, you’ll need to plan for a propane tank hideaway or a natural gas line hookup. Gas pits are cleaner and easier to control, but they lack the crackle and scent of wood.
Safety features are crucial. Install a spark screen. It’s a mesh cover that sits on top when the fire is going. It keeps embers from flying out onto your deck or lawn. In dry climates, this is mandatory. You can buy custom-fit screens or make one from expanded metal. Also, consider the seating. Built-in brick benches look great but can get hot. Wooden benches are cooler but need to be far enough back to avoid catching sparks. Leave at least 2 feet of clearance between the fire edge and any seating.
Lighting is another underrated feature. Low-voltage LED lights embedded in the surrounding pavers or steps add ambiance once the fire dies down. They also prevent tripping hazards in the dark. Solar lights are easy to install and require no wiring. Just stick them in the ground around the perimeter. It creates a cozy, defined space. Think about storage too. Where will you keep the firewood? A nearby rack keeps it dry and organized. Wet wood smokes terribly. Planning these elements early makes the final setup much more enjoyable.
Even the best-built fire pit needs care. After each use, let the ashes cool completely. Then, scoop them out. Leaving ash buildup restricts airflow and can corrode the bottom over time. Use a metal shovel and a dedicated ash bucket. Never dump hot ashes in a plastic bin or on your grass. Check the bricks periodically for cracks. Small hairline fractures in the mortar are normal; large gaps in the bricks are not. Repoint any loose mortar joints with fresh refractory mortar to keep water out.
Water is the enemy of masonry. If you live in a rainy climate, consider a fitted cover. It protects the bricks from freezing water and keeps leaves and debris out. A covered pit lasts decades longer than an exposed one. Inspect the foundation occasionally. If you notice settling or tilting, address it immediately. It’s easier to fix a small shift than to rebuild a collapsed wall. Also, clean the inside walls with a stiff brush to remove soot buildup. It keeps the fire burning brighter and looks better.
In 2026, eco-friendly practices are big. Use seasoned hardwoods like oak or hickory. They burn hotter and cleaner than softwoods like pine, which produce more creosote and sparks. Avoid burning treated lumber or trash. The chemicals release toxic fumes that are bad for you and the environment. Treat your fire pit with respect, and it will serve you well. It’s a living part of your home, in a way. It gathers memories. Take care of it, and it will take care of your gatherings.
So, there you have it. Building a fire pit isn’t just about stacking bricks. It’s about understanding heat, materials, and human comfort. It’s about creating a space where people want to linger. Start with a solid foundation. Choose the right fire-rated bricks. Pick a pattern that suits your style. Use the correct mortar. Add thoughtful features. And maintain it with care. It sounds like a lot, but each step is manageable. You don’t need to be a master mason to do this. You just need to pay attention.
The reward is worth the effort. Imagine sitting there on a crisp autumn evening. The fire is crackling. The bricks glow warm orange. Friends are laughing. The smoke drifts away, not into your eyes. That feeling? That’s what you’re building. It’s not just a pit. It’s a hearth. And in a world that moves so fast, having a place to stop, warm up, and connect is priceless. Grab your trowel. Get your hands dirty. You’ve got this.
[sps_html tag=”img” src=”https://cdn.northcarolinafinearchitecture.com/2026/05/24-ways-a-brick-fire-pit-can-beautify-your-outdoor-space-yardworship-com-intended-for-why-your-outdoor-fire-pit-bricks-are-cracking-and-how-to-fix-them-for-good.jpg” alt=”24 Ways A Brick Fire Pit Can Beautify Your Outdoor Space - Yardworship.com intended for Why Your Outdoor Fire Pit Bricks Are Cracking and How to Fix Them for Good” style=”width: 100%; height: auto;”]
[sps_html tag=”img” src=”https://cdn.northcarolinafinearchitecture.com/2026/05/will-bricks-crack-in-fire-pit-intended-for-why-your-outdoor-fire-pit-bricks-are-cracking-and-how-to-fix-them-for-good.jpg” alt=”Will Bricks Crack In Fire Pit? intended for Why Your Outdoor Fire Pit Bricks Are Cracking and How to Fix Them for Good” style=”width: 100%; height: auto;”]
[sps_html tag=”img” src=”https://cdn.northcarolinafinearchitecture.com/2026/05/brick-outdoor-fire-pits-designs-at-michelle-reis-blog-pertaining-to-outdoor-fire-brick-design-scaled.jpg” alt=”Brick Outdoor Fire Pits Designs At Michelle Reis Blog pertaining to Outdoor Fire Brick Design” style=”width: 100%; height: auto;”]
[sps_html tag=”img” src=”https://cdn.northcarolinafinearchitecture.com/2026/05/25-brick-fire-pit-ideas-that-will-impress-your-guests-regarding-why-your-outdoor-fire-pit-bricks-are-cracking-and-how-to-fix-them-for-good.jpg” alt=”25 Brick Fire Pit Ideas That Will Impress Your Guests regarding Why Your Outdoor Fire Pit Bricks Are Cracking and How to Fix Them for Good” style=”width: 100%; height: auto;”]
[sps_html tag=”img” src=”https://cdn.northcarolinafinearchitecture.com/2026/05/diy-fire-pit-refresh-prodigal-pieces-in-why-your-outdoor-fire-pit-bricks-are-cracking-and-how-to-fix-them-for-good.jpg” alt=”Diy Fire Pit Refresh - Prodigal Pieces in Why Your Outdoor Fire Pit Bricks Are Cracking and How to Fix Them for Good” style=”width: 100%; height: auto;”]