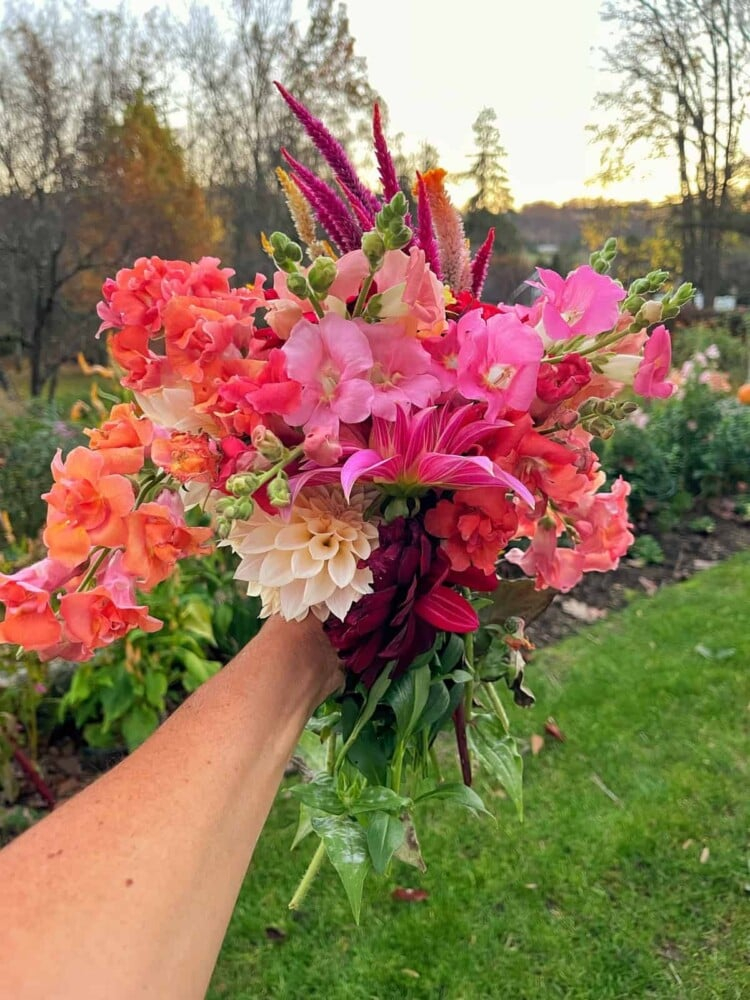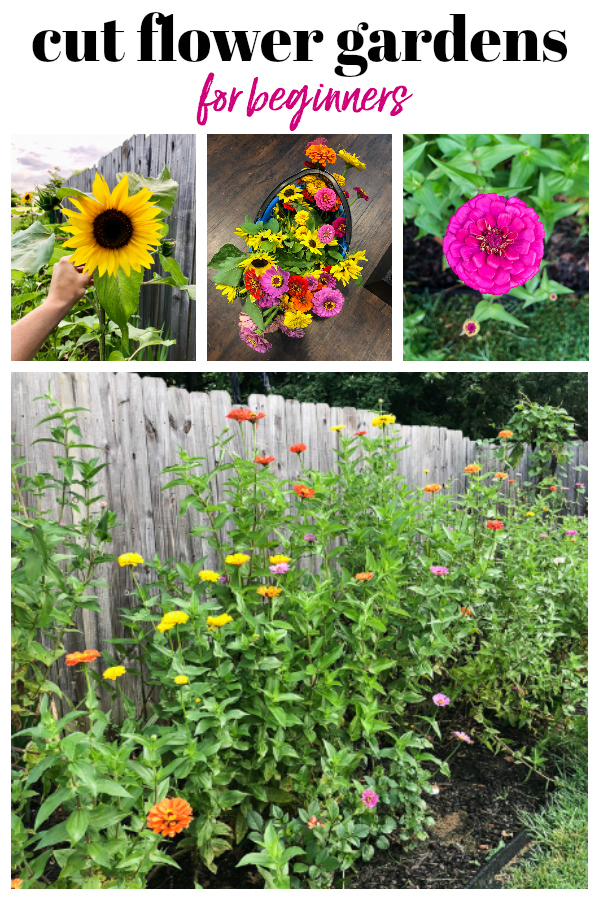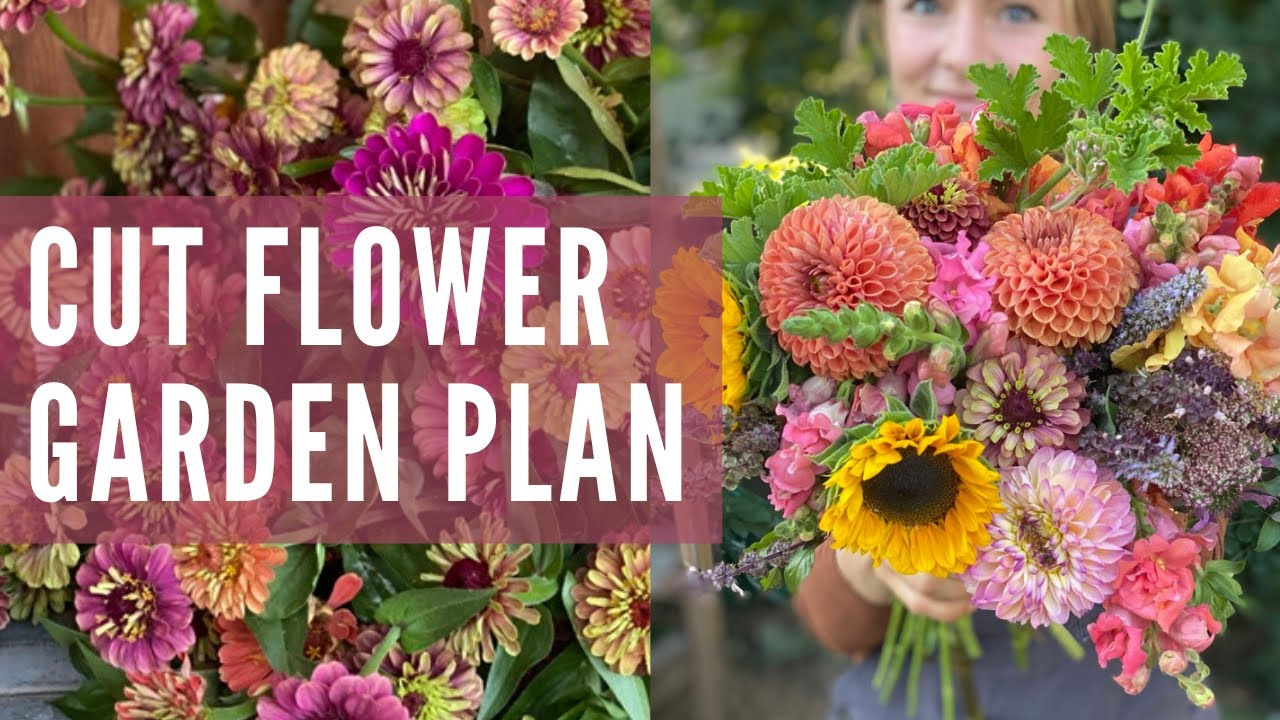
Ever looked at your patchy lawn and thought, "There has to be more than this"? You aren’t alone. In 2026, more folks are ditching the endless mowing cycle for something far more rewarding. Imagine stepping out your back door not to chore, but to color. A riot of zinnias, the sweet scent of snapdragons, and stems you can cut for your kitchen table or sell to neighbors. It sounds like a dream, right? But it’s actually pretty doable. You don’t need acres. You don’t need a tractor. You just need a little dirt, some seeds, and the willingness to get your hands dirty.
Turning your yard into a flower farm isn’t just about aesthetics. It’s a shift in mindset. It’s about growing food for the soul, and maybe even your wallet. Recent trends show that small-scale setups, sometimes as tiny as 500 square feet, can generate real income. We’re talking $1,000 to $2,000 in profit in the first year if you play your cards right. But even if money isn’t the goal, the joy is undeniable. This guide will walk you through the messy, beautiful process of making it happen. No fluff. Just real steps for real people.
Assessing Your Space and Setting Realistic Goals
Before you buy a single seed, you need to look at what you’ve got. Really look. Walk around your yard at different times of the day. Where does the sun hit hardest? Most cut flowers crave at least six to eight hours of direct sunlight. If your yard is shaded by big oak trees, you might need to rethink your location or choose shade-tolerant varieties (though those are rarer for cut farms). Measure the area. You might think you need a huge plot, but data from successful micro-farms suggests that 500 to 1,000 square feet is plenty to start. That’s roughly a 20×50 foot strip. Or even four 4×8 raised beds.
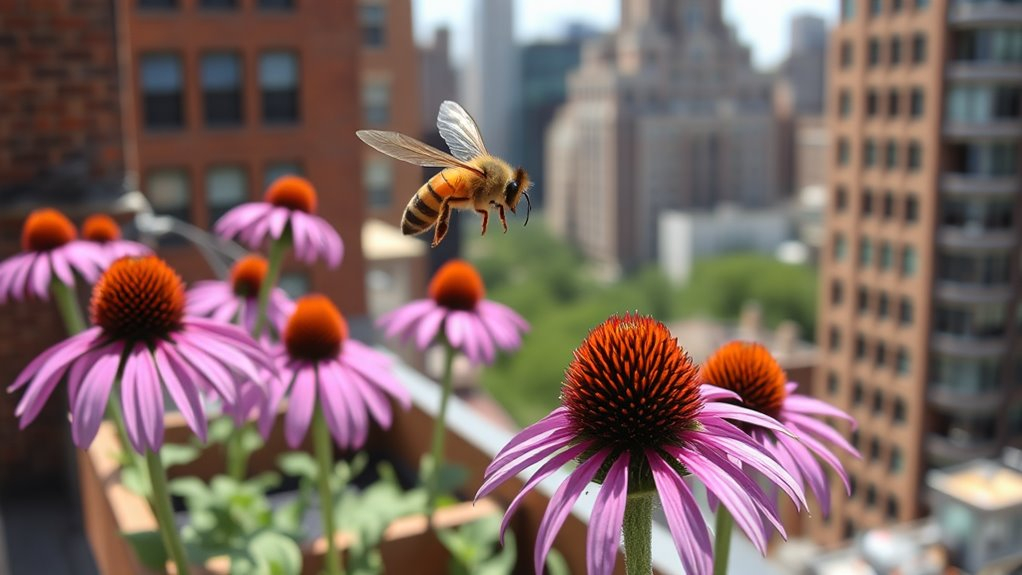
Once you have your spot, define your "why." Are you doing this to fill vases for your home? To sell bouquets at the local farmers market? Or just to create a sanctuary for bees and butterflies? Your goal dictates your plant choices. If you want profit, you’ll focus on high-yield, fast-growing annuals like zinnias and cosmos. If it’s for beauty and pollinators, you might mix in perennials like coneflowers and lavender. Be honest with yourself about how much time you have. A flower farm is work. It’s not a set-it-and-forget-it deal. Setting realistic expectations now saves you from burnout later.
Also, consider access to water. Hauling buckets across the yard gets old fast. If your chosen spot is far from a spigot, factor in the cost of extending a hose or setting up a simple drip irrigation system. In 2026, water conservation is key, so planning for efficient watering early on is smart. Map it out on paper. Sketch where the beds will go. Leave room for pathways. You need to walk between rows without crushing plants. Mud happens. Make sure your paths are wide enough for a wheelbarrow if you plan to move compost or harvest large bundles.
Preparing the Soil Without Breaking the Bank
Here’s the secret no one tells you: flowers eat. And they eat a lot. If you plant expensive seeds in poor soil, you’ll get expensive disappointment. But you don’t need to spend a fortune on bagged dirt. Start by testing your soil. You can buy a cheap kit online or send a sample to your local extension office. Knowing your pH and nutrient levels helps you amend correctly. Most flowers like slightly acidic to neutral soil (pH 6.0-7.0). If your soil is heavy clay, it needs organic matter to drain better. If it’s sandy, it needs organic matter to hold water. See the pattern? Organic matter is king.
Compost is your best friend. Instead of buying bags, start a pile. Throw in kitchen scraps, leaves, grass clippings (without herbicides), and cardboard. Let it cook. In a few months, you’ll have black gold. Spread a two-to-four-inch layer over your beds before planting. Mix it in. This improves structure and feeds the microbes that help plants grow. It’s free, mostly. If you’re in a hurry, look for local sources of manure or leaf mold. Many municipalities give away composted leaves in the spring. Take advantage of that.
Avoid tilling too deep. Disturbing the soil structure can harm the fungal networks that help plants absorb nutrients. Try the "no-dig" method if you can. Layer cardboard over grass to kill it, then add compost and soil on top. Plant directly into that. It saves your back and keeps weeds down. Speaking of weeds, deal with them now. Pulling weeds when flowers are blooming is a nightmare. Clear the area thoroughly. Remove rocks, roots, and debris. A clean start makes maintenance infinitely easier. Remember, healthy soil leads to healthy plants, which means fewer pests and diseases. It’s an investment that pays off all season.
Choosing the Right Flowers for Your Zone
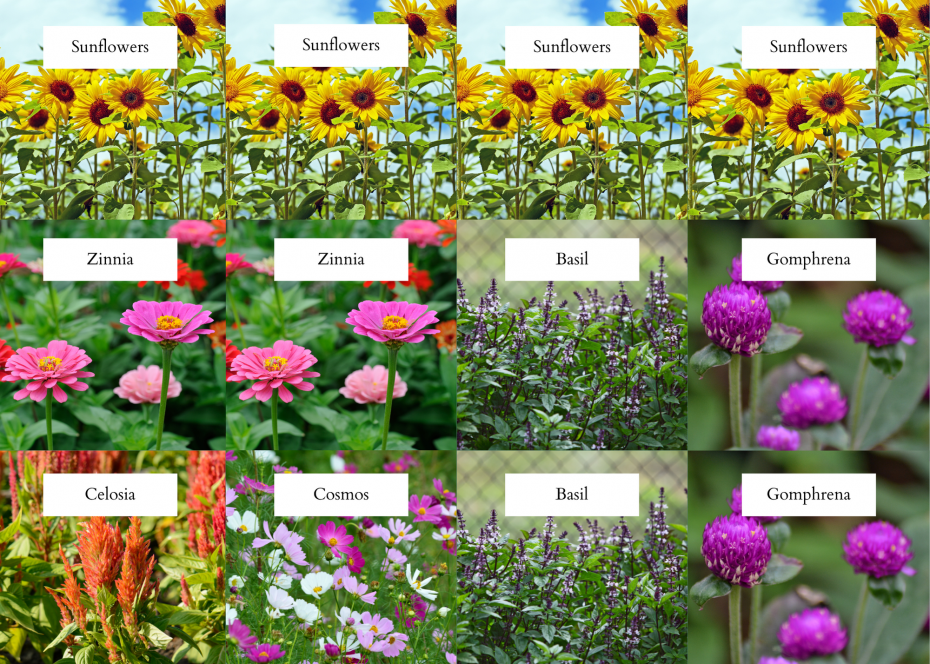
Picking flowers is the fun part, but it’s also where beginners mess up. They buy what looks pretty in the catalog, not what grows well in their zone. Check your USDA Hardiness Zone. This tells you what perennials will survive winter. But for a cut flower farm, annuals are often better. They bloom hard, fast, and all summer long. Zinnias are the queen of beginner flowers. They’re tough, colorful, and produce more blooms the more you cut them. Cosmos are another easy win. They thrive in poor soil and sway beautifully in the breeze.
Look for varieties labeled "cut-and-come-again." This means the plant keeps producing new flowers after you harvest the first batch. Sunflowers are iconic, but choose branching varieties if you want multiple stems per plant. Single-stem types are great for massive blooms, but branching types give you more volume. Dahlias are stunning but require more care. They need staking and digging up in cold climates. Maybe save those for year two. Start simple. Stick to five or six reliable varieties in your first season. Master them. Then expand.
Don’t forget about succession planting. This is the trick to having flowers from spring until frost. Don’t plant all your seeds at once. Sow batches every two to three weeks. When the first batch of zinnias starts to fade, the next batch is just hitting its stride. This keeps your harvest steady. Also, consider local demand if you plan to sell. What do people in your area love? Peonies in spring? Chrysanthemums in fall? Talk to local florists. Ask them what they struggle to source locally. Growing what’s in demand ensures your effort has a market. But honestly, just growing what makes you happy is a valid strategy too.
Smart Planting Techniques for Maximum Yield
Planting isn’t just poking holes in the ground. It’s about spacing and timing. Crowded plants fight for light and nutrients, leading to weak stems and disease. Follow the seed packet instructions, but err on the side of more space. Airflow is crucial. It prevents powdery mildew, which loves humid, crowded conditions. For most annuals, 9 to 12 inches apart is a good rule of thumb. Use a grid or string lines to keep rows straight. It looks neat, but more importantly, it makes harvesting faster. You can move quickly down a straight row.
Timing matters. Know your last frost date. Start seeds indoors 6-8 weeks before that date for tender annuals. Or direct sow hardy crops like snapdragons and larkspur as soon as the ground can be worked. Direct sowing saves time and transplant shock. Some plants, like zinnias, hate having their roots disturbed. For these, direct sow or use biodegradable pots. If you start indoors, harden off your seedlings. Put them outside for a few hours each day, increasing the time gradually. This prepares them for wind and sun. Skipping this step often leads to stunted growth.
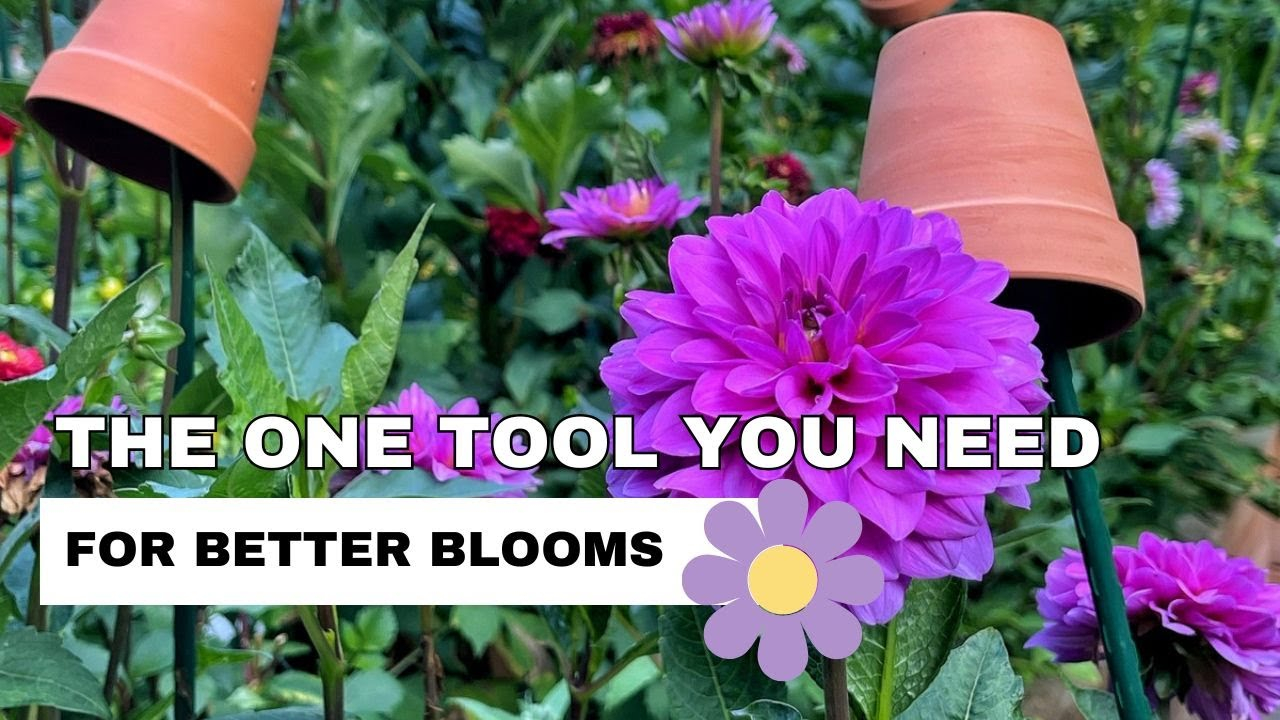
Staking is another key piece. Tall flowers like dahlias and gladiolus need support. Install stakes at planting time, not after. Trying to stake a grown plant damages roots. Use horizontal netting for bushier plants like cosmos. It holds them up without individual stakes. Mulch heavily after planting. Straw, shredded leaves, or grass clippings work well. Mulch keeps moisture in, weeds out, and soil cool. It’s a game-changer for reducing workload. Water deeply and infrequently. Shallow watering encourages shallow roots, which dry out fast. Deep roots make resilient plants.
Maintenance Secrets for Thriving Blooms
Maintenance is where the rubber meets the road. It’s daily checks and weekly tasks. Deadheading is non-negotiable. This means removing spent flowers. If you let a plant set seed, it thinks its job is done. It stops making flowers. Snip off faded blooms just above a leaf node. This signals the plant to produce more. It takes ten minutes a day but doubles your harvest. Keep tools sharp. Dull pruners crush stems, inviting disease. Clean them with alcohol between plants if you notice any sickness. Prevention is easier than cure.
Watch for pests. Aphids, spider mites, and Japanese beetles can wreak havoc. But don’t reach for chemicals immediately. Blast aphids off with a strong jet of water. Handpick beetles into a bucket of soapy water. Encourage beneficial insects. Plant alyssum or dill nearby to attract ladybugs and lacewings, which eat pests. A balanced ecosystem handles most problems naturally. If you must intervene, use insecticidal soap or neem oil, and apply it in the evening to avoid hurting bees. Healthy plants resist pests better, so keep them fed and watered.
Weeding is the other big task. Stay on top of it. Small weeds are easy to pull. Big ones have deep roots and steal nutrients. Mulch helps, but you’ll still need to weed. Do it after rain when soil is soft. It’s less strenuous. Check irrigation regularly. Clogged emitters or kinked hoses cause dry spots. Adjust watering based on weather. Hot weeks need more water; rainy weeks need none. Overwatering causes root rot. Stick your finger in the soil. If it’s damp an inch down, skip watering. Listen to your plants. Drooping leaves usually mean thirst, but yellowing leaves can mean too much water.
The moment you’ve waited for. Harvesting is an art. Cut flowers early in the morning or late in the evening when they’re hydrated. Avoid midday heat. Use clean, sharp shears. Cut at an angle to increase surface area for water uptake. Strip lower leaves that would sit below the water line in a vase. Leaves rot and foul the water. Place stems immediately in a bucket of cool water. Let them hydrate in a cool, dark place for a few hours before arranging. This "conditioning" step makes them last longer. It’s the difference between a bouquet that lasts three days and one that lasts ten.
Enjoy your harvest. Fill your home with color. Give bunches to friends. It builds community. If you have extra, consider selling. You don’t need a storefront. Set up a roadside stand with an honor box. Post on neighborhood social media groups. Offer "u-pick" buckets. In 2026, people value local, sustainable goods. They’ll pay a premium for fresh, homegrown blooms. Price competitively but fairly. Calculate your costs (seeds, water, amendments) and add a margin. Even a small setup can bring in $1,000-$2,000 if you’re consistent.
Selling isn’t just about money. It’s about sharing your passion. Talk to customers. Tell them how you grew the flowers. People connect with stories. They buy the experience as much as the product. Keep records. Note what sold well and what didn’t. Use this info for next year’s planning. Did the purple zinnias fly off the shelf? Plant more. Did the white ones sit? Plant less. It’s a learning process. Every season teaches you something new. Embrace the mistakes. They’re just lessons in disguise. And remember, the primary goal is joy. If selling becomes a chore, scale back. Keep it fun.
So, there you have it. Transforming your yard into a flower farm isn’t magic. It’s method. It’s observing, planning, and doing. Start small. Don’t try to do everything at once. Pick a corner. Prep the soil. Plant some zinnias. Watch them grow. Learn from what works and what doesn’t. The beauty of gardening is that there’s always next season. Always a chance to try again. By following these steps, you’re not just growing flowers. You’re cultivating patience, resilience, and a deeper connection to the earth. And honestly, isn’t that worth a little dirt under your fingernails? Go get started. Your blooms are waiting.
[sps_html tag=”img” src=”https://cdn.northcarolinafinearchitecture.com/2026/06/cut-flower-garden-beginner-at-herman-stpierre-blog-inside-stop-guessing-start-growing-simple-layout-tips-for-beginner-cut-flower-gardens.png” alt=”Cut Flower Garden Beginner At Herman Stpierre Blog inside Stop Guessing Start Growing Simple Layout Tips for Beginner Cut Flower Gardens” style=”width: 100%; height: auto;”]
[sps_html tag=”img” src=”https://cdn.northcarolinafinearchitecture.com/2026/06/cut-flower-garden-design-a-beginners-guide-to-non-stop-color-bricks-throughout-outdoor-cutting-garden-design.jpg” alt=”Cut Flower Garden Design: A Beginner's Guide To Non-Stop Color - Bricks … throughout Outdoor Cutting Garden Design” style=”width: 100%; height: auto;”]
[sps_html tag=”img” src=”https://cdn.northcarolinafinearchitecture.com/2026/06/common-cut-flower-chart-a-beginners-guide-to-growing-gorgeous-cut-for-outdoor-cutting-garden-design.png” alt=”Common Cut Flower Chart A Beginner's Guide To Growing Gorgeous Cut for Outdoor Cutting Garden Design” style=”width: 100%; height: auto;”]
[sps_html tag=”img” src=”https://cdn.northcarolinafinearchitecture.com/2026/06/floret-cut-flower-garden-planning-kit-at-corinne-marx-blog-throughout-outdoor-cutting-garden-design.jpg” alt=”Floret Cut Flower Garden Planning Kit At Corinne Marx Blog throughout Outdoor Cutting Garden Design” style=”width: 100%; height: auto;”]
[sps_html tag=”img” src=”https://cdn.northcarolinafinearchitecture.com/2026/06/how-to-create-a-cut-flower-garden-for-beginners-step-by-step-with-stop-guessing-start-growing-simple-layout-tips-for-beginner-cut-flower-gardens.jpg” alt=”How To Create A Cut Flower Garden For Beginners Step-By-Step with Stop Guessing Start Growing Simple Layout Tips for Beginner Cut Flower Gardens” style=”width: 100%; height: auto;”]