Ever stood in the insulation aisle of a hardware store, staring at rolls of plastic sheeting, and felt completely lost? You’re not alone. It’s one of those building science topics that sounds simple until you try to explain it to a contractor, or worse, try to fix a mistake after the drywall is up. We’ve all been there. The terms get tossed around like they mean the same thing. "Just slap some poly on it," someone might say. But here’s the thing: that advice could be ruining your house.
In 2026, with energy codes getting tighter and homeowners more aware of indoor air quality, knowing the difference isn’t just for engineers. It’s for anyone who wants a dry, comfortable, and efficient home. Mixing these two up is like confusing a raincoat with a sweater. One keeps water out, the other keeps you warm, but if you wear the wrong one in a storm, you’re going to have a bad time. Let’s clear up the confusion once and for all.
The Big Misconception: They Are Not The Same Thing
Most people think moisture control is just one big bucket. If it stops water, it’s good, right? Wrong. This is where things get messy. An air barrier stops air from moving through your walls. A vapor retarder stops moisture vapor from diffusing through materials. See the difference? One deals with bulk movement (air), and the other deals with microscopic movement (vapor).
Think of it this way. Imagine your wall is a sponge. If you blow air through it, you’re moving a lot of moisture quickly because air holds water. That’s an air leak. If you just let the sponge sit in a humid room, moisture will slowly soak into it without any wind. That’s vapor diffusion. In most climates, air leakage carries way more moisture than vapor diffusion does. Like, ten times more. Maybe even fifty times more in windy conditions. So, stopping air is usually the bigger priority.
But here’s the kicker: some materials do both. Polyethylene sheeting, for instance, is a great air barrier AND a vapor retarder. But fiberglass batt insulation? It lets air and vapor pass right through. This is why just adding insulation doesn’t stop drafts or moisture problems. You need specific layers designed for specific jobs. Confusing the two leads to walls that trap moisture inside, leading to mold, rot, and expensive repairs down the line.
What Exactly Is An Air Barrier?
An air barrier is exactly what it sounds like: a continuous layer that stops air from flowing in or out of your conditioned space. It’s not just about comfort, though nobody likes a drafty living room. It’s about controlling where the heat goes and, more importantly, where the moisture goes. When warm, moist indoor air leaks into a cold wall cavity in winter, it condenses. Just like water on a cold soda can. That condensation rots wood and ruins insulation.
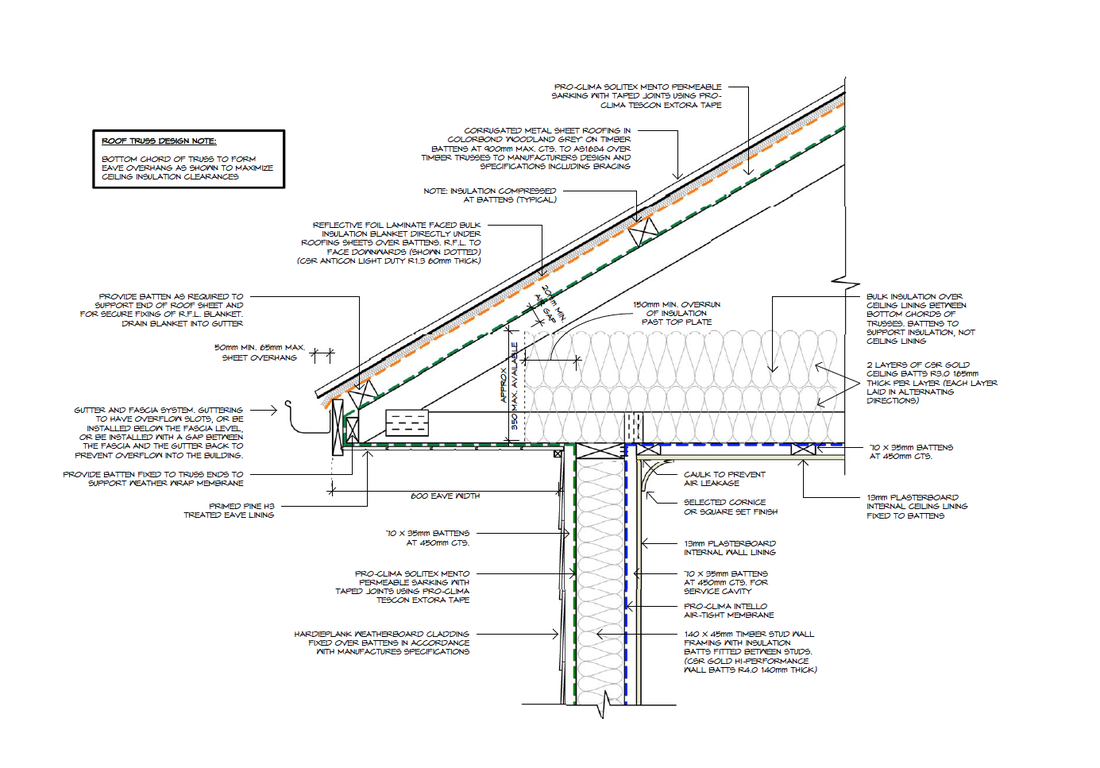
In modern construction, especially in 2026, air barriers are often integrated into the sheathing or applied as liquid membranes. You might see taped seams on rigid foam boards or special housewraps that are rated for air tightness. The key word here is "continuous." If you have a great air barrier on the walls but forget to seal the gap where the wires go through the top plate, you’ve failed. Air is like water; it finds the path of least resistance. It will sneak through every tiny crack, outlet box, and attic bypass if you let it.
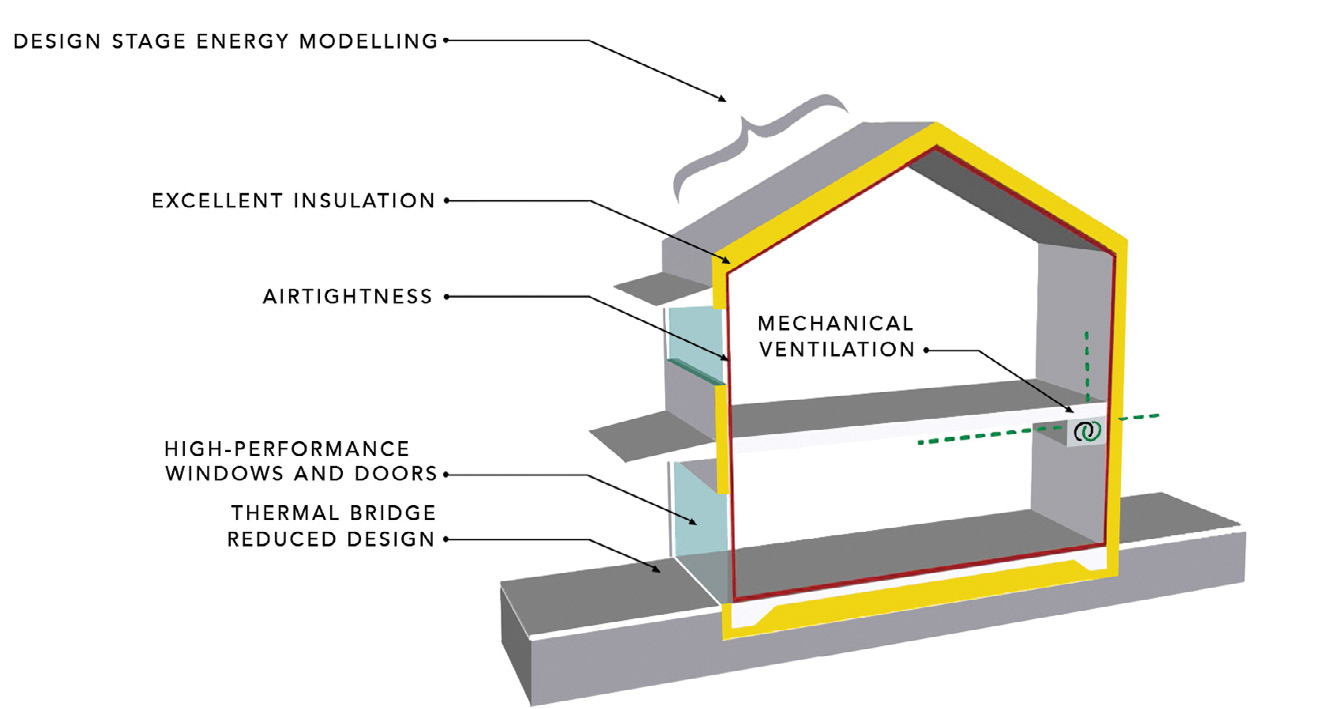
The benefits are huge. First, energy savings. You aren’t heating or cooling the outdoors. Second, comfort. No more cold spots near windows or walls. Third, durability. By keeping wet air out of the wall assembly, you keep the structure dry. Building codes across North America are increasingly requiring tested air barrier systems. It’s no longer optional if you want a high-performance home. It’s the baseline.
Understanding Vapor Retarders (And Retardants)
Now, let’s talk about vapor retarders. Note the spelling. It’s "retarder," not "barrier," although people use both. Technically, a vapor barrier is a material with zero permeability, which is almost impossible to achieve in real life. So we use "retarder" to describe materials that slow down vapor diffusion. These are classified by "perms," a measure of how much water vapor can pass through a material in a given time.
Class I vapor retarders (like poly sheeting or aluminum foil) have very low perm ratings. They basically block everything. Class II (like certain kraft-faced batts) slow it down a bit. Class III (like latex paint) allows some drying but still retards rapid moisture movement. Why does this matter? Because walls need to dry out. If you trap moisture inside a wall with a super-tight vapor barrier on the wrong side, it has nowhere to go. It sits there, festering.
The rule of thumb used to be "put the vapor barrier on the warm side." In cold climates, that means inside. In hot, humid climates, that means outside. But today, with mixed climates and better understanding, we often use "smart" vapor retarders. These are materials that change their permeability based on humidity. In dry conditions, they block vapor. In wet conditions, they open up to let the wall dry. It’s like having a breathable rain jacket instead of a plastic poncho. Much safer for the long-term health of your building.
Why Climate Changes Everything
You can’t pick these materials without looking at your local weather. What works in Minnesota will destroy a house in Miami. In cold climates, the driving force is warm, moist indoor air trying to get out. So, you need an air barrier and often a vapor retarder on the interior side to stop that flow. If you put a vapor barrier on the outside in winter, any moisture that gets into the wall hits that cold barrier and condenses. Rot city.
In hot, humid climates, the pressure reverses. The warm, moist outdoor air is trying to get into your cool, dry house. Here, you want the vapor retarder on the exterior side, or you want a wall assembly that can dry to the interior. Using interior poly in Florida is a recipe for disaster. It traps the AC-cooled dry air inside, but if any humid air gets behind that poly (from a leak or construction moisture), it can’t escape. The wall stays wet forever.
Mixed climates, like much of the Pacific Northwest or the Mid-Atlantic, are the trickiest. You have heating seasons and cooling seasons. This is where those smart vapor retarders shine. They adapt. Also, focusing heavily on the air barrier becomes even more critical. If you stop the air movement, you stop the majority of the moisture transport, regardless of direction. This simplifies things. Get the air sealing tight, and you have more flexibility with your vapor control strategy.
Common Mistakes And How To Avoid Them
One of the biggest blunders is double-vapor barring. This happens when you use a vapor-retarding sheathing on the outside AND poly on the inside. You’ve essentially wrapped your wall in plastic wrap. Any construction moisture (from wet concrete, lumber, or drywall mud) gets trapped in the middle. It can’t dry out. I’ve seen studs turn black with mold in less than a year because of this. Always check the perm ratings of all your layers. Make sure at least one side can dry.
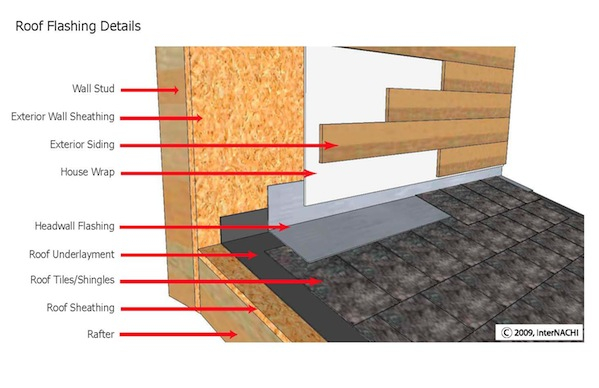
Another common error is treating housewrap as an air barrier without taping it. Standard housewrap is a weather-resistive barrier (WRB). It stops rain, but it’s full of holes for staples and tears easily. Unless it’s specifically rated and installed as an air barrier (with taped seams, sealed penetrations, and proper integration with windows), it’s not stopping air. Don’t assume. Look for the ASTM E2178 rating for air permeance. If it’s not taped, it’s leaking.
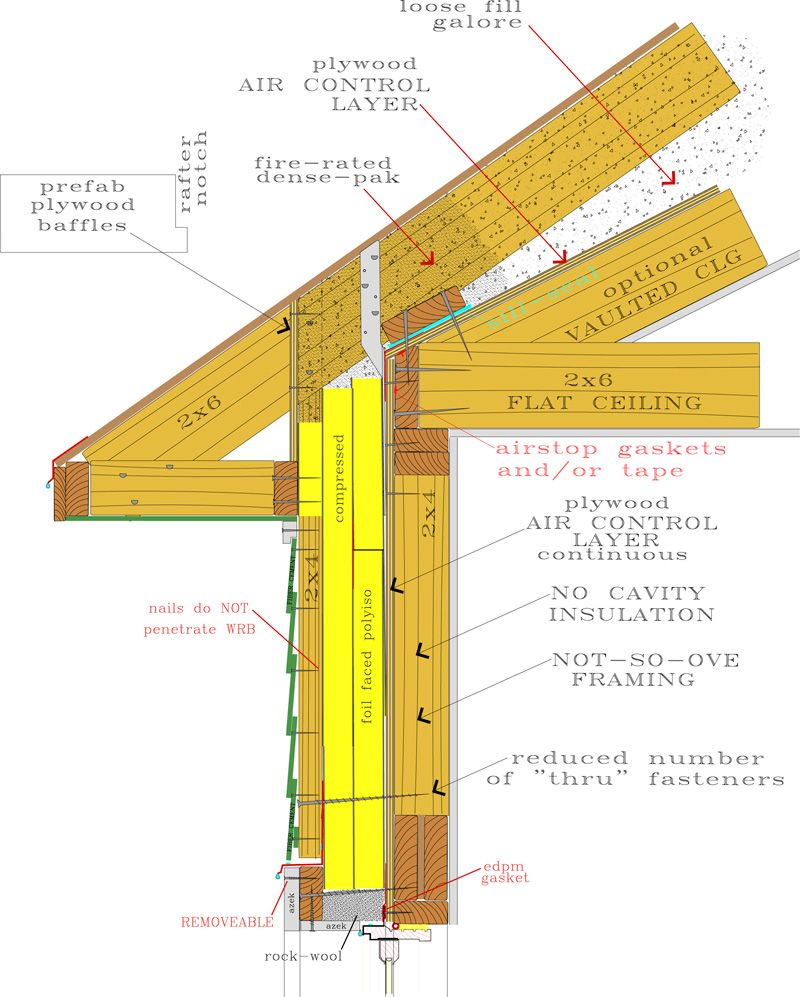
Also, don’t forget the transitions. The air barrier needs to connect to the foundation, the roof, and the windows. It’s a continuous envelope. If you stop at the floor line, you’ve got a massive leak. Use compatible tapes and sealants. And please, stop using spray foam as your only air seal without checking the depth. Thin layers of spray foam can crack and shrink over time, breaking the seal. It’s better to use it in combination with other sealing methods for a robust system.
So, what should you actually do? Start with the air barrier. Make it a priority. Whether you use taped sheathing, a fluid-applied membrane, or a specialized housewrap, ensure it’s continuous. Walk the site before the drywall goes up. Look for gaps. Seal them. Use gaskets under bottom plates. Foam around windows. It takes time, but it pays off in comfort and durability. Think of it as insurance for your home’s structure.
For vapor control, look at your climate zone first. In cold zones, consider a smart vapor retarder on the interior. In hot zones, focus on exterior vapor control or breathable assemblies. In mixed zones, smart retarders are your best friend. Avoid interior poly unless you are in a very cold climate and know exactly what you’re doing. And even then, ask yourself if a variable-perm membrane would be safer. It usually is.
Finally, test your work. Blower door tests aren’t just for certification. They help you find leaks while you can still fix them. If you’re building a new home or doing a major Reno, demand a blower door test during construction. It’s the only way to know if your air barrier is actually working. Don’t guess. Measure. Your future self, dealing with lower bills and no mold issues, will thank you. It’s about building it right the first time, so you don’t have to tear it apart later.
Getting this right feels complicated, but it’s really just about understanding how water moves. Air carries it fast. Vapor moves it slow. Stop the air, manage the vapor, and let the wall dry. That’s the secret. It’s not magic. It’s just physics. And once you get it, you’ll look at every wall differently. You’ll see the layers, the intentions, and the potential failures. It empowers you to make better choices. So next time you’re planning a build or a retrofit, remember: air barrier first, vapor strategy second. Keep it simple, keep it continuous, and keep it dry.
[sps_html tag=”img” src=”https://cdn.northcarolinafinearchitecture.com/2026/05/airtight-wall-and-roof-sheathing-artofit-with-regard-to-mastering-transitions-where-roofs-meet-walls-for-airtight-performance.jpg” alt=”Airtight Wall And Roof Sheathing – Artofit with regard to Mastering Transitions Where Roofs Meet Walls for Airtight Performance” style=”width: 100%; height: auto;”]
[sps_html tag=”img” src=”https://cdn.northcarolinafinearchitecture.com/2026/05/continuous-transitions-from-walls-to-roofs-with-spengler-industries-with-mastering-transitions-where-roofs-meet-walls-for-airtight-performance.jpg” alt=”Continuous Transitions From Walls To Roofs With Spengler Industries … with Mastering Transitions Where Roofs Meet Walls for Airtight Performance” style=”width: 100%; height: auto;”]
[sps_html tag=”img” src=”https://cdn.northcarolinafinearchitecture.com/2026/05/mastering-roof-inspections-flashing-part-2-internachi-with-regard-to-air-barrier-design.jpg” alt=”Mastering Roof Inspections: Flashing, Part 2 - Internachi® with regard to Air Barrier Design” style=”width: 100%; height: auto;”]
[sps_html tag=”img” src=”https://cdn.northcarolinafinearchitecture.com/2026/05/our-passive-airtight-wrap-in-air-barrier-design.png” alt=”Our Passive Airtight Wrap in Air Barrier Design” style=”width: 100%; height: auto;”]
[sps_html tag=”img” src=”https://cdn.northcarolinafinearchitecture.com/2026/05/metal-roof-valley-flashing-transition-mastering-roof-inspections-for-mastering-transitions-where-roofs-meet-walls-for-airtight-performance.jpg” alt=”Metal Roof Valley Flashing Transition Mastering Roof Inspections: for Mastering Transitions Where Roofs Meet Walls for Airtight Performance” style=”width: 100%; height: auto;”]