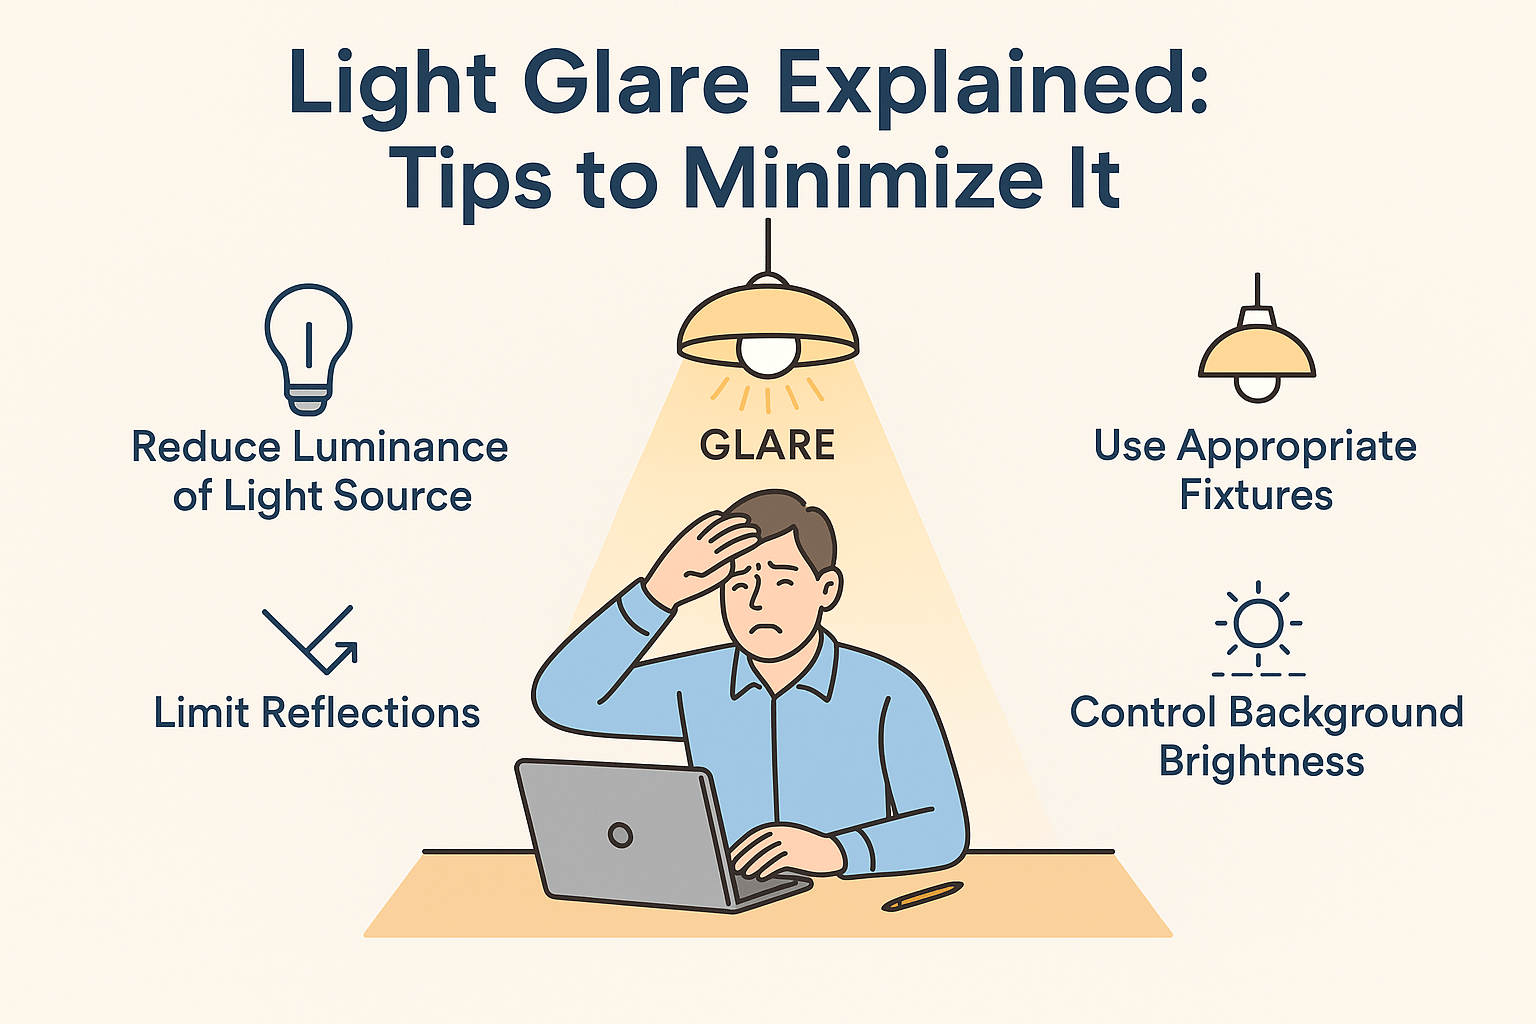
Walk toward your front door after dark and notice what you see first. If your eyes go straight to a bare bulb or to its reflection in the storm door, the porch can feel bright while the edge of the step is still difficult to see. To reduce glare from a porch light, find the position where the glare appears and check what the light needs to illuminate from there. That gives you a way to choose among a bulb change, better shielding, or a change to a fixture that can be aimed.
This walkthrough is for the exterior front entry of a U.S. home. You can do the first round of checks from ground level with the light as it is. Start with the route visitors actually take.
Check the light from the walk, the landing, and the lock
Stand on a stable part of the approach and look toward the door as a visitor would. Notice whether the bright part of the fixture is visible from normal walking height. Then check from the side if the path turns before reaching the steps. An exposed bulb may be obvious from the walk even when the porch roof hides it from another position.
From the landing, check whether you can see the threshold, the edges of any steps, and the lock. Take a moment to look at nearby glass or glossy trim. A bright shape in the storm door that moves as you shift position may be a reflection. If both the fixture and a reflection are visible, note which one sits in the direction you need to look. A reflection beside the keyhole and a direct view of the lamp from the sidewalk can call for different changes.
Write down the viewing position and the task in a single sentence. For example, “From the left side of the walk, the visible bulb draws my eye away from the top step.” That gives you an exact place to stand during the second check. If the lamp is switching on before or after you need it, check its schedule separately with the outdoor lighting timer guide.
Match the change to what you saw
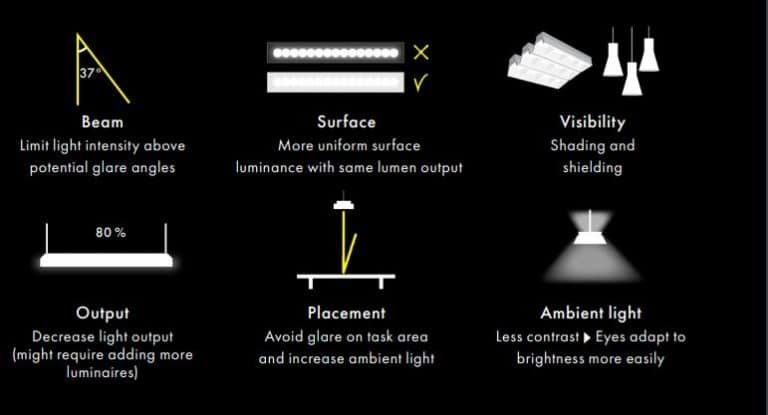
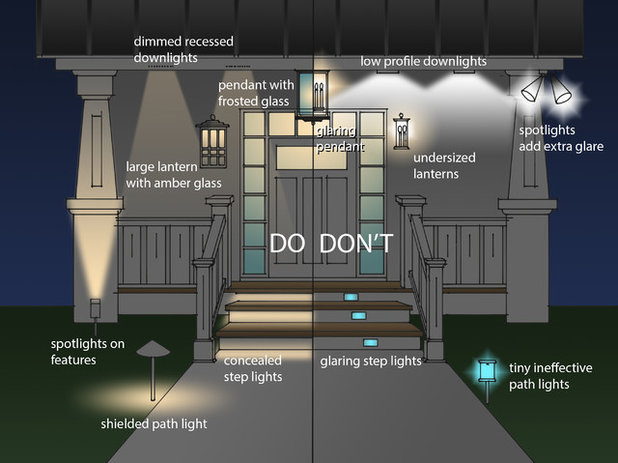
If you can see the light source directly, check the shielding. A fixture with a recessed light source or an opaque shade can block the view from the approach while leaving light on the landing. Look at the fixture’s side profile, including the height and shape of the opening. A product photo taken from the front may hide how exposed the source looks from below. DarkSky International and the Illuminating Engineering Society recommend shielding and aiming outdoor light so it goes downward where needed. [4]
If the problem appears in the glass, consider the direction of the light. Check whether a fixture with a manufacturer-designed adjustable head can direct more light toward the landing and less across the door. For a fixed lantern, compare a shielded replacement using the same approach and landing positions. Copper-colored glass, a frosted bulb, or a decorative trim ring may change what the fixture looks like in a store. Compare the fixture design against the actual line from your eye to the reflection.
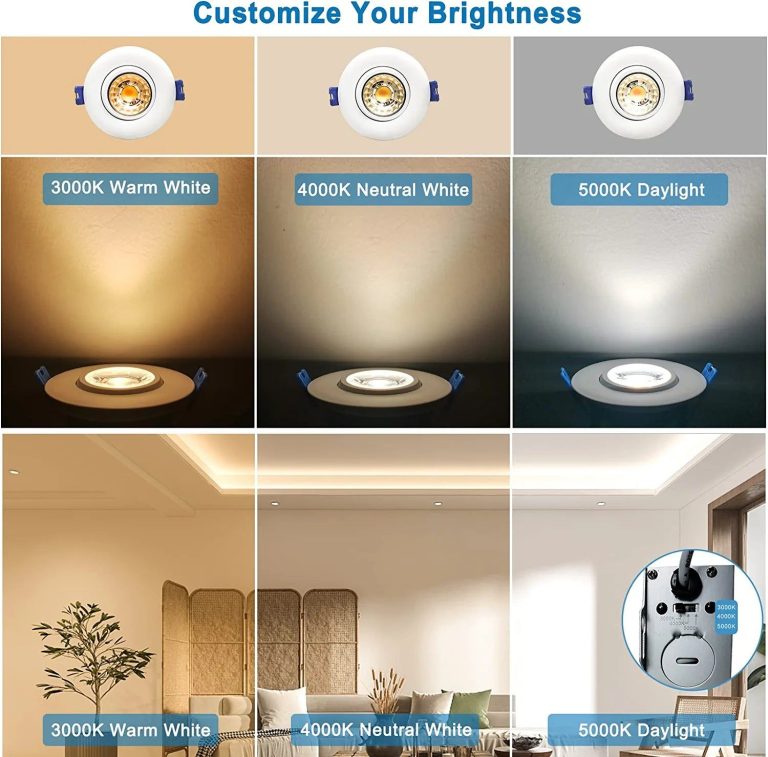
If the beam lands in useful places and the whole area feels overlit, compare a lower-output bulb. Read the lumen figure on the current bulb or packaging, then compare a lower figure on a compatible replacement. If you also want a warmer appearance, compare the Kelvin number separately. DarkSky’s home assessment describes both lower-output and warmer bulbs as options when you need to keep the existing fixture. [5]
Check the fixture before buying anything
Record the current bulb or fixture model if the label is accessible with the power off and the unit cool. A removable bulb and a fixture with an integrated LED give you different options. For a bulb change, check the base, available space, and the fixture and bulb instructions, including any restrictions on enclosed fixtures or existing controls. For a replacement fixture, check the manufacturer’s rating for the actual location. An entry that gets wind-driven rain presents different exposure from a fixture deeper under a roof.
Keep the trial simple. Use the fixture as designed and keep its existing shield and covers in place. If a hardwired replacement or a wiring change is needed, arrange for a qualified electrician. You can still do the before-and-after walk yourself and describe exactly where the light is getting in the way.
Walk the same route after the change
Use the same door position and the same approach after dark. Check the problem angle first, then the landing, the step edges, and the lock. Try the usual arrival sequence, including where you pause to find a key. If the visible bulb or reflection is gone but a step edge is now hard to see, reconsider where the light lands before trying a brighter bulb. Ask someone who uses the entry to walk it from their usual direction, too.
For example, a wall lantern may shine into a visitor’s eyes as they round the last bend in the walk. A downward-shielded fixture can hide the light source from that angle, but its beam still has to reach the landing and illuminate the step. Judge success from both places. The finished entry should let you see where to put your foot and how to open the door without drawing your attention to the lamp.