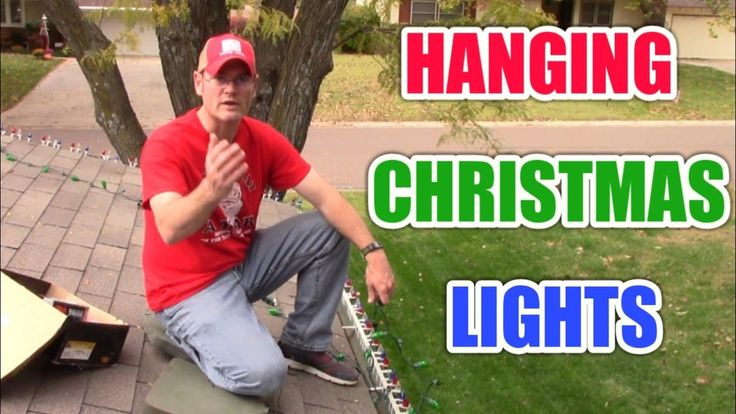
In most American neighborhoods the outdoor lights go up in the two weekends between Halloween and Thanksgiving, and the difference between a display that goes up smoothly and one that ends in an urgent-care waiting room is almost never the lights — it is the planning. Hanging outdoor Christmas lights is a measurement and ladder project wearing a festive costume. An hour of preparation: pacing off the roofline, counting outlets, choosing the right clips and picking a calm Saturday morning, converts the whole job into the kind of work you finish before lunch.
Measure the House Before You Buy a Single String
Lights are sold by length, so the shopping list starts with a tape measure or a pacing pass around the house. Add up the linear feet of everything you intend to outline: the eaves or roofline, door frames, porch columns, railings, and any shrubs destined for net lights. Sketch the front of the house and mark where each run starts and stops, then photograph the fascia and gutters up close — clip styles differ for gutters, shingle edges and flat trim, and the photo answers the clip question at the store. Count the outdoor outlets you actually have, confirm they are GFCI-protected, and plan each run so it starts and ends near power rather than crossing the garage roof twice. Every foot of light string you buy against a real measurement is a foot you are not returning in January.
Use Lights Rated for Outdoors, and Respect the Connection Limit
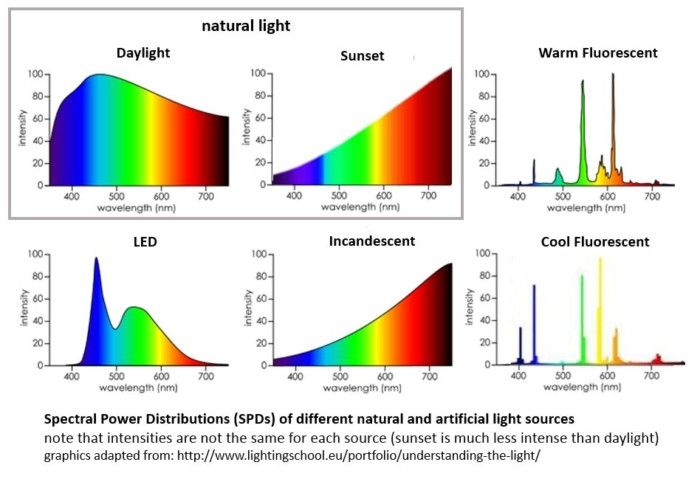
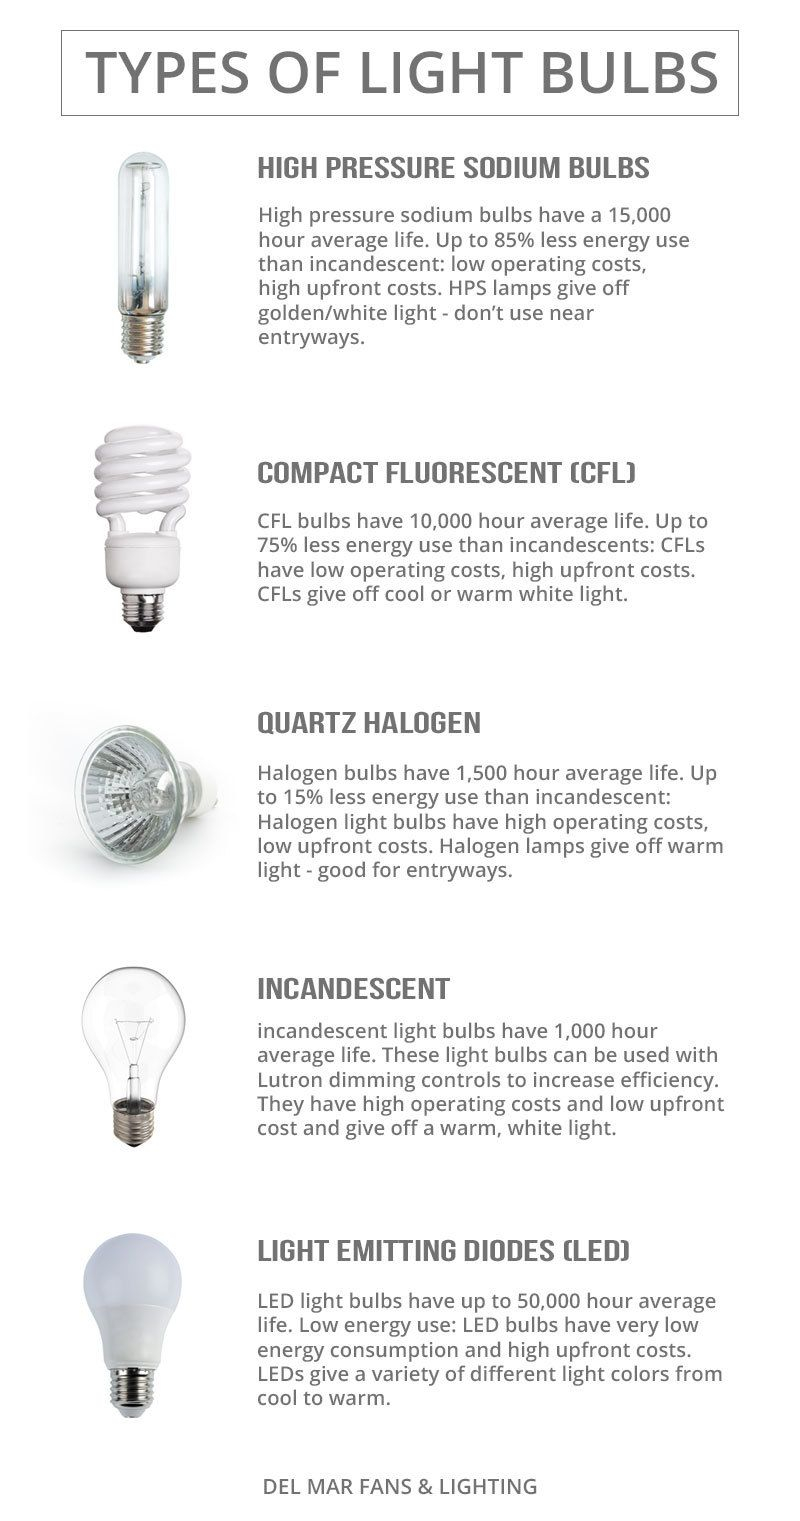
Not all light strings are equal, and the box says so. Use only strings the packaging explicitly rates for outdoor use — indoor-only wire insulation is not built for UV, rain and freezing cycles. Plan the direction each run flows from its outlet, and before connecting strings end to end, read the manufacturer’s instructions for the maximum number of strings that may be connected in one run; that limit is printed on the package for a reason, and exceeding it is how a display trips breakers or worse. LED strings earn their slightly higher price outdoors: they draw a fraction of the power of incandescent mini-lights, which keeps you further from the connection limit, and they run cool enough to sit safely against dry leaves and gutter debris. Whatever you choose, plug each string in and test it on the ground before it goes up — finding a dead section at the top of a ladder is the most avoidable annoyance in holiday decorating.
The Ladder Work Is the Dangerous Part, and the Numbers Prove It
This is the section to read twice, because holiday decorating sends a startling number of Americans to emergency rooms. The Harborview Injury Prevention and Research Center, citing the U.S. Consumer Product Safety Commission, counts “about 160 holiday decorating-related injuries each day during the holiday season,” and more than 14,900 people treated in emergency departments during a single November-through-January season (Harborview Injury Prevention & Research Center). The national picture is bigger still: USAFacts, working from CPSC injury data, reports “around 18,400 people visit emergency rooms because of accidents with Christmas decorations” each year, with the peak landing on “the Sunday after Thanksgiving, when an annual average of 660 people seek medical attention” (USAFacts). The practical takeaways write themselves: hang lights early, in the calm weekends right after Halloween, not on the crowded peak weekend after Thanksgiving; work with a helper who foots the ladder and takes the other end of every string; set the ladder on firm, level, dry ground at the manufacturer’s recommended angle; and move the ladder rather than reaching — most falls are overreaches, not equipment failures. If the roofline needs a fully extended extension ladder over an uneven surface, that stretch is a legitimate reason to rent a stabilizer or hand the peak runs to someone who climbs for a living.
Clips Beat Nails and Staples Every Time
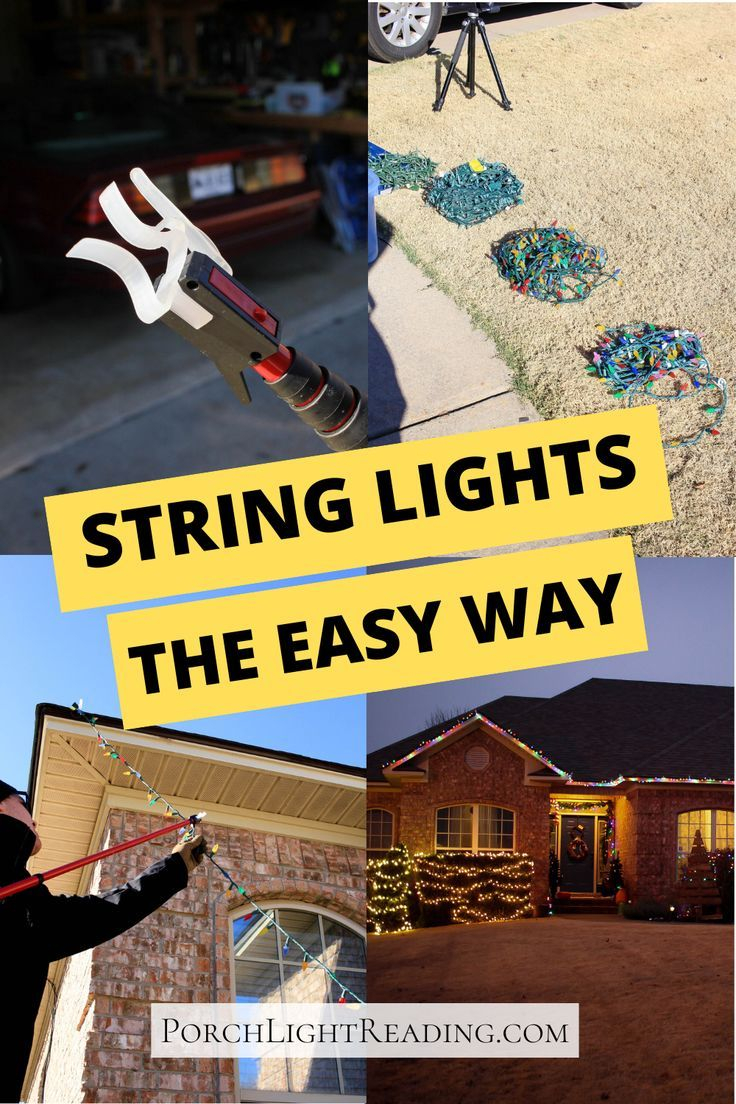
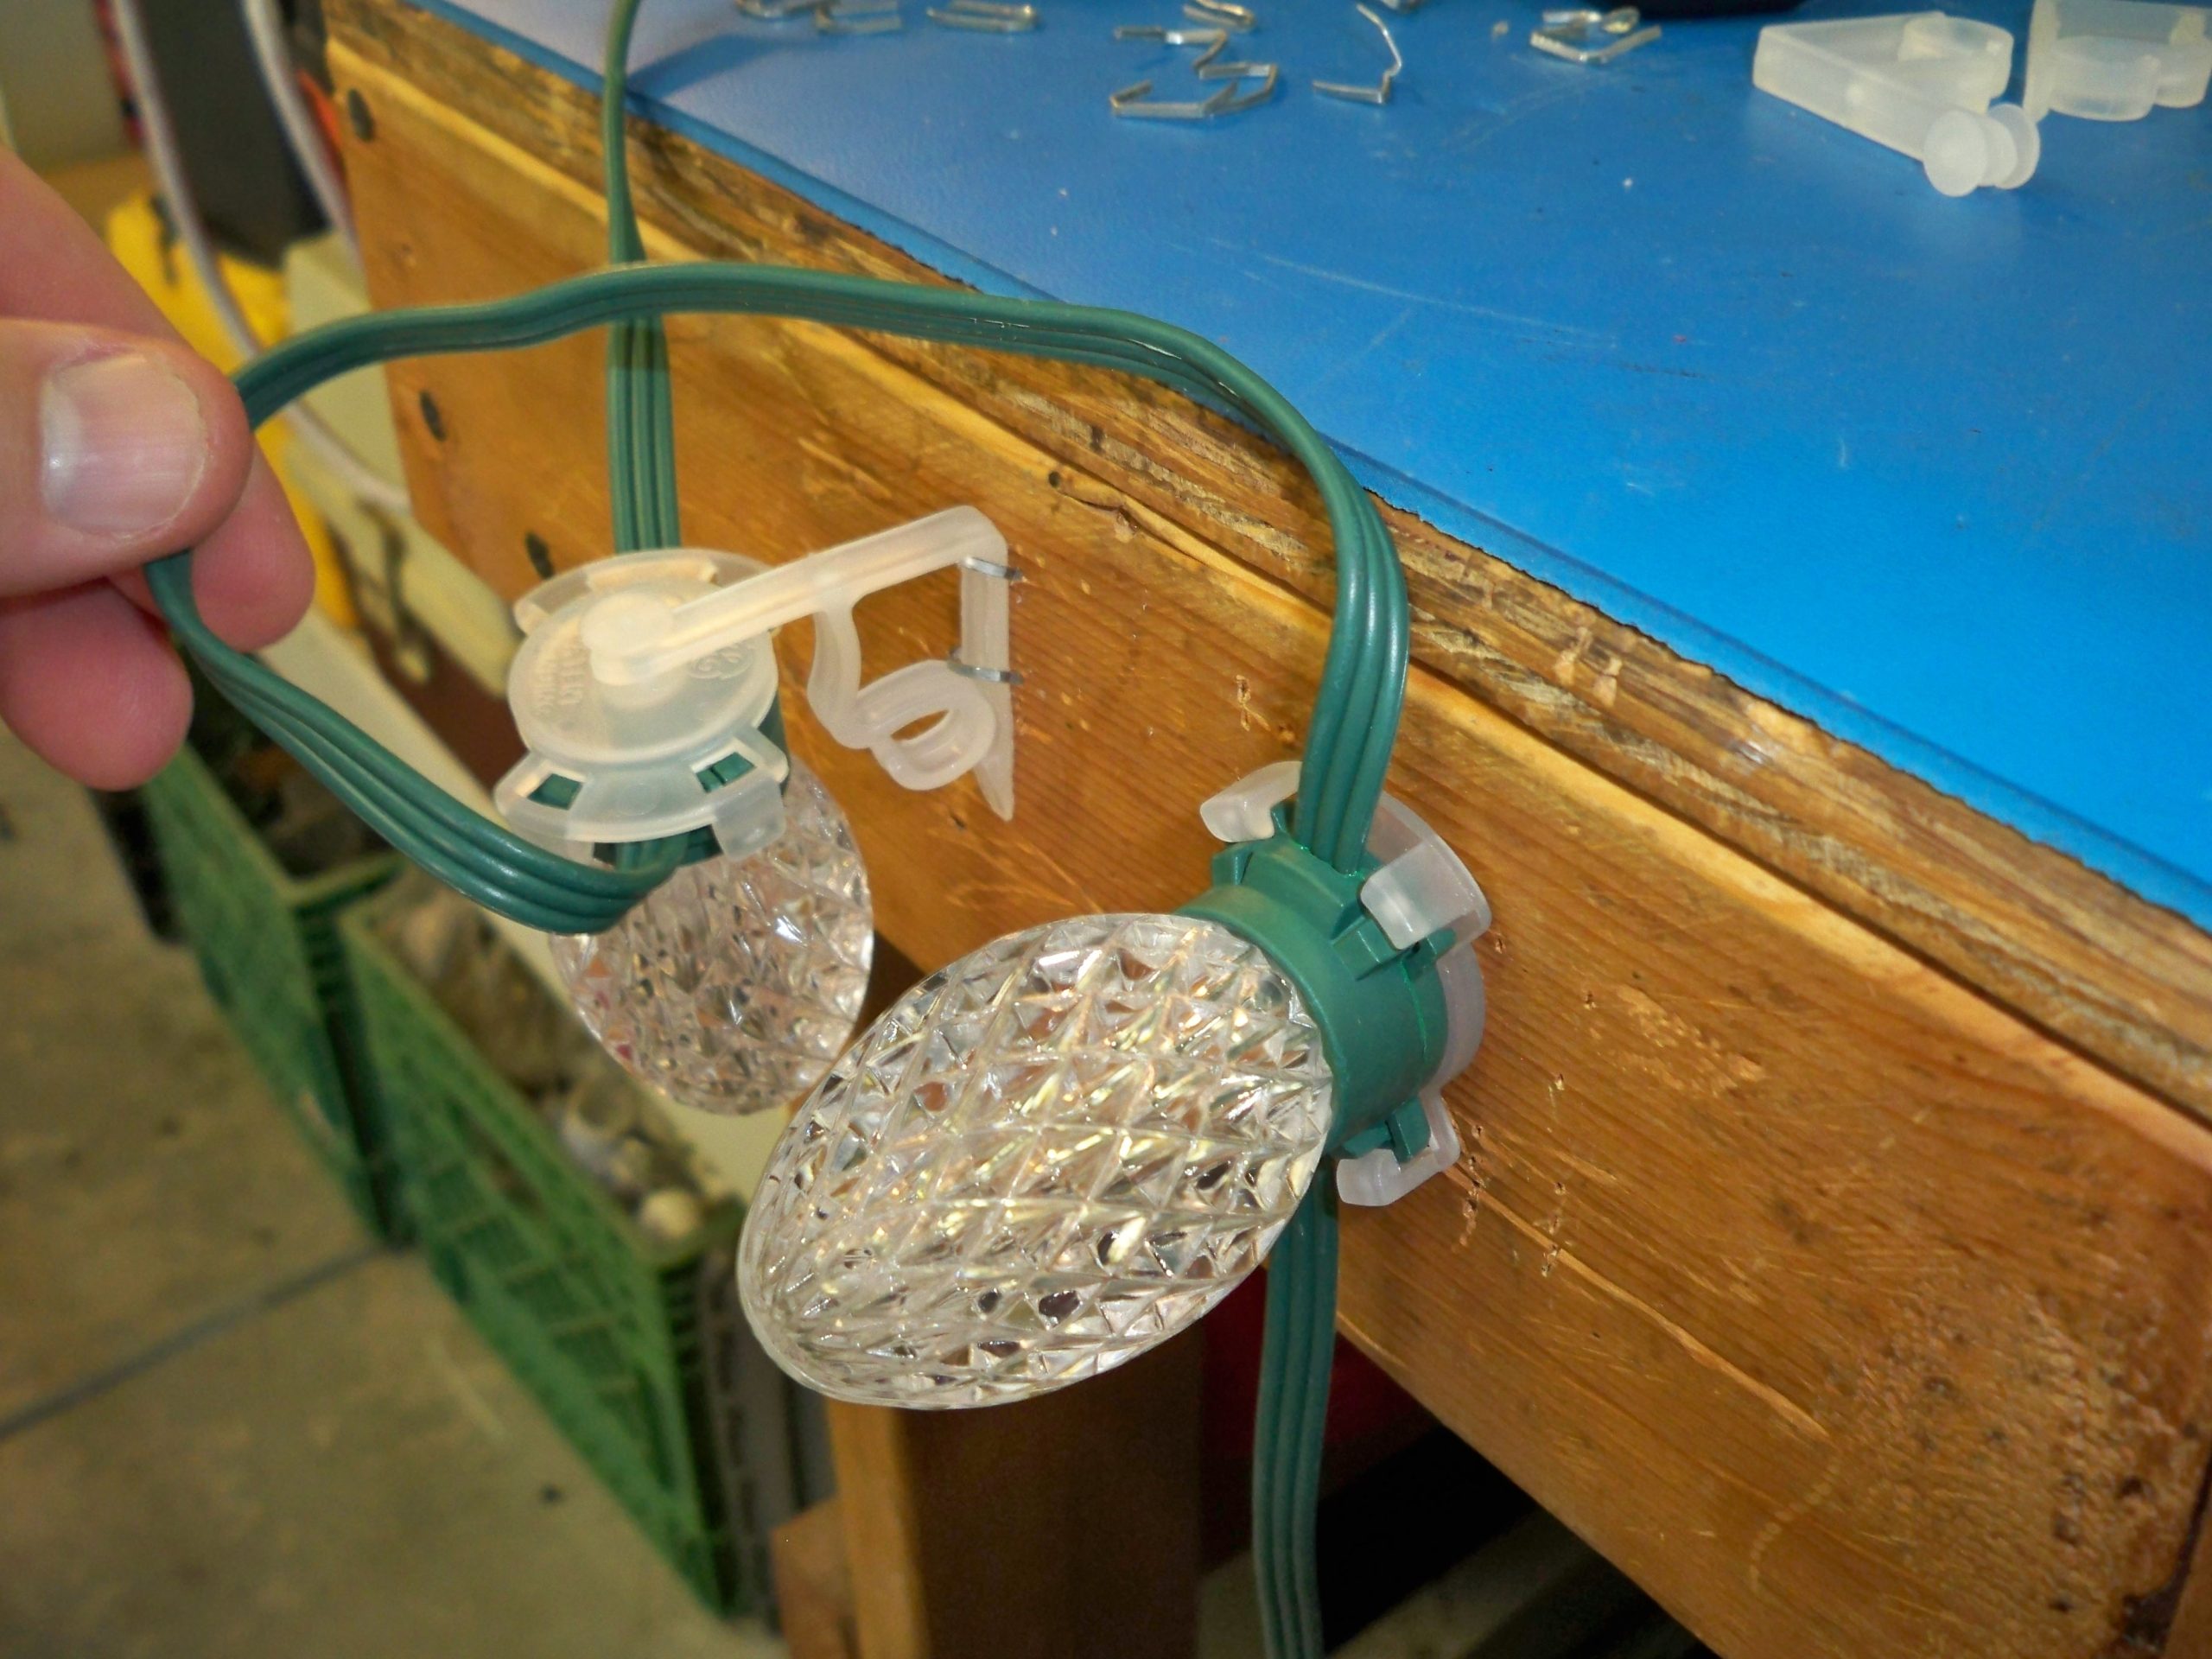
Fastening is where displays are quietly ruined. Nails and staples pierce the wire’s insulation, and a strand with compromised insulation is a shock and short-circuit hazard the first wet night — light manufacturers uniformly tell you not to pierce the wire. Plastic clips solve it: gutter clips hook over the lip of the gutter, shingle clips slide under the last course of shingles, and trim clips tack to flat fascia, each holding the string without touching the insulation. They also speed the work — many can be clipped onto the string on the ground, then the whole armed run lifted and hooked into place — and they make takedown gentle, leaving no rows of nail holes in the fascia to caulk next spring. A hundred clips cost less than one co-pay, which is the honest arithmetic of this entire project.
Power, Timers and Nightly Runtime
Getting power to the display deserves the same respect as the ladder. Use extension cords rated for outdoor use, keep connections up off the ground and out of downspout paths, and point bulb connectors downward so water cannot pool in the sockets. Then let a timer end the night: a display that burns from dusk until 2 a.m. costs money nobody sees, and an outdoor timer or photocell set to a sensible evening window keeps the show automatic. Timers are also the fix when lights start switching at strange hours — the clock drifts and misfires more often than the lights fail, a diagnosis we walk through in our guide to outdoor lights turning on at the wrong time.
Takedown, Testing and Storage
The last stage of this season is the first stage of the next one. Take displays down on a dry, above-freezing day — cold vinyl wire becomes brittle and cracks when bent hard. Coil each string over your hand and forearm, label the coils by run (“front eaves, left of door”), and pack them in a tote with the clips still attached, storing everything somewhere dry. Replace failed strings rather than splicing them; a repaired outdoor connection is a liability no decoration is worth. Do the season that way once — measured, clipped, powered through a timer, taken down dry — and next November the boxes come out with the plan already inside them.