So, you’ve got a ceiling that feels more like a sky. Maybe it’s a converted warehouse loft with those soaring industrial beams, or perhaps your living room has a dramatic vaulted peak that makes changing a lightbulb feel like an extreme sport. It’s beautiful, sure. But let’s be honest: lighting it is a nightmare.
Traditional fixtures just disappear up there. They become distant, twinkling stars that don’t actually help you read a book or see what’s in the fridge. And track lighting? Well, sometimes it looks too rigid, too "office-like" for the warm, airy vibe you’re going for. That’s where cable lighting steps in. It’s sleek, it’s modern, and when done right, it looks like magic floating in mid-air. But getting it there? That’s the tricky part. Especially when you’re dealing with heights that require a ladder taller than your ego.
This isn’t just about hanging wires. It’s about understanding tension, structure, and how light behaves when it has a long way to travel. If you’ve been staring at those high beams wondering how to bridge the gap without drilling into something you shouldn’t, you’re in the right place. Let’s break it down, step by messy step.
Why Cable Systems Beat Traditional Fixtures Up High
When you’re working with ceilings that stretch twelve, fifteen, or even twenty feet up, the rules change. A standard pendant light on a three-foot cord is useless. It leaves the top half of your room in shadow and creates a weird visual disconnect. Cable lighting solves this by turning the entire ceiling plane into a canvas. Instead of one point source, you get a line of light that can stretch wall-to-wall.
Think about the architecture. In many high-ceiling spaces, especially those built or renovated in the last few years, there are often structural elements like steel I-beams or exposed trusses. These are great for aesthetics but terrible for mounting standard junction boxes. Cable systems are flexible. They can loop around these obstacles or span across them without needing a direct mount at every single point. This flexibility is why designers in 2026 are still leaning heavily on cable tech for difficult residential and commercial spots. It adapts to the building, rather than forcing the building to adapt to it.
Also, let’s talk about the "float" factor. There is something undeniably cool about lights that seem to defy gravity. Because the cables are thin—usually aircraft-grade steel—they visually disappear from a distance. What’s left is the glow. This minimalism is key in high spaces where you don’t want visual clutter competing with the grandeur of the volume. It keeps the eye moving along the line of light, emphasizing the length and scale of the room rather than chopping it up with bulky fixtures.
Safety First: Understanding Load and Structure
Before you even unpack the kit, you need to look up. And I mean really look. The biggest mistake people make with high-ceiling installations is assuming the drywall or plaster can hold anything. It can’t. Not even a little bit. Cable lighting relies on tension. When you tighten those cables, you are pulling against the anchor points with significant force. If those anchors aren’t hiting solid wood or steel, the whole system will eventually sag, pull out, or worse—come crashing down.
You need to find the joists, trusses, or beams. In newer construction, this might mean using a high-quality stud finder that can detect depth. In older buildings or industrial conversions, you might have exposed structures, which makes life easier. But here’s the catch: the structure must be rated for the load. This includes the weight of the cables, the fixtures, and the dynamic load of the tension. If you’re looping cable around a steel beam, as mentioned in many installation guides, you need to ensure that beam isn’t just decorative cladding. It needs to be structural.
If you’re unsure, and let’s face it, most of us aren’t structural engineers, get a pro to verify. It’s worth the hundred bucks for a consultation. Also, check the electrical code requirements for your area in 2026. While cable lighting is generally low-voltage or line-voltage depending on the system, the mounting hardware needs to be secure. Use toggle bolts only as a last resort for non-tensioned accessories, never for the main cable anchors. The main anchors must bite into solid material. Period.
Choosing the Right Gear for the Height
Not all cable kits are created equal. When you’re dealing with standard eight-foot ceilings, you can get away with lighter gauge cables and smaller turnbuckles. But for high spaces, you need heavy-duty components. Look for aircraft cable, usually stainless steel, with a diameter of at least 1/8 inch or thicker if the span is long. Thinner cables might look sleeker, but they sag over long distances, and correcting that sag at thirty feet up is a pain you don’t want.
The tensioning hardware is critical. You’ll need robust turnbuckles or tensioners that are easy to adjust but lock securely. Some modern systems use spring-loaded tensioners that automatically compensate for minor shifts in the building structure, which is handy in older homes that settle over time. Also, consider the fixtures themselves. For high ceilings, you want lights that throw a wide beam or have adjustable heads. A narrow spotlight will create a harsh pool of light on the floor and leave the rest of the room dark. Look for LEDs with a wide dispersion angle or dimmable options so you can control the intensity.
Don’t forget the power feed. In a long run, voltage drop can be an issue, especially with low-voltage systems. If you’re running a cable fifty feet across a great room, you might need a thicker gauge wire inside the cable or a higher voltage system to ensure the lights at the far end are just as bright as the ones near the transformer. Check the manufacturer’s specs for maximum run lengths. Exceeding them results in dim, flickering lights, which defeats the whole purpose.
The Installation Dance: Step-by-Step
Okay, let’s get physical. You’ve got your gear, you’ve found your beams, and you’ve got a ladder that doesn’t wobble. Start by marking your anchor points. Use a chalk line to ensure your cables will be straight. Nothing looks worse than a crooked cable lighting system, especially in a large room where the eye travels far. Measure twice, drill once. Actually, measure three times.
Drill your pilot holes into the structural members. Install your eyelets or mounting brackets. If you’re using the loop method around a beam, wrap the cable securely and use the proper sleeves or clamps to hold it. Tighten it down, but don’t go full Hulk mode yet. Leave some slack. You need to attach the other end before you apply final tension. Once both ends are anchored, start tightening the turnbuckle. Go slowly. Alternate between the two cables if you’re running a dual-cable system (which is common for stability). You want them to have equal tension.
Here’s a pro tip: use a level. Not just a small one, but a long beam level or a laser level. As you tighten, check the height of the cable at multiple points. High ceilings often have slight bows or unevenness in the structure. You might need to adjust the height of individual fixtures along the cable to keep the light sources level, even if the cable itself sags slightly in the middle (a catenary curve is natural and okay, as long as it’s not excessive). Secure the fixtures to the cable using the grippers provided, ensuring they are tight enough not to slide but loose enough to adjust position during the final aiming phase.
Managing the Mess: Wiring and Aesthetics
One of the beauties of cable lighting is the clean look, but that cleanliness requires careful management of the power source. Where does the electricity come from? In many cases, you’ll need to fish a wire from a nearby junction box or ceiling fixture. This can be the most frustrating part of the job. If you don’t have an existing box near your anchor point, you might need to cut into the drywall to run new Romex or MC cable back to a switch.
Keep the wiring hidden. If the power feed runs along the wall, use paintable cable concealer channels that match your wall color. If it’s coming from the ceiling, try to route it behind a beam or through a drilled hole in the structure if safe and code-compliant. The goal is invisibility. Any visible black wire running down a pristine white wall ruins the illusion. Take your time here. It’s better to spend an extra hour fishing wires than to live with an ugly splice forever.
Also, think about the transformer location. If you’re using low-voltage cable lighting, the transformer needs to be accessible for maintenance but hidden from view. Closets, attics, or behind access panels are good spots. Don’t bury it in the ceiling drywall. It will fail eventually, and you don’t want to tear apart your perfect installation to replace it. Label the circuit clearly in your breaker box. Future you will thank present you when something trips and you need to reset it without guessing.
So, it’s installed. You flip the switch. And… nothing happens. Or maybe one light flickers. Don’t panic. Most issues are simple connection problems. Check the grippers on the fixtures. Sometimes the tiny set screws loosen during the tensioning process. Ensure the cable is making solid contact with the fixture’s conductors. If you’re using a multi-light system, check the connections at each head. A single bad contact can break the circuit for everything downstream.
Sagging is another common complaint. Over time, cables can stretch slightly, or the house settles. If your cable looks like a smiley face, it’s time to re-tension. This is why having accessible turnbuckles is important. Don’t put them in places you need a scaffold to reach. Adjust them gradually, checking the level as you go. If the sag persists, you might have underestimated the span or used cable that’s too thin. In that case, you might need to add a mid-span support, anchoring the cable to a central point to break up the length.
Finally, keep the lenses clean. In high ceilings, dust and cobwebs accumulate on the fixtures. Since you can’t easily reach them, consider using fixtures with sealed optics or smooth surfaces that repel dust. A quick blast from a leaf blower on a low setting (from the ground, if possible) can sometimes dislodge loose debris. Regular maintenance isn’t just about brightness; it’s about preserving that crisp, modern look you worked so hard to achieve.
Installing cable lighting in high spaces is definitely a challenge. It requires patience, the right tools, and a respect for physics. But when you step back and see that perfect line of light floating above your head, illuminating the space without cluttering it, you’ll know it was worth every minute of sweating on that ladder. It transforms a cavernous room into a cozy, functional home. And really, isn’t that what good lighting is all about?
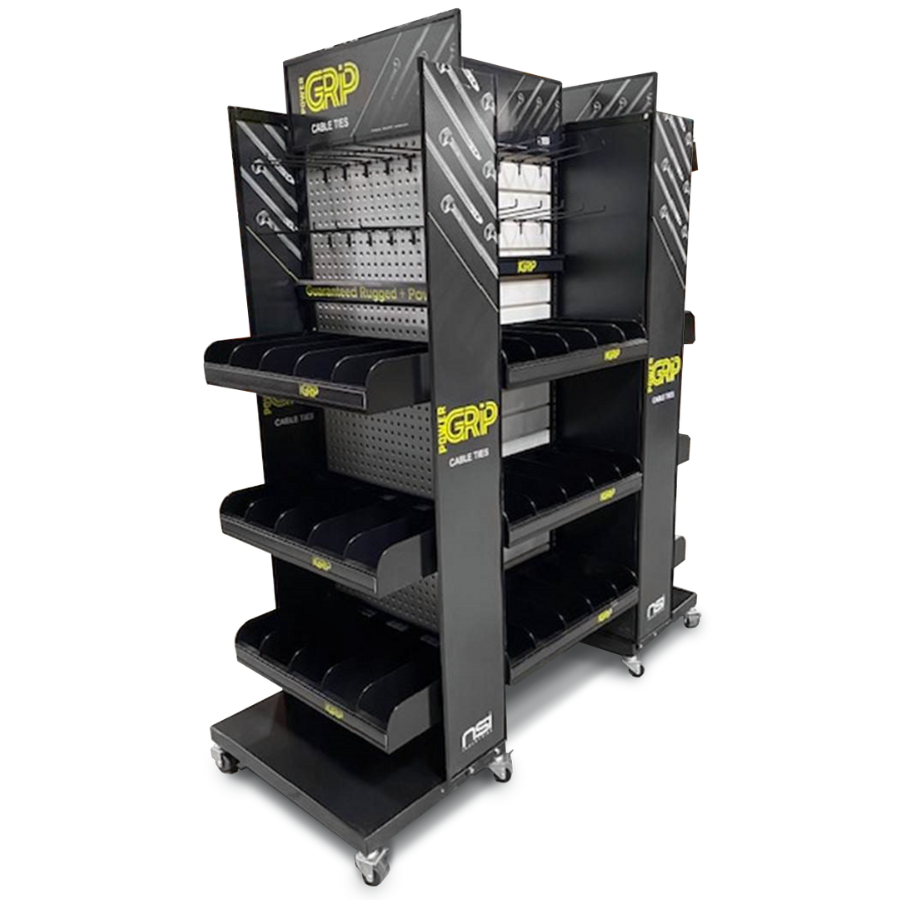
[sps_html tag=”img” src=”https://cdn.northcarolinafinearchitecture.com/2026/06/oni-shopfitting-custom-mobile-shop-display-fixtures-for-elevated-pertaining-to-elevating-retail-displays-with-versatile-cable-fixtures.webp” alt=”Oni Shopfitting: Custom Mobile Shop Display & Fixtures For Elevated … pertaining to Elevating Retail Displays with Versatile Cable Fixtures” style=”width: 100%; height: auto;”]
[sps_html tag=”img” src=”https://cdn.northcarolinafinearchitecture.com/2026/06/new-england-wire-products-retail-fixtures-within-cable-lighting-design.png” alt=”New England Wire Products | Retail Fixtures within Cable Lighting Design” style=”width: 100%; height: auto;”]
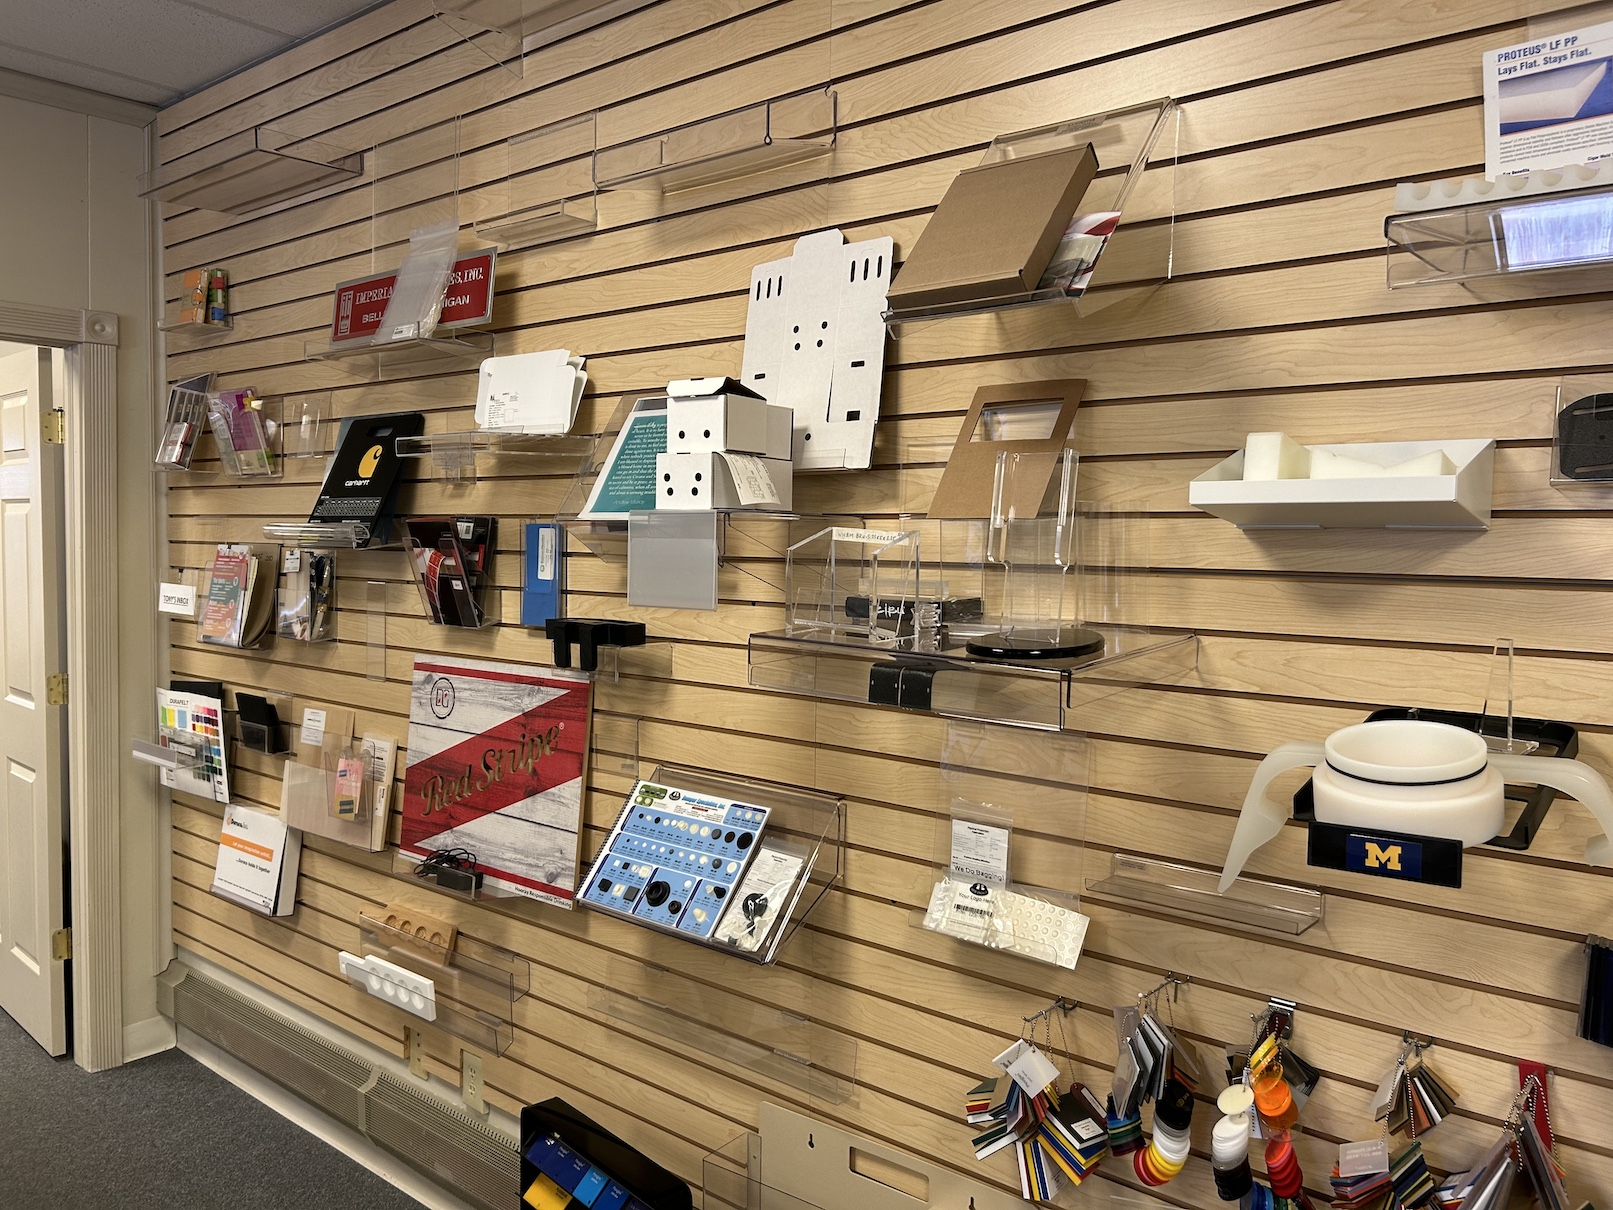
[sps_html tag=”img” src=”https://cdn.northcarolinafinearchitecture.com/2026/06/elevating-your-retail-space-the-art-of-custom-retail-displays-in-cable-lighting-design.jpg” alt=”Elevating Your Retail Space: The Art Of Custom Retail Displays in Cable Lighting Design” style=”width: 100%; height: auto;”]
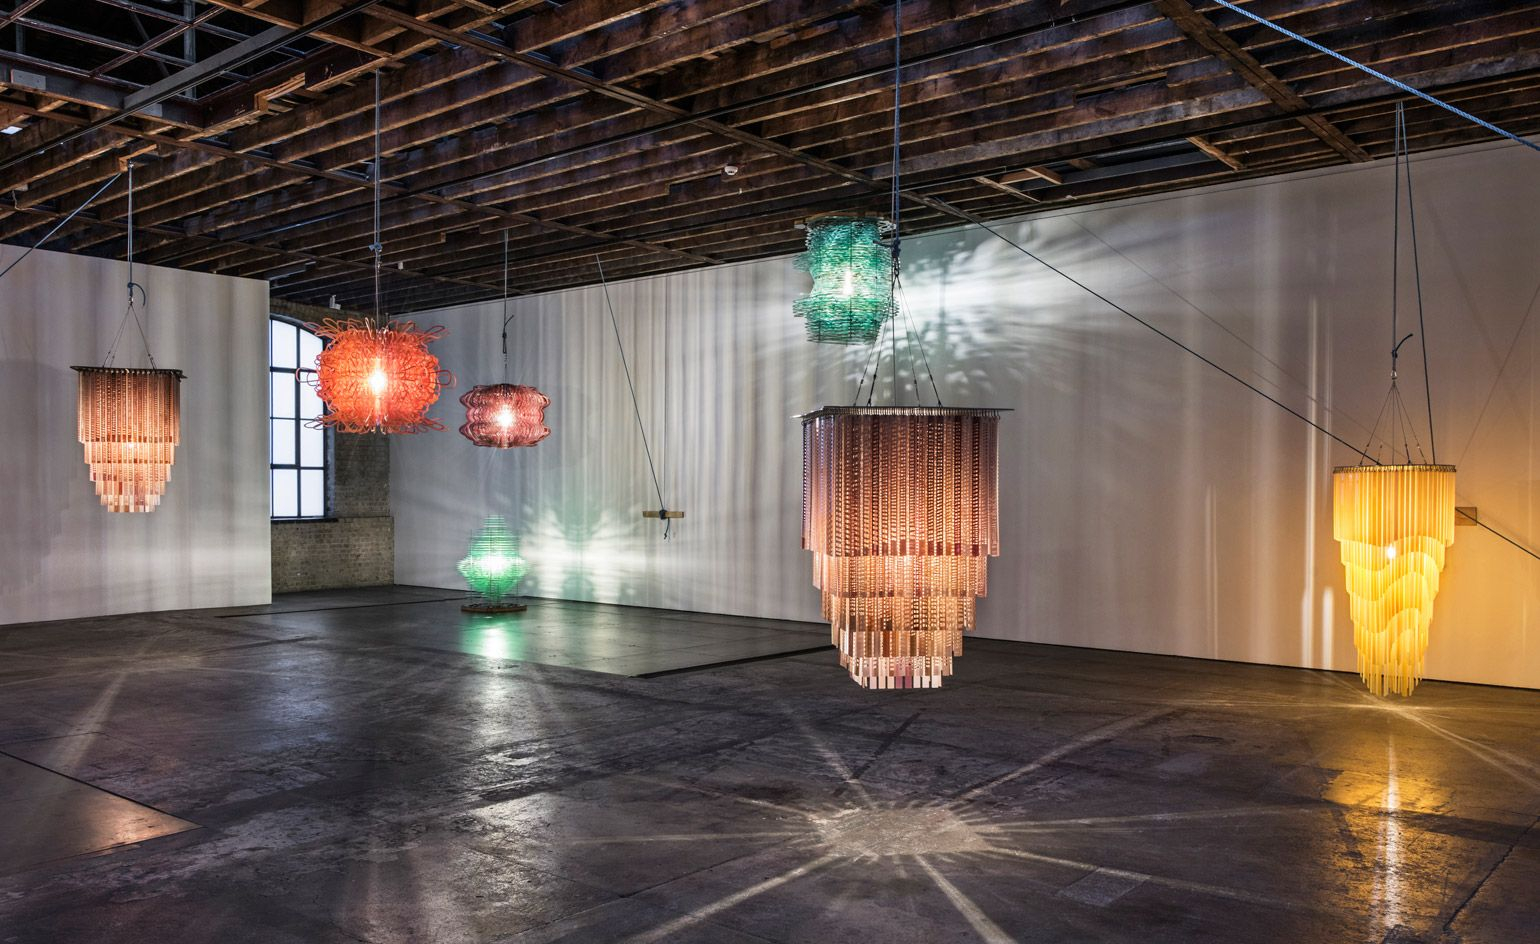
[sps_html tag=”img” src=”https://cdn.northcarolinafinearchitecture.com/2026/06/elevating-uk-retail-with-digital-signage-solutions-a-comprehensive-within-elevating-retail-displays-with-versatile-cable-fixtures.jpg” alt=”Elevating Uk Retail With Digital Signage Solutions: A Comprehensive … within Elevating Retail Displays with Versatile Cable Fixtures” style=”width: 100%; height: auto;”]
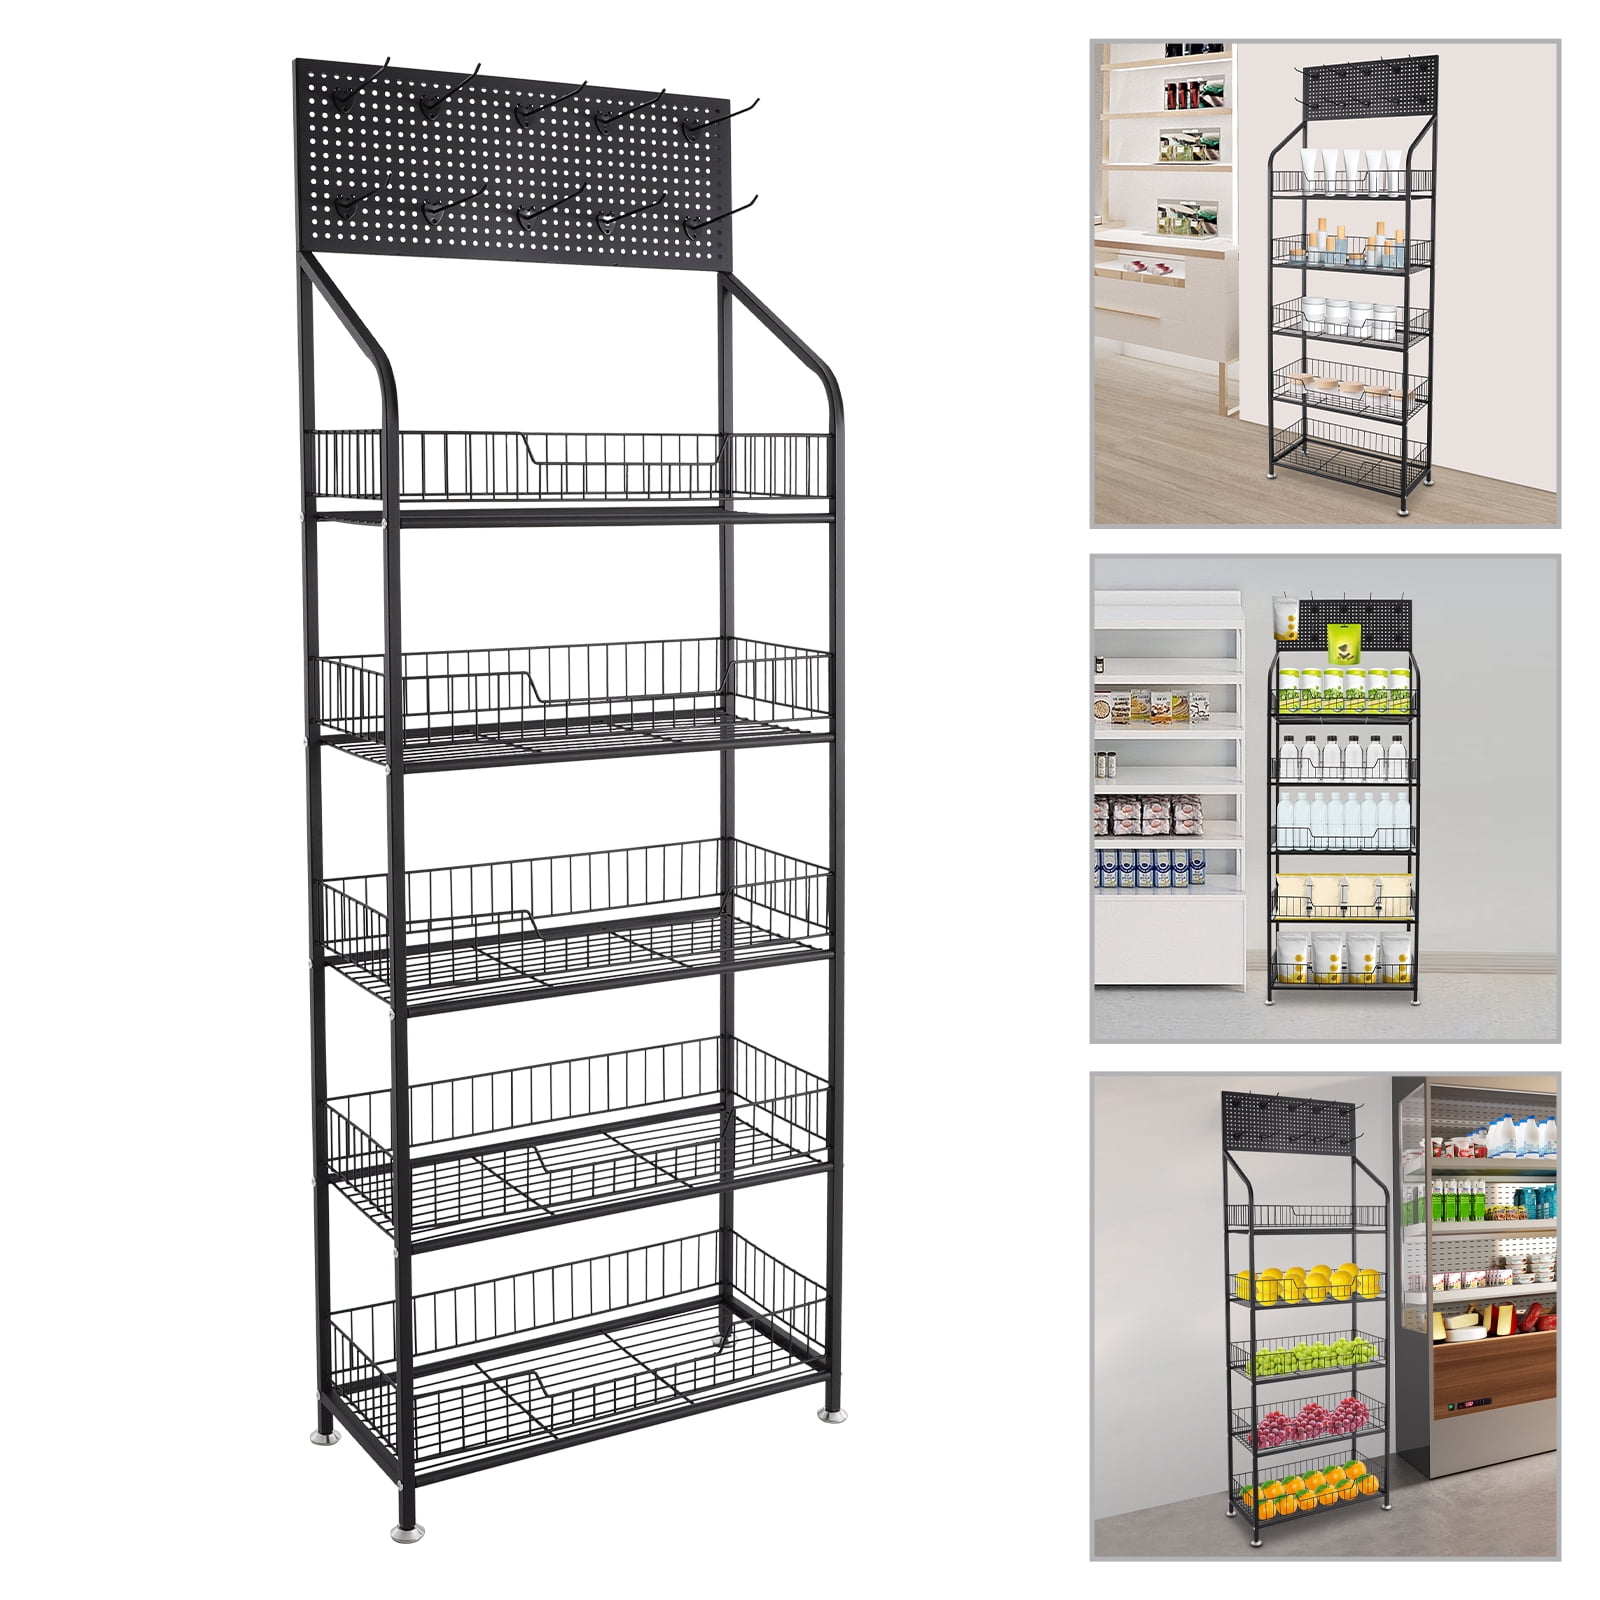
[sps_html tag=”img” src=”https://cdn.northcarolinafinearchitecture.com/2026/06/modern-retail-display-rack-with-5-tiers-and-10-hooks-adjustable-feet-in-elevating-retail-displays-with-versatile-cable-fixtures.jpeg” alt=”Modern Retail Display Rack With 5 Tiers And 10 Hooks, Adjustable Feet … in Elevating Retail Displays with Versatile Cable Fixtures” style=”width: 100%; height: auto;”]