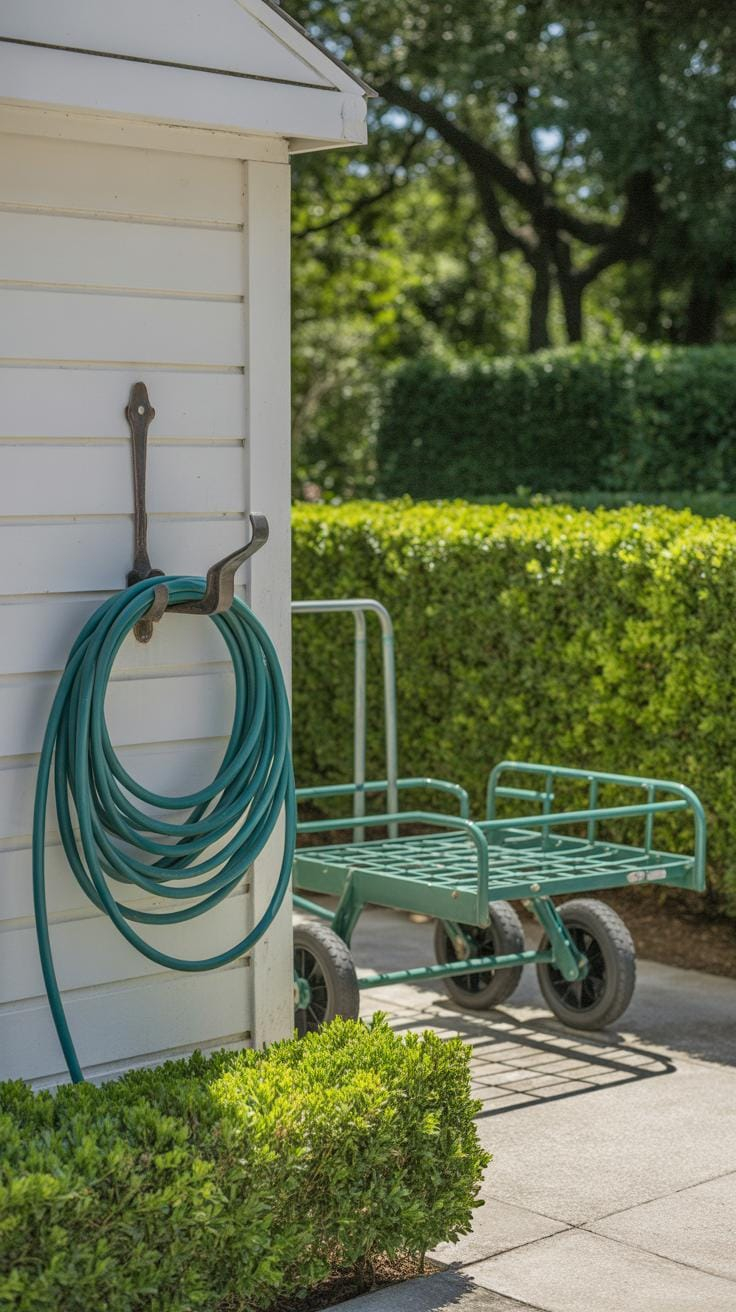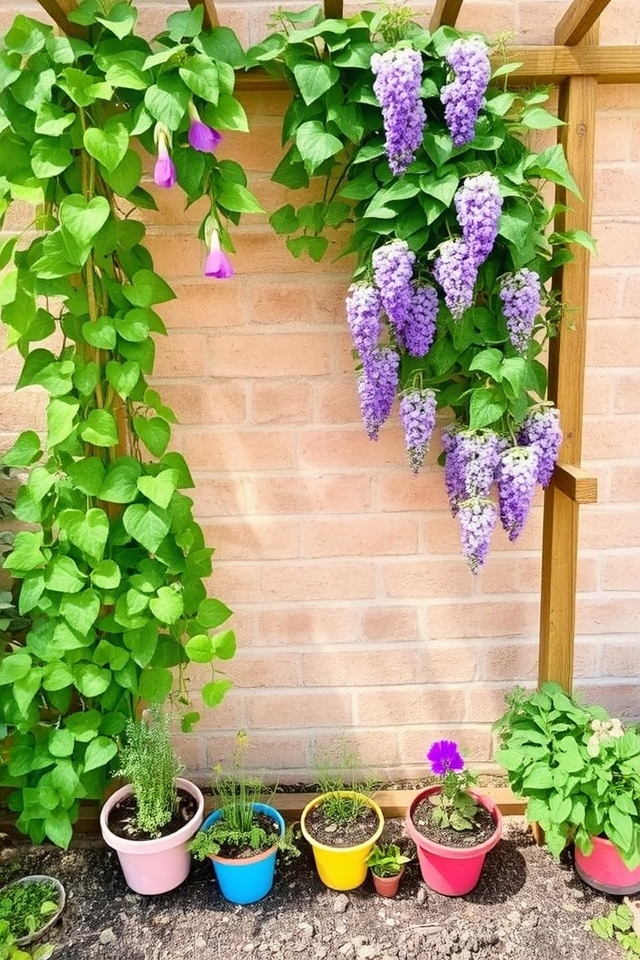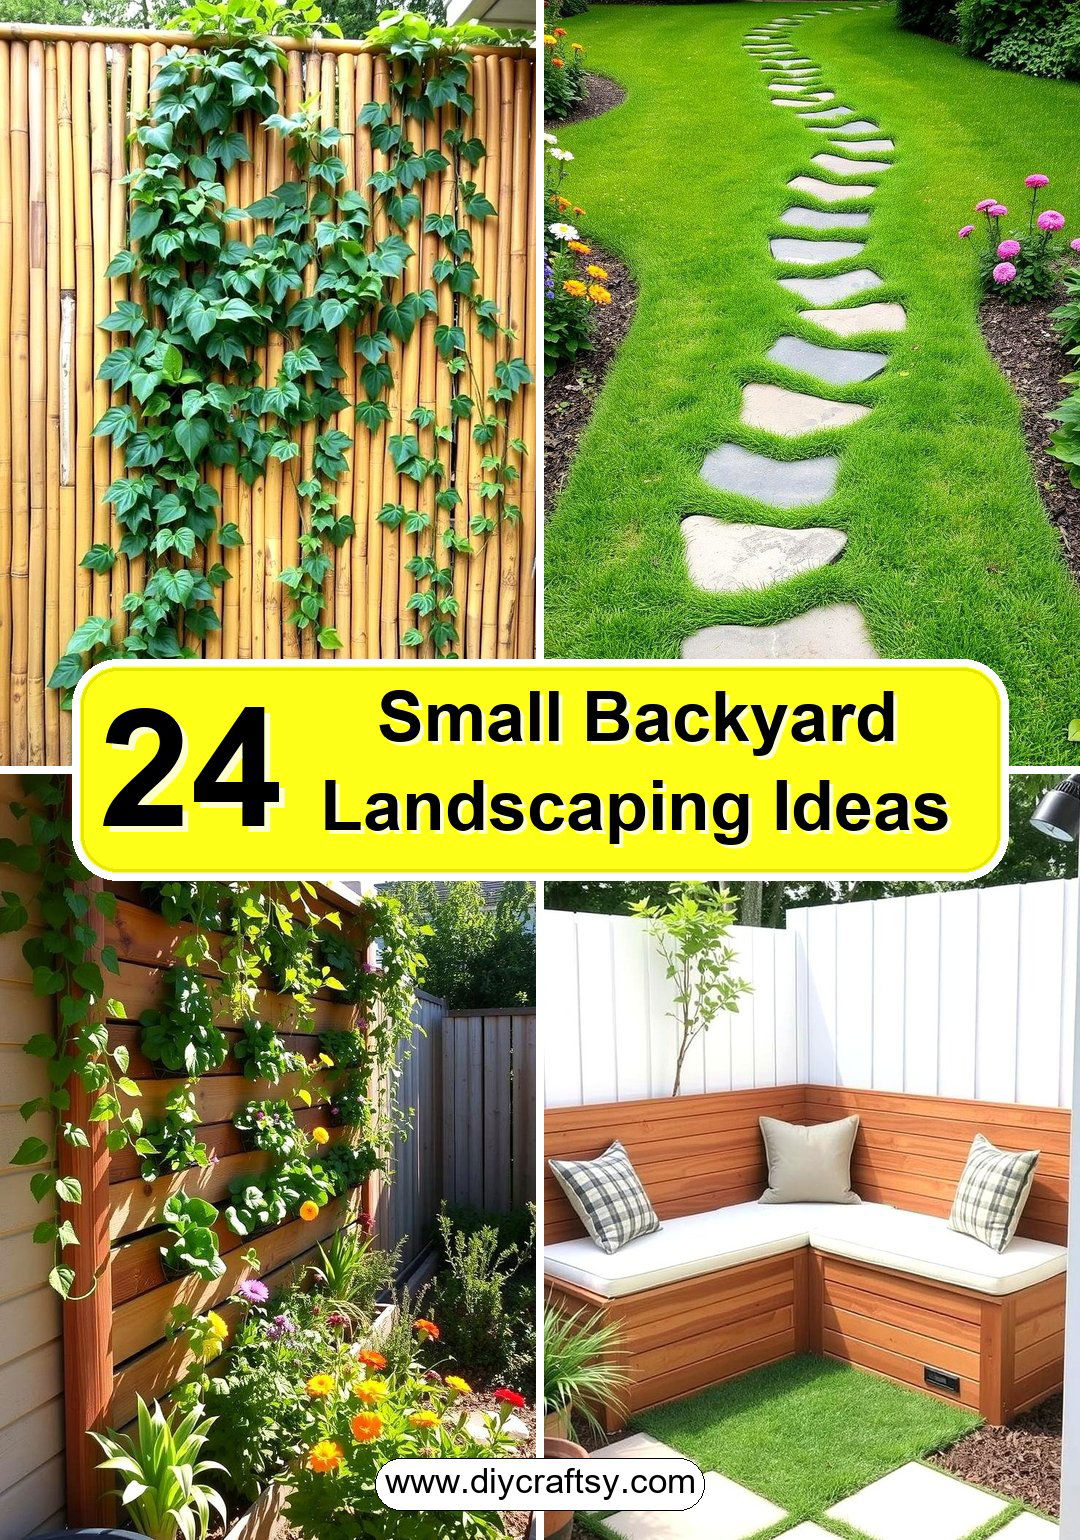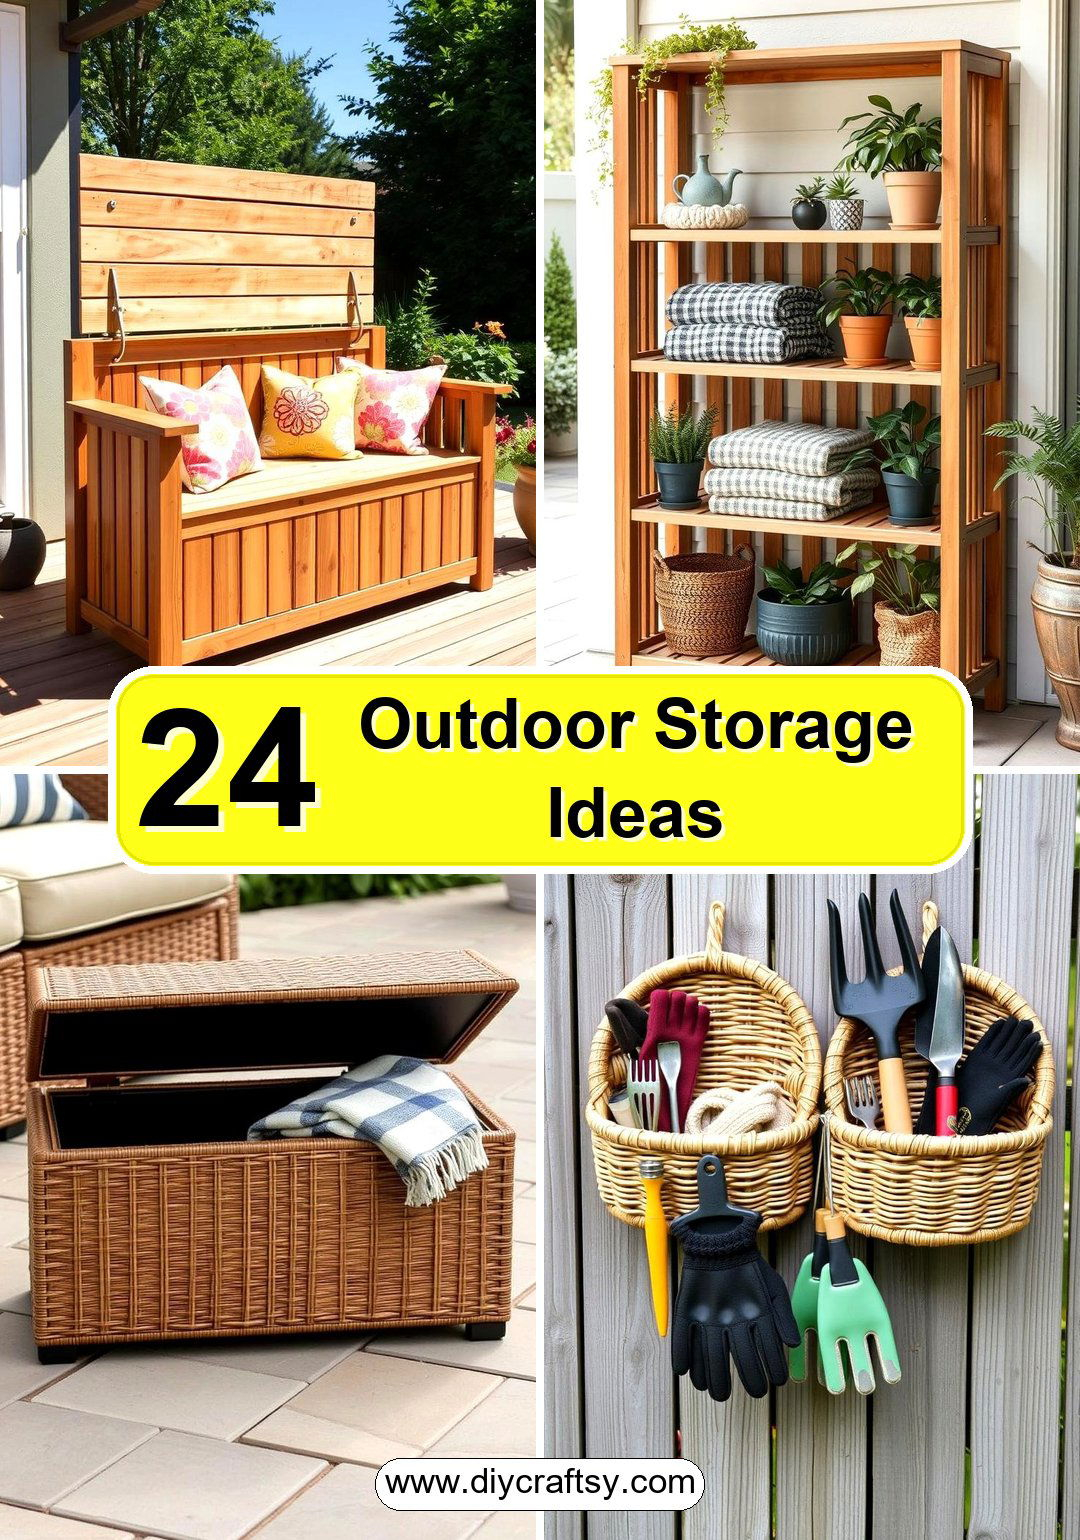
Ever walk into your backyard and feel like you’re stepping into a junkyard instead of a sanctuary? You aren’t alone. It happens to the best of us. One minute you’re enjoying a quiet evening with a cup of coffee, and the next, you’re tripping over a hose or searching for trowels buried under a pile of old planters. It’s frustrating. But here is the good news: you don’t need a massive shed or a contractor’s budget to fix it. In fact, the secret to a tidy yard isn’t about buying more stuff. It’s about looking up.
Vertical space is the most underused real estate in any home, indoors or out. By shifting your focus from the ground to the walls, fences, and even the sides of existing structures, you can reclaim square footage you didn’t know you had. This approach doesn’t just clear the clutter; it changes how you interact with your outdoor area. Suddenly, that tiny balcony feels spacious. That chaotic corner by the garage becomes a functional workshop zone. And the best part? Most of these projects cost next to nothing if you’re willing to get your hands a little dirty.
Let’s be real for a second. Buying pre-made storage solutions is expensive. A decent resin shed can run you hundreds, sometimes thousands, of dollars. Plus, they often look like plastic eyesores that clash with your garden’s vibe. DIY projects offer a different path. They let you customize the size, style, and function to fit your exact needs. Whether you have a sprawling lawn or a postage-stamp patio, building your own storage means you save money while adding a personal touch that mass-produced items just can’t match. So, grab your toolbox. We are going to turn that chaos into order, one vertical inch at a time.
The Power of Going Vertical
When we think of storage, our brains usually default to boxes on the floor. It’s a habit. But in small outdoor spaces, floor space is prime real estate. Every square foot taken up by a bin is a square foot you can’t use for seating, planting, or playing. Vertical storage flips this script. By utilizing height, you keep the ground clear for living while still keeping your stuff accessible. Think of it like shelving in a kitchen. You wouldn’t put all your plates on the counter; you stack them up. The same logic applies to your rake, your grill tools, and those extra cushions.
The beauty of vertical systems is their versatility. A simple slat wall mounted on an exterior house wall can hold everything from hanging baskets to heavy-duty hooks for power tools. It’s modular, meaning you can move hooks around as your needs change. If you buy a new bike next summer, you just add a hook. No need to rebuild the whole system. This flexibility is crucial because our outdoor hobbies evolve. Today it’s gardening; tomorrow it might be yoga or outdoor dining. Your storage should adapt with you, not fight against you.
Another huge advantage is airflow. When items are stacked on the ground, especially in damp climates, they trap moisture. This leads to rust on metal tools and mold on fabrics. Hanging items up allows air to circulate around them, keeping them drier and lasting longer. It’s a small detail that saves you money in the long run by reducing replacement costs. Plus, when everything has a designated spot on the wall, you actually see what you have. No more buying a third pair of pruning shears because you couldn’t find the first two. Visibility equals control.
Repurposing Pallets for Instant Organization
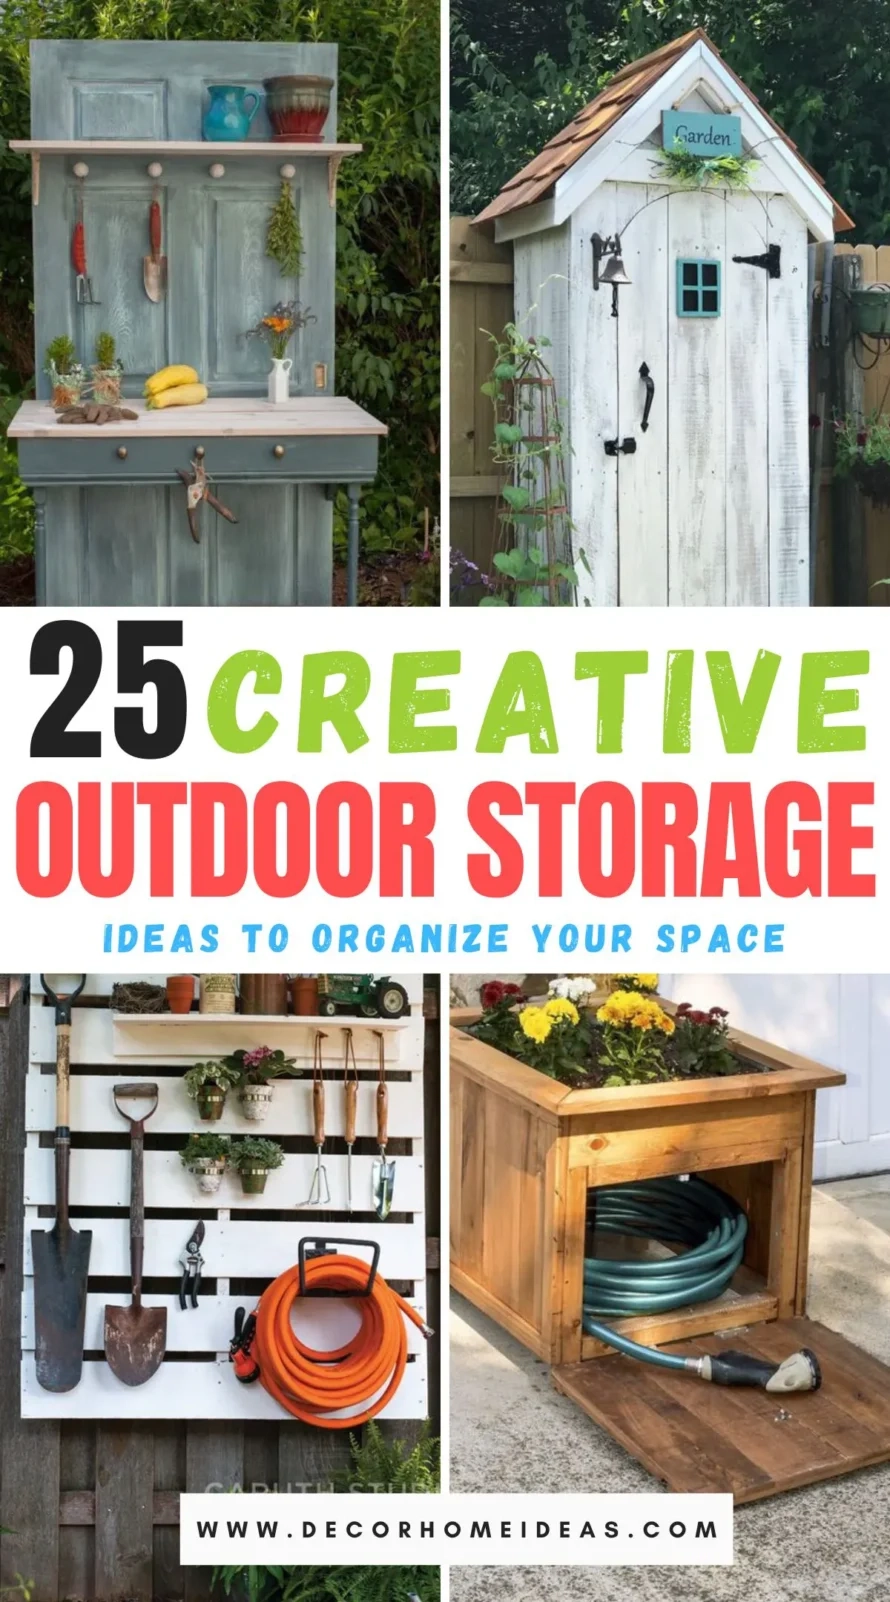
If there is one hero material in the world of DIY outdoor storage, it’s the wooden pallet. You can find them everywhere—behind grocery stores, at construction sites, or listed for free on local community apps. They are sturdy, modular, and incredibly easy to work with. For beginners, pallets are forgiving. You don’t need fancy joinery skills. A little sanding, some outdoor-rated paint or stain, and a few screws are usually all it takes to turn a discarded shipping platform into a stylish storage unit.
One of the easiest projects is a vertical tool rack. Stand a pallet upright against a fence or wall. Secure it firmly so it doesn’t tip. Then, simply slide your long-handled tools—shovels, rakes, hoes—through the gaps between the slats. It’s instant organization. You can also add S-hooks to the top rail for hanging smaller items like gloves, trowels, or watering cans. If you want to get fancier, attach small pots to the front for herbs. Now you have a functional tool station that doubles as a living wall. It’s practical and pretty.
For those with a bit more confidence, pallets can be transformed into hidden storage benches. By attaching a hinged lid to the top of a reinforced pallet box, you create a seat that opens up to reveal a weather-resistant compartment. This is perfect for storing pool noodles, kids’ toys, or cushion covers. The key here is protection. Since pallet wood isn’t naturally weatherproof, you must seal it well. Use a high-quality exterior wood sealant or paint. Add rubber feet to the bottom to keep it off the damp ground. This simple step prevents rot and extends the life of your project by years.
Wall-Mounted Systems and Slat Walls
Slat walls, also known as French cleats or pegboard systems, are taking over outdoor workshops and patios. Unlike traditional pegboard, which can warp in humidity, modern slat walls are often made from treated lumber or composite materials that withstand the elements. The concept is simple: horizontal slats are mounted to the wall, and various hooks, shelves, and brackets slot into them. This creates a customizable grid where you can hang almost anything. It’s like LEGO for grown-ups who need to store lawnmower blades.
Installing a slat wall requires some precision, but the payoff is huge. Start by finding the studs in your exterior wall or building a sturdy frame attached to a fence. Mount your horizontal slats evenly, leaving enough gap for the hooks to engage. Once the base is up, the fun begins. You can build custom holders for specific tools. Have a weirdly shaped leaf blower? Build a cradle for it. Need a spot for your extension cords? Add a spool holder. The ability to tailor the storage to your specific gear is what makes this system superior to generic hooks.
Don’t forget about aesthetics. A bare wood slat wall looks rustic and warm, fitting well in garden settings. But if you prefer a modern look, paint the slats a bold color like navy blue or charcoal gray. This turns the storage system into a design feature rather than just a utility. You can also integrate lighting. Strip lights mounted along the top of the slat wall illuminate your tools at night, making it safer and easier to find what you need after sunset. It’s a small upgrade that adds a professional touch to your DIY effort.
Under-Deck and Hidden Solutions
Not all storage needs to be visible. In fact, some of the best spots are the ones you never notice. The space under a deck is often a dark, neglected void filled with spiderwebs and forgotten pots. But with a little creativity, it can become a goldmine for storage. If your deck is raised high enough, you can install sliding drawers or cabinets on tracks. These units roll out when you need them and tuck away neatly when you don’t. It keeps bulky items like seasonal decorations or large planters out of sight but still within reach.
For lower decks, consider skirting the perimeter with access panels. Instead of solid lattice, install hinged doors or removable panels. Behind these, you can store flat items like folding chairs, table leaves, or rolled-up rugs. The key is ventilation. Ensure there is enough airflow to prevent mildew. You might need to add vents to the skirting or leave small gaps at the bottom. Also, treat the area with a moisture barrier or gravel base to keep things dry. Dampness is the enemy of stored goods, so taking these precautions is vital.
Another hidden gem is the space beneath staircases. If your deck or porch has stairs, the triangular void underneath is perfect for a custom-built cabinet. You can construct a simple box frame that fits snugly into the angle. Add a door, and you have a secure closet for chemicals, fertilizers, or sharp tools that need to be kept away from pets and children. Because this area is partially sheltered by the stairs above, it stays drier than open ground storage. It’s a clever use of "dead" space that adds significant capacity without altering the footprint of your yard.
Multi-Functional Furniture Pieces
Why buy a bench and a storage box separately when you can have both? Multi-functional furniture is the ultimate space-saver for small patios and balconies. These pieces serve dual purposes, reducing the total number of items you need to cram into your outdoor area. A storage ottoman, for example, provides extra seating for guests while hiding throw blankets or board games inside. Look for designs with waterproof liners or use plastic bins inside to protect contents from rain and dust.
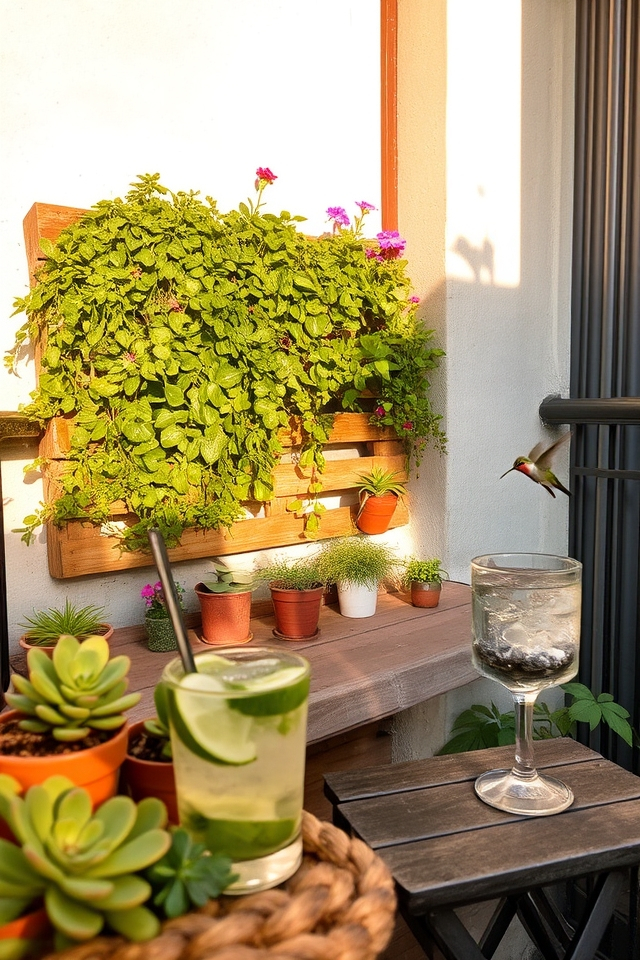
DIYing these pieces allows you to match your existing decor. Build a window box seat that runs along the length of your patio railing. The top lifts up to reveal deep storage for soil bags, pots, and gardening supplies. Since it’s built into the railing, it doesn’t take up any floor space at all. You can cushion the top for comfort, making it a cozy reading nook during the day and a practical storage hub in the evening. The integration of form and function makes the space feel intentional and designed, not just cluttered with utilities.
Consider a fold-down table with built-in storage. When not in use, it hangs flat against the wall, taking up minimal room. When deployed, it provides a surface for dining or working. Some designs include small shelves or hooks on the underside of the tabletop for storing napkins, condiments, or small tools. This is ideal for urban balconies where every inch counts. The mechanism is simple—usually just sturdy hinges and a support chain—but the impact on usability is profound. It transforms a narrow walkway into a functional dining area in seconds.
Building the storage is only half the battle. Keeping it functional requires protecting it from the elements. Rain, sun, wind, and temperature fluctuations can wreak havoc on wood, metal, and fabric. Start with the right materials. Use cedar, redwood, or pressure-treated pine for wood projects, as they resist rot and insects naturally. For metal hardware, choose stainless steel or galvanized options to prevent rust. Avoid cheap iron hooks that will corrode within a season. Investing in quality materials upfront saves you from constant repairs later.
Sealing and finishing are non-negotiable. Apply a high-quality exterior sealant, stain, or paint to all wooden surfaces, including the backs and bottoms that touch the ground or wall. Reapply this coating every year or two, depending on your climate. For fabric items like cushion storage bags, use UV-resistant covers to prevent fading and cracking. If you’re storing electronics or sensitive items, consider using waterproof plastic bins with gasket seals inside your DIY structures. This double layer of protection ensures your gear stays dry even during heavy storms.
Regular maintenance keeps everything running smoothly. Check hinges and latches periodically. Lubricate them with a silicone spray to prevent sticking. Tighten any loose screws, as wood expands and contracts with temperature changes, which can loosen connections over time. Clean out debris like leaves and dirt from shelves and corners to prevent moisture buildup and pest habitats. A quick ten-minute checkup once a season can extend the life of your storage projects by decades. It’s a small effort for a big return on investment.
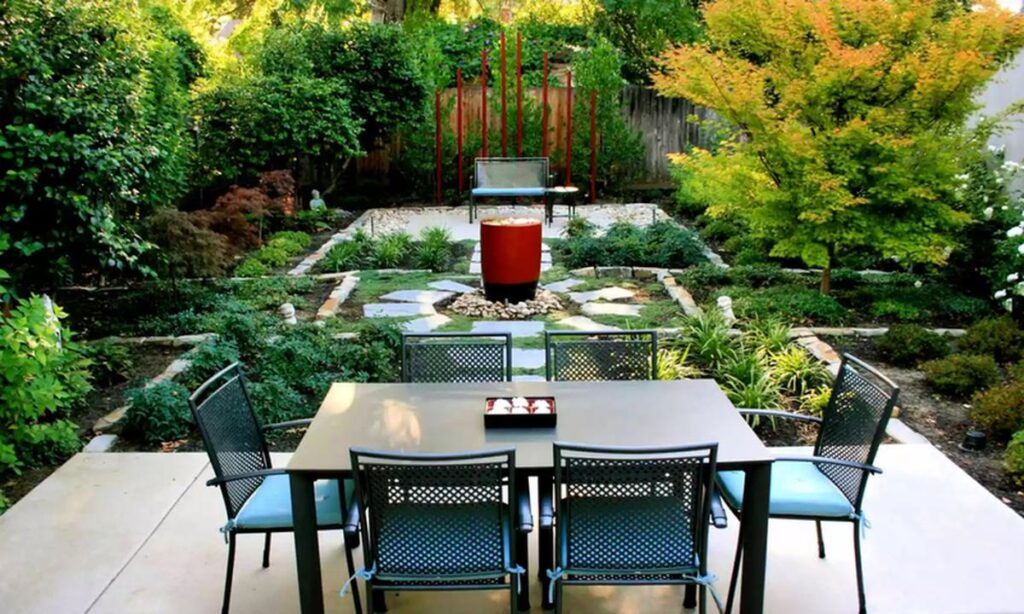
So, where do you start? Look around your yard. Identify the clutter hotspots. Is it the tools leaning against the fence? The cushions piled on the patio chairs? Pick one problem area and apply one of these vertical solutions. Maybe it’s a simple pallet rack for the tools. Or perhaps a slat wall for the patio. Don’t try to do everything at once. Build momentum. As you see the space clear up and your gear become more accessible, you’ll feel motivated to tackle the next spot.
Remember, the goal isn’t perfection. It’s functionality and peace of mind. You don’t need a magazine-worthy backyard to enjoy your outdoor space. You just need a system that works for you. By going vertical, repurposing materials, and thinking creatively, you can create a storage solution that saves money and maximizes every inch of your property. It’s about working smarter, not harder. And honestly, there is a deep satisfaction in stepping back and seeing a tidy, organized yard that you built with your own two hands.
Take it slow. Enjoy the process. Get a little sawdust on your clothes. These projects are not just about storage; they are about reclaiming your space and your time. Imagine spending less time searching for things and more time actually using your backyard. That is the real value here. So grab that hammer, find some free pallets, and start looking up. Your future self, relaxing in a clutter-free oasis, will thank you.
[sps_html tag=”img” src=”https://cdn.northcarolinafinearchitecture.com/2026/05/15-big-impact-landscaping-ideas-for-your-small-backyard-pertaining-to-small-yard-big-impact-creative-ways-to-maximize-vertical-storage-outside.jpg” alt=”15 Big Impact Landscaping Ideas For Your Small Backyard pertaining to Small Yard Big Impact Creative Ways to Maximize Vertical Storage Outside” style=”width: 100%; height: auto;”]
[sps_html tag=”img” src=”https://cdn.northcarolinafinearchitecture.com/2026/05/24-small-backyard-landscaping-ideas-for-big-impact-with-outdoor-storage-design.jpg” alt=”24 Small Backyard Landscaping Ideas For Big Impact with Outdoor Storage Design” style=”width: 100%; height: auto;”]
[sps_html tag=”img” src=”https://cdn.northcarolinafinearchitecture.com/2026/05/transforming-small-yards-in-southern-alabama-creative-landscaping-inside-small-yard-big-impact-creative-ways-to-maximize-vertical-storage-outside.jpg” alt=”Transforming Small Yards In Southern Alabama: Creative Landscaping … inside Small Yard Big Impact Creative Ways to Maximize Vertical Storage Outside” style=”width: 100%; height: auto;”]
[sps_html tag=”img” src=”https://cdn.northcarolinafinearchitecture.com/2026/05/transform-your-small-front-yard-with-big-impact-ideas-in-outdoor-storage-design.jpg” alt=”Transform Your Small Front Yard With Big Impact Ideas in Outdoor Storage Design” style=”width: 100%; height: auto;”]
[sps_html tag=”img” src=”https://cdn.northcarolinafinearchitecture.com/2026/05/outside-storage-ideas-for-small-spaces-inside-outdoor-storage-design.webp” alt=”Outside Storage Ideas For Small Spaces inside Outdoor Storage Design” style=”width: 100%; height: auto;”]