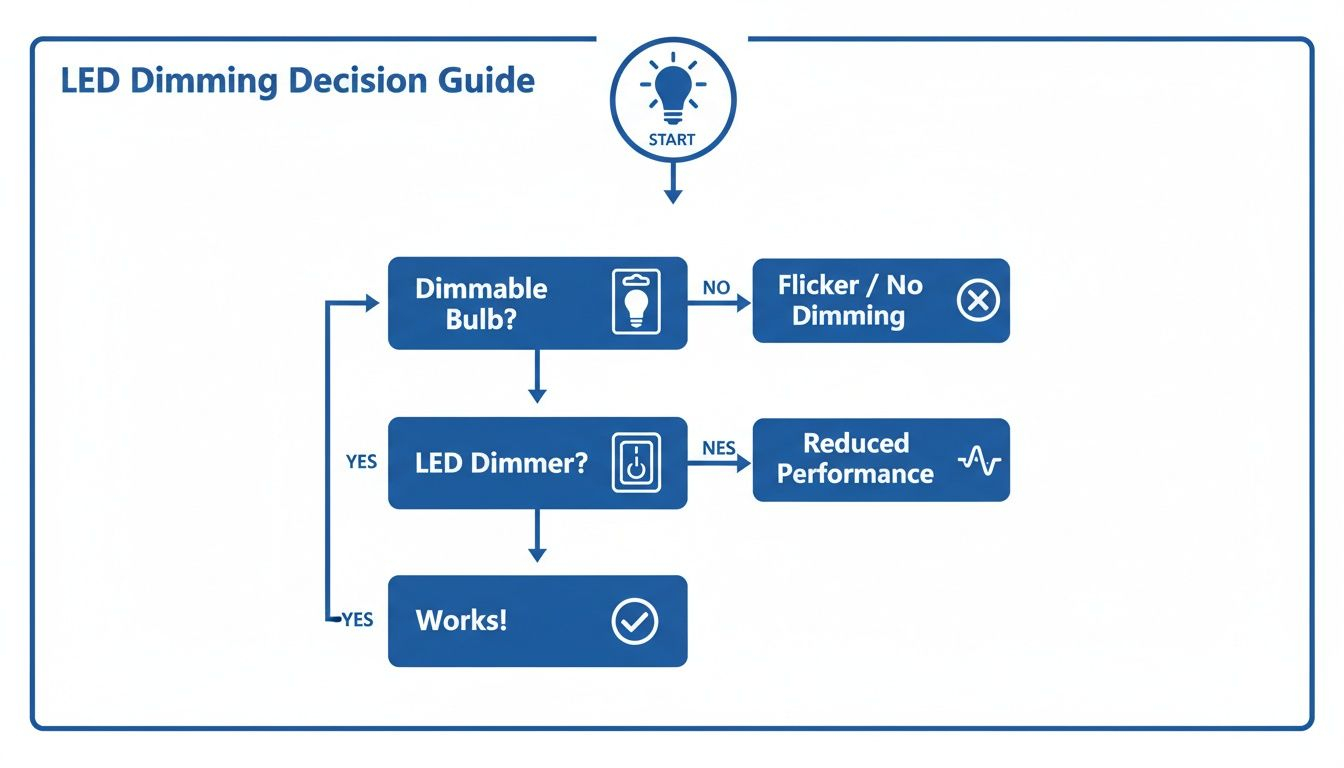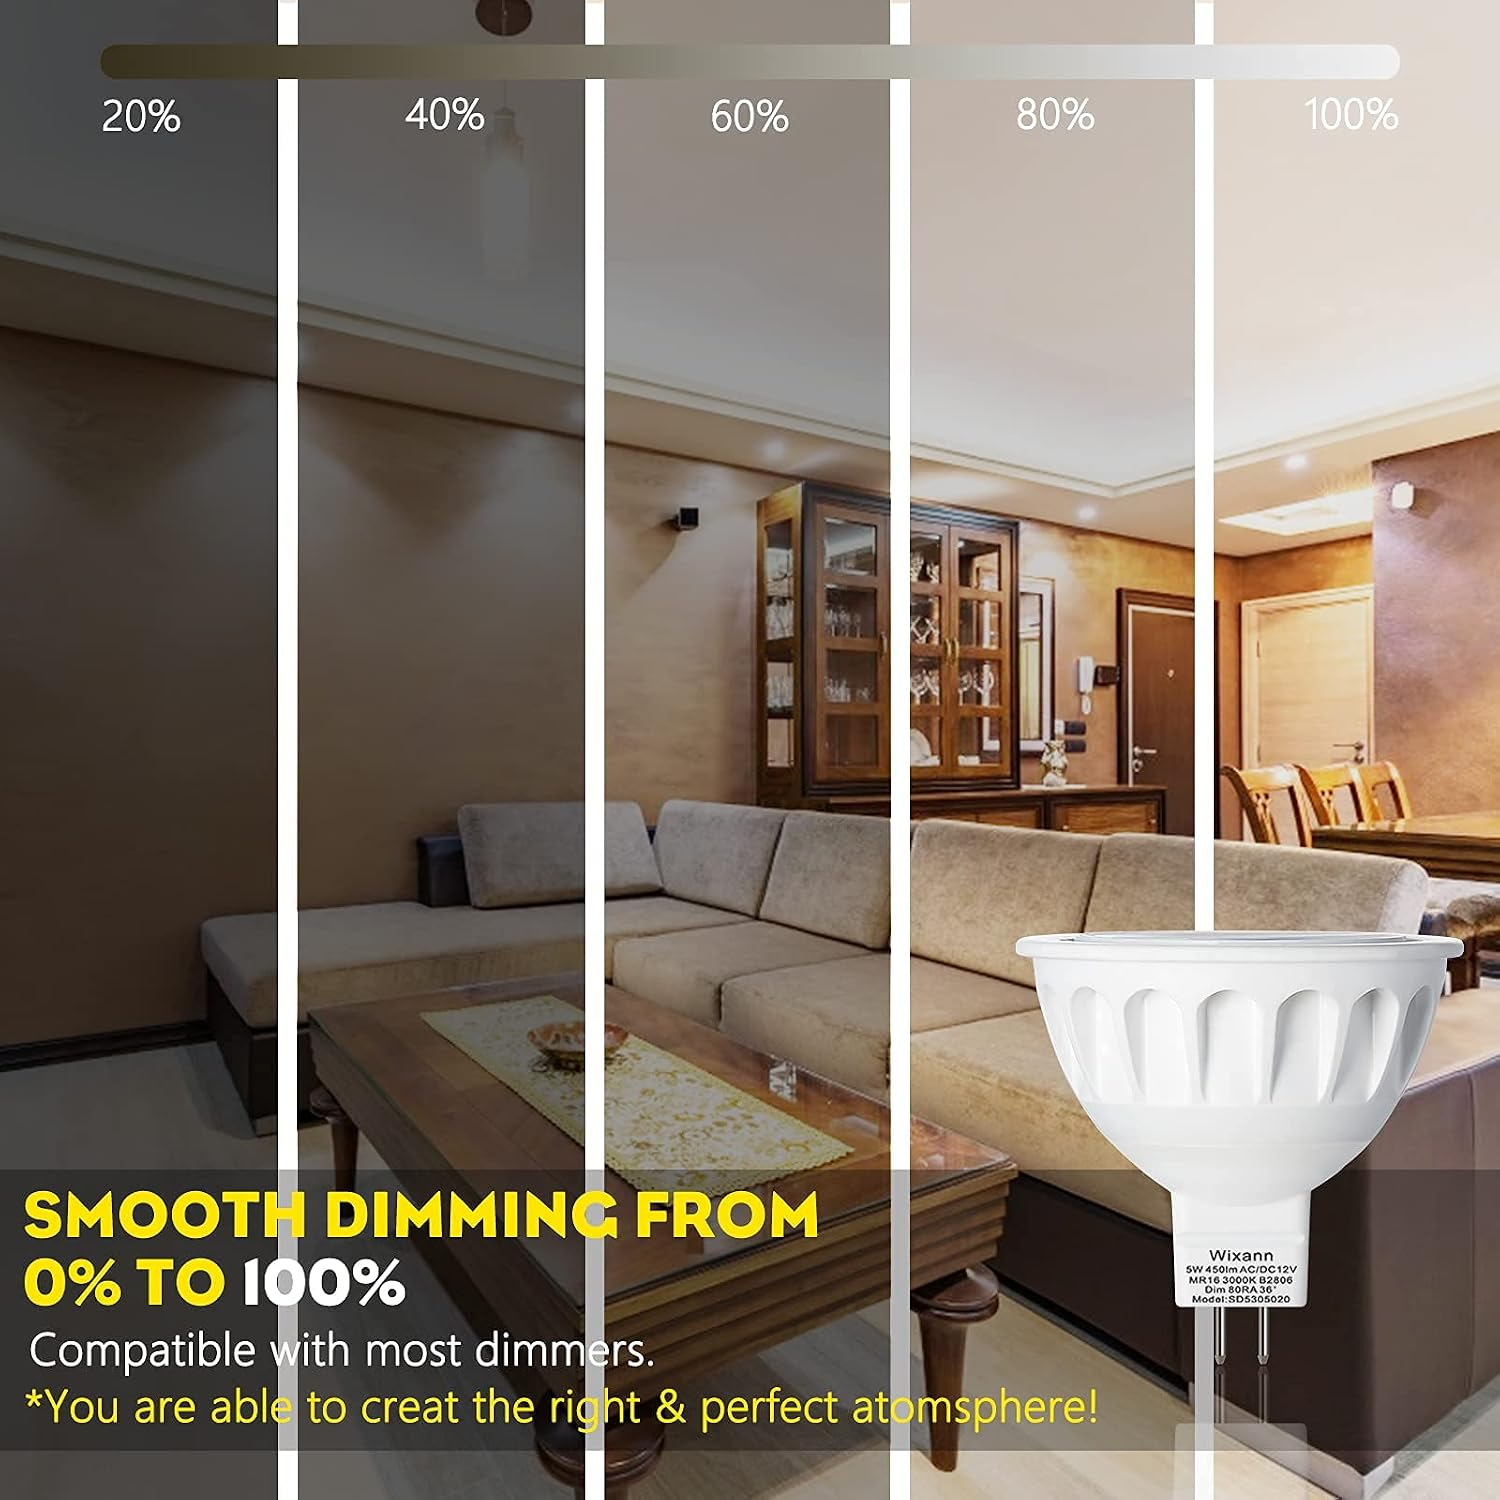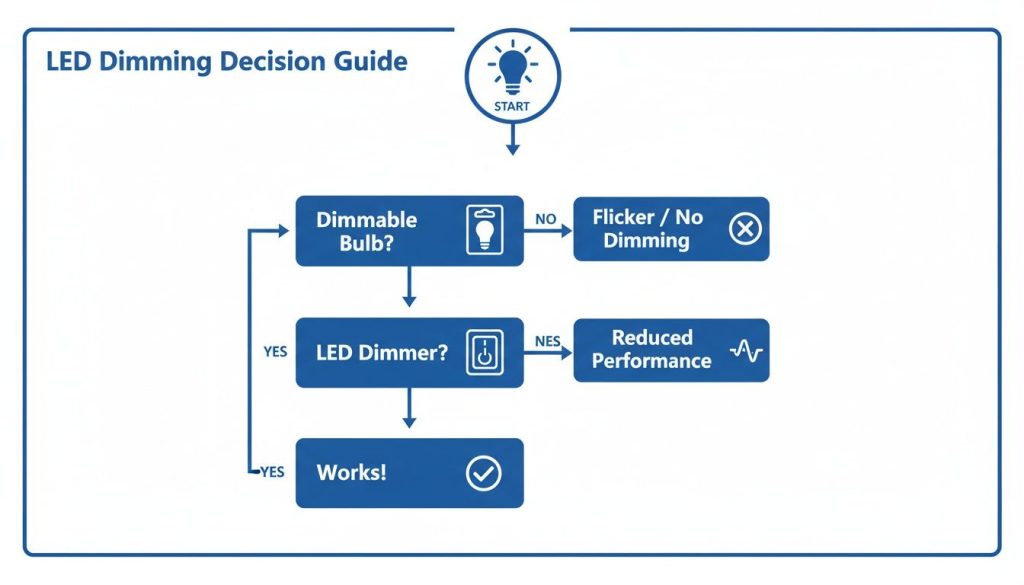
To check LED bulb and dimmer compatibility, match the exact bulb model to the exact control model, then confirm how that combination behaves in the complete fixture. A package marked “dimmable” is a starting point, not a promise that every wall dimmer will produce the same result.
This guide is for homeowners comparing replacement bulbs and existing lighting controls in the United States. It focuses on product research and ordinary operation of installed controls. Have a qualified electrician identify equipment that requires opening a wall box, assess an uncertain installation, or make wiring changes. A compatibility checklist cannot diagnose every cause of flickering lights.
Record the bulb, fixture, and control separately
Start with three records. Write down the bulb manufacturer and full model number, including any suffix. Record whether the package explicitly permits dimming. Then identify the fixture model, its lamp restrictions, and the number of bulbs operated together. Finally, find the dimmer’s exact model in existing paperwork or other information available without dismantling the installation.
Keep photographs of packaging and accessible labels. “Warm white LED,” a familiar brand name, or the shape of a dimmer’s slider does not identify a tested combination. Two bulbs can have similar appearance and advertised brightness while belonging to different product lines.
Check basic fixture suitability before researching dimming. Base, shape, permitted lamp type, and any enclosed-fixture restrictions still matter. Our separate guide to matching bulb types to fixtures introduces that broader selection task. A dimmer compatibility listing does not override the fixture’s own instructions.
Find evidence for the exact pair of models
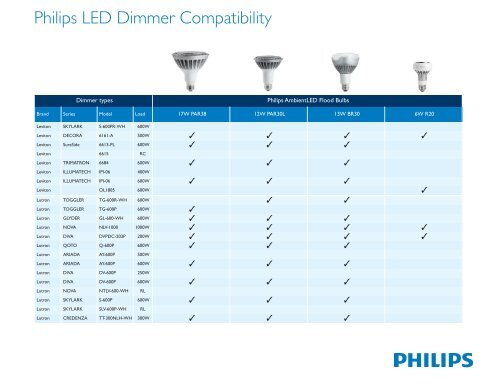
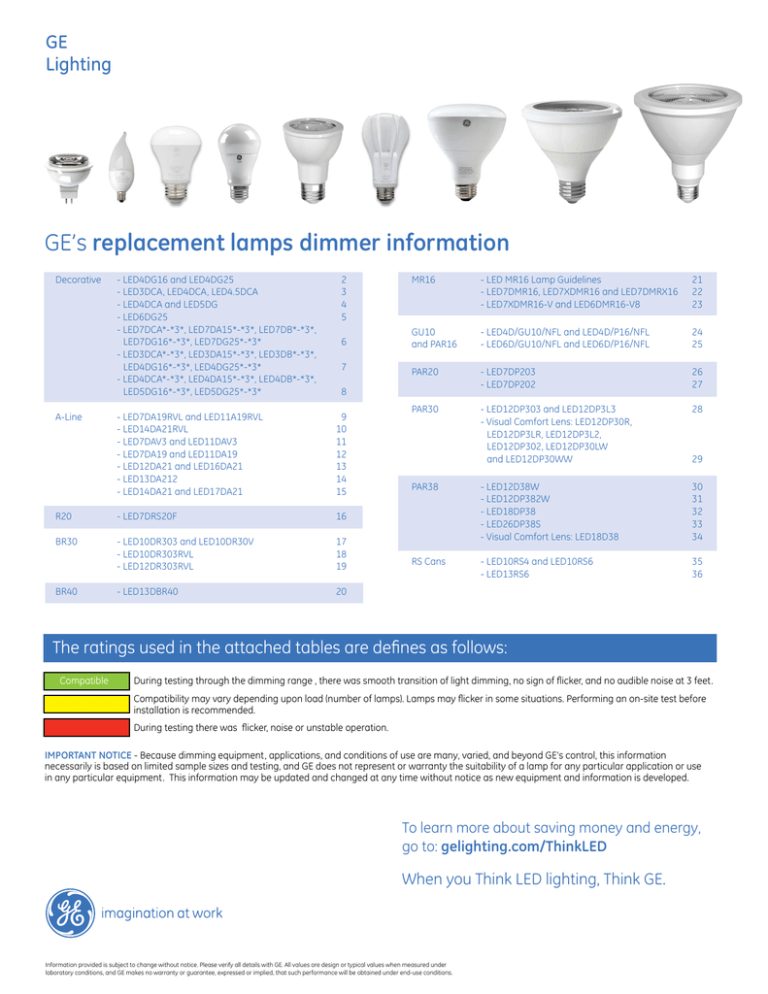
Look for a compatibility tool or published table from the control manufacturer and the bulb manufacturer. Search using both complete model numbers. Save the result, its date if provided, and any conditions attached to it. If the product is absent, ask the manufacturer rather than treating the omission as proof of either compatibility or incompatibility.
Lutron’s LED Control Solutions brochure describes its bulb testing and compatibility tools, including a tool for finding a bulb for a dimmer or a dimmer for a bulb. That is a useful example of model-based research. It is manufacturer guidance for its own products, not a certification that another brand’s combination will behave identically.
For example, a homeowner might find a familiar bulb family in a table, but discover that the listed model ends differently from the package in the store. The appropriate next step is to confirm that particular model with the manufacturer. Matching only the brand and advertised color is not enough to carry the listing across.
Read the conditions behind the compatibility result
Review any stated limits on lamp count, load, control arrangement, and the kind of LED equipment. An ordinary screw-in replacement bulb, an integrated LED fixture, and a separate driver should not be assumed to use interchangeable controls. Keep the fixture and control instructions together so a restriction in one is not lost while reading the other.
Also avoid choosing a dimmer solely because someone describes its technology as newer. Lutron’s brochure includes forward-phase LED controls as well as reverse-phase and phase-select models. The useful question is which control method the specific light source and control support together. A blanket recommendation to use one phase type for every LED skips that check.
The U.S. Department of Energy’s report on dimming LEDs with phase-cut dimmers recommends manufacturer-supported combinations and evaluating the actual installation. The report was issued in 2013 and updated in 2014. Its general selection process remains useful background here; its old product examples are not a current shopping list.
Evaluate the whole lighting group in normal use
After the product instructions and equipment suitability have been confirmed, evaluate the intended group rather than assuming one successful bulb proves the whole room. Use the installed control normally and observe the range you actually need. Compare full brightness, intermediate settings, and the lowest intended setting, then check switching on and off.
Note what happens rather than jumping directly to a diagnosis. Does visible flicker appear only near the bottom of the range? Does one bulb go out before the others? Is brightness adjustment uneven? Does the group turn on consistently at a low setting? Write down the installed models and lamp count beside those observations.
DOE’s report explains that compatibility alone does not guarantee smoothness, absence of flicker, or a particular minimum dimmed level. It strongly recommends evaluating the complete combination. A manufacturer’s listing narrows the selection; observation shows whether the result meets the needs of that room.
Check low-end adjustment only in the exact model’s instructions
Some controls provide a low-end adjustment, often called trim, to set their lower operating range. Lutron’s brochure describes this feature on its LED+ controls as a way to improve performance and reduce flicker. That does not mean every dimmer has the feature, uses the same adjustment method, or can make every lamp work acceptably.
Find the instructions for the installed model and follow only the adjustment procedure intended for that model. Do not copy an unrelated product’s button sequence or open equipment to search for an adjustment. If the documented procedure requires access beyond ordinary user controls, have a qualified electrician handle it.
Record any permitted adjustment and repeat the normal-use observations. If the result remains unacceptable, ask the manufacturers about a supported combination. Stop using equipment that shows damage or abnormal electrical behavior and arrange professional assessment rather than treating repeated adjustment as a repair.
Keep a replacement record for the next purchase
Once a combination works satisfactorily, retain the bulb and dimmer model numbers, fixture information, lamp count, compatibility evidence, and any documented user setting. Keep an unopened package label or a clear photograph with that record. When buying replacements, check whether the model or specifications have changed before assuming the result will repeat.
The practical sequence is simple: identify the equipment, confirm the exact pairing and its conditions, and assess the complete group in normal use. That gives you a repeatable way to select replacement LEDs without promising a universal dimming range or replacing controls merely because a bulb package says “dimmable.”