There is a distinct, frustrating moment familiar to anyone who spends time tinkering after dark. You lean over a workbench, squinting through the glare of a single, flickering sixty-watt incandescent bulb dangling from a pull-chain. Your own body casts a deep, opaque shadow right across the exact spot where you are trying to align a table saw fence or solder a microscopic circuit board. You shift your head, tilt your chin, and try to catch a stray beam of light, but the garage remains a cavern of gloom, hiding dropped screws in the concrete crevices and turning precision work into an exercise in guesswork.
For decades, the American garage has suffered an identity crisis. It was built as a concrete bunker to shelter an automobile from the elements, doubling as a makeshift dumping ground for old paint cans, holiday decorations, and bicycles. But over the last few years, a massive cultural and functional shift has redefined these overlooked square feet. Garages have evolved into high-performance micro-manufacturing hubs, woodworking studios, automotive restoration bays, and creative sanctuaries. Yet, millions of people still attempt to perform intricate, high-stakes manual labor using illumination schemes designed in the mid-twentieth century.
Realizing the true potential of your garage requires moving past the basic assumption that a single overhead light is enough. Proper illumination is not merely about making a space bright; it is about engineering a visual environment that reduces eye strain, prevents catastrophic workplace accidents, and enhances the sheer pleasure of creating with your hands. When you step inside a professionally lit workspace, the ambient haze vanishes, the true grain of exotic hardwoods becomes visible, and every thread of a bolt snaps into sharp focus. Upgrading your workshop lighting is the single highest-return modification you can make, turning a cold, shadowy box into an inspiring room where precision meets productivity.
The Physics of Illumination Moving Past the Single Bulb Paradigm
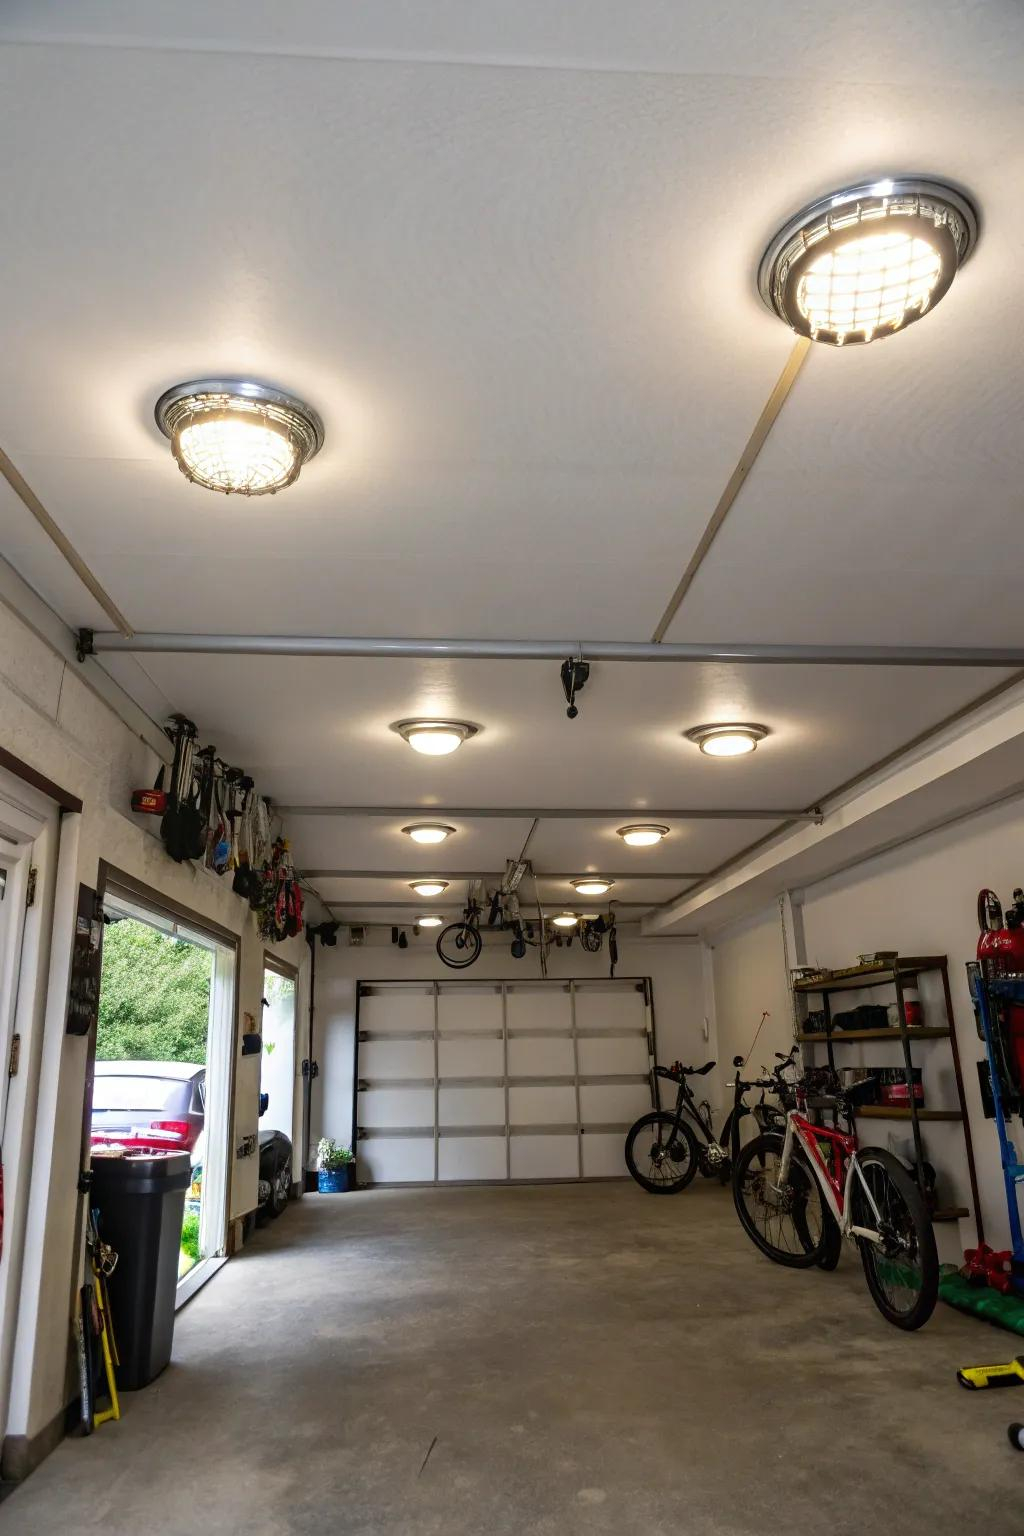
The traditional single-point lighting model is a relic that belongs alongside hand-cranked drill presses and leaded gasoline. Historically, builders slapped a single porcelain lampholder in the dead center of the ceiling, screwed in an incandescent bulb, and called it a day. This approach creates an extreme contrast ratio, casting harsh, blinding glare directly beneath the fixture while plunging the corners of the room into absolute darkness. Human eyes struggle to adapt when constantly shifting focus from a brightly lit center to a dark periphery, leading to fatigue, headaches, and missed details.
Understanding modern workshop lighting requires mastering two critical metrics: lumens and lux. Lumens measure the total amount of visible light emitted by a source, while lux measures how much of that light actually hits a given surface—one lumen per square meter. For a standard garage used exclusively for parking and pulling out recycling bins, fifty lumens per square foot is generally acceptable. However, the moment that same space transitions into a workshop where you are measuring tolerances down to the millimeter, that target must jump dramatically to seventy-five or even one hundred lumens per square foot.
Achieving this high-density brightness without creating blinding glare demands a distributed array of fixtures rather than a monolithic powerhouse. By spreading lower-lumen sources evenly across the ceiling grid, you create an ambient baseline that fills every corner of the room. This diffused strategy eliminates the steep drop-offs in light intensity that cause eye strain. When the entire workspace is bathed in an even, harmonious wash of photons, your peripheral vision remains sharp, and you can move tools and materials across the room with total spatial awareness.
Color Temperature and the Science of True Visual Perception
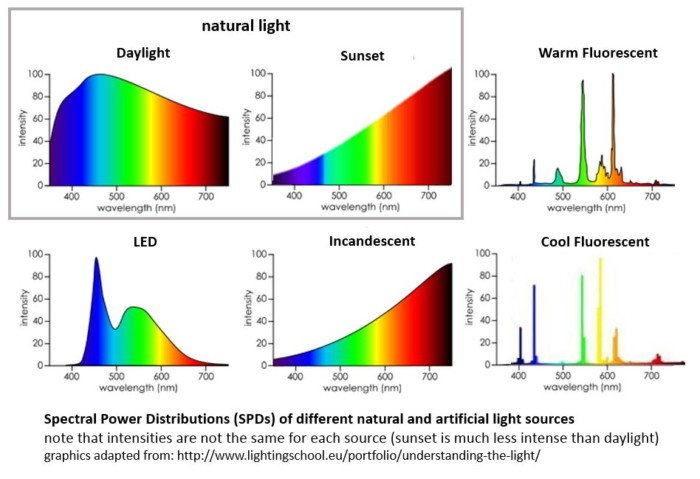
Brightness alone is a deceptive metric if the quality of the light distorts reality. Have you ever mixed a batch of wood stain or matched a car paint touch-up inside a dim garage, only to walk outside into natural sunlight and realize the color is completely wrong? This color distortion is measured by the Color Rendering Index, commonly known as CRI, and it dictates how accurately a light source reveals the true colors of objects compared to natural daylight.
In a workshop setting, a low CRI rating of seventy or below will wash out subtle hues, making it difficult to differentiate between similarly colored wire insulation, wood species, or chemical mixtures. Modern LED shop fixtures rated at a CRI of ninety or higher ensure that red looks like true crimson and black walnut does not appear muddy or washed out. This level of color fidelity is indispensable for finishing work, electrical troubleshooting, and detailed fabrication.
Equally important is the color temperature, measured in Kelvin. For garages functioning as workshops, the sweet spot lies between 4,000K and 5,000K. This spectrum produces a crisp, neutral white light that mimics midday sun without the harsh, sterile blue tint of higher Kelvin ratings. Light hovering around 5,000K stimulates alertness and sharpens visual acuity, keeping your reflexes fast and your focus locked onto the task at hand. Avoid the warm, yellow tones of 2,700K bulbs, which induce relaxation and obscure fine details, and steer clear of harsh 6,500K extremes that can cause eye fatigue during long evening sessions.
Designing a Multi-Layered Lighting Layout to Banish Shadows
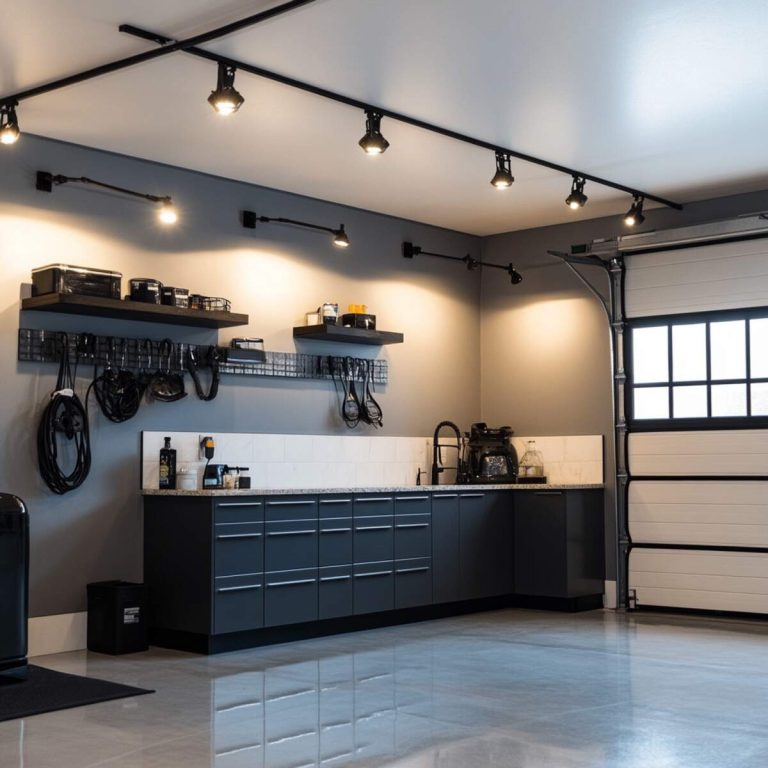
Eliminating shadows is the holy grail of garage workshop design. No matter how many lumens your overhead fixtures pump out, if your torso blocks the light every time you lean over a workbench, your workspace remains compromised. Professional workshop designers rely on a multi-layered approach: ambient, task, and accent lighting working in concert to blanket every surface from multiple angles.
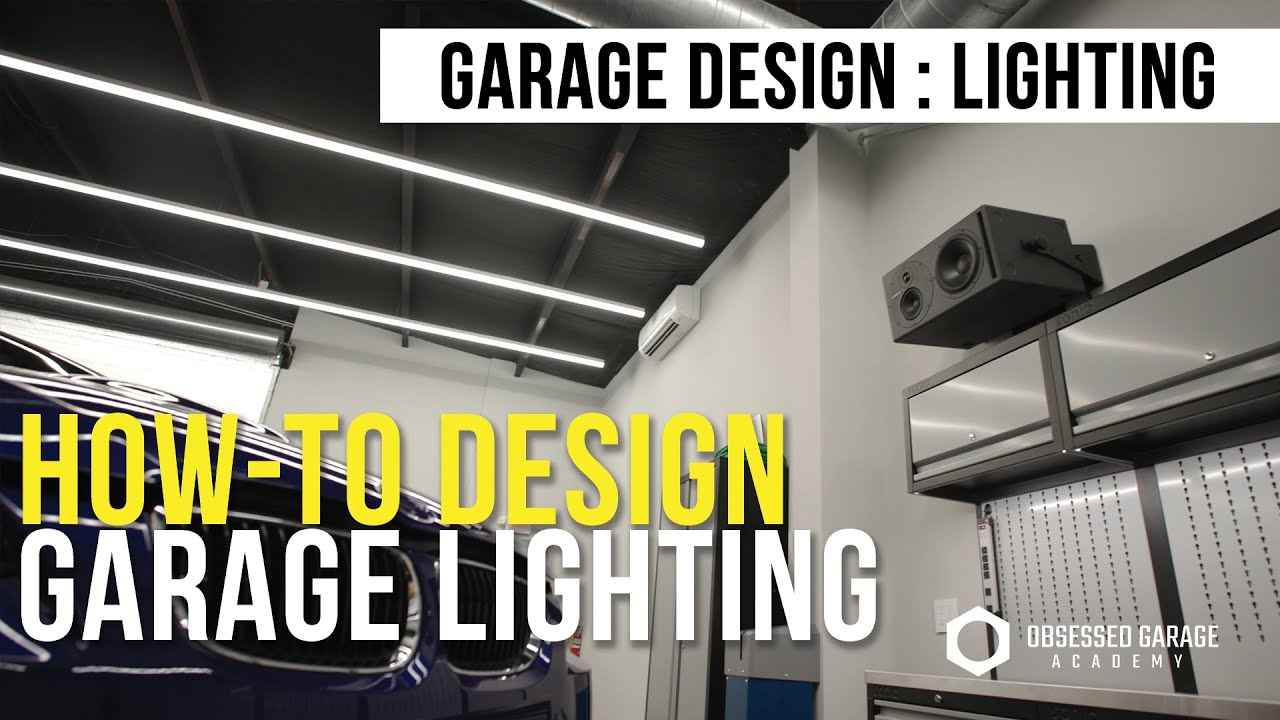
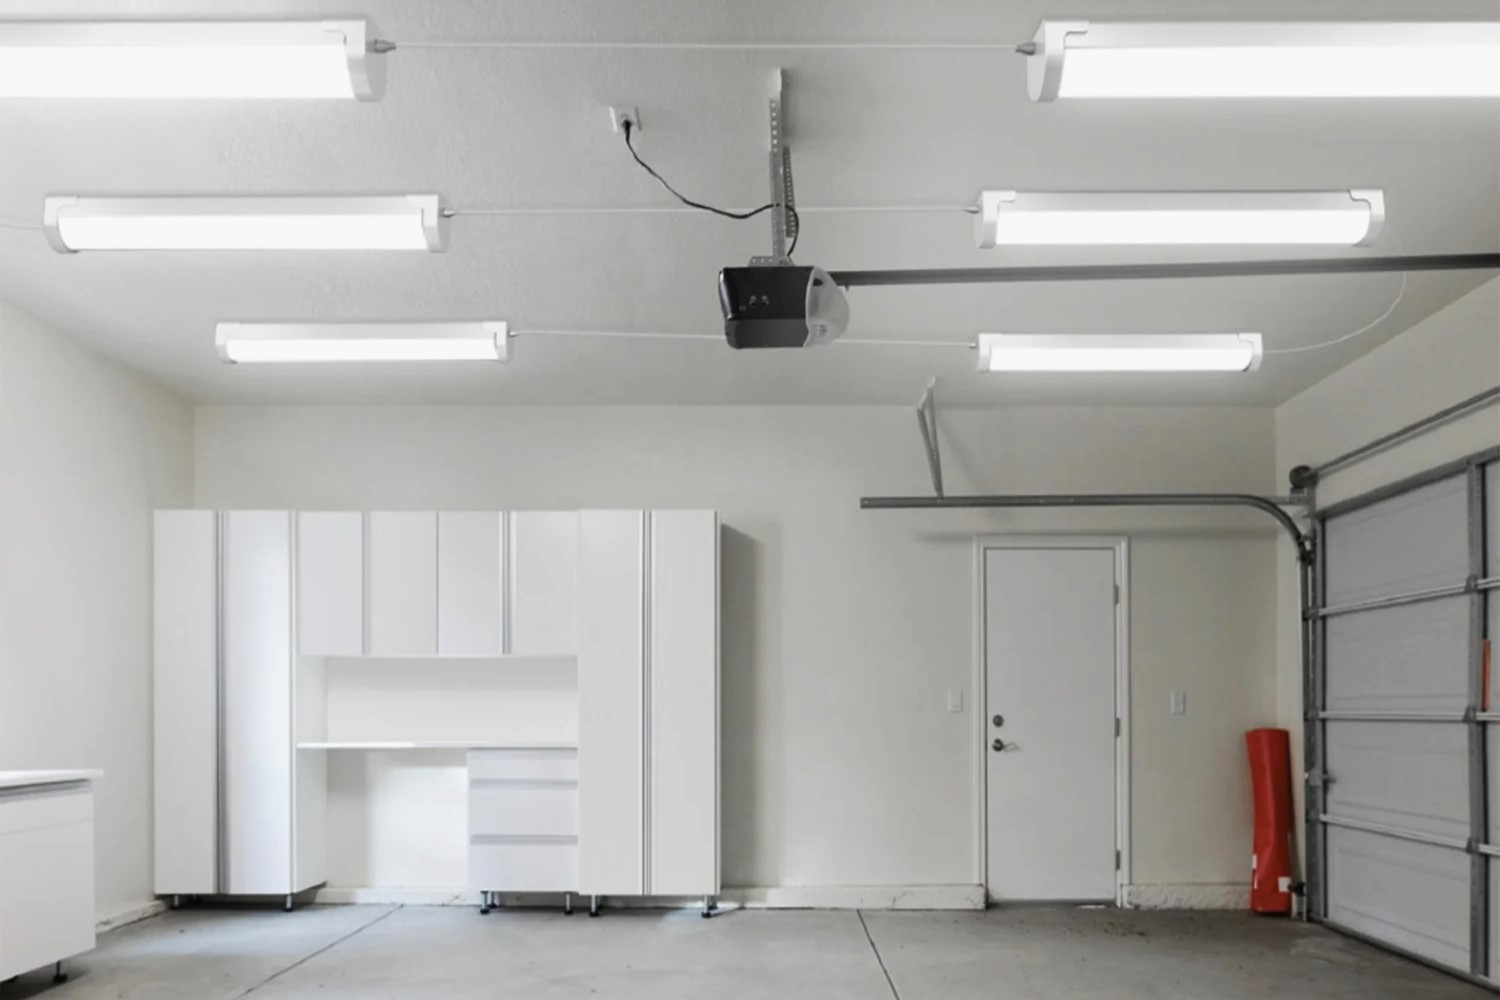
Ambient lighting forms the foundation, usually provided by a grid of overhead LED strip fixtures or linkable linear shop lights mounted high on the ceiling. These provide the broad, overall illumination needed to navigate the room safely. The second layer, task lighting, is where the real transformation happens. Task lights are focused, adjustable fixtures dedicated to specific workstations—a flexible gooseneck LED mounted directly above a drill press, a heavy-duty under-cabinet strip illuminating a workbench, or a magnetic work light clamped onto a lathe bed.
The secret to banishing shadows entirely is vector overlap. By positioning task lights so their beams cross your workspace from opposing angles, any shadow cast by your hands or tools is immediately filled in by intersecting light from the alternate direction. Furthermore, integrating modern T8 or T10 LED integrated tubes with wide beam angles ensures light spills outward rather than projecting downward in a narrow, flashlight-like cone. This holistic spatial design guarantees that whether you are peering inside an engine block or routing the edge of a delicate cabinet door, darkness has nowhere to hide.
Step by Step Implementation of a Professional Workshop Lighting Upgrade
Transforming a dark, cavernous garage into a brilliantly illuminated workshop requires a systematic approach. Rushing into purchasing random fixtures without a plan often leads to uneven hot spots, overloaded circuits, and wasted money. Follow this field-tested methodology to design and install a high-performance lighting system from scratch.
- Step 1 (Calculate Your Lumen Requirements): Measure the exact square footage of your garage. Multiply that total by seventy-five to determine your target aggregate lumen output for active workshop use. For a standard two-car garage measuring twenty-four by twenty-four feet—about 576 square feet—you will need approximately 43,200 total lumens distributed across the space.
- Step 2 (Map Your Ceiling and Workstation Layout): Sketch a scaled floor plan marking the exact locations of your workbench, table saw, assembly tables, and vehicle parking zones. Identify shadow-prone zones where you will need dedicated task lighting alongside your primary overhead layout.
- Step 3 (Select Fixture Types and Color Temperatures): Choose high-CRI (90+) integrated LED strip lights or linkable T8 shop fixtures rated at 4,000K to 5,000K. Ensure you select hardwired or plug-in models depending on your existing electrical infrastructure and comfort level with minor wiring.
- Step 4 (Install Ambient Overhead Grid): Mount your primary overhead fixtures in a balanced grid pattern to ensure even distribution. Connect them to a centralized wall switch or integrate smart-home motion sensors so the lights kick on automatically the moment you walk through the man-door.
- Step 5 (Mount Focused Task and Accent Lighting): Secure dedicated task lights directly above high-precision zones like vises, scroll saws, and soldering stations. Adjust the mounting angles to ensure cross-illumination that completely neutralizes operator shadows.
Common Pitfalls and Field Tested Workarounds for Garage Lighting
Even experienced DIYers often stumble into predictable traps when upgrading their workshop illumination. Recognizing these missteps before you pick up a drill will save you hours of frustration and prevent costly rewiring jobs down the road.
- Pitfall 1 (Underestimating Total Circuit Amperage): Daisy-chaining too many high-lumen LED fixtures onto a single fifteen-amp garage circuit can pop breakers when heavy power tools kick on. Workaround: Map your electrical loads carefully, separate your heavy machinery circuits from your lighting circuits, and consult an electrician if you need to run a dedicated subpanel for your shop.
- Pitfall 2 (Choosing Exposed Glare-Heavy Bulbs): Installing bare LED tubes or unshielded high-output shop lights at eye level creates blinding glare that burns your retinas every time you look up. Workaround: Always mount linear fixtures flush against the ceiling or high up on side walls, and choose frosted diffuser lenses that soften the light output while maintaining high lumen transmission.
- Pitfall 3 (Ignoring Vertical Wall Surfaces): Lighting only the floor and ceiling leaves tool storage walls, shelving units, and pegboards trapped in shadow, making it impossible to find tools at a glance. Workaround: Install vertical LED strip lighting under upper shelving tiers and along French cleat tool racks to illuminate your storage zones completely.
- Pitfall 4 (Neglecting Dust and Moisture Ratings): Standard indoor residential light fixtures quickly succumb to fine sawdust, grinding sparks, and high humidity in an active garage workshop. Workaround: Invest in vapor-tight, dust-resistant LED fixtures with a minimum IP65 rating to ensure your lights survive airborne debris and temperature swings.
- Pitfall 5 (Relying on a Single Master Switch): Tying every single light in a large multi-zone garage to one wall switch forces you to blast full illumination just to grab a screwdriver. Workaround: Divide your lighting setup into independent zones—overhead ambient, workbench task, and storage accent—controlled by separate switches or smart dimmers.
The Broader Economic and Ergonomic Impact of Advanced Workshop Illumination
Looking at workshop lighting purely as an expense misses the profound impact it has on your overall well-being, project efficiency, and household economy. When you operate in a brightly lit, shadow-free environment, the cognitive load required to perform fine motor tasks drops significantly. You no longer waste precious minutes hunting for misplaced hand tools swallowed by shadows, nor do you ruin expensive materials because a warped shadow tricked your eye into making a crooked cut.
Furthermore, modern LED technology has transformed the economics of workshop operation. Older fluorescent tube systems hum annoyingly, struggle to ignite in freezing winter temperatures, and consume massive amounts of electricity while generating substantial heat. Contemporary commercial-grade LEDs draw a fraction of the wattage, turn on instantly at full brightness regardless of ambient weather, and boast operational lifespans exceeding 50,000 hours. This dramatic reduction in energy consumption pays for the initial hardware upgrade within a couple of seasons, while the elimination of bulb replacements saves countless hours of maintenance.
Ergonomics also plays a starring role in this lighting evolution. As we age, our eyes require significantly more light to achieve the same level of visual acuity we enjoyed in our youth. A twenty-year-old might scrape by in a dim garage, but a middle-aged maker will experience severe eye fatigue, neck strain from awkward leaning, and mental exhaustion under subpar conditions. Upgrading your workshop lighting is an investment in physical longevity, ensuring you can continue pursuing your craft safely, comfortably, and accurately for decades to come.
Actionable Frameworks for Maximizing Your Garage Workshop Environment
Translating these illumination principles into a finished, high-performance workspace requires organizing your efforts around a structured framework. By breaking the transformation down into discrete operational phases, you can upgrade your garage systematically without disrupting active projects.
Begin with a comprehensive audit of your current lighting deficiencies. Spend an evening working on a detailed project in your garage, and keep a notepad handy. Every time you squint, shift your body to see past a shadow, or struggle to read a measuring tape, write down the exact location and the nature of the visual failure. This audit will serve as your blueprint, pinpointing the exact spots where task lighting and high-output fixtures are most desperately needed.
Next, prioritize your investments based on impact. Always tackle your primary workbench and high-precision assembly areas first, as these are the zones where proper illumination yields the immediate safety and quality gains. Once your primary workstations are dialed in, expand outward to secondary storage zones, finishing areas, and general ambient overhead coverage.
Finally, embrace modularity and smart-home integration. Modern LED drivers support smart dimming protocols and occupancy sensors, allowing you to automate your workspace environment. Imagine walking into the garage with an armload of lumber, and having the lights ramp up instantly to your preferred working brightness, then dimming automatically when you step away. By treating your garage lighting as an integrated, responsive system rather than a collection of static bulbs, you elevate your workshop into a truly modern, efficient creative sanctuary.
The humble garage has transcended its origins as a mere parking stall for family sedans, emerging as the modern epicenter of hands-on creativity, craftsmanship, and entrepreneurial ambition. Yet, no matter how advanced your table saw, three-dimensional printer, or socket set might be, your ability to wield these tools with precision remains fundamentally limited by the quality of light falling on your materials.
Stepping out of the shadows and investing in a professionally designed, multi-layered lighting layout changes everything. It banishes eye strain, eliminates dangerous blind spots, and turns an intimidating, gloomy cave into an inviting space that calls you to create. When every nut, bolt, wood grain, and circuit trace is rendered in crisp, brilliant clarity, your work reaches a new tier of craftsmanship.
The path forward is clear. Measure your space, calculate your lumens, banish the single incandescent bulb, and engineer an environment where your best work can finally come to light.