You know the feeling. You step out of a hot, steamy shower, towel in hand, ready to start your day. But instead of dry tiles, you’re greeted by a cold, slimy puddle creeping across the bathroom floor. Again. It’s frustrating, isn’t it? That little drip-drip-drip sound echoing in the background while you try to enjoy your morning coffee. It feels like no matter how many times you wipe it up, or how much silicone you slap on there, the water always finds a way out.
It’s not just annoying; it’s damaging. Over time, that constant moisture can rot your subfloor, ruin your grout, and even invite mold into places you don’t want it. In 2026, with homes being built tighter and bathrooms getting more elaborate, this problem hasn’t gone away. If anything, it’s gotten trickier because people assume new means better. But a shiny glass door doesn’t guarantee a dry floor. Let’s talk about why this keeps happening to you, and more importantly, how to stop it for good. No more band-aid solutions. We’re going deep.
The Hidden Culprits Behind the Leak
Most folks think the leak is coming from the bottom of the door. They see the water there, so they assume that’s the source. But here’s the thing: water is sneaky. It travels. Often, the puddle at your feet is just the final destination, not the origin story. The real issue usually lies in the gaps you can’t easily see. Think about the hinges. Or the tiny space between the glass panel and the wall tile. Even a hairline crack in the grout behind the door frame can channel water straight under your threshold.
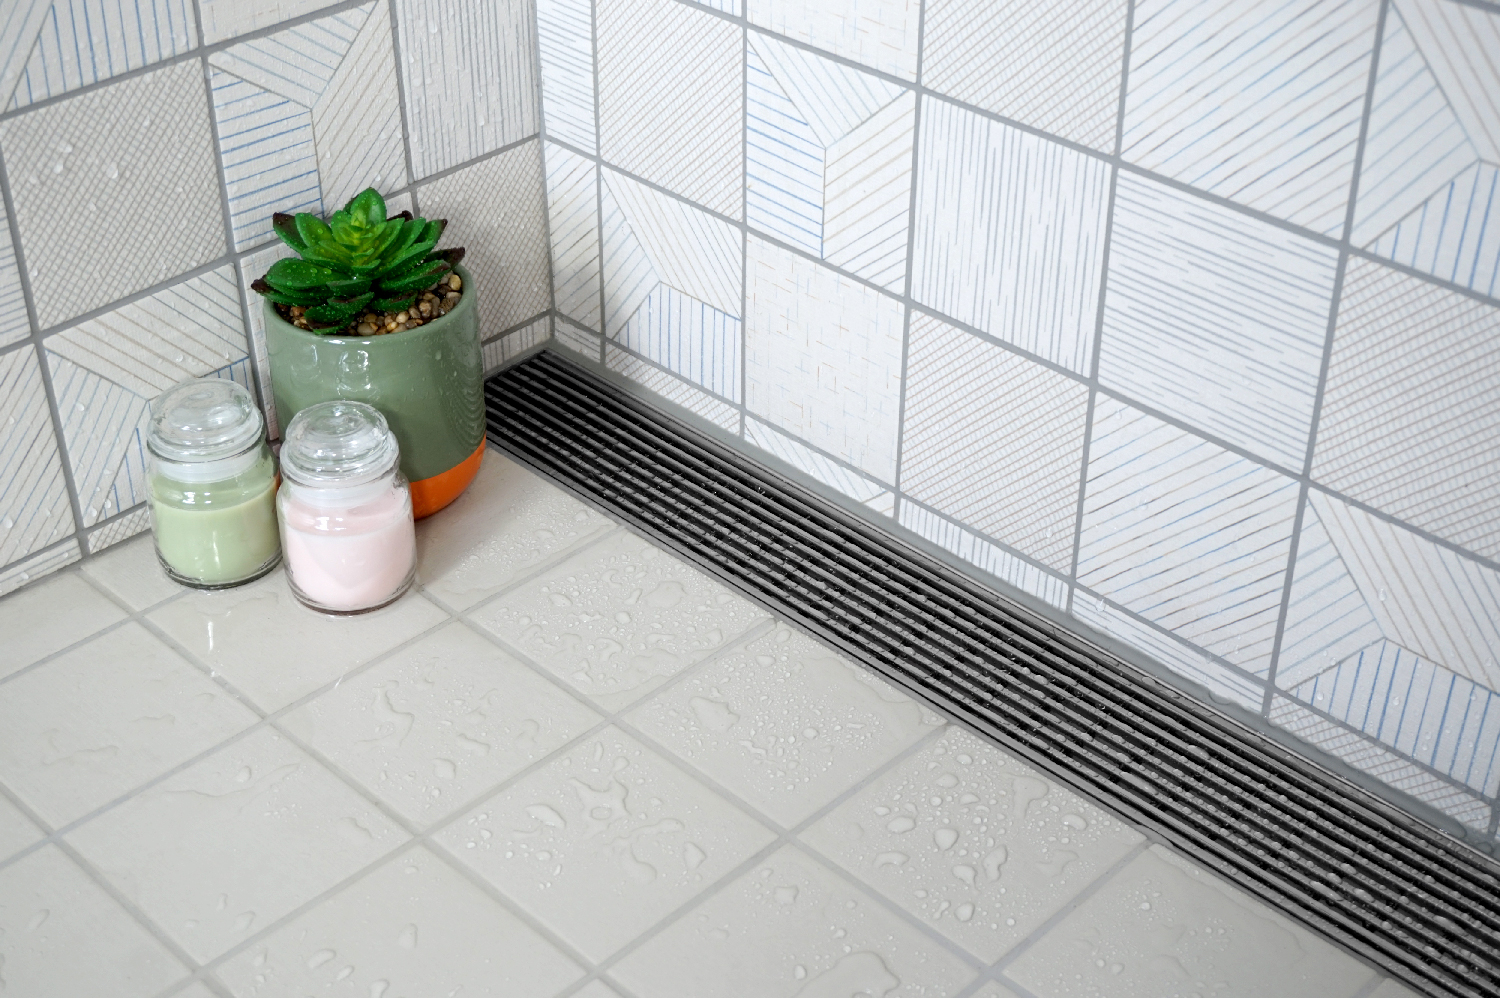
Another common mistake? Ignoring the slope. Your shower floor needs to pitch toward the drain. If it doesn’t, or if the pitch is too shallow, water will pool against the door instead of flowing away. Gravity is supposed to be your friend here, but if the construction was off by even a fraction of an inch, gravity becomes your enemy. This is especially true in older homes where settling has shifted the foundation slightly. You might have a perfect seal, but if the water is standing two inches deep against the glass, it’s gonna find a way through.
And let’s not forget the vapor barrier. Sounds technical, right? It’s basically a layer that stops water from seeping through the walls. If this was installed incorrectly during the initial build—or if it degraded over time—water can bypass your door entirely and come out through the baseboard or the floor joints nearby. So before you buy another tube of caulk, look at the bigger picture. Is the water coming through the door, or is it coming from around it? Knowing the difference saves you hours of wasted effort.
Sealant Failures and the Myth of "More is Better
We’ve all been there. You see a gap, so you squeeze out a thick bead of silicone. It looks messy, but you think, "That’ll hold it." Spoiler alert: it won’t. In fact, adding more sealant often makes things worse. Why? Because silicone needs to adhere to clean, dry surfaces to work. If you layer new goop over old, cracked, or mildew-covered caulk, it’s like putting a bandage on a dirty wound. It might stick for a week, maybe two, but it’s gonna peel off. And when it does, it takes the underlying material with it, creating an even bigger gap.
The type of sealant matters too. Not all silicones are created equal. In 2026, we have better options than the generic stuff from the dollar bin. Look for 100% silicone labeled specifically for kitchens and baths. It has mold inhibitors and stays flexible longer. Avoid acrylic latex caulk for shower doors; it shrinks and cracks way too fast in high-moisture environments. I’ve seen homeowners use window caulk, thinking it’s waterproof. It is, but it’s not designed for the constant thermal expansion and contraction of a shower. Hot water hits the glass, it expands. Cold air hits it later, it contracts. Cheap caulk snaps under that stress.
Also, consider the application technique. A smooth, concave bead is ideal. If it’s bulging out, water can sit on top of it. If it’s pulled away from the edge, you’ve got a direct path for leakage. The key is preparation. Remove every bit of old caulk. Use a razor blade and some elbow grease. Clean the area with rubbing alcohol to remove soap scum and oils. Let it dry completely. Then, apply the new silicone with steady pressure. Use a tool or your finger (wrapped in plastic) to smooth it into the joint. It’s tedious, sure. But doing it right once beats doing it wrong five times.
Hardware Hiccups: Hinges, Handles, and Gaskets
Let’s talk about the metal parts. Hinges and handles aren’t just for opening and closing; they’re potential entry points for water. Most modern shower doors have gaskets or washers built into the hinge mechanism. These little rubber rings create a watertight seal around the screw holes. Over time, though, rubber degrades. It gets brittle, flattens out, or just disintegrates. Once that seal is broken, every time you swing the door, you’re pumping water through those screw holes and onto your floor.
Check your handles too. Some designs have hollow cores or gaps where the handle attaches to the glass. If the installer didn’t use enough sealant behind the mounting plate, water can wick down the inside of the handle and drip out the bottom. It’s a subtle leak, often missed until you notice a small stain on the floor directly beneath the handle. Tightening the screws might help temporarily, but if the gasket is shot, you need to replace it. Most hardware stores sell universal hinge gasket kits. They’re cheap and easy to swap out.
Then there’s the sweep. That’s the flexible strip at the bottom of the door. It’s supposed to brush against the threshold or the tub edge, blocking water. But sweeps wear out. They get stiff, torn, or misaligned. If your sweep is hard as a rock or has chunks missing, it’s useless. Replace it. But here’s a pro tip: make sure the new sweep is the right height. If it’s too short, it won’t touch the surface. If it’s too long, it drags and wears out faster. Measure twice, buy once. And while you’re at it, check the alignment of the door itself. If the door sags, the sweep won’t make proper contact. Adjusting the hinges can often fix the sag, restoring the seal without needing new parts.
The Threshold Trap: Design Flaws and Fixes
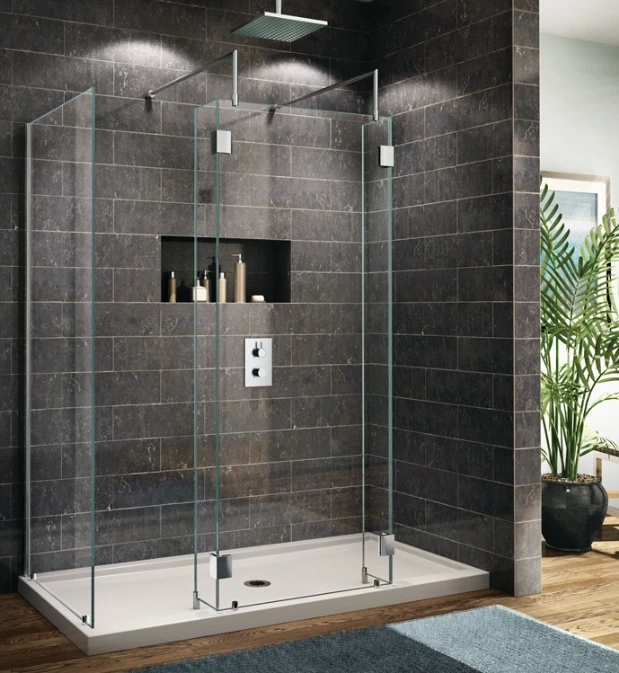
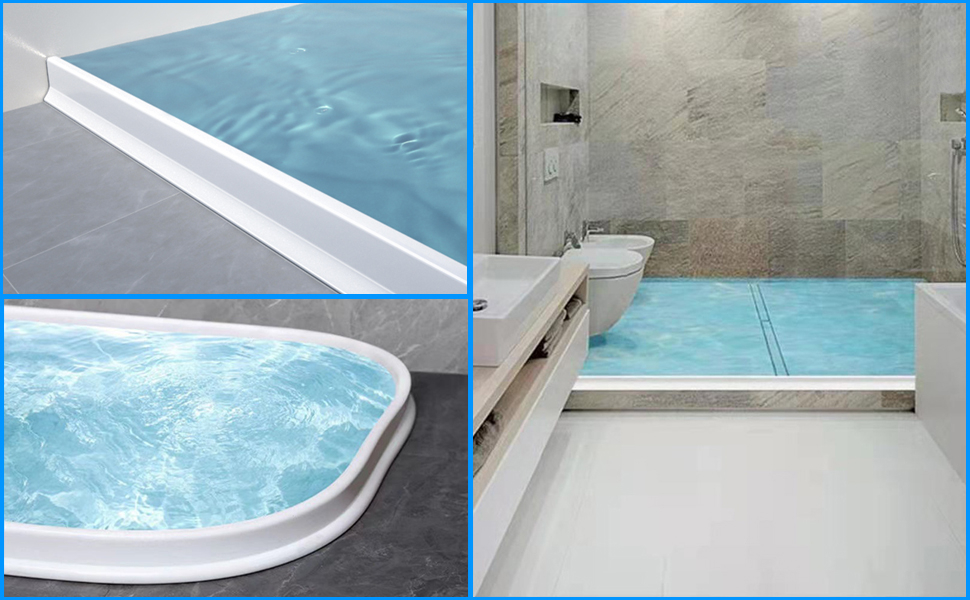
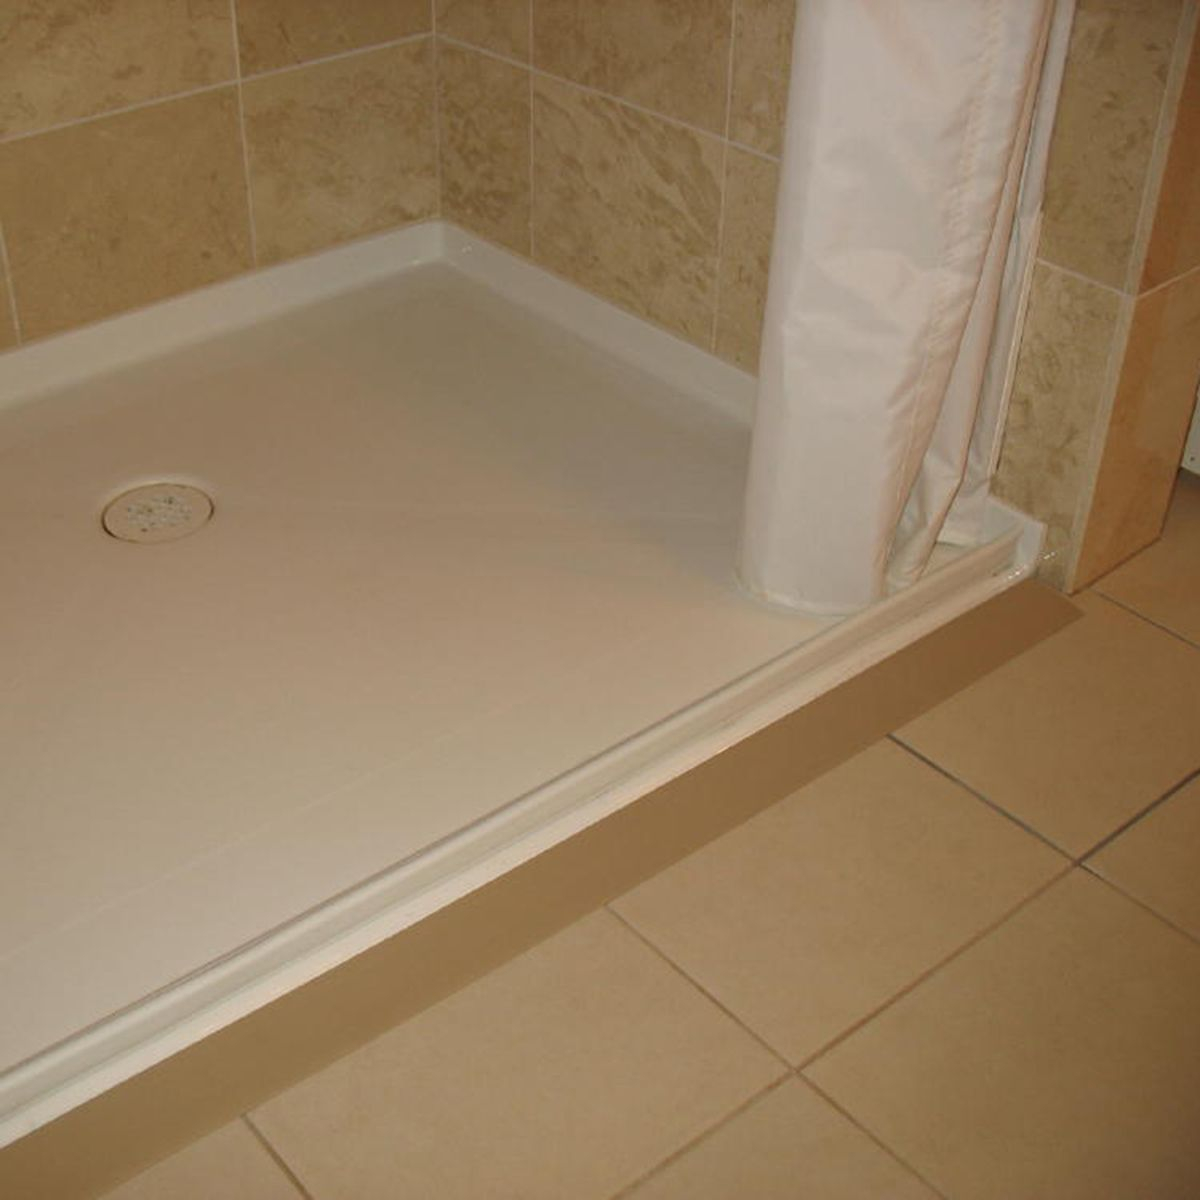
The threshold (or curb) is the barrier between your wet zone and your dry zone. It seems simple, but it’s where most leaks happen. There are two main types: raised curbs and flush thresholds. Raised curbs are easier to seal because they create a physical dam. Flush thresholds look sleeker but rely entirely on perfect sloping and sealing. If your threshold is flush, you’re playing a dangerous game. Any deviation in the floor level can cause water to spill over.
For raised curbs, the issue is often the corner joints. The vertical seal where the door meets the wall is critical. If there’s a gap there, water runs down the glass, hits the corner, and shoots out sideways. This is called the "corner splash." To fix it, you need a continuous bead of silicone from the top of the door frame all the way down to the threshold, wrapping around the corner. No breaks. No gaps. Some people install a small plastic or metal angle bracket in the corner to deflect water inward. It’s an ugly fix, but it works if you’re desperate.
If you have a sliding door, the track is the weak link. Water gets into the track, fills up, and then overflows onto the floor. Sliding doors rarely have a perfect seal at the bottom because they need clearance to move. The solution? Regular maintenance. Vacuum out the track weekly. Wipe it dry after every shower. It sounds like a chore, but it prevents the buildup that leads to overflow. Alternatively, consider installing a deflector strip on the outside edge of the track. It catches any water that tries to escape and directs it back into the shower pan. Simple, effective, and often overlooked.
User Error: How Habits Create Leaks
Sometimes, the problem isn’t the door. It’s us. Think about how you use the shower. Do you blast the water directly at the door? High-pressure spray can force water past even the best seals. Try angling the showerhead away from the door. It’s a small change, but it reduces the hydraulic pressure against the glass. Also, do you leave the door open or closed after showering? Leaving it closed traps humidity, which can degrade seals faster. But leaving it wide open might allow splashed water to evaporate onto the floor. The sweet spot? Leave it slightly ajar to allow airflow, but not so open that it hits the wall or towel rack.
Another habit: using the door as a towel rack. Hanging heavy, wet towels on the handle puts stress on the hinges and can pull the door out of alignment. Over time, this creates gaps. Plus, the dripping towel adds extra water to the floor that the drainage system isn’t designed to handle. Get a separate towel bar. Keep the door for its intended purpose only. It sounds obvious, but you’d be surprised how many people treat their shower door like a piece of furniture.
And what about cleaning products? Harsh chemicals can eat away at silicone and rubber gaskets. Bleach, ammonia, and abrasive scrubbers break down the materials that keep your shower watertight. Switch to pH-neutral cleaners. They’re gentler on the seals and just as effective at removing soap scum. If you’ve been using harsh stuff, give your seals a once-over. They might be softer or stickier than they should be, indicating chemical damage. If so, replacement is the only option. Prevention is cheaper than repair.
So, you’ve checked the seals, adjusted the hinges, cleaned the track, and changed your habits. But it’s still leaking. Now what? It might be time to call a professional. But how do you know if it’s a DIY job or a pro job? Generally, if the leak is coming from the shower pan itself (cracked fiberglass, failed liner), you need a pro. Fixing a shower pan involves removing tiles, breaking concrete, and reinstalling waterproofing membranes. It’s not a weekend project. It’s a major renovation.
Similarly, if the door frame is warped or the glass is cracked, don’t try to fix it yourself. Tempered glass is under tension. If it breaks, it shatters into thousands of tiny pieces. It’s dangerous. A professional has the tools and expertise to handle glass safely. They can also assess structural issues. Maybe the wall behind the shower is rotting. Maybe the studs are shifting. These are hidden problems that require specialized knowledge to diagnose and repair.
However, if it’s just a matter of resealing, replacing gaskets, or adjusting hinges, you can definitely do it yourself. Save the money. Watch a few tutorials. Buy the right tools. Take your time. The satisfaction of fixing it yourself is worth the effort. Plus, you’ll learn exactly how your shower works, which makes future maintenance easier. Just know your limits. If you’re unsure, get a second opinion. A reputable plumber or glass specialist can often diagnose the issue for a small fee, saving you from costly mistakes down the road.
Living with a leaky shower is like living with a slow drip of stress. It’s always there, nagging at you. But it doesn’t have to be this way. By understanding the mechanics of your shower door, maintaining it properly, and addressing issues early, you can keep your bathroom dry and your sanity intact. Remember, water always wins if you let it. But with the right knowledge, you can win too. So grab that caulking gun, check those hinges, and take control. Your floors (and your peace of mind) will thank you.
[sps_html tag=”img” src=”https://cdn.northcarolinafinearchitecture.com/2026/06/best-shower-water-dam-at-may-myers-blog-inside-understanding-water-containment-systems-in-modern-walk-in-showers.jpg” alt=”Best Shower Water Dam At May Myers Blog inside Understanding Water Containment Systems in Modern Walk-In Showers” style=”width: 100%; height: auto;”]
[sps_html tag=”img” src=”https://cdn.northcarolinafinearchitecture.com/2026/06/the-ultimate-guide-to-walk-in-shower-glass-panels-with-shower-door-design.webp” alt=”The Ultimate Guide To Walk-In Shower Glass Panels with Shower Door Design” style=”width: 100%; height: auto;”]
[sps_html tag=”img” src=”https://cdn.northcarolinafinearchitecture.com/2026/06/78-inch-collapsible-shower-water-damshower-stopper-barrier-and-regarding-understanding-water-containment-systems-in-modern-walk-in-showers.jpg” alt=”78 Inch Collapsible Shower Water Dam,Shower Stopper Barrier And … regarding Understanding Water Containment Systems in Modern Walk-In Showers” style=”width: 100%; height: auto;”]
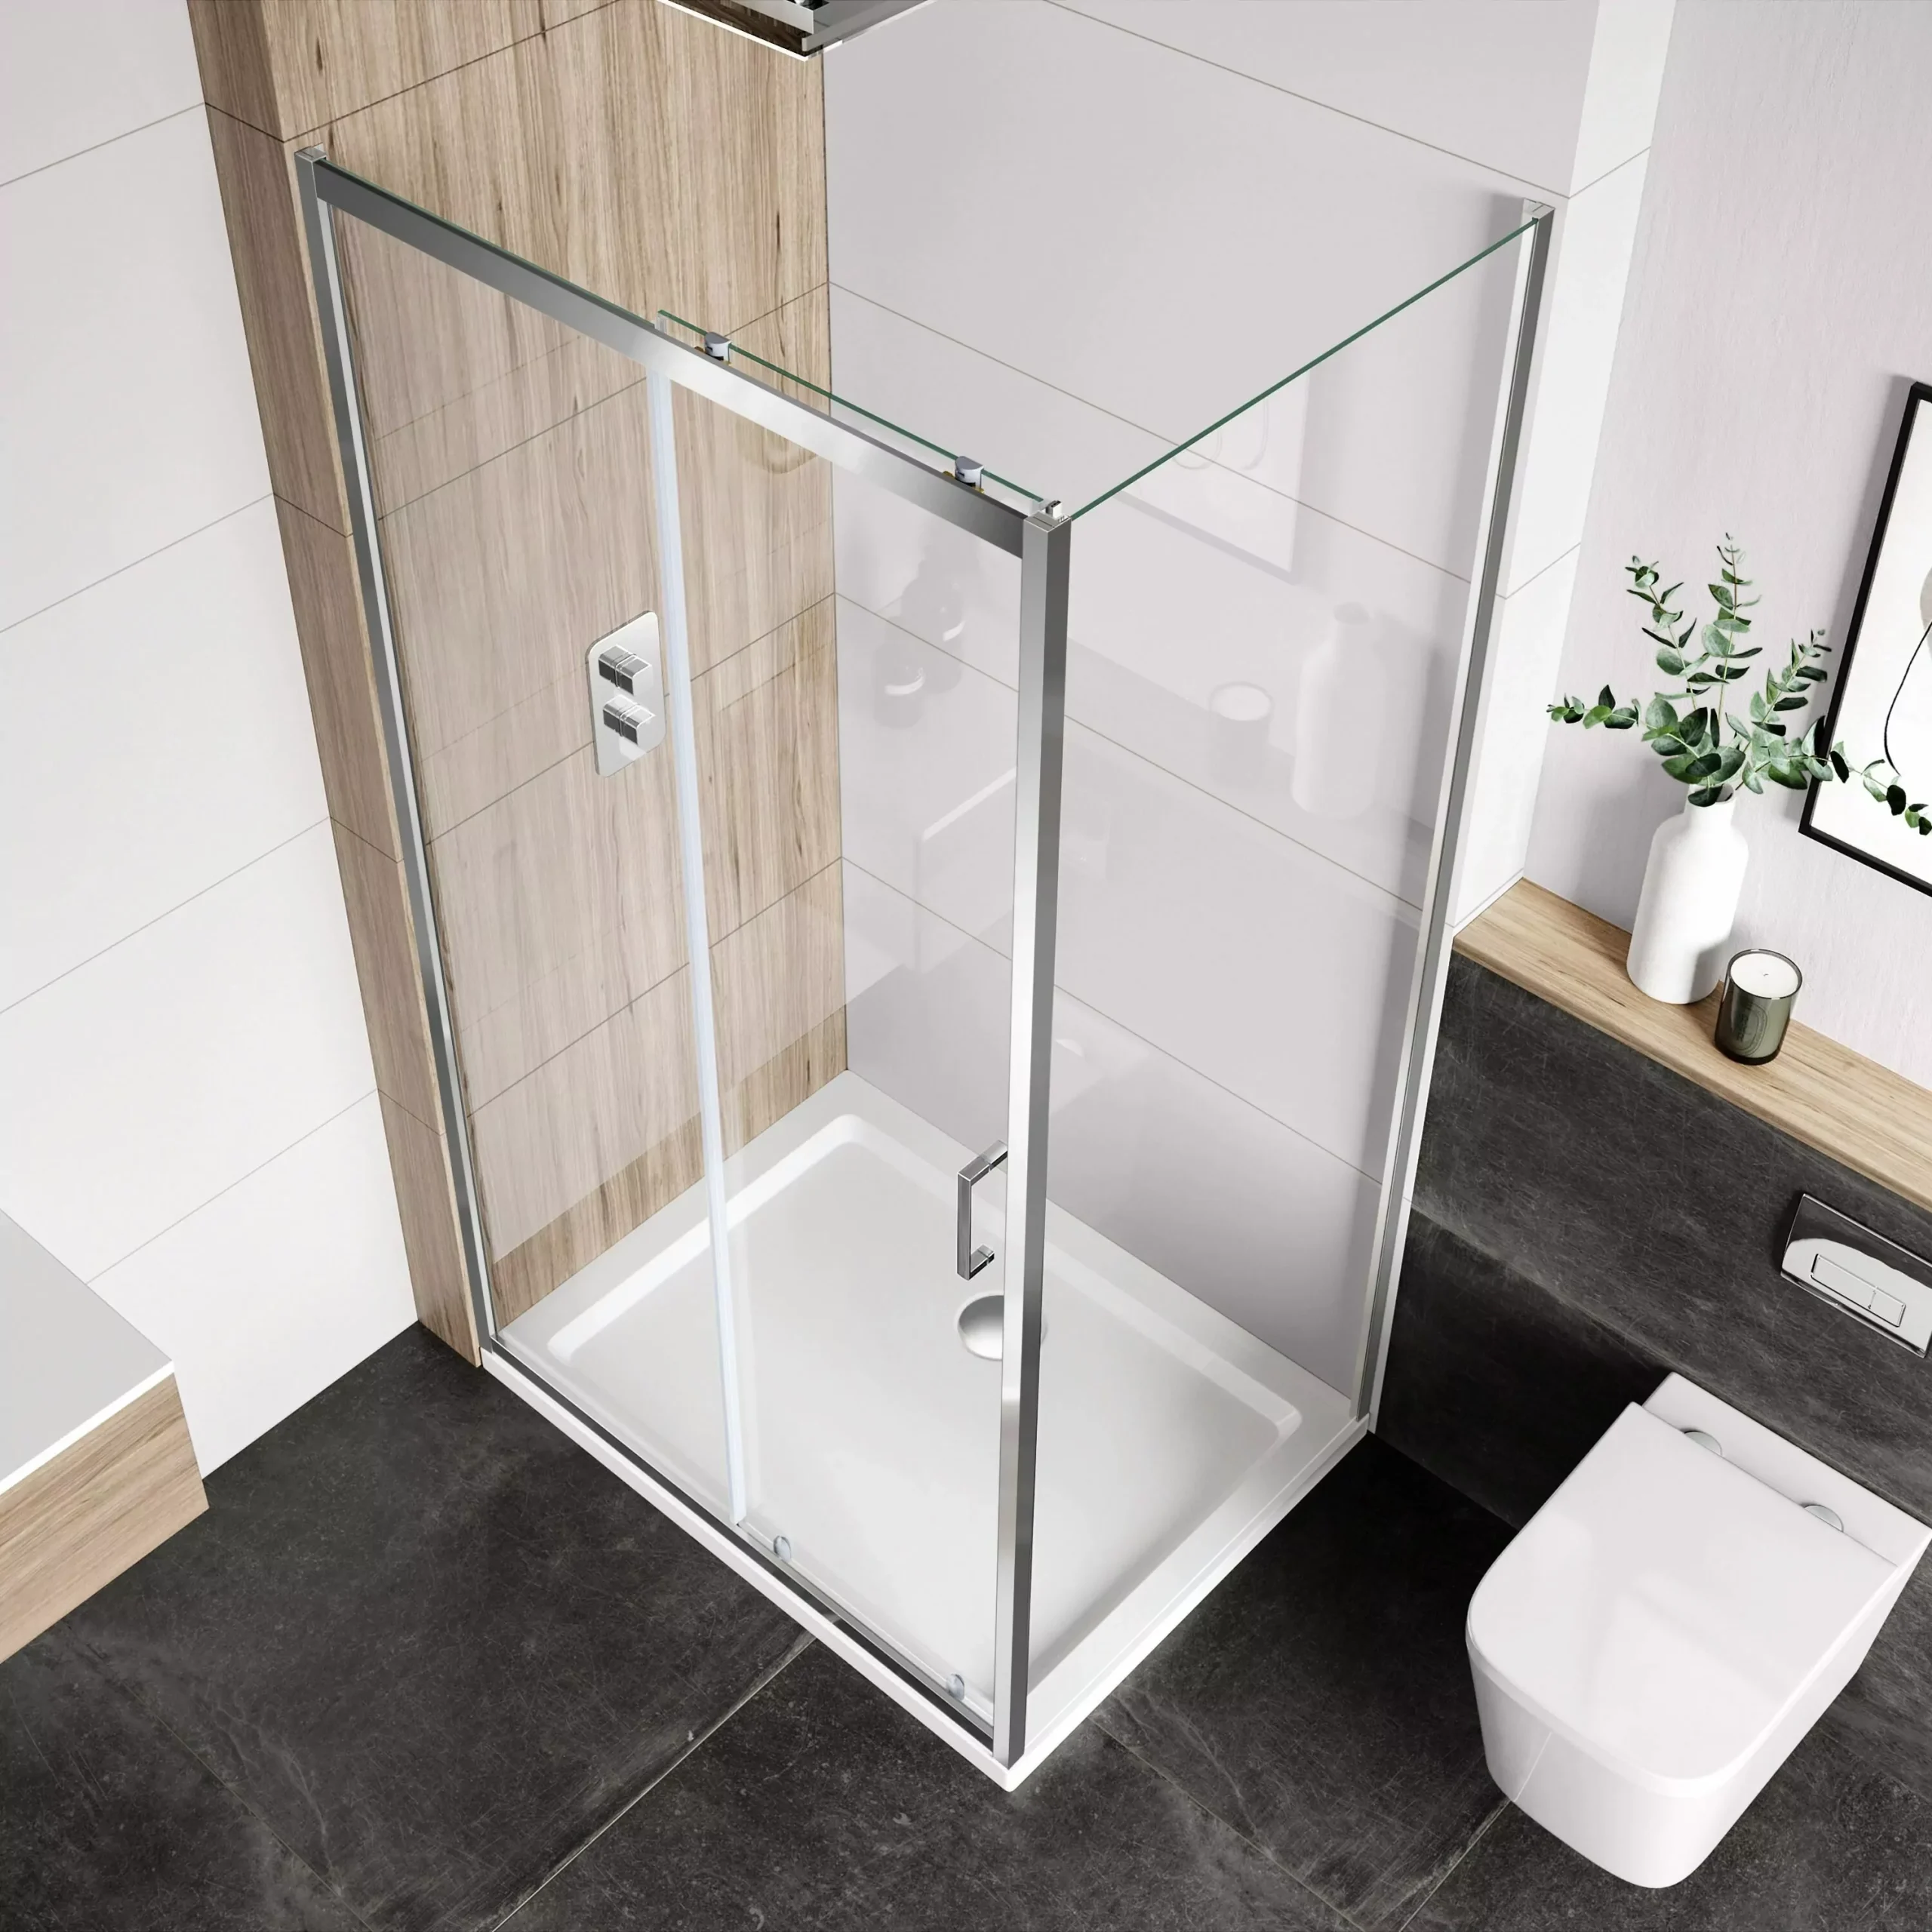
[sps_html tag=”img” src=”https://cdn.northcarolinafinearchitecture.com/2026/06/how-to-fit-a-walk-in-shower-enclosure-tools-measurements-and-with-regard-to-shower-door-design-scaled.webp” alt=”How To Fit A Walk-In Shower Enclosure: Tools, Measurements, And … with regard to Shower Door Design” style=”width: 100%; height: auto;”]
[sps_html tag=”img” src=”https://cdn.northcarolinafinearchitecture.com/2026/06/designing-drainage-systems-for-walk-in-showers-eboss-with-regard-to-shower-door-design.jpg” alt=”Designing Drainage Systems For Walk-In Showers – Eboss with regard to Shower Door Design” style=”width: 100%; height: auto;”]