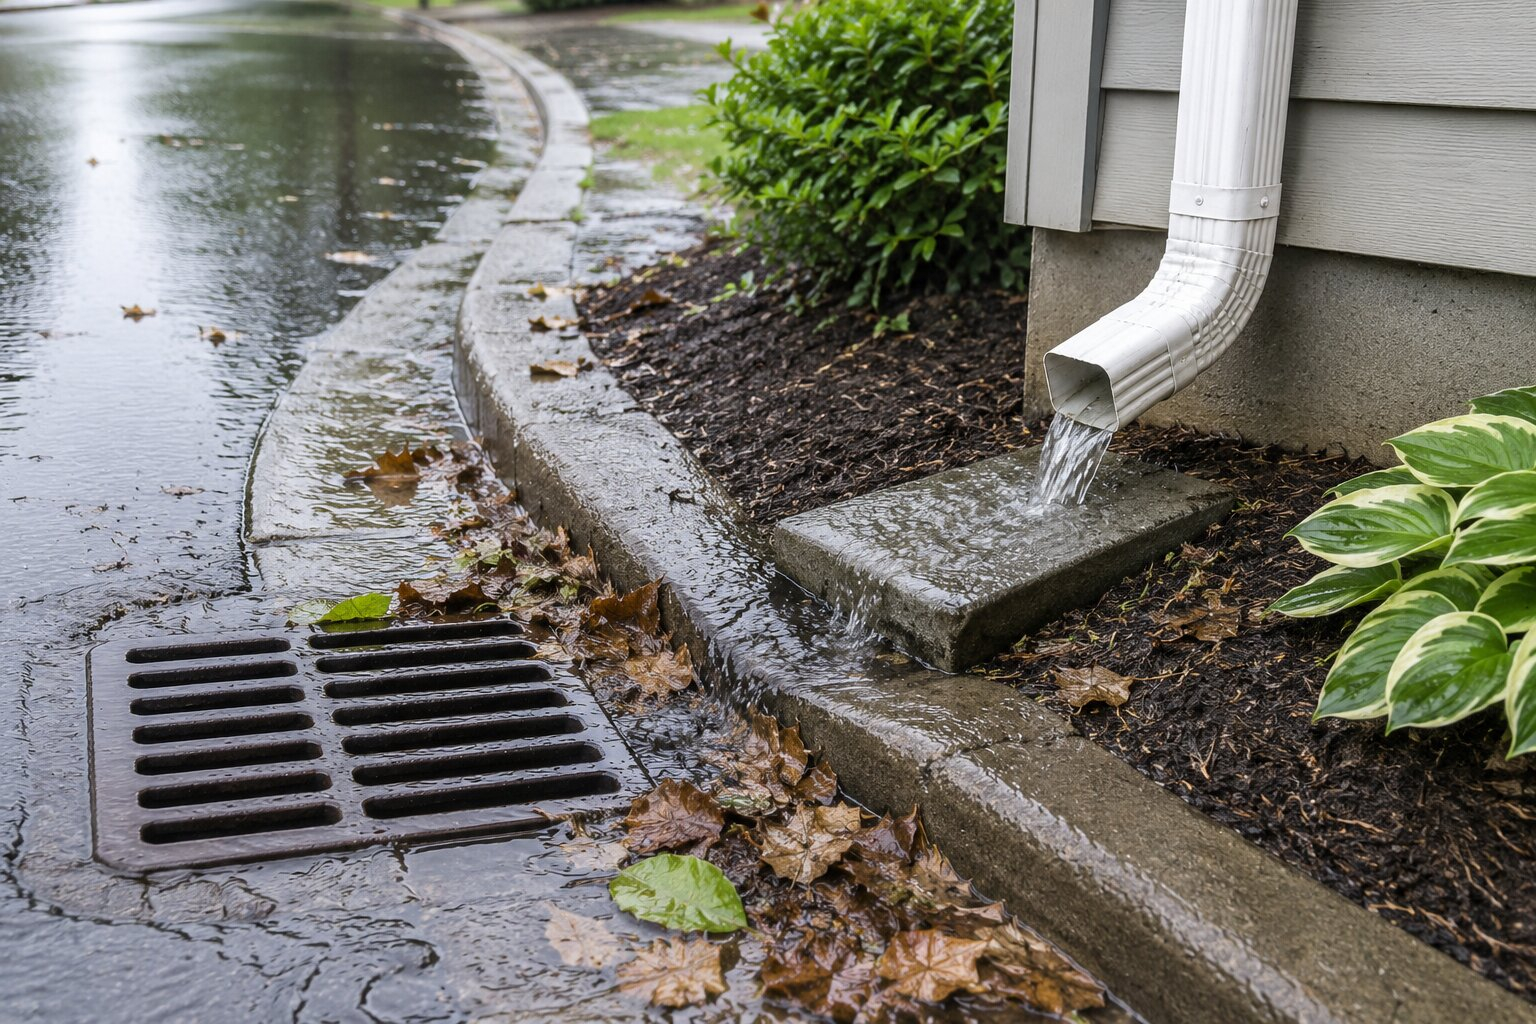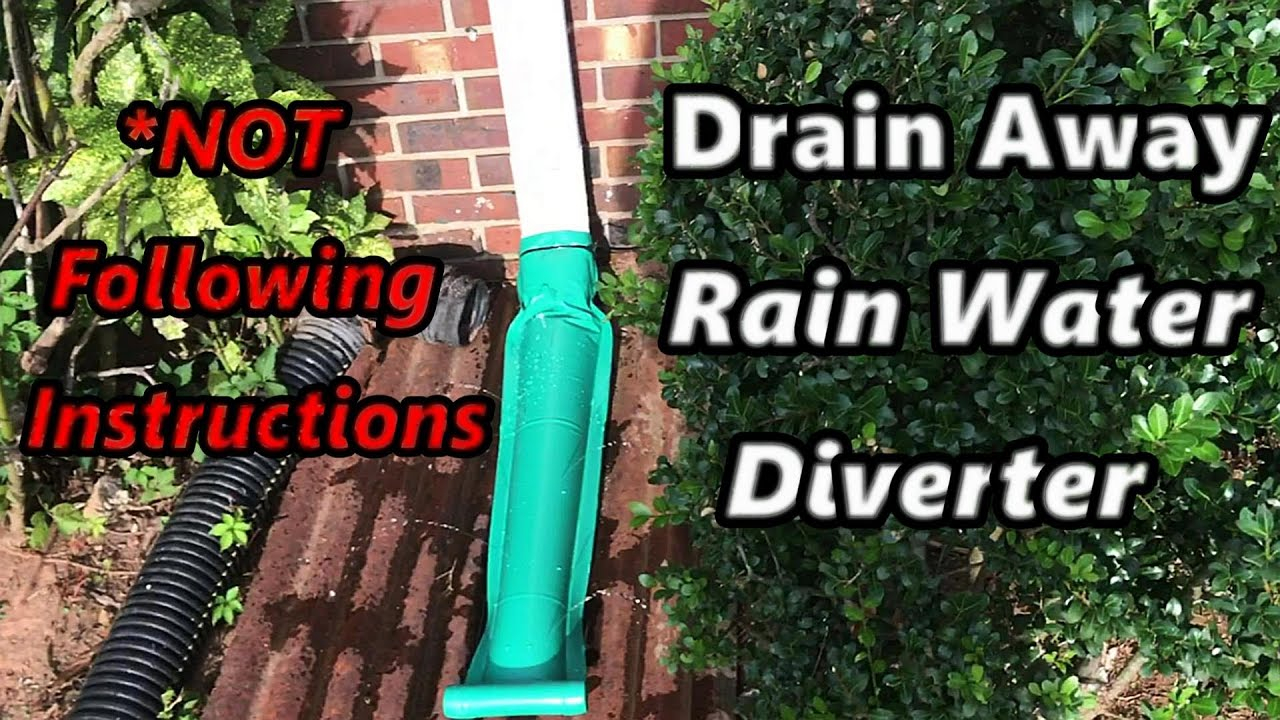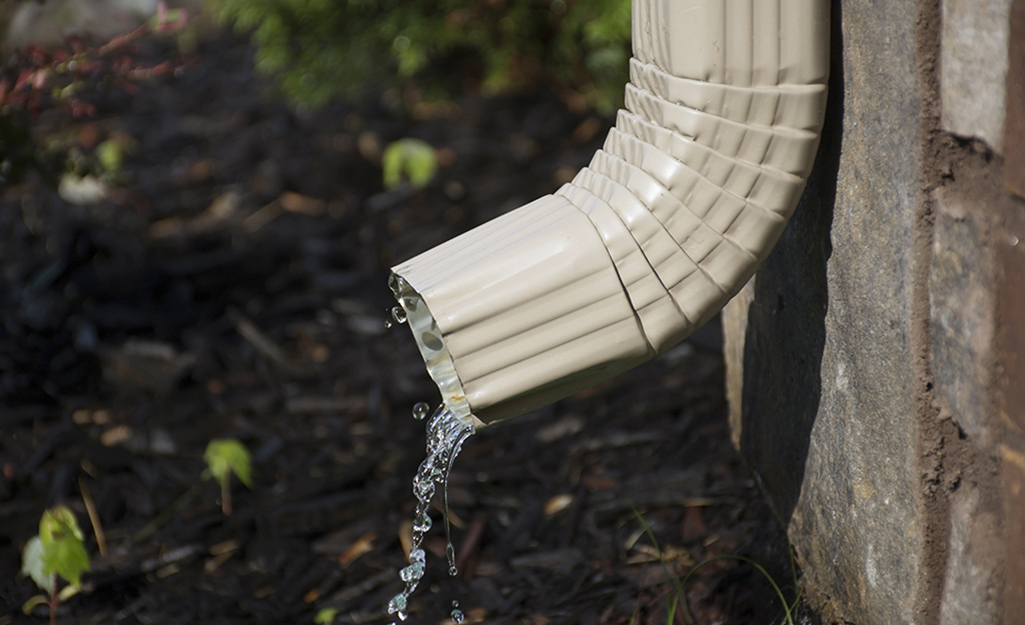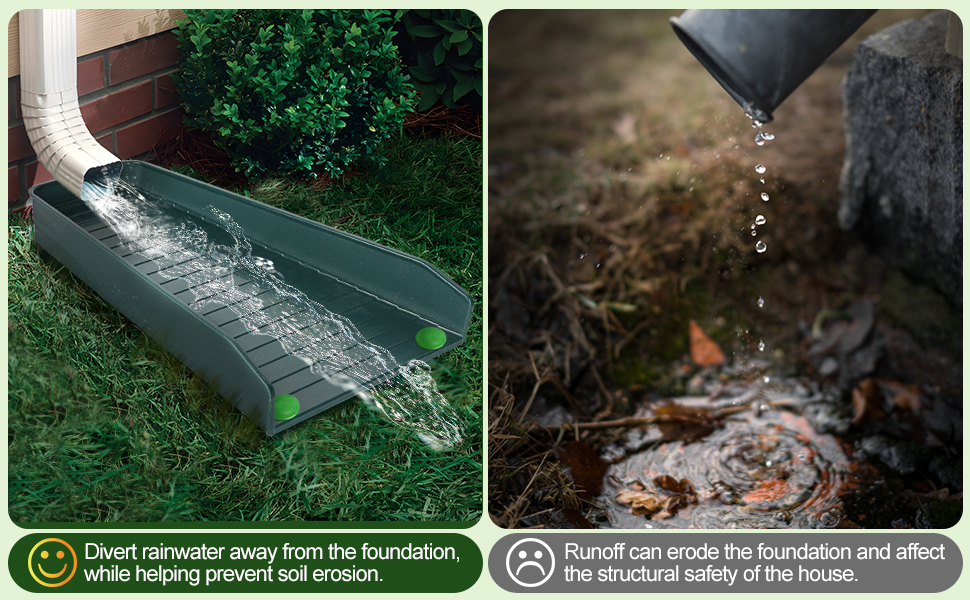
There is an easy place to stop looking when you check a gutter system: the elbow at the bottom of the downspout. Water comes out there, so the gutter seems to be doing its job. The more useful question is where that water goes over the next several feet. A short splash block can protect the soil directly beneath the elbow while leaving the runoff close to the wall. A longer extension can carry the flow past a planting bed and still empty into a low spot that drains back toward the house.
Give each downspout its own ground-level check. Bring a tape measure and take a few pictures. Start at the outlet, follow the route to the spot where the flow spreads or enters a confirmed drain, and use what you see to decide whether the connection, the discharge point, or the surrounding grade needs attention.
Trace the route while everything is dry
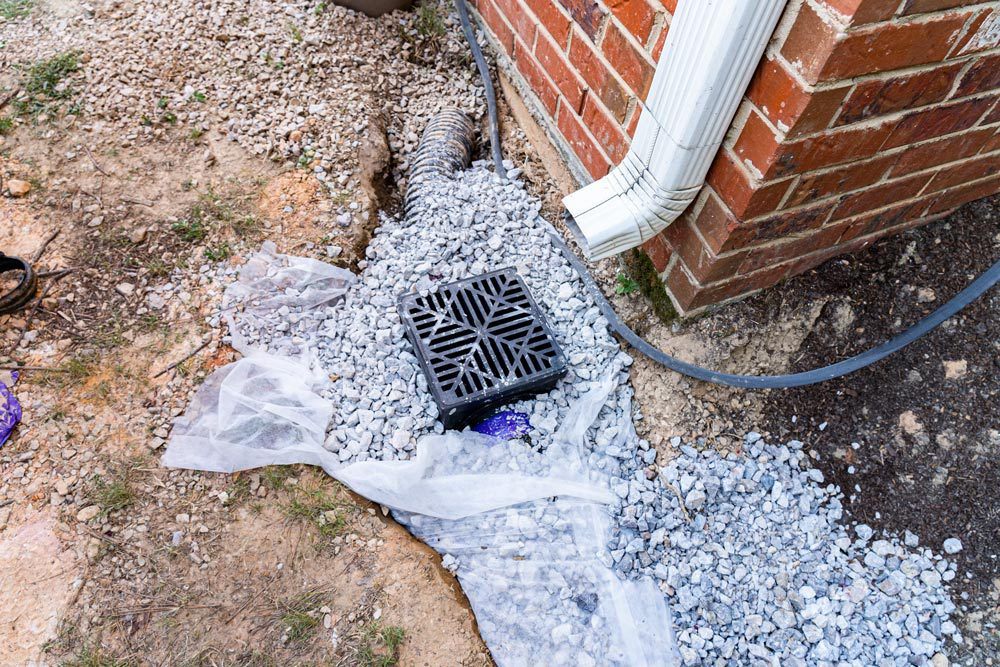
Begin by identifying what is attached to the downspout: an elbow and a block, an aboveground extension, or a pipe that disappears into the ground. For a visible route, measure from the foundation to the point where the water actually leaves the last fitting. Leave room on your sketch to mark where the water goes from there. A tape measure tells you how far the fitting reaches. The slope and surface beyond it tell you where the flow can continue.
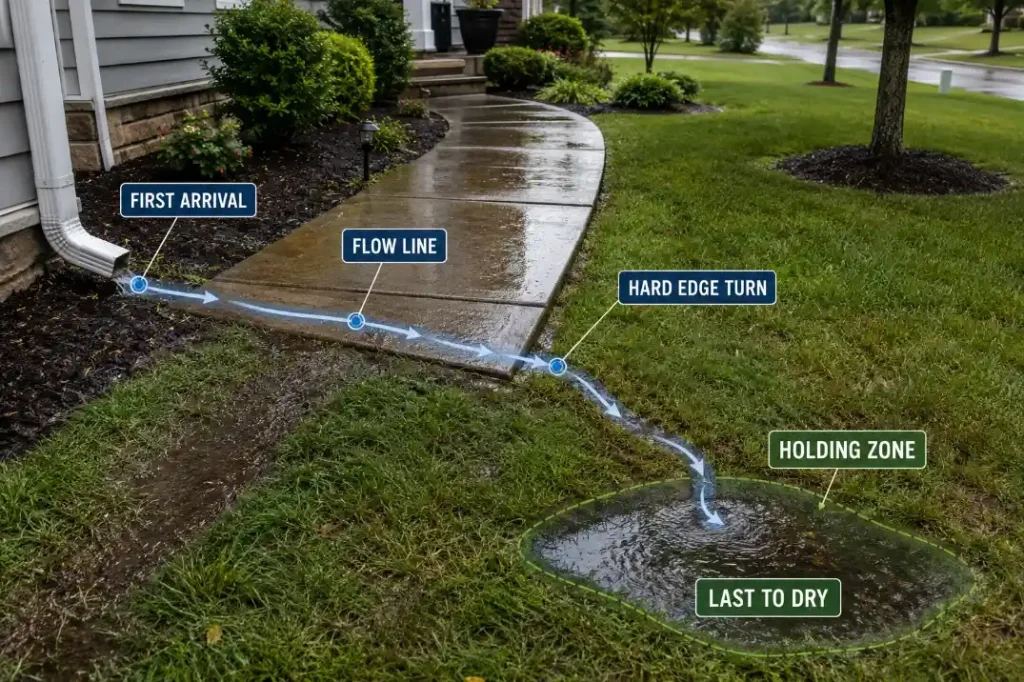
Walk through the route from the wall to the yard. Look for shallow depressions, displaced mulch, bare soil, and tide marks at the edge of a walk. Put a straight board and a level on an accessible patch if the fall is hard to judge by eye. Check the ground alongside the extension as well as the ground just beyond it. A bed that looks level from the porch can have a small channel along its edging that carries water back toward the house.
When a pipe disappears below grade, look for an outlet you can identify on your own property or consult the installation records. A buried pipe with no confirmed destination belongs in your notes as an unverified route. Keep the existing connection in place until you know where it goes and what a change would affect.
Watch three points during a normal rain
Observe from a covered spot or indoors if the footing is slippery. The useful checkpoints are the connection at the elbow, the end of the fitting, and the next patch of ground. A leak at the elbow can send part of the flow down the wall side of the route, even when water is visibly reaching the far end. At the outlet, note whether the water fans out, digs a narrow channel, ponds, or crosses a walkway.
Look again after the rain lets up. Water that disappears into the lawn quickly and water that collects against a walkway edge leave different clues. A photo taken from the same place before and after the rain can help you follow the path when there is too little water to see it moving. If you need to check a visible ground-level fitting on a dry day, a small amount of water at its accessible inlet can show which way the surface falls. Use actual rain to judge how the route behaves under roof runoff.
Match the fitting to the problem you observed
A splash block spreads the initial discharge across a wider surface. Its short travel can still leave water close to the wall. NC State Extension advises against relying on splash blocks near the home and describes carrying water through an underground drainpipe to a suitable downhill outlet at least 10 feet away. That distance is part of its guidance for the underground arrangement described there. Evaluate any aboveground route by where it delivers water and where the water flows next. [1]
For example, suppose a downspout ends on a splash block in a mulched bed. After rain, there is a bare strip beside the block and a puddle on the house side of the bed edging. Moving the water beyond the edging may help if there is a stable, downhill place to receive it. If the only route crosses a front walk, a loose extension lying across the walk creates a new problem. Check for another feasible discharge route and confirm local requirements before choosing a drain connection or changing the grade.
If the flow already reaches a suitable downslope area but cuts a channel where it lands, focus first on that landing area. If the flow never reaches the outlet because it escapes from a joint, address the joint first. Mark those two problems differently on the sketch so a later adjustment can be checked against the right symptom.
Write down what would count as an improvement
Give the outlet a name such as garage corner or back porch. Record its distance from the wall, the first place water spreads, and any place it crosses pavement or returns toward the house. Note whether you saw flow during rain or only inspected the ground afterward. If the problem starts higher up at the gutter rather than at the discharge, use this related guide to checking and clearing gutters before winter.
Check the same outlet again after the next rain. The result should be visible in the same places you inspected the first time: the connection carries the flow, the outlet releases it at the intended point, and the wet path continues away from the house without crossing a walking route or running back along the wall. Those observations tell you more than the length printed on the extension package.
Reference
[1] NC State Extension, Moisture Control and Prevention: Gutter Management