The sun beats down on a fresh slab of gray concrete, the wooden bull float leaving rhythmic ripples across the cream. For decades, the standard backyard patio followed a predictable, utilitarian script: pour the mud, drag a horsehair broom across the surface to give bare feet traction, and pray it didn’t crack too aggressively through the winter freeze. It was cheap—running a modest $4 to $8 per square foot installed—and it got the job done. But stepping out onto that industrial sidewalk gray felt distinctly uninspired, a reminder of municipal curbsides rather than backyard sanctuaries.
On the opposite end of the fiscal spectrum lies the realm of architectural fantasy: imported European bluestone, hand-chiseled flagstone, and intricate multi-color stamped concrete systems pushing past $18 to $20 per square foot. When a 400-square-foot backyard footprint quickly balloons from a $2,400 basic broom pour to an $8,000 luxury masonry installation, the budget collapses under its own weight. Homeowners find themselves trapped in a false dichotomy between sterile utility and extravagant luxury, assuming that any middle ground requires a degree in civil engineering or a secret trust fund.
That binary choice is an illusion. The real magic of modern flatwork design happens in the architectural whitespace between a standard broom finish and a top-tier masonry overlay. By manipulating texture, geometry, color theory, and aggregate exposure, you can engineer a patio that punches far above its weight class. You are trading capital for creativity, leveraging smart installation techniques that mimic the visual rhythm of natural flagstone or the clean lines of high-end urban pavers while keeping material costs anchored firmly in reality.
The Economic and Aesthetic Anatomy of Concrete Finishes
Understanding why flatwork prices swing so wildly requires looking beneath the surface at labor hours, material sourcing, and tooling requirements. A basic broom finish is inexpensive because it is fast. Once the bleed water evaporates and the concrete reaches initial set, a mason pulls a textured broom across the slab to create micro-grooves for slip resistance. It requires minimal specialized equipment and little artistic intervention. Conversely, high-end stamped concrete demands heavy polyurethane mats, release agents, secondary antiquing color hardeners, and meticulous hand-touchups by artisan crews who charge top-tier labor rates.
When you evaluate a 400-square-foot patio, the gap between a $6-per-square-foot broom finish and a $16-per-square-foot stamped system represents thousands of dollars in pure overhead. Yet, the functional lifespan of the concrete base remains identical. Both rely on a standard 4-inch depth of 4,000 PSI concrete reinforced with fiber mesh or rebar over a compacted aggregate sub-base. The structural integrity is the same; only the skin differs. This structural parity creates a massive opportunity for value engineering.
The middle tier—the sweet spot of patio design—exploits this exact engineering reality. Instead of paying for expensive rubber stamps that attempt to mimic slate or wood planks with varying degrees of realism, mid-tier design focuses on surface manipulation that honors concrete as its own distinct medium. Acid staining, mechanical polishing, deliberate saw-cut geometric patterns, and light sandblasting allow you to elevate a humble mix into an architectural statement. You stop trying to make concrete look like stone and start making it look like high-end modern design.
Deconstructing the Mid-Tier Toolbox for Maximum Visual Impact
To achieve a luxury aesthetic on a controlled budget, you need to master the secondary treatments that transform raw gray mud into a refined canvas. The most effective approach in the modern toolkit is the strategic integration of architectural saw cuts combined with professional-grade penetrating stains. While a standard control joint is cut to manage random cracking, decorative saw cuts are laid out in intentional geometric grids—large 3-foot by 3-foot squares or elongated rectangles that mimic oversized modern pavers.
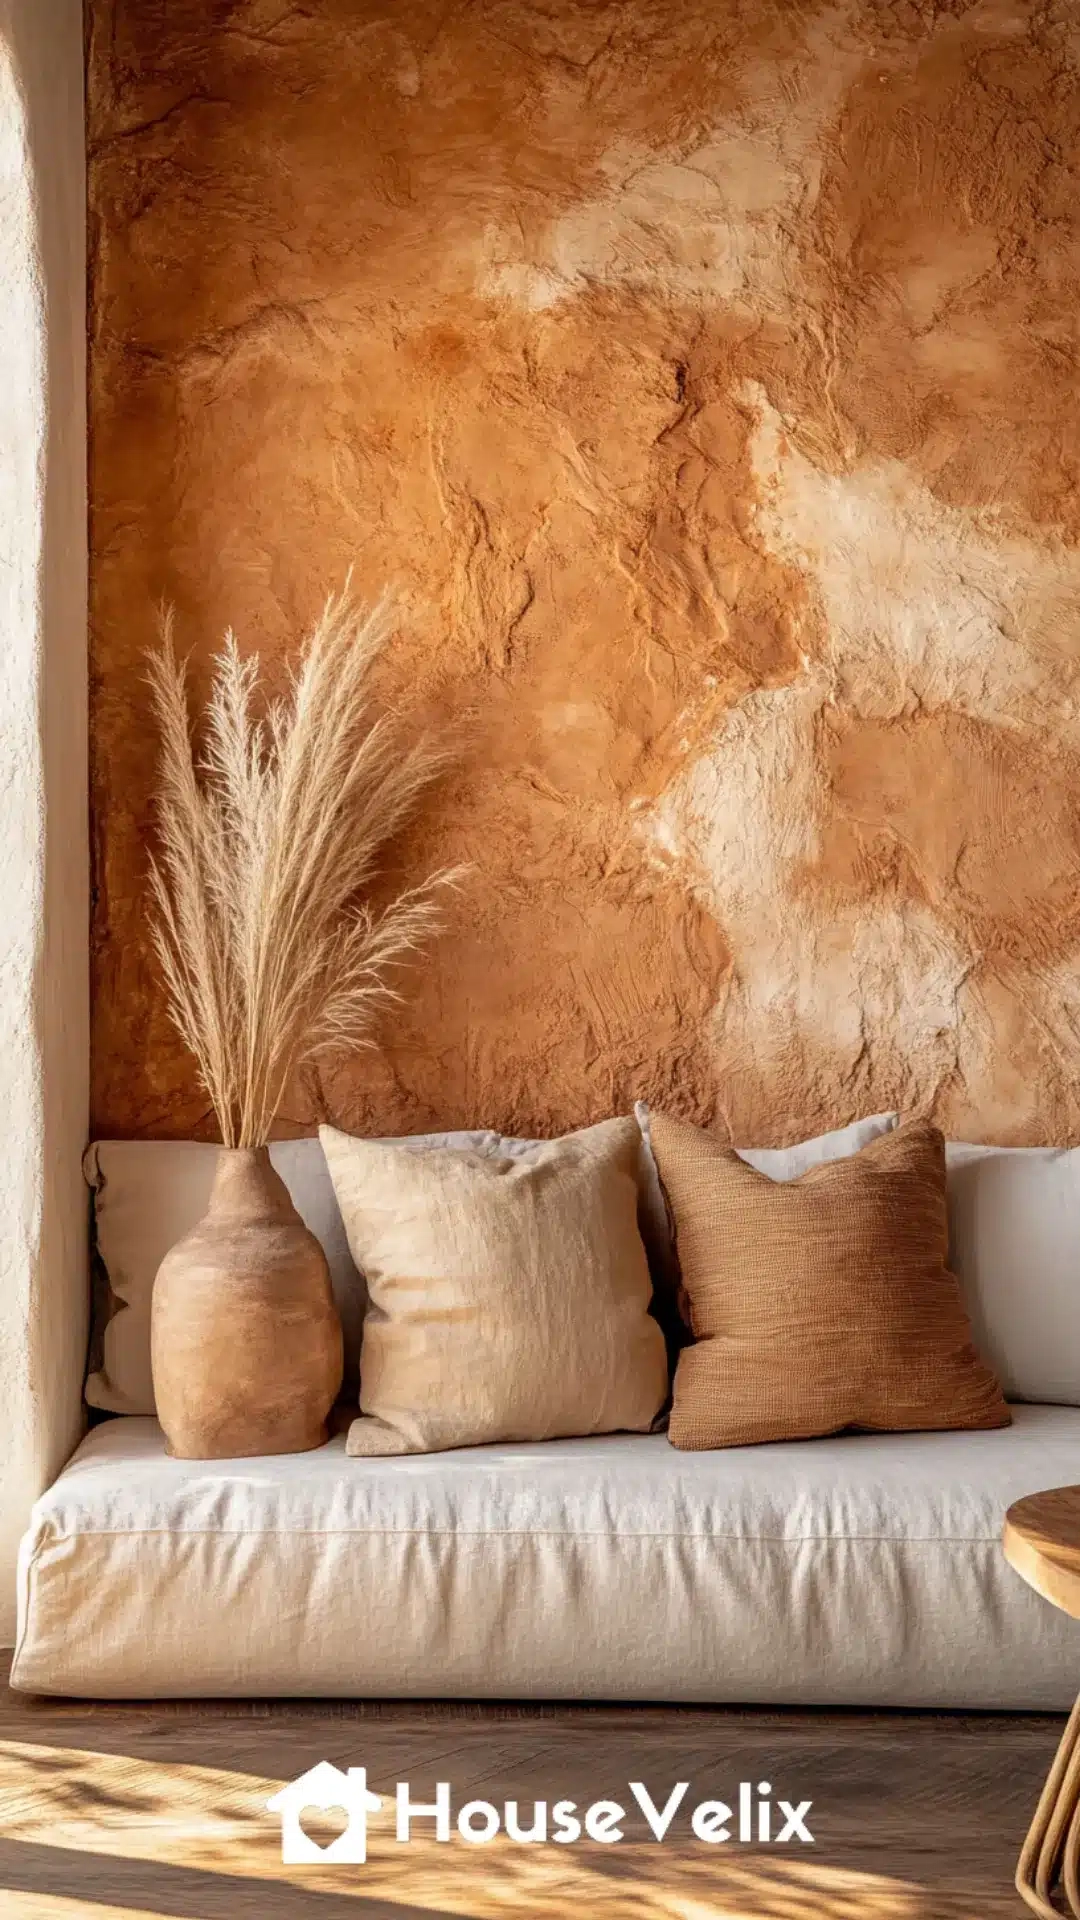
Once the concrete has cured for a minimum of 28 days and its internal moisture content drops below specified thresholds, chemical acid stains or water-based acrylic dyes can be applied. Acid stains react chemically with the free lime in the concrete, producing rich, mottled earth tones—mottled ambers, deep tans, and weathered coppers—that closely resemble natural slate or leather. Because the color becomes a permanent part of the concrete matrix rather than a topical paint film, it will never peel or flake under UV exposure.
Another powerful mid-tier technique is light salt finishing or light aggregate exposure. By broadcasting coarse rock salt onto the wet surface and washing it away after the concrete cures, you create subtle pitting and organic surface variation that breaks up the monotony of flat gray planes. Alternatively, a light retardant spray paired with a gentle surface washing reveals the fine sand and tiny aggregate just beneath the cream, giving the patio a tactile, stonelike grip and a sophisticated matte texture that absorbs light rather than glaring back at the summer sun.
Step-by-Step Implementation for Your Mid-Tier Patio Project
Transforming your backyard requires a disciplined sequence of decisions, from the initial sub-base compaction to the final application of a breathable sealer. Skipping steps or rushing the cure time will permanently compromise the finish, turning a cost-saving masterclass into an expensive tear-out.
- Step 1 (Sub-Grade Preparation & Sub-Base): Excavate 8 to 10 inches of native soil, ensuring proper grading away from the home’s foundation at a minimum slope of 1/8 inch per foot. Lay down a minimum of 4 inches of crushed stone aggregate (such as ¾-inch minus road gravel) and compact it thoroughly with a mechanical plate compactor in 2-inch lifts to prevent future settling.
- Step 2 (Formwork & Reinforcement Integration): Build rigid 2×4 or 2×6 wooden forms, staking them securely every 3 feet to prevent blowout during the pour. Install #3 rebar on grid patterns spaced 16 to 24 inches apart, elevated on plastic chairs, or ensure structural synthetic macro-fibers are thoroughly mixed into the concrete truck delivery.
- Step 3 (The Hybrid Pour and Base Finish): Order a 4,000 PSI air-entrained concrete mix with a 4-inch slump for optimal workability. Screed the concrete level with the forms, use a bull float to bring the cream to the surface, and apply a very light, fine-hair broom finish or a smooth magnesium float depending on whether you plan to stain or polish later.
- Step 4 (Geometric Saw-Cutting and Texturing): Allow the slab to cure for 48 to 72 hours until it is fully walkable without marring. Rent a walk-behind masonry saw equipped with a diamond blade to cut clean, 1-inch-deep geometric tile patterns or large-format grid lines across the field of the patio, effectively camouflaging minor hairline cracks within the design lines.
- Step 5 (Staining, Sealing, and Protection): Acid-stain or dye the concrete once fully cured and dry (typically 28 days post-pour). Neutralize any acid residues thoroughly, let the slab dry completely over 48 hours, and apply two thin coats of a breathable, UV-stable acrylic or penetrating siloxane sealer to lock in the color and protect against freeze-thaw spalling.
Navigating Common Traps and Field-Tested Workarounds
Even experienced DIYers and general contractors occasionally miscalculate the nuances of decorative concrete work. Because concrete is a dynamic, living chemical compound, small errors in water ratios or timing can ruin an expensive surface treatment. Anticipating these pitfalls saves both material and labor.
- Pitfall 1 (Adding Too Much Water on Site): Workers often add water to the truck chute to make the mud easier to shovel, which dramatically weakens the concrete’s final compressive strength and leads to dusting and surface scaling. Workaround: Insist on a water-reducing plasticizer admixture if you need better workability without sacrificing PSI strength.
- Pitfall 2 (Premature Sealing Trapping Moisture): Sealing a concrete slab before its internal moisture content drops below 4% causes the sealer to whiten, bubble, and peel as vapor tries to escape. Workaround: Perform a simple plastic sheet moisture test taped to the slab for 24 hours to verify dryness before applying any chemical sealers.
- Pitfall 3 (Ignoring Weather and Ambient Temperature Extremes): Pouring concrete in direct 90-degree summer heat causes flash-setting, leaving trowel marks and preventing proper finishing, while freezing temperatures halt hydration entirely. Workaround: Schedule pours for early morning hours, use set-retarding admixtures in hot weather, or use insulated curing blankets when temperatures dip below 40°F.
- Pitfall 4 (Random Cracking Across Design Lines): Without properly placed control joints, concrete will crack wherever it pleases, ruining meticulous geometric saw-cut patterns. Workaround: Align your decorative saw cuts directly over or alongside planned structural control joints to ensure the natural crack lines follow the pre-scored design grooves.
- Pitfall 5 (Slippery Surfaces Near Pools or Wet Areas): Polishing or over-troweling a patio to a mirror sheen creates a serious slip hazard when wet. Workaround: Always incorporate anti-slip grit additives into your final sealer coat or stick to a light broom or acid-etched texture for outdoor entertainment zones.
The Broader Landscape of Value Engineering and Long-Term Value
When you step back to evaluate the long-term economics of a mid-tier concrete patio, the financial wisdom becomes starkly apparent. Natural stone installations, while undeniably gorgeous on day one, are notoriously vulnerable to settling, shifting frost heaves, and weed invasion between the individual pavers. Every few years, flagstone patios require tedious re-sanding with polymeric compounds, re-leveling of sunken stones, and aggressive power washing to clear organic moss growth from shaded corners.
A monolithically poured concrete slab engineered with mid-tier aesthetic enhancements eliminates these maintenance headaches entirely. It acts as a single, stable plate that resists weed intrusion and differential settling, provided the sub-base was compacted correctly. Maintenance is reduced to a simple annual pressure washing and a light resealing every three to five years. This low ownership burden makes mid-tier concrete an exceptional investment that consistently delivers high returns on home appraisal metrics without draining your weekend free time.
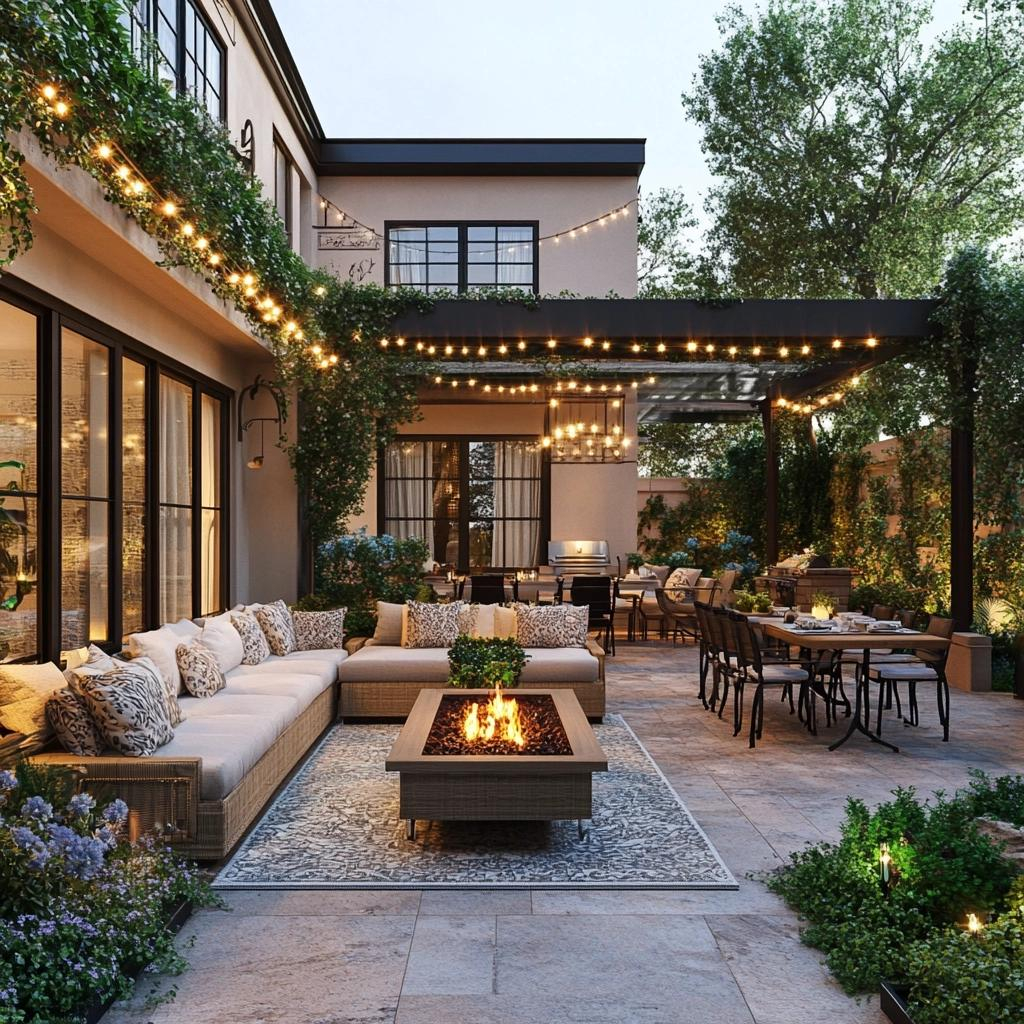
Furthermore, viewing concrete as a sculptural medium rather than a structural afterthought opens up infinite possibilities for custom outdoor living integration. You can easily cast steel tie-downs, electrical conduit pathways, and gas line sleeves directly into the sub-base before the pour, allowing for seamless installation of modern fire pits, outdoor kitchens, and low-voltage lighting grids. This level of functional integration is notoriously difficult and expensive to retrofit into existing natural stone or interlocking paver layouts, reinforcing the superior versatility of engineered flatwork.
Strategic Frameworks for Making Your Final Design Choice
Choosing the right finish requires matching your lifestyle, local climate, and aesthetic preferences against a rigid framework of performance metrics. If you live in an environment with severe freeze-thaw cycles, high-gloss polished finishes or heavy topical overlays can trap water and delaminate within a few seasons. Conversely, dry desert climates allow for more experimental acid stains and exposed aggregate textures without the constant threat of spalling.
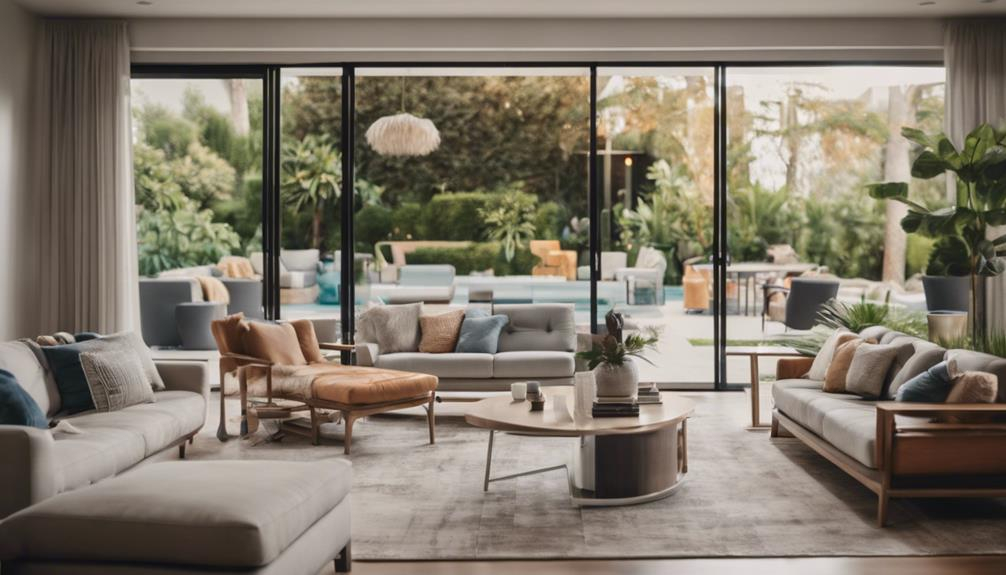
Consider how the space will be used on a daily basis. A family with young children and large dogs requires high slip resistance and easy cleanup, making a light broom finish with an integrated earthy stain the ultimate practical choice. If the patio is primarily designed as an adult entertainment lounge connected to a modern glass-walled indoor living area, large-format saw cuts with a charcoal dye will visually extend the interior flooring outdoors, creating the illusion of expensive large-format tiles at a fraction of the cost.
Always request physical sample boards from your concrete contractor before committing to a specific color palette or acid stain combination. Concrete is notoriously unpredictable, reacting differently to local sand supplies, cement brands, and ambient curing temperatures. Testing a 2×2-foot sample pad ensures that the amber tones or grey undertones you envisioned match the reality of your backyard lighting conditions.
The backyard patio has evolved from a simple concrete slab meant to keep patio chairs out of the mud into an extension of interior living space. We no longer have to settle for the stark, utilitarian gray of a municipal sidewalk, nor do we need to mortgage our futures on imported European flagstone to achieve architectural elegance.
By understanding the structural mechanics of concrete and embracing creative surface treatments like saw cuts, chemical stains, and subtle texturing, you unlock a world of high-end design rooted in budget-friendly foundations. The sweet spot of patio design is not a compromise; it is an intelligent rebellion against the false choice between cheap and extravagant. Take control of your outdoor space, work closely with skilled craftspeople who respect the medium, and build a backyard sanctuary that looks like a million bucks while leaving your savings account intact.