Stand in the middle of a newly renovated room, and your eyes will naturally follow the broad strokes: the choice of hardwood flooring, the tone of the wall paint, the statement lighting hanging overhead. But pull closer to the threshold of any doorway, and you will notice the silent architectural punctuation that holds the entire visual narrative together. That narrow perimeter of wood, MDF, or composite is the door casing. It is far more than a decorative frame; it is the physical handshake between two distinct rooms, a structural bridge designed to hide construction imperfections while anchoring the interior design style of an entire home.
For decades, builders treated door trim as an afterthought—a cheap piece of stock molding thrown up to cover the messy gap between drywall and the structural wood jamb. Today, interior designers and discerning homeowners view casing choices as critical micro-architecture. When approached with intentionality, these trims dictate the psychological flow of a floor plan, dictating whether a space feels intimately historic, aggressively modern, or fluidly transitional. Striking the balance between utility and visual impact requires a deep dive into profiles, material science, and spatial geometry.
To master door casing design is to understand the physics of interior construction married to the nuances of decorative art. The gaps it covers are not trivial. Framing lumber warps, drywall edges crumble, and house settling creates uneven thermal expansion joints. The casing must flex, conceal, and protect while looking entirely effortless. Navigating this design dilemma means discarding one-size-fits-all thinking and treating every entryway as a custom canvas where engineering meets craftsmanship.
The Anatomy of the Threshold: Decoding the Marriage of Structure and Style
At its foundational level, a door casing performs a heavy-duty structural reconciliation. When a door frame is installed into a rough opening, builders rely on shims, expanding foam, and drywall returns to create a plumb, square portal. This process invariably leaves unsightly gaps, uneven seams, and raw edges. The casing acts as a transitional mask, bridging the 3/4-inch to 1-inch span between the drywall edge and the door jamb. Without it, the structural skeleton of the home remains exposed to daily wear, tear, and visual fragmentation.
Beyond hiding structural seams, casing thickness and profile depth serve as a physical buffer against high-traffic abuse. Doorways take a constant beating from moving furniture, swinging elbows, vacuum cleaners, and rushing children. A robust casing protects the fragile drywall corners adjacent to the opening from crumbling under repeated impact. This is why material selection dictates longevity just as much as aesthetic harmony. Solid hardwoods like white oak, poplar, or maple absorb kinetic shocks far better than paper-thin synthetic wraps, ensuring the entryway maintains its crisp lines over decades of heavy family use.
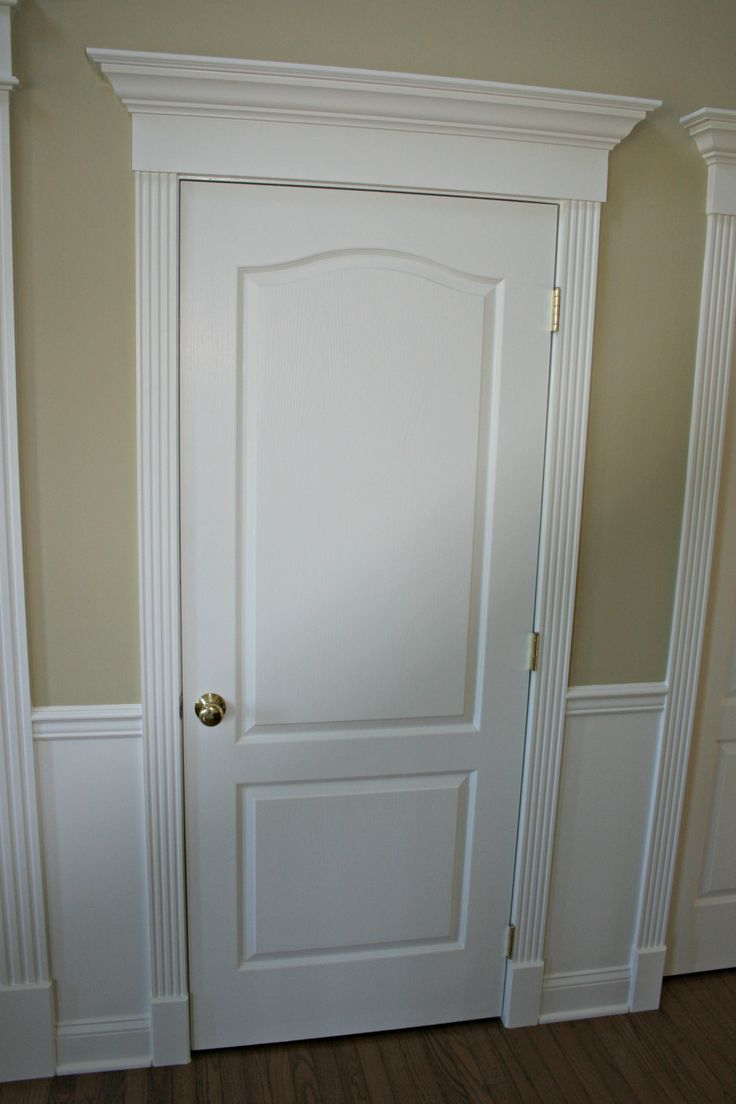
Aesthetic harmony requires the casing to converse fluently with other architectural elements in the room, particularly baseboards, crown molding, and window architraves. If your baseboards stand a proud 7 inches tall with a complex Victorian ogee profile, a pencil-thin modern minimalist casing will look jarringly out of place. Conversely, heavy craftsman headers over delicate, low-profile baseboards create an unsettling top-heavy imbalance. The casing acts as the vertical anchor that ties floor-level details to ceiling-level transitions, creating a unified architectural rhythm.
Proportion and scale are the invisible rulers that govern successful casing design. A grand double doorway leading into a primary living room demands a wide, substantial casing profile—often measuring 4 to 6 inches across—to command the space properly. In contrast, a narrow hallway linen closet or a small powder room fitted with oversized heavy trim will instantly feel cramped and suffocating. Designers must calculate ceiling heights, wall spans, and door dimensions before selecting a molding profile, ensuring the visual weight of the frame matches the volumetric capacity of the room.
Material Science and Profile Selection: Navigating Modern Design Choices
Choosing the right material for door casings involves weighing aesthetic desires against environmental realities, installation challenges, and budgetary constraints. Solid wood remains the gold standard for traditional, high-end, and custom architectural projects. Species like white oak, walnut, and cherry offer breathtaking natural grain patterns that shine when finished with clear sealers or stains. Poplar, while less visually exciting due to its greenish-white grain, is the undisputed champion for painted applications because of its stability, fine texture, and resistance to splintering during miter cuts.
Engineered wood products, including Medium Density Fiberboard (MDF) and finger-jointed pine, have revolutionized modern interior design by offering flawless, knot-free surfaces at a fraction of the cost of premium hardwoods. MDF is exceptionally stable; it refuses to warp, twist, or shrink with seasonal humidity fluctuations, making it the premier choice for smooth, painted enamel finishes. However, MDF has a critical Achilles’ heel: its vulnerability to moisture. Installing MDF casing in bathrooms, laundry rooms, or damp coastal climates often leads to swelling and permanent structural degradation at the base if water wicks up from the floor.
Polyurethane and cellular PVC casings represent the cutting edge for challenging environments. PVC is completely impervious to moisture, rot, and insect damage, making it indispensable for exterior applications or interior transition zones like basement mudrooms. Modern manufacturing techniques allow PVC to mimic the sharp shadow lines and crisp profiles of milled wood down to the microscopic level. The trade-off lies in thermal expansion and flexibility; PVC expands and contracts significantly with temperature shifts, requiring specialized adhesives and fasteners to prevent joint separation over time.
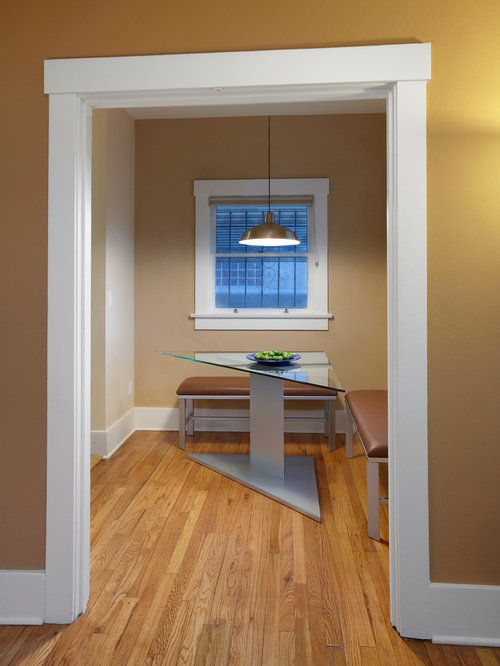
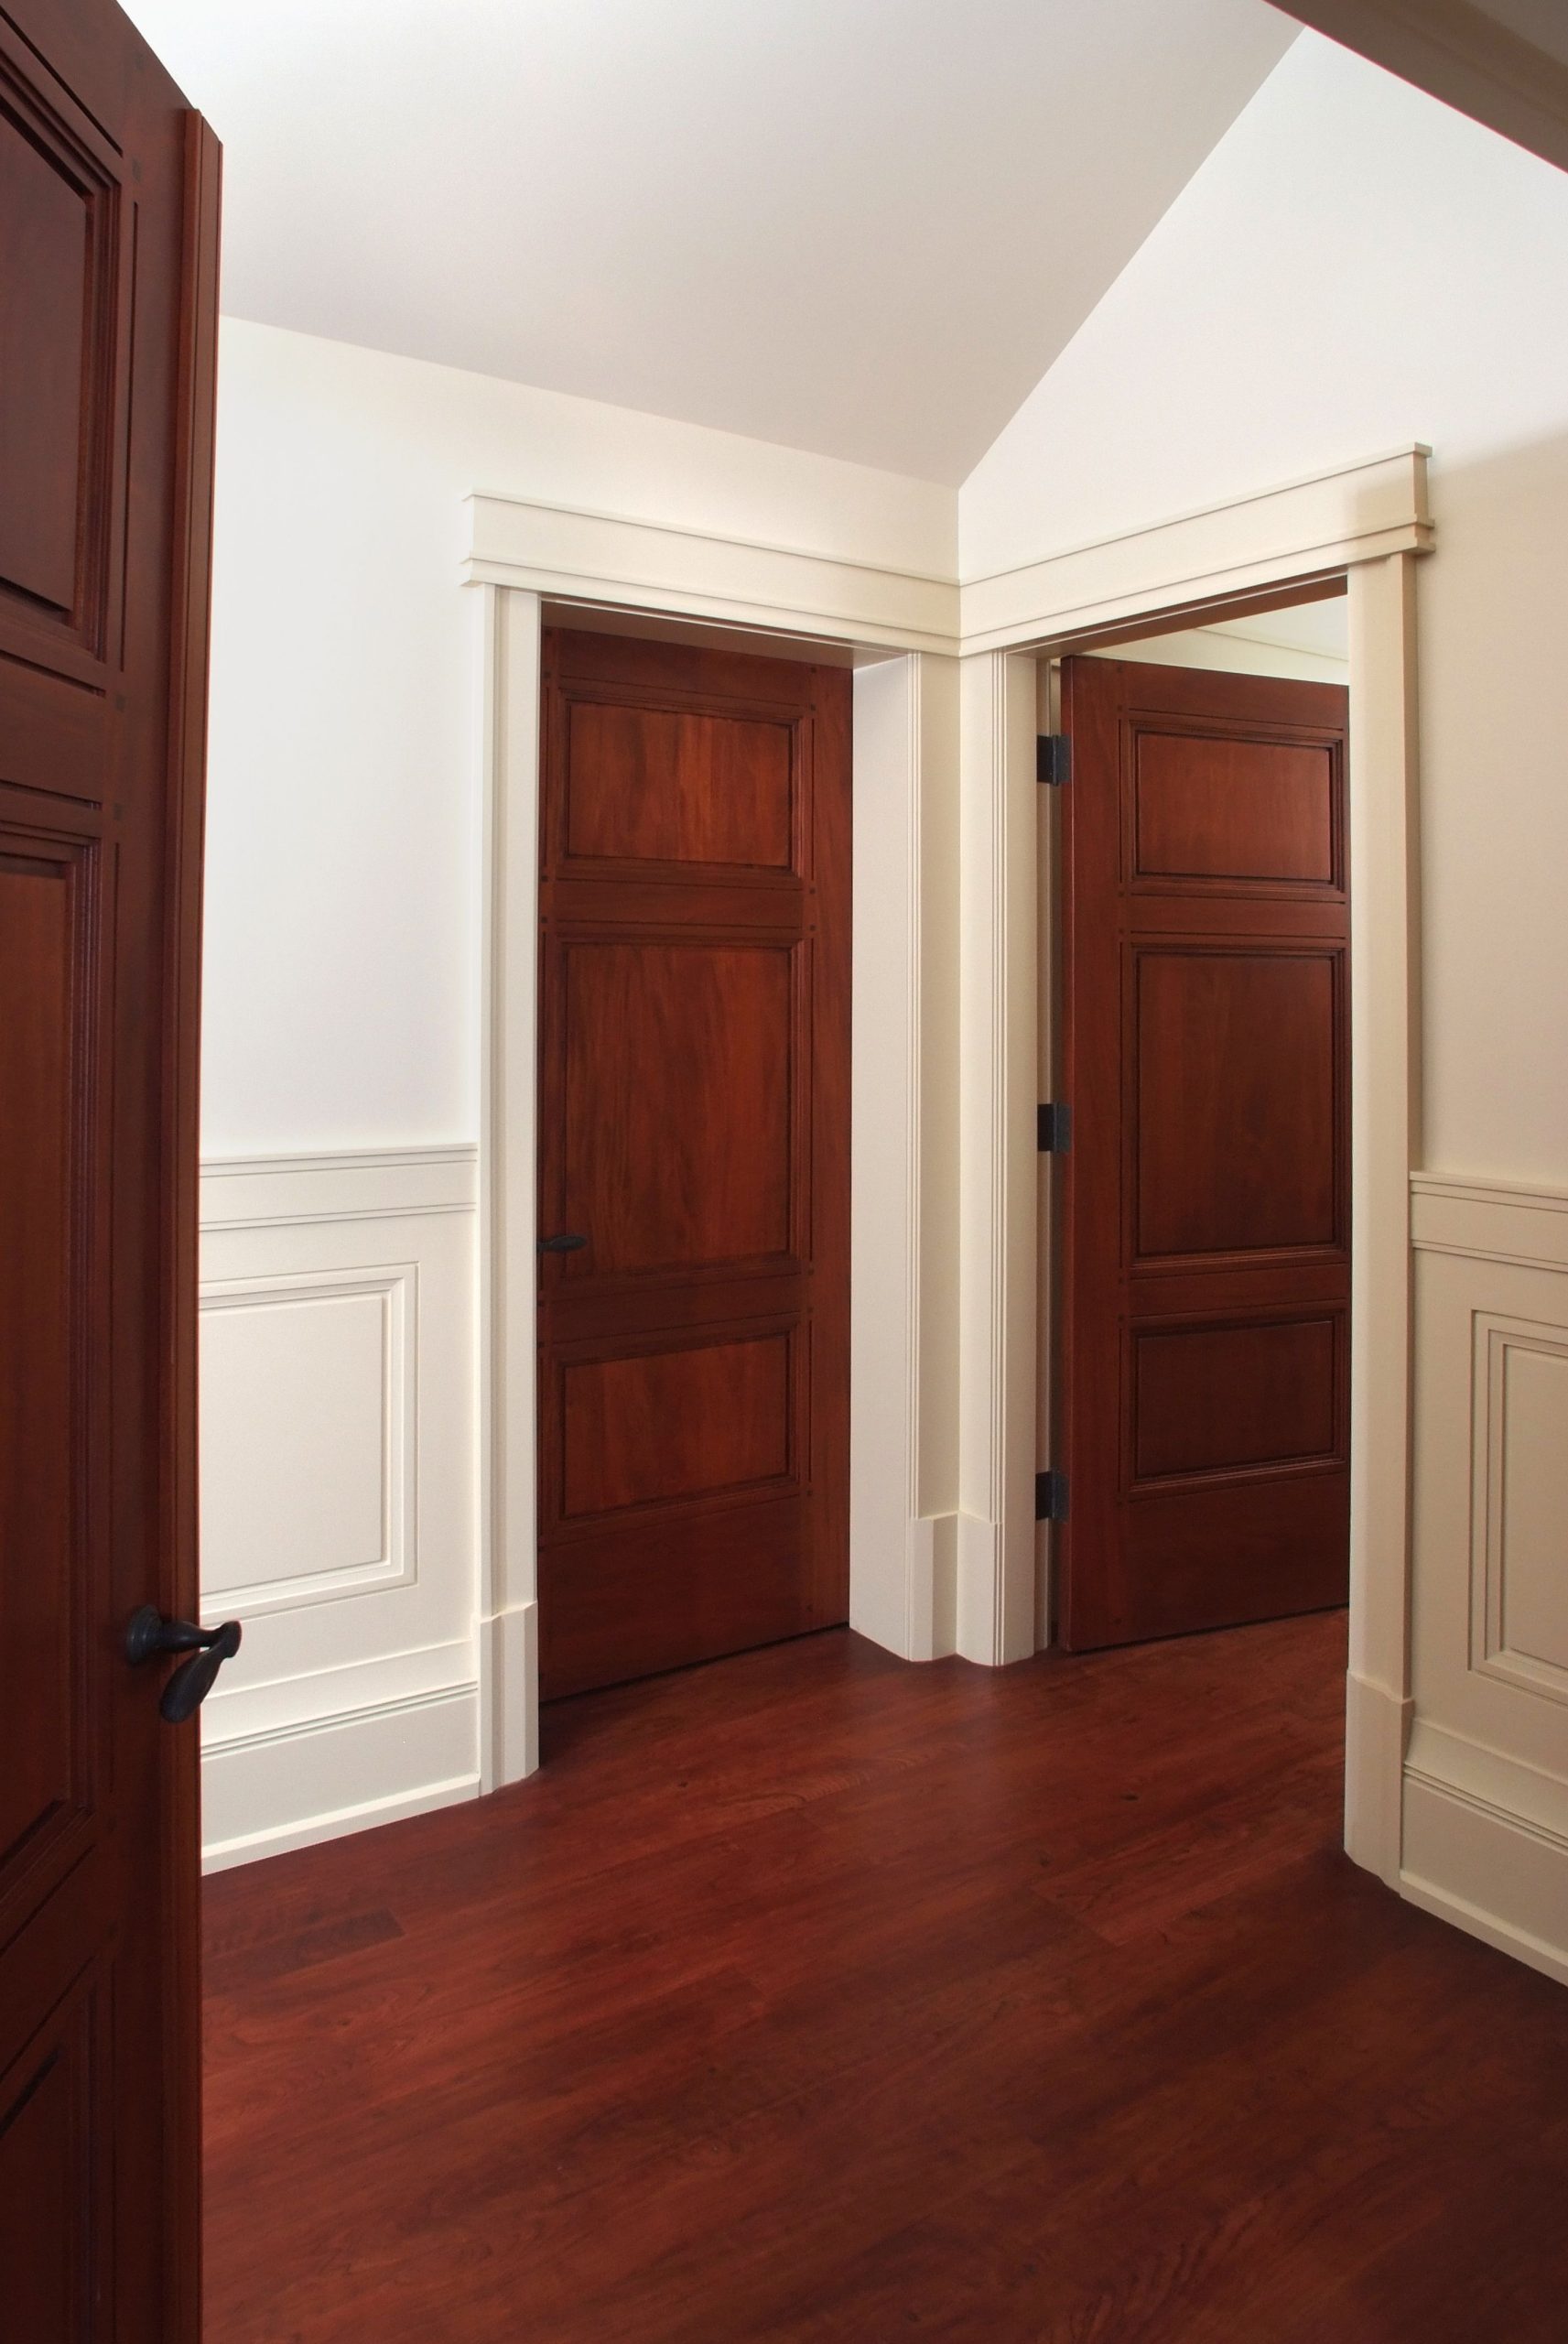
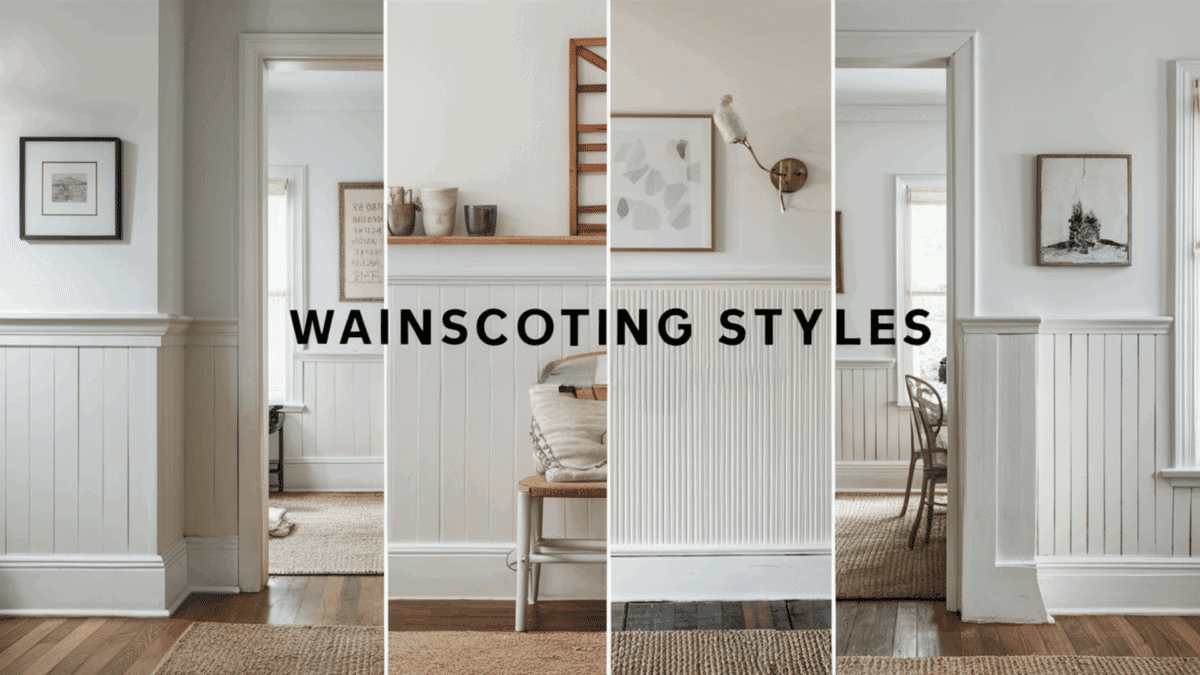
Profile geometry dictates how light interacts with the doorway, casting shadows that define a room’s character. Colonial and traditional profiles feature sweeping curves, coves, and beads that capture soft, ambient light, creating a warm, historic ambiance. Craftsman and Mission styles utilize flat boards paired with pronounced projecting head headers and plinth blocks, emphasizing bold, linear geometry and stark shadow lines. Minimalist reveals, often called "euro-casings" or drywall-return systems, eliminate traditional trim entirely, creating a flush, borderless opening that satisfies ultra-contemporary design desires.
Executing the Blueprint: A Masterclass in Precise Installation and Detailing
Achieving a high-end, bespoke look around a doorway relies entirely on meticulous installation practices. Even the most expensive custom-milled hardwood casing will look amateurish if joints are poorly fitted, nails are countersunk unevenly, or gaps are masked with excessive globs of caulk. Professional finish carpenters approach casing installation as an exacting science, balancing spatial geometry with precise mechanical fastening.
- Step 1 (Wall Preparation and Plumb Verification): Check the door jamb and surrounding drywall with a 4-foot level to identify any irregularities or out-of-plumb conditions. Shave down high spots or shim low areas so the casing sits flat without twisting, which prevents unsightly gaps along the miter joints.
- Step 2 (Establishing the Reveal): Measure and mark a consistent reveal—typically 3/16 to 1/4 inch—back from the inside edge of the door jamb. This exposed edge of the jamb creates a vital shadow line that adds depth and prevents the casing from looking flat against the frame.
- Step 3 (Cutting and Fitting the Side Legs): Measure the left and right vertical casing pieces from the floor (accounting for finished flooring thickness) to the miter intersection point. Cut the bottom ends square and the top ends at precise 45-degree angles using a dual-bevel sliding compound miter saw with a high-tooth-count finish blade.
- Step 4 (Securing with Adhesive and Fasteners): Apply a bead of flexible wood glue to the back of the casing before pressing it into place against the wall and jamb. Fasten the trim using 15-gauge or 16-gauge finish nails through the face into the framing studs, and 23-gauge pin nails through the inner edge into the door jamb to lock the miter joints tight.
- Step 5 (Finishing and Gap Mitigation): Countersunk nail holes must be filled with matching wood filler or non-shrinking spackle, sanded flush, and primed. Apply a thin, paintable acrylic latex caulk along the outer wall seam to create a seamless, monolithic transition between the trim and the drywall.
Navigating Structural Obstacles and Avoiding Professional Pitfalls
Every renovation project uncovers hidden surprises that threaten to derail meticulous trim work. Anticipating these challenges saves time, preserves materials, and ensures the finished product maintains a professional standard. Recognizing common errors before picking up a saw is the hallmark of experienced craftsmanship.
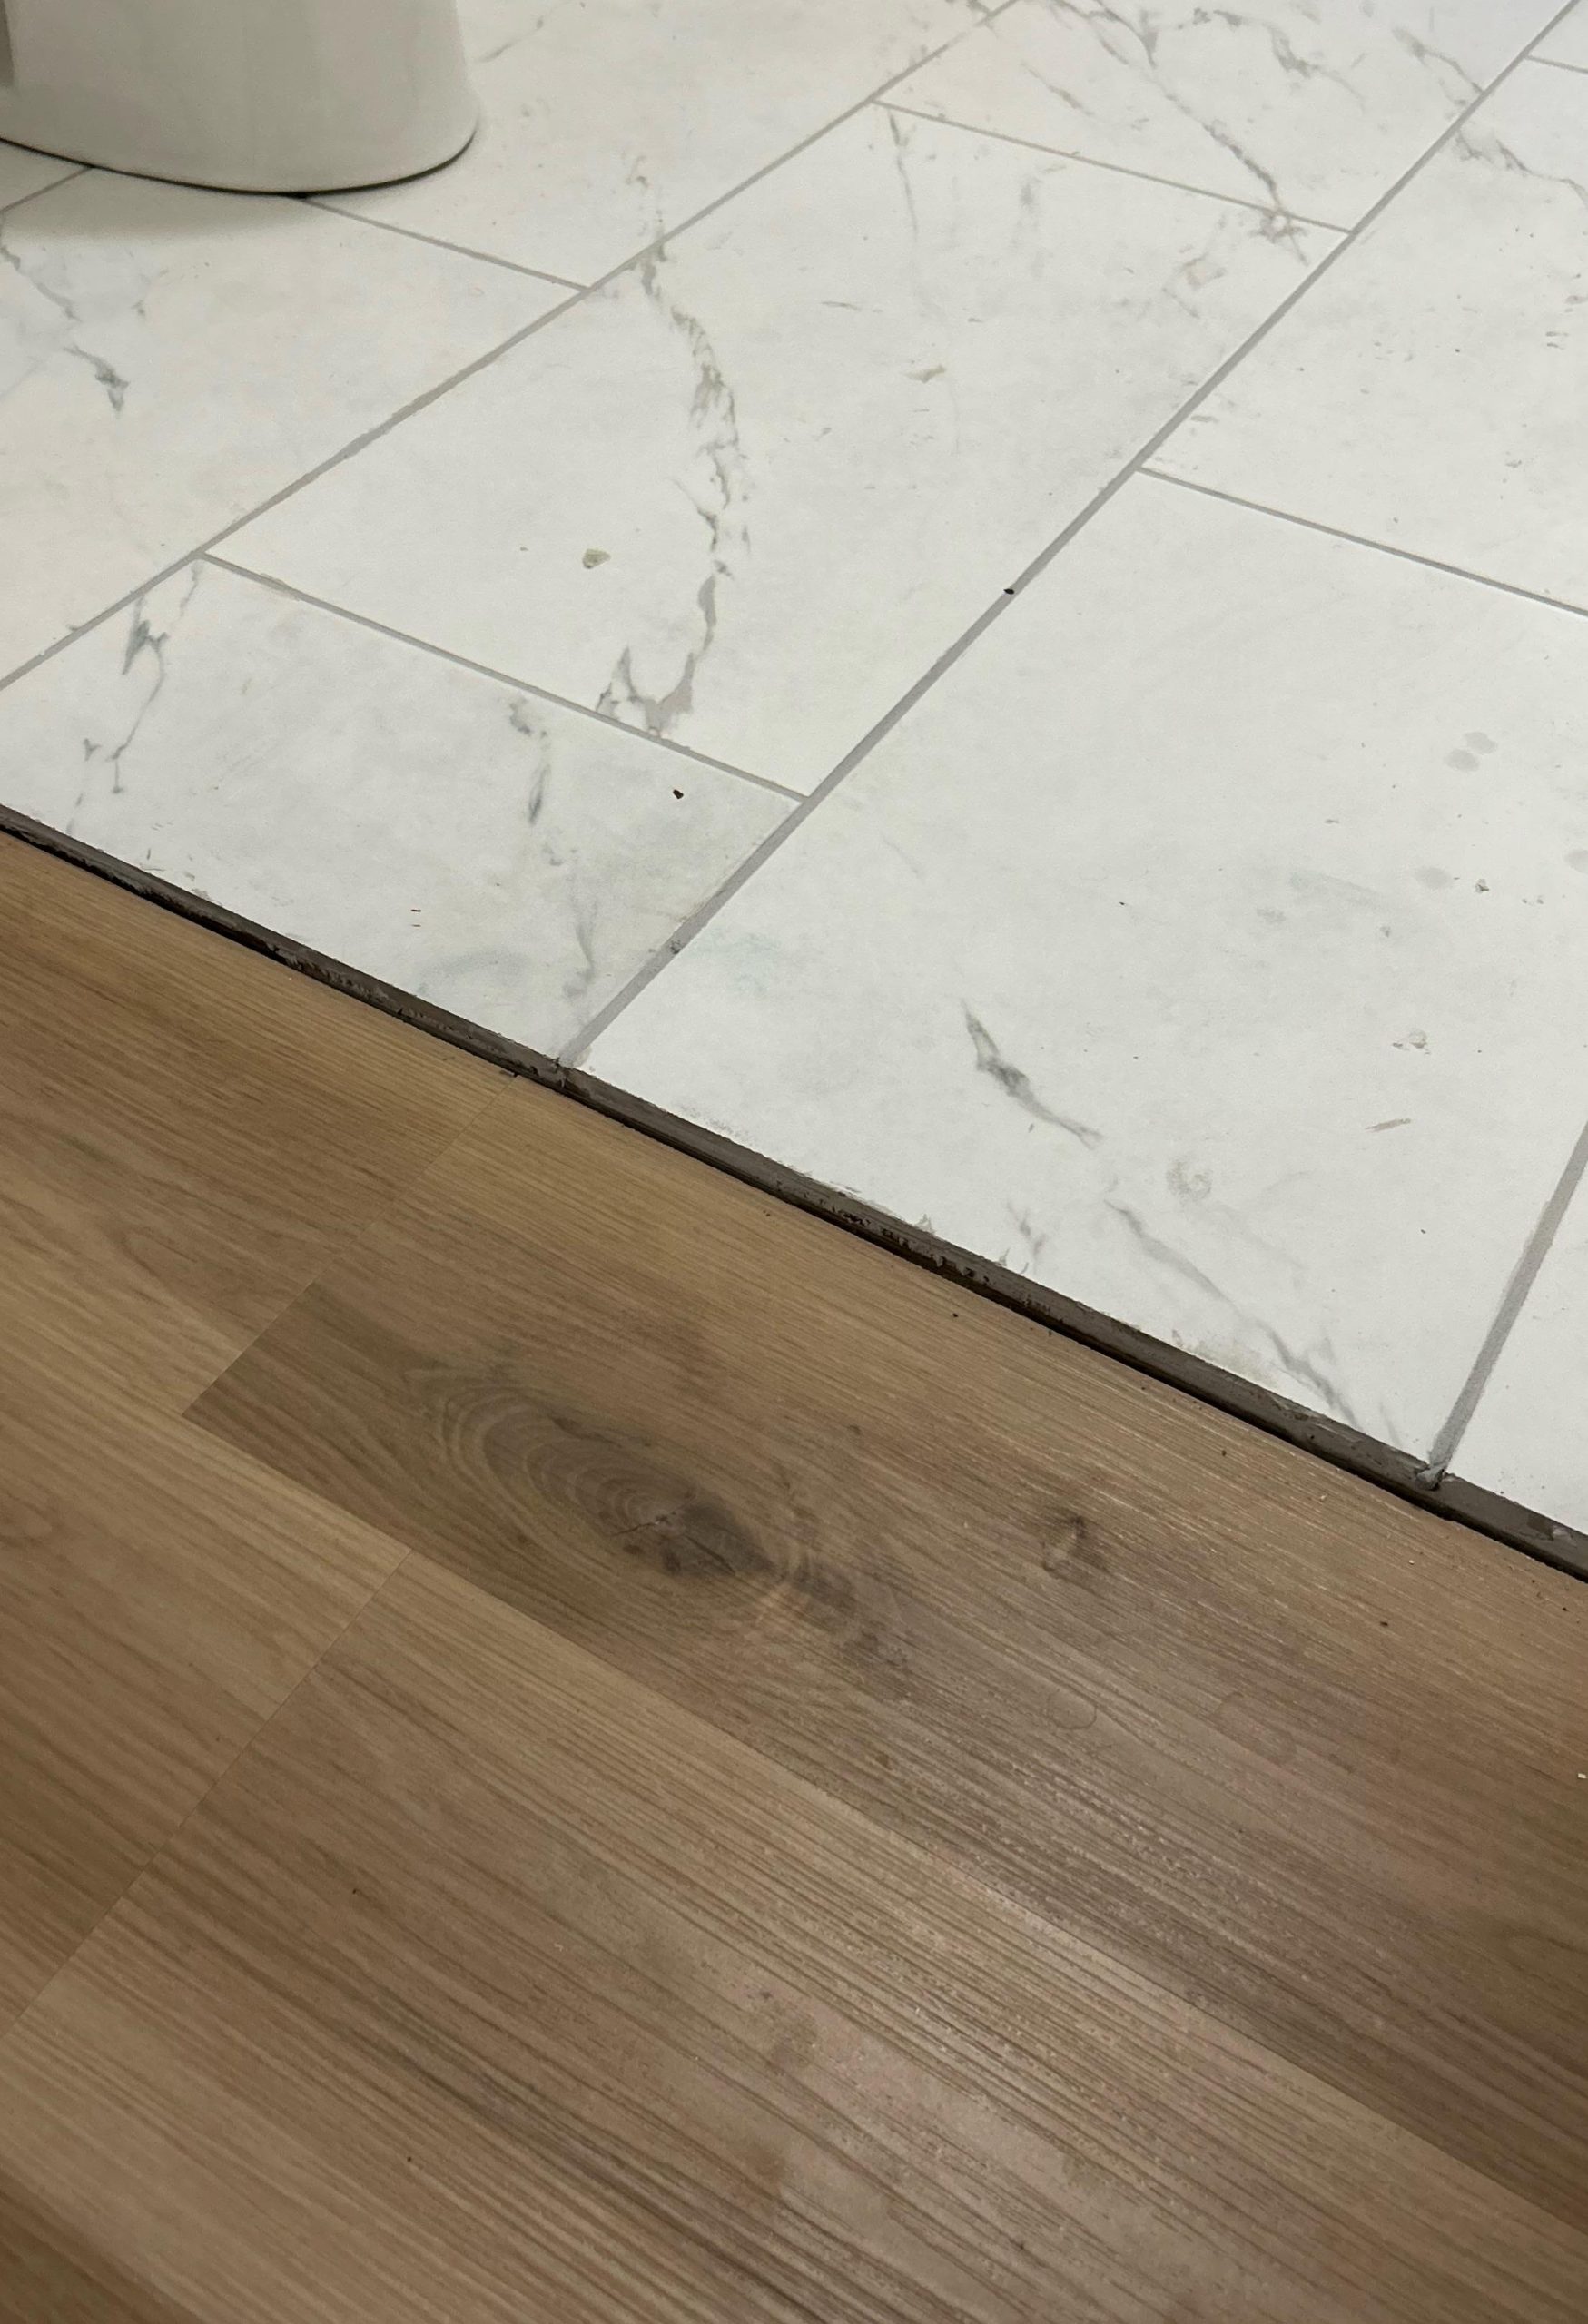
- Pitfall 1 (Ignoring Uneven Flooring Transitions): Cutting casing legs to a uniform length before finished floors are installed invariably leads to gaps at the bottom when hardwood, tile, or thick carpet is laid down. Always calculate finished floor heights, or install casing after flooring is complete, resting the trim on temporary spacers matching the final floor thickness.
- Pitfall 2 (Over-Reliance on Caulk to Fix Bad Miters): Forcing an inaccurate 45-degree miter and filling the resulting gap with thick caulk is a rookie mistake that fails rapidly as seasonal humidity causes wood movement. Invest in a properly calibrated miter saw, practice test cuts on scrap material, and use mechanical fasteners like biscuits or pocket screws on wide profiles to lock joints permanently.
- Pitfall 3 (Failing to Account for Door Swing Clearances): Installing thick, heavy casing too close to an adjacent wall or perpendicular hallway can prevent interior doors from opening fully to 90 or 180 degrees. Always measure the clearance between the door latch side and neighboring walls before selecting profile widths, utilizing flat jamb extensions if necessary.
- Pitfall 4 (Using Moisture-Vulnerable Materials in Wet Zones): Selecting standard MDF or finger-jointed pine for bathroom or basement door casings results in premature water damage, swelling, and mold growth. Always specify cellular PVC or pressure-treated, sealed hardwoods for any high-moisture threshold.
- Pitfall 5 (Neglecting the Shadow Line Reveal): Flushing the casing edge completely flush with the inside of the door jamb eliminates the critical shadow line, making the trim look muddy and poorly aligned. Maintain a consistent 3/16-inch reveal to ensure crisp, professional architectural definition.
The Broader Impact: Spatial Flow, Architectural Integrity, and Long-Term Value
Door casings act as the connective tissue of a home’s interior landscape. When someone walks through a house, their subconscious mind registers the rhythm of doorways as a sequence of frames in a gallery. If the casing style shifts erratically from room to room without a cohesive organizing principle, the home feels disjointed, chaotic, and cheaply constructed. Maintaining design continuity through thoughtful trim selection elevates the perceived square footage and architectural coherence of the entire property.
From an economic perspective, investing in high-quality door casing yields exceptional return on investment during home appraisals and resales. Buyers may not consciously articulate why a living room feels "expensive" or "custom," but they instinctively respond to the substantial weight of solid wood trim, crisp miter joints, and harmonious proportions. Upgrading builder-grade 2-inch flat casing to substantial 4-inch craftsman or molded profiles is one of the most cost-effective ways to instantly modernize a dated interior.
Sustainability and material longevity are increasingly driving modern casing design choices. Homeowners and architects are shifting away from short-lived petroleum-based synthetic wraps in favor of sustainably harvested, FSC-certified domestic hardwoods or durable composite materials designed for circular lifecycles. Choosing finishes with low Volatile Organic Compounds (VOCs) ensures that the micro-environment within the home remains healthy, proving that high-end aesthetics do not need to come at the expense of indoor air quality.
The psychological impact of well-proportioned architectural details should never be underestimated. Spaces framed with care feel grounded, secure, and permanent. Doorways are thresholds of transition—the physical portals we cross when moving from public social spaces to private sanctuaries. Designing these transitions with intention honors the human experience of space, turning a simple functional necessity into an everyday moment of quiet beauty.
Strategic Frameworks for Harmonious Interior Transitions
Developing a successful door casing strategy requires stepping back from individual doorways to evaluate the floor plan as a cohesive ecosystem. Establishing a design hierarchy ensures that public-facing architectural zones receive prominent, expressive trim, while private service areas feature cleaner, understated profiles that blend into the background.
- The Public-to-Private Hierarchy: Reserve your most ornate, wide, or historically detailed casings for entry foyers, formal dining rooms, and main living area portals. As you transition down private hallways toward bedrooms and utility spaces, simplify the profile width while maintaining consistent material thickness to preserve visual unity.
- The Color Theory Rule of Thumb: While white and off-white enamel remains the perennial favorite for door casings, painting trim a contrasting dark color—such as charcoal gray, deep forest green, or matte black—creates a striking, contemporary gallery-like effect. Ensure the chosen color complements the door slab itself, whether you are utilizing a monochromatic match or a bold wood-versus-paint contrast.
- Integrating Baseboards and Crown: Ensure your casing interfaces cleanly with baseboards by using plinth blocks at floor level for traditional styles, or by ensuring the casing thickness slightly exceeds the baseboard thickness so the trim steps down gracefully without awkward overhangs.
The humble door casing proves that true architectural elegance lives in the details we touch and navigate every single day. By refusing to treat trim as a disposable building supply and instead recognizing it as a critical instrument of design, you transform ordinary doorways into intentional spatial transitions.
As material science evolves and design sensibilities lean toward clean lines balanced with tactile warmth, the opportunities for creative expression around the threshold have never been greater. Whether you are restoring a century-old Victorian or designing a sleek, contemporary sanctuary from the ground up, let your casing choices tell a deliberate story of craftsmanship, proportion, and enduring style.