You’ve spent hours measuring, cutting, and sanding. The wood smells fresh, the lines are crisp, and you’re ready for the final step: nailing it together. You grab your hammer or nail gun, drive in a few shots, and step back. It looks solid. But does it feel right? Maybe there’s a slight wobble. Or perhaps, six months later, you hear that dreaded creak when you lean on the deck railing.
It’s frustrating, isn’t it? We often think of nails as simple little metal sticks. Just bang them in, and job done. But the reality is far more nuanced. A nail joint is a complex interaction of friction, wood fiber displacement, and mechanical locking. Get it wrong, and you’re not just building a weak joint; you’re building a failure point. In 2026, with building codes tighter than ever and homeowners more aware of structural integrity, understanding these nuances isn’t just for pros—it’s for anyone who picks up a hammer.
Let’s talk about what actually goes wrong. Not the theoretical stuff, but the real-world mistakes that turn a sturdy bookshelf into a wobbly mess or a safe deck into a hazard. These aren’t just minor oopsies. They’re fundamental errors in physics and material science that we repeat because nobody taught us better. So, let’s dig in.
The Split That Sneaks Up on You
We’ve all been there. You drive a nail near the edge of a board, and suddenly—crack. A split runs down the length of the timber. It’s ugly, sure, but is it dangerous? Absolutely. When wood splits, the fibers that were supposed to grip the nail shank are severed. The nail is no longer held by friction; it’s just sitting in a gap. Over time, vibration and load will work that nail loose.
Why does this happen? Usually, it’s because the nail is too thick for the wood species you’re using, or you’re too close to the end grain. Hardwoods like oak are notorious for this. They don’t compress easily; they break. Softwoods like pine are more forgiving, but even they have limits. The quick fix people reach for is pre-drilling. And yes, drilling a pilot hole slightly smaller than the nail shank can prevent splitting. But here’s the thing: if you drill the hole too big, you lose holding power. It’s a balancing act.
Another culprit is the nailer itself. If you’re using a pneumatic nail gun, check the air pressure. Too much force drives the nail in too fast, creating a shockwave that bursts the wood fibers apart before they can move out of the way. Slowing down your approach, or switching to a ring-shank nail which cuts rather than wedges, can make a huge difference. It’s about respecting the material. Wood is alive, in a sense. It has grain, tension, and weakness. Ignore that, and it will fight back.
Choosing the Wrong Nail for the Job
Walk into any hardware store today, and the nail aisle is overwhelming. Box nails, common nails, sinkers, finish nails, galvanized, stainless, coated. It’s easy to grab whatever box is open and call it a day. But using the wrong type of nail is like trying to run a marathon in flip-flops. It might work for a bit, but it won’t hold up.
For structural framing, you need common wire nails. They have a thick shank and a wide head. But for outdoor decks or anything exposed to moisture, bright steel nails are a ticking time bomb. Rust expands. When a nail rusts inside a timber joint, it pushes the wood fibers apart, loosening the grip. In 2026, with climate patterns bringing more rain and humidity to many regions, using galvanized or stainless steel nails for exterior work isn’t just a recommendation; it’s a necessity. Rust doesn’t just weaken the nail; it rots the wood around it.
Then there’s the issue of length. A general rule of thumb is that the nail should penetrate the receiving piece of wood by at least two-thirds of its length. If you’re nailing a 1.5-inch thick stud to another 1.5-inch plate, a 2-inch nail is useless. It barely gets through. You need a 3-inch or even 3.5-inch nail to get proper bite. Short nails rely on surface friction, which fails under shear load. Long nails engage deeper fibers, creating a mechanical lock. It’s simple physics, but we often ignore it for the sake of speed.
Spacing and Placement Blunders
Where you put the nail matters just as much as what nail you use. Cramming three nails into a one-inch space doesn’t make the joint three times stronger. In fact, it makes it weaker. Each nail displaces wood fibers. If they’re too close together, the displaced areas overlap, creating a zone of compromised integrity. The wood essentially becomes crumbly dust between the nails, offering zero holding power.
The standard guideline is to keep nails at least 10 to 12 diameters apart from each other and from the edge of the wood. For a typical 16d common nail, that means keeping them about an inch and a half apart. It feels counterintuitive. More nails equals more strength, right? Not when they’re fighting each other for space. Think of it like planting trees. If you plant them too close, none of them grow strong roots because they’re competing for the same soil.
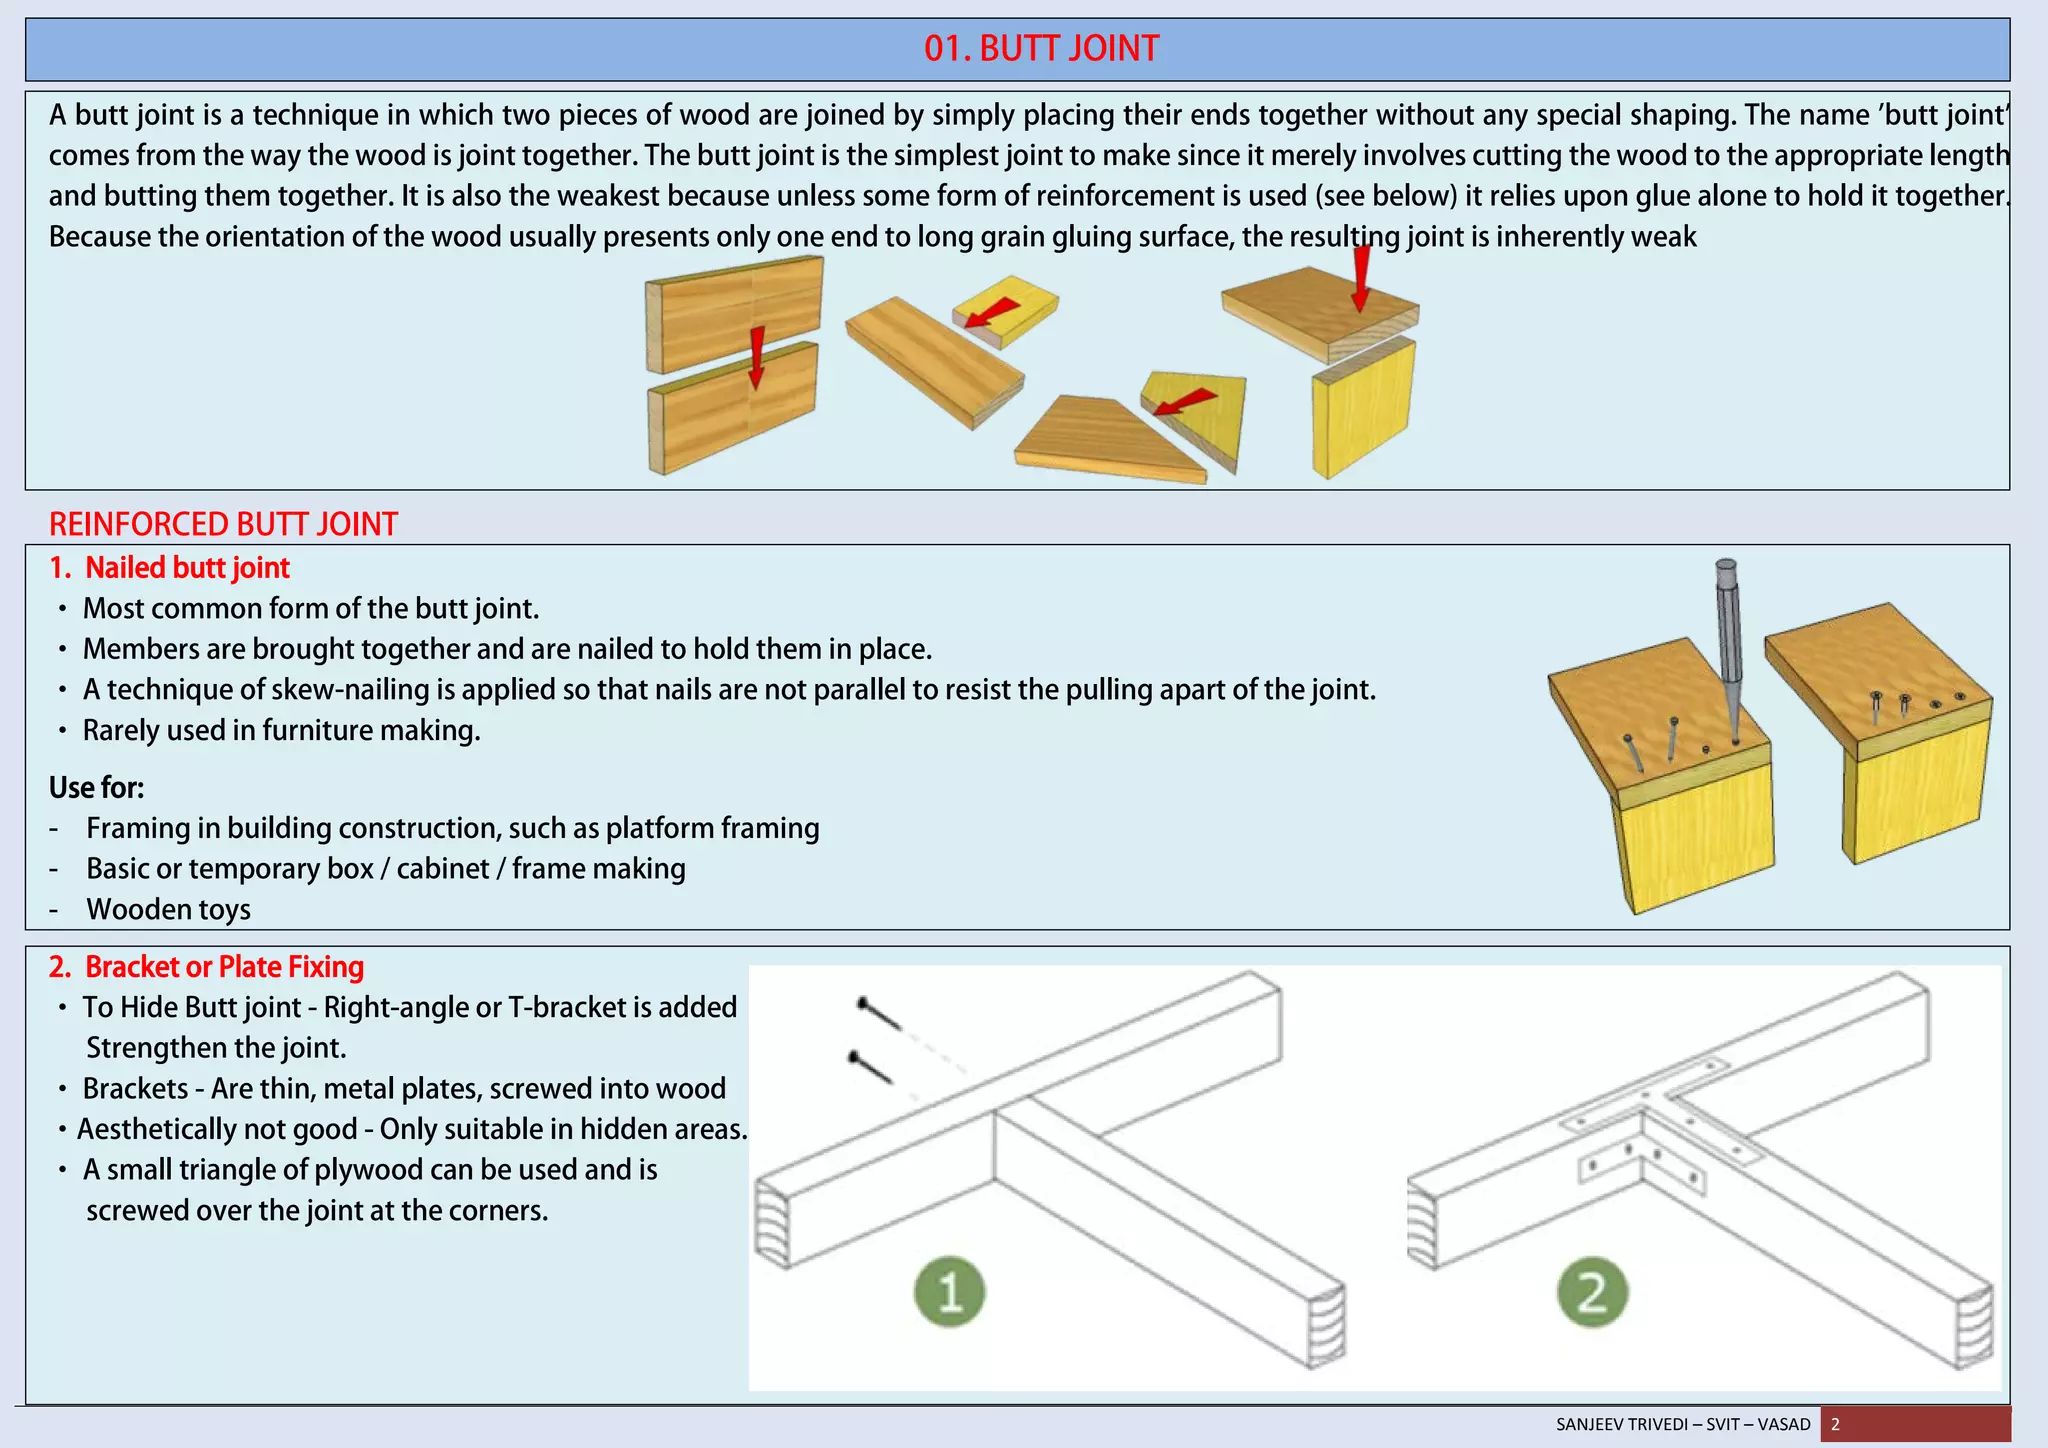
Toe-nailing is another area where placement goes wrong. This is when you drive nails at an angle through one piece of wood into another. It’s common in framing walls without metal connectors. The mistake here is symmetry. If you toe-nail both sides with the same angle and spacing, you create a pivot point. The joint can rock back and forth. Instead, vary the angles and stagger the nails. Create a triangulated effect that resists movement in multiple directions. It’s a small tweak, but it transforms a floppy joint into a rigid one.
Ignoring Grain Direction and Wood Movement
Wood breathes. It expands and contracts with changes in humidity and temperature. If you nail two pieces of wood together without considering their grain direction, you’re setting yourself up for failure. For example, nailing a tabletop apron directly across the width of a leg can cause issues. As the apron expands in summer, it pushes against the nail. Since the nail can’t stretch, something has to give. Usually, it’s the wood splitting or the joint pulling apart.
This is why traditional joinery uses slots or floating panels. But when you’re stuck with nails, you need to be smart. Avoid nailing across wide boards where significant expansion will occur. If you must, use fewer nails and allow for some slip. Or, better yet, use screws with washers that allow for slight movement. But if you’re committed to nails, understand that a rigid connection between two pieces of wood moving in different directions is a battle you will lose.
Also, consider the end grain. Nailing into the end grain of a board—like driving a nail into the top of a post—is incredibly weak. The fibers run parallel to the nail, offering almost no resistance. The nail can pull out with minimal force. Always try to nail into the side grain, where the fibers run perpendicular to the nail shank. This maximizes the friction and cutting action that holds the nail in place. If you have to nail into end grain, use a longer nail or a specialized adhesive, but know that it’s a compromised joint from the start.
The Overlooked Power of Pre-Drilling and Pilot Holes
We mentioned pre-drilling earlier, but it deserves its own spotlight because so many people skip it. In softwoods, you can often get away with direct nailing. But in hardwoods, or when working near edges, skipping the pilot hole is a gamble. And it’s a gamble you usually lose. Pre-drilling isn’t just about preventing splits; it’s about controlling the path of the nail.
When you drive a nail blindly, it can follow the path of least resistance, which might mean veering off course. It might hit a knot and bend. Or it might exit the other side of the board where you didn’t intend. A pilot hole guides the nail, ensuring it goes exactly where you want it. This is crucial for angled nails or when joining thin pieces of wood. Precision equals strength. A nail that goes straight and true engages the maximum amount of wood fiber.
But remember the size matters. The pilot hole should be about 75% to 80% of the nail’s diameter. Too small, and you still risk splitting. Too big, and the nail spins loosely, providing no grip. It’s a sweet spot. Take the extra thirty seconds to drill. It saves you from the ten-minute repair job later. Plus, it reduces the effort needed to drive the nail, which means less chance of bending the nail or damaging the wood surface with a stray hammer blow. It’s a small step that screams professionalism.
Not all forces are created equal. A nail joint might hold up fine under a vertical load (shear), but fail miserably under a pulling force (tension). Think about a shelf bracket. The weight of the books pushes down, shearing against the nails. That’s one thing. But if you pull the shelf outward, trying to rip it off the wall, those same nails are under tension. Nails are terrible in tension. They pull out.
This is why understanding the load path is critical. Where will the stress come from? If it’s primarily shear, nails are great. If there’s any tension involved, you need to rethink your strategy. Maybe you need metal brackets that transfer the load differently. Maybe you need to add glue. Speaking of glue, combining nails with wood adhesive creates a joint that is significantly stronger than either alone. The glue handles the initial bonding and distributes stress, while the nails provide clamping pressure and mechanical backup.
In 2026, we see more hybrid approaches. People are using construction adhesives alongside nails for framing subfloors and decking. This isn’t cheating; it’s engineering. The adhesive fills the microscopic gaps between the wood and the nail shank, increasing the surface area for friction. It also prevents the squeaking caused by wood rubbing against metal. Don’t rely on nails alone if the joint will face complex stresses. Layer your defenses. Use the right fastener for the specific type of force it will encounter.
So, where does this leave us? Building with wood is an art form grounded in science. It’s not just about banging metal into timber. It’s about understanding how fibers interact, how moisture moves, and how forces travel through a structure. The mistakes we’ve discussed—splitting wood, wrong nail choice, poor spacing, ignoring grain, skipping pilot holes, and misunderstanding loads—are all common. But they’re also avoidable.
Next time you pick up your hammer, pause. Look at the wood. Feel its weight. Check its grain. Ask yourself: What is this joint trying to do? Is it holding weight? Resisting wind? Just keeping two pieces aligned? Let those answers guide your choice of nail, your placement, and your technique. It takes a bit more thought, sure. But the result is a project that doesn’t just look good on day one. It stays good. It stays strong. And that’s the whole point, isn’t it?
Don’t rush the fasteners. They’re the unsung heroes of your build. Treat them with respect, and they’ll hold your world together. Literally.
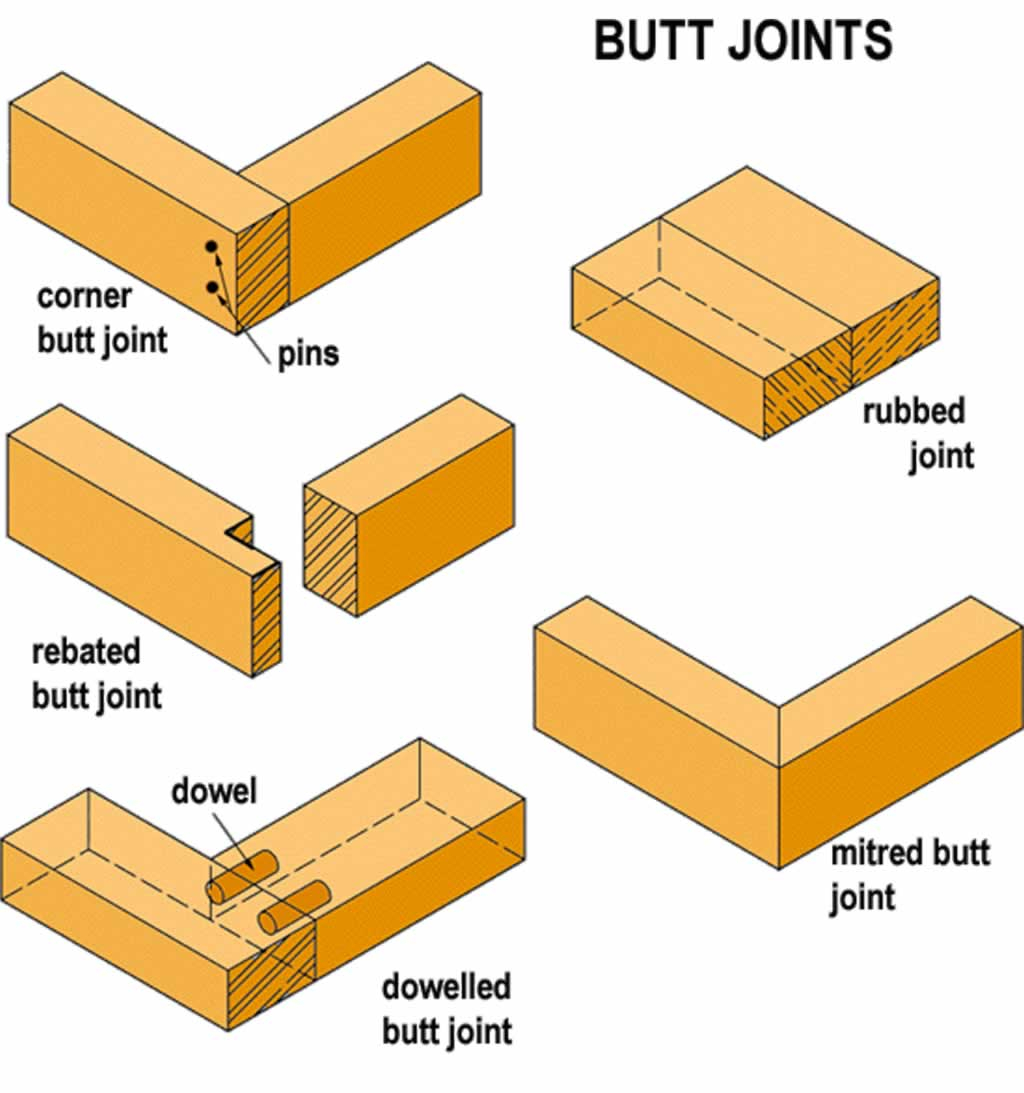
[sps_html tag=”img” src=”https://cdn.northcarolinafinearchitecture.com/2026/06/types-of-woodworking-joints-in-nail-joint-design.jpg” alt=”Types Of Woodworking Joints in Nail Joint Design” style=”width: 100%; height: auto;”]
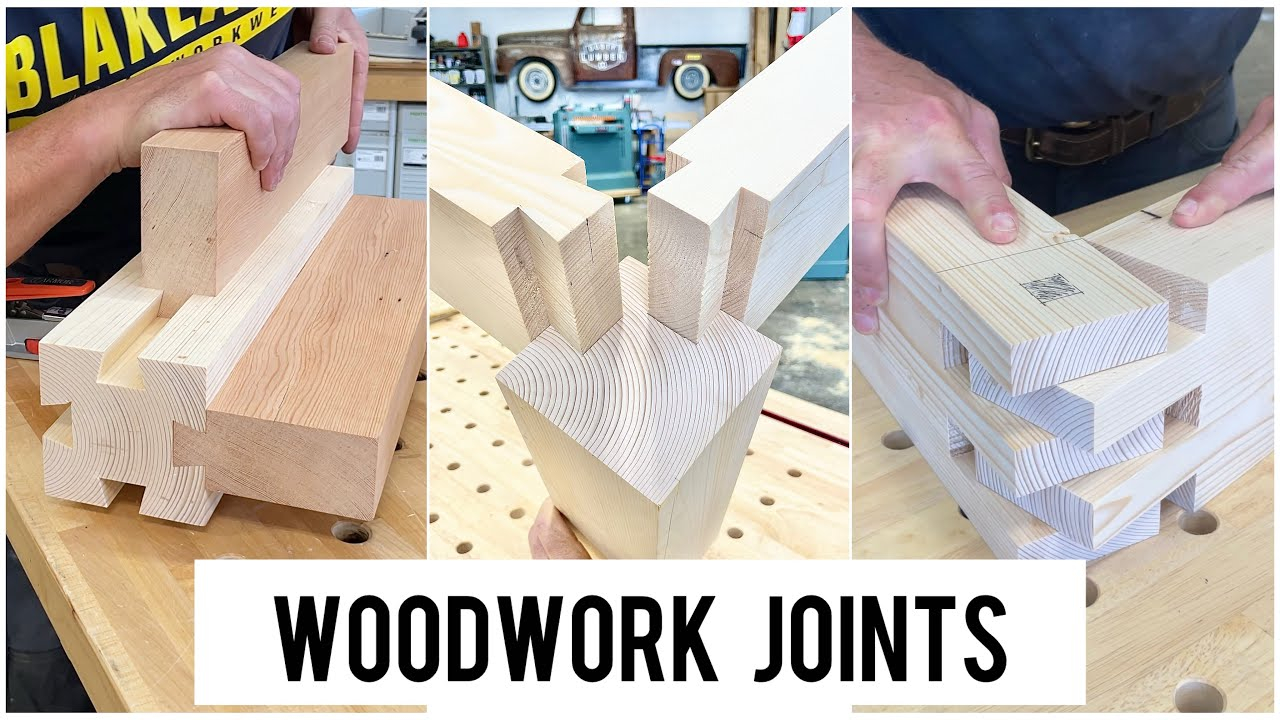
[sps_html tag=”img” src=”https://cdn.northcarolinafinearchitecture.com/2026/06/woodwork-joints-pdf-intended-for-nail-joint-design.jpg” alt=”Woodwork Joints | Pdf intended for Nail Joint Design” style=”width: 100%; height: auto;”]
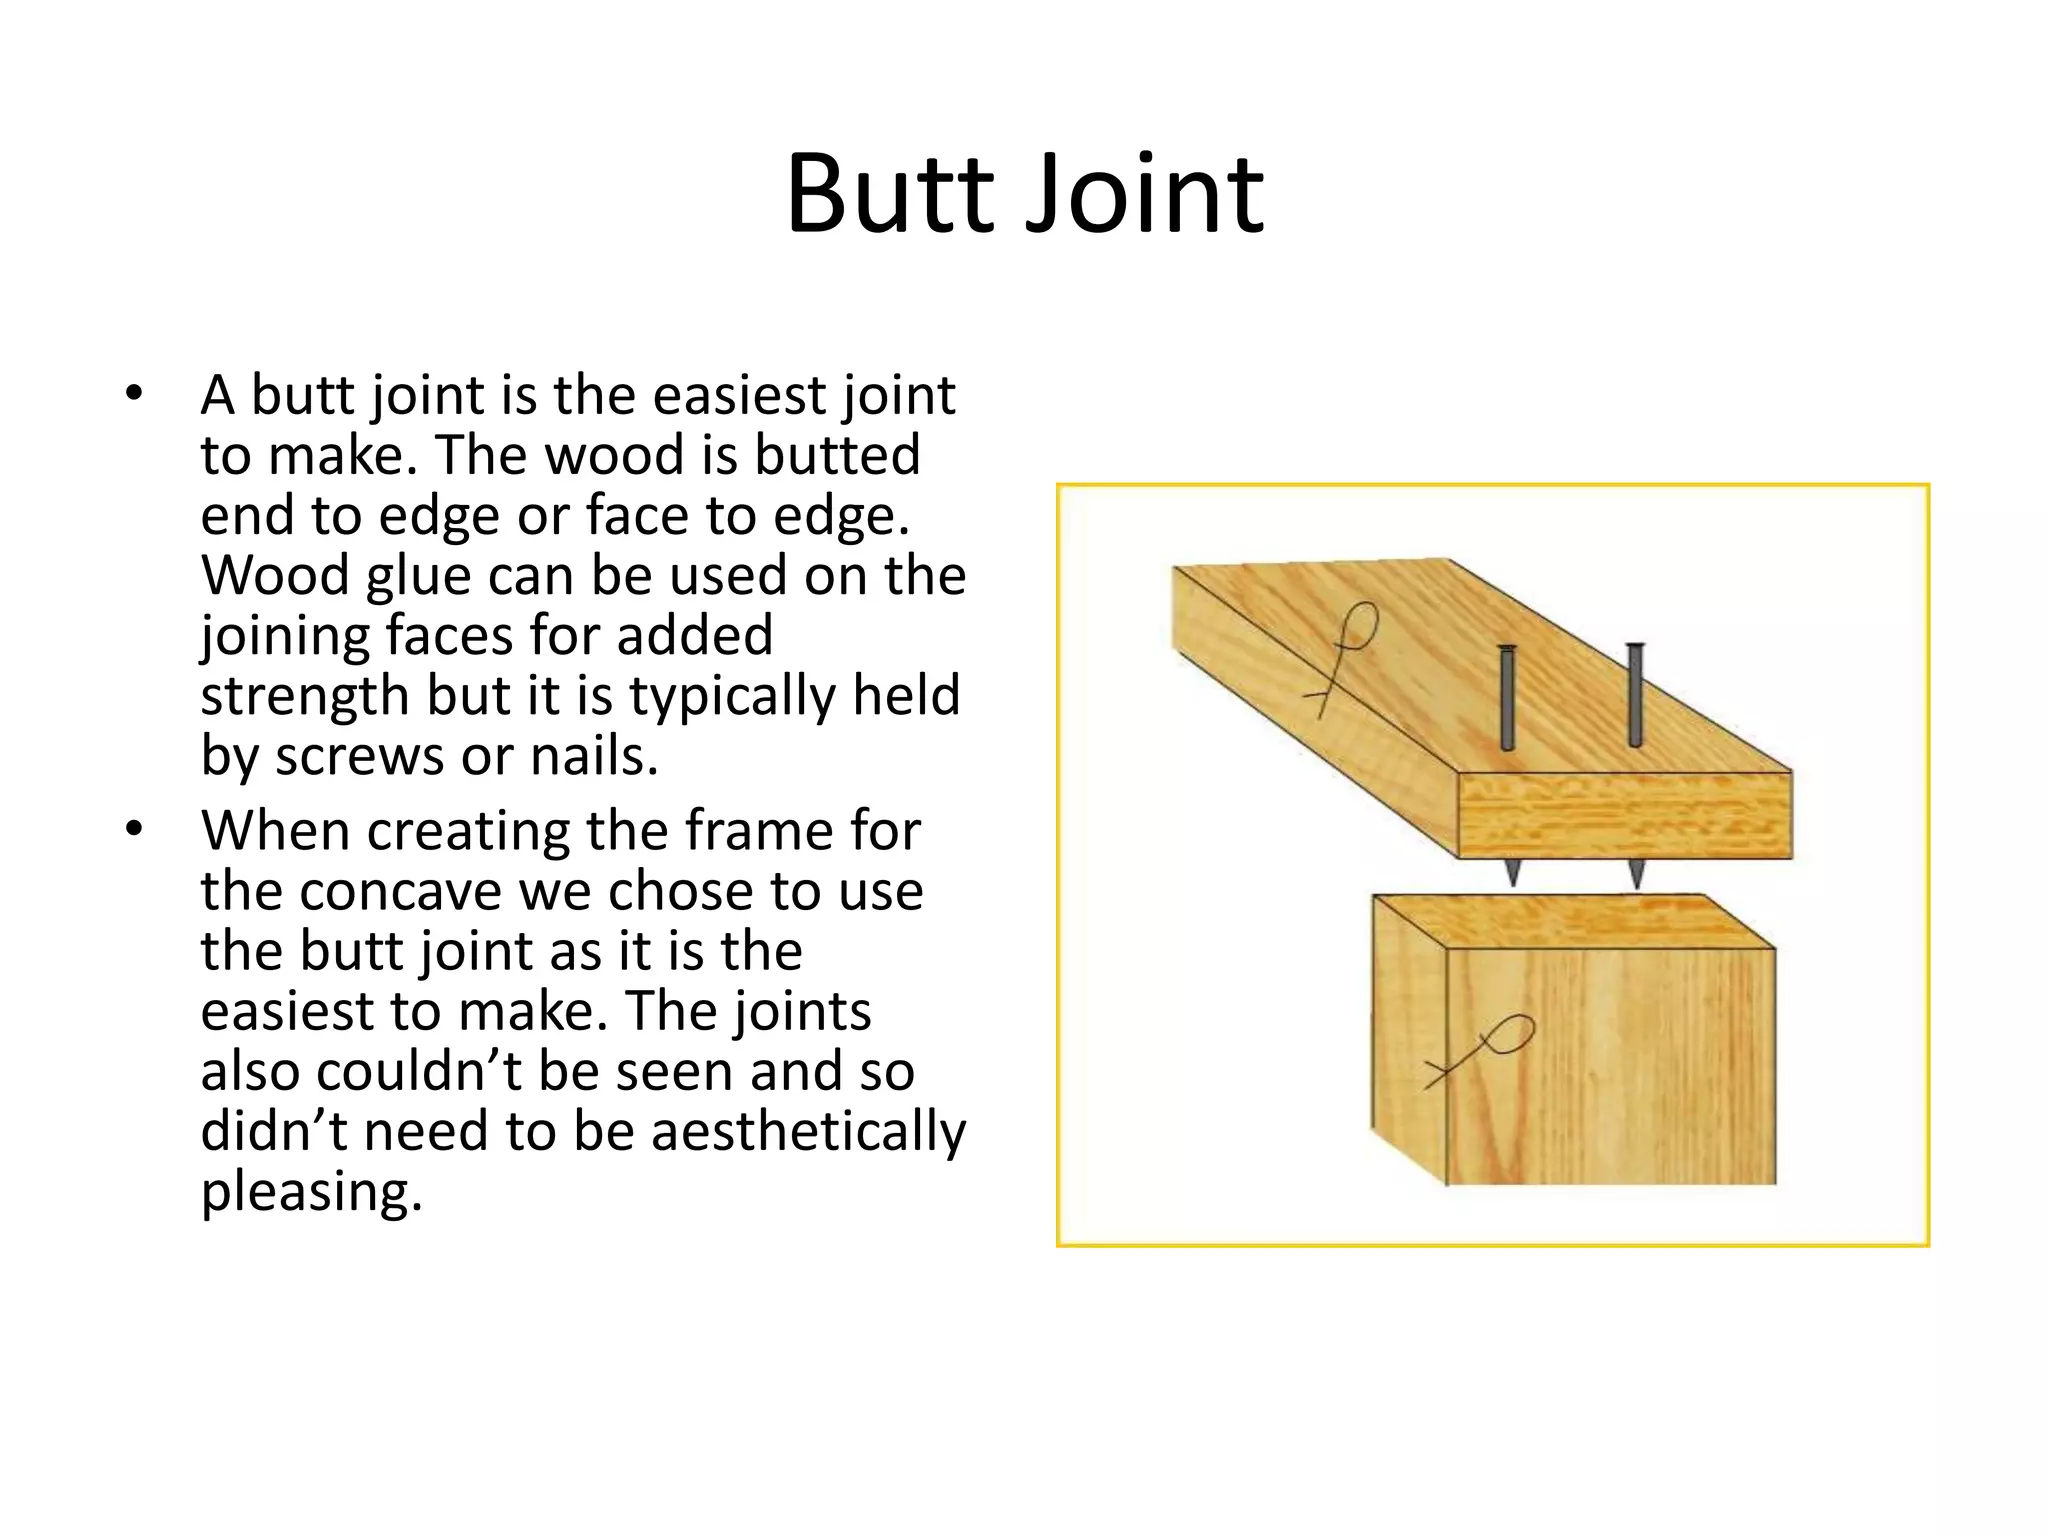
[sps_html tag=”img” src=”https://cdn.northcarolinafinearchitecture.com/2026/06/how-to-make-the-perfect-butt-joints-step-by-step-guide-with-regard-to-simple-rules-for-safe-and-efficient-nailed-joints.jpg” alt=”How To Make The Perfect Butt Joints: Step-By-Step Guide with regard to Simple Rules for Safe and Efficient Nailed Joints” style=”width: 100%; height: auto;”]
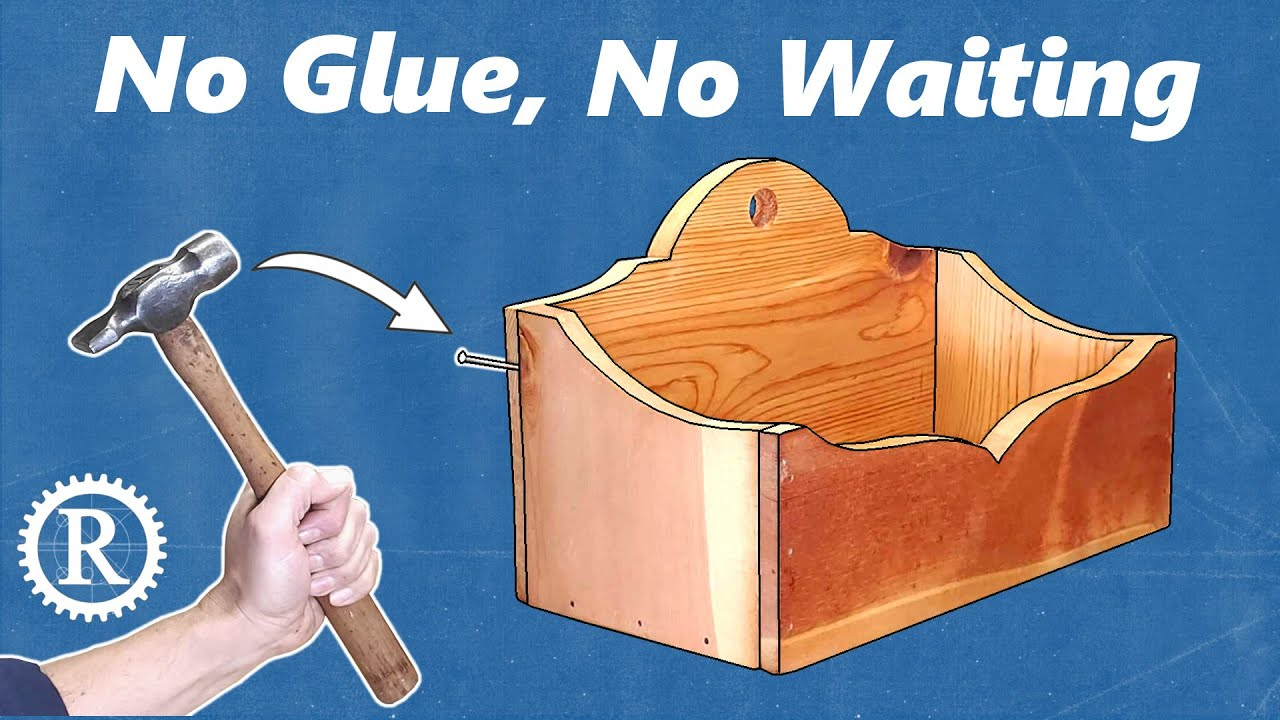
[sps_html tag=”img” src=”https://cdn.northcarolinafinearchitecture.com/2026/06/quick-woodworking-with-the-ultra-fast-nailed-rabbet-joint-youtube-throughout-nail-joint-design.jpg” alt=”Quick Woodworking With The Ultra-Fast Nailed Rabbet Joint. - Youtube throughout Nail Joint Design” style=”width: 100%; height: auto;”]
[sps_html tag=”img” src=”https://cdn.northcarolinafinearchitecture.com/2026/06/joints-and-tools-powerpoint-pptx-with-simple-rules-for-safe-and-efficient-nailed-joints.jpg” alt=”Joints And Tools Powerpoint | Pptx with Simple Rules for Safe and Efficient Nailed Joints” style=”width: 100%; height: auto;”]