We’ve all seen it. That jagged, ugly crack running down the side of a concrete driveway or the leaking seal on a bridge expansion joint that’s been there since the nineties. It’s frustrating, isn’t it? We build these massive, impressive structures meant to last generations, yet we often overlook the tiny gaps that hold them together. Or rather, keep them from tearing themselves apart. Joints are the unsung heroes of construction. They’re the breathing room our buildings need to survive the heat of summer and the bite of winter. But get them wrong, and you’re looking at water damage, structural stress, and a whole lot of expensive repairs.
It’s wild how much faith we put in "rule of thumb" designs. For years, contractors and even some engineers have relied on gut feelings or outdated guidelines when placing joints. But here’s the thing: buildings move. Pipes expand. Concrete shrinks as it dries. Ignoring these realities is like trying to hold your breath forever—eventually, something’s gonna give. In 2026, with materials getting more complex and climate patterns becoming less predictable, we can’t afford to be casual about joint design anymore. We need a approach that’s practical, rooted in science, and focused on the long haul. This isn’t just about avoiding cracks; it’s about respecting the physics of the materials we work with every day.
Understanding Why Things Move (And Why It Matters)
Let’s start with the basics. Why do we even need joints? Well, everything changes size when the temperature changes. It’s simple thermodynamics. Steel expands when it gets hot and contracts when it cools down. Concrete does something similar, but it also shrinks significantly as it cures and loses moisture. If you pour a huge slab of concrete without any breaks, it’s going to try to shrink. Since it’s stuck to the ground or connected to other parts of the building, it can’t just shrink freely. So, what does it do? It cracks. Usually in the most inconvenient places possible.
Think of a joint as a planned weakness. Sounds counterintuitive, right? But by creating a controlled weak point, you dictate exactly where the structure will move or crack. This is the difference between a contraction joint, which controls cracking, and an expansion joint, which allows separate segments to move independently. According to recent insights from Structville, there’s still no single universally agreed-upon method for handling these movements, which is why understanding the specific forces at play in your project is crucial. Whether it’s thermal expansion, moisture variation, or even seismic activity, the joint has to accommodate that motion without failing. If you don’t account for the full range of movement, you’re basically setting yourself up for failure before the first brick is laid.
Placement and Sizing: Getting the Basics Right
Successful expansion joint design begins with two critical factors: placement and sizing. These aren’t just details; they are the foundation of a working system. If you place a joint too far apart, the material between them might crack before it ever reaches the joint. If you size it too small, the joint will close up completely during cold weather and crush itself, or open up too wide in the heat, tearing the sealant. Joint-Tek highlights that these two elements determine how effectively a structure can accommodate movement without suffering from structural stress. It’s a balancing act.
So, how do you get it right? First, look at the material. Different materials have different coefficients of thermal expansion. Aluminum moves way more than steel, which moves more than concrete. You need to calculate the total expected movement based on the local temperature extremes. Don’t just use the average temperature; use the record highs and lows for your area. Then, consider the length of the run. The longer the continuous piece of material, the more it’s going to move. A good rule of thumb—though you should always verify with engineering calculations—is to place expansion joints at regular intervals that prevent excessive stress buildup. For concrete slabs, this might be every 20 to 30 feet. For steel piping, it depends on the temperature of the fluid inside. Getting this wrong means headaches down the road, as noted by Projul. It’s better to spend extra time on the drawing board than extra money on repairs later.
Choosing the Right Materials for the Job
Not all joints are created equal, and neither are the materials used to fill them. You’ve got elastomeric joints, metal expansion joints, foam backer rods, and various sealants. Picking the right one is like choosing the right shoe for a hike; you wouldn’t wear sandals up a mountain, so why put a cheap sealant in a high-movement bridge joint? Gallagher Seals points out that expansion joints are built to expand, contract, and adjust without straining the system. Essentially, they protect the piping or structure from damage. But if the material can’t handle the environment, it’s game over.
Consider the environment. Is the joint exposed to UV light? Ozone? Chemicals? Saltwater? A sealant that works great in a dry indoor warehouse might disintegrate in six months on a coastal bridge. In 2026, we’re seeing more advanced polymer-based sealants that offer better elasticity and adhesion than the old-school silicone or polyurethane options. For heavy-duty applications, like bridges or industrial plants, metal expansion joints with bellows are often the go-to. They can handle massive movements and high pressures. But they’re expensive and complex to install. On the other hand, for a residential driveway, a simple foam backer rod with a high-quality polyurethane sealant is usually plenty. The key is matching the material’s capabilities to the specific demands of the job. Don’t over-engineer a simple job, but definitely don’t under-engineer a complex one.
The Hidden Enemy: Water and Debris
Here’s a secret that doesn’t get enough attention: the joint itself isn’t usually the problem. It’s what gets into the joint. Water, salt, dirt, and debris are the silent killers of structural integrity. When water seeps into a joint and freezes, it expands. This freeze-thaw cycle can blow out concrete, corrode steel reinforcements, and destroy sealants. The Washington State Department of Transportation (WSDOT) emphasizes that expansion joint devices must prevent water, salt, and debris infiltration into substructure elements. This is non-negotiable for long-term durability.
Think about a bridge deck. Cars drive over it, kicking up water and road salt. If the expansion joint doesn’t have a proper drainage system or a tight seal, that salty slush drips down onto the bearings and supports below. Over time, those steel components rust and weaken. Suddenly, you’ve got a safety hazard on your hands. That’s why modern joint designs often include complex drainage channels and protective covers. It’s not just about letting the bridge expand; it’s about keeping the bad stuff out. For buildings, it’s similar. Rainwater getting into a facade joint can lead to mold, rot, and interior damage. Always ask yourself: "Where does the water go?" If you don’t have a clear answer, your design is incomplete. A smooth riding surface is nice, but a dry, clean substructure is vital.
Bolted and Mechanical Joints: Tightening for Longevity
Not all joints are about concrete and sealants. In mechanical systems, bolted joints are everywhere. From skyscrapers to pipelines, bolts hold things together. But a bolted joint is only as good as its tightening. If it’s too loose, it vibrates apart. If it’s too tight, you strip the threads or stretch the bolt beyond its yield point, causing it to fail prematurely. The Fifth Edition of "Introduction to the Design and Behavior of Bolted Joints," updated by Michael Oliver, provides detailed guidance on this. It highlights that proper tightening procedures are essential for long-term life. This isn’t just about turning a wrench; it’s about applying the correct preload.
In 2026, we’re seeing more use of torque-controlled tools and even smart bolts that monitor their own tension. This tech helps ensure that every bolt in a critical connection is tightened to the exact specification. But even with high-tech tools, the fundamentals remain. You need to understand the friction coefficients, the material strength, and the effect of vibration. A joint that looks solid on day one might loosen up after a few months of wind loading or machine vibration. That’s why regular inspection and maintenance are part of the design process. You can’t just set it and forget it. Especially in composite structures, where material discontinuities create highly stressed areas, as noted by LBL.gov. Those stress concentrations are where failures start. Proper bolt pattern design and preload management can mitigate these risks significantly.
Installation: Where Theory Meets Reality
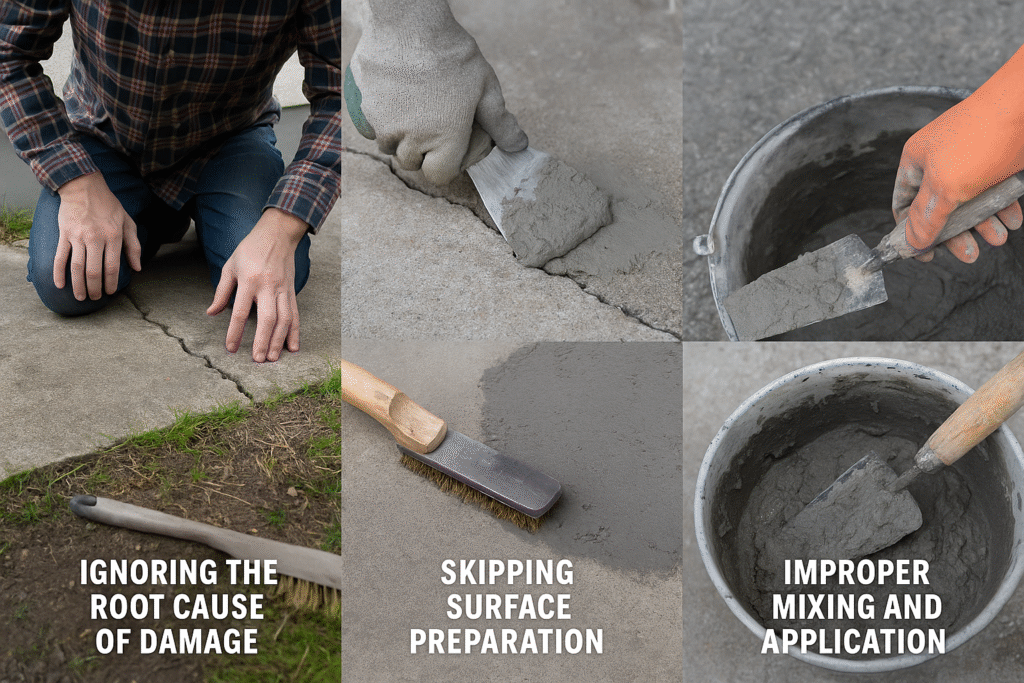
You can have the perfect design on paper, but if the installation is sloppy, it’s worthless. Joint installation is an art form that requires skill and attention to detail. One of the most common mistakes? Poor surface preparation. Sealants won’t stick to dirty, dusty, or wet surfaces. Period. Before you even think about applying sealant, the joint faces need to be clean, dry, and free of any old residue. Use a wire brush, a vacuum, and maybe even a solvent wipe. It takes time, but it’s the difference between a joint that lasts ten years and one that fails in ten months.
Another big issue is the use of backer rods. These foam strips control the depth of the sealant and provide a backing for the tooling. If you skip them or use the wrong size, the sealant might bond to the bottom of the joint (three-sided adhesion), which causes it to tear when it moves. Sealant needs to bond only to the two sides. Also, pay attention to the weather during installation. Most sealants have specific temperature and humidity ranges for application. Trying to install a silicone joint in freezing rain is a recipe for disaster. As Projul suggests, getting joints right from the start saves time, money, and headaches. Train your crew. Make sure they understand why they’re doing each step, not just how. When the installers care about the outcome, the quality shows. And dont forget to check for speling errors in your own work, it happens to the best of us.
At the end of the day, joint design is about respect. Respect for the materials, respect for the forces of nature, and respect for the people who will use the structure long after we’re gone. It’s easy to cut corners here because joints are often hidden or overlooked. But they’re the key to longevity. A well-designed joint accommodates movement, keeps water out, and maintains structural integrity. It’s the difference between a building that stands strong for fifty years and one that needs constant patching.
So, next time you’re looking at a set of plans, take a closer look at the joints. Ask questions. Challenge the "rule of thumb." Think about the specific conditions of the site. Use the right materials, size them correctly, and insist on proper installation. It’s not glamorous work, but it’s essential. In a world where we’re pushing materials to their limits and dealing with unpredictable climates, getting the small things right makes all the difference. Let’s stop treating joints as an afterthought and start treating them as the critical components they are. After all, a chain is only as strong as its weakest link, and in construction, that link is often the joint. Make it count.
[sps_html tag=”img” src=”https://cdn.northcarolinafinearchitecture.com/2026/05/top-10-common-concrete-mistakes-and-how-to-avoid-them-intended-for-concrete-slab-design.png” alt=”Top 10 Common Concrete Mistakes – And How To Avoid Them intended for Concrete Slab Design” style=”width: 100%; height: auto;”]
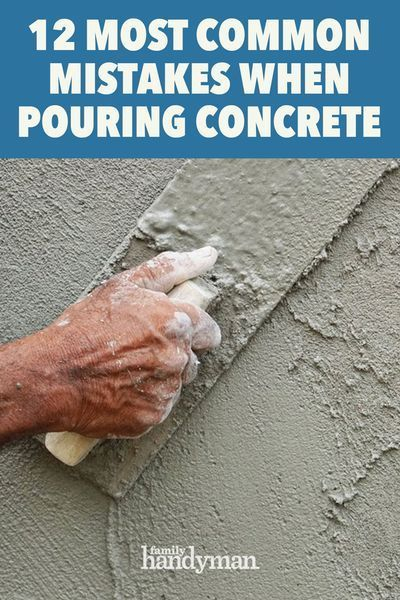
[sps_html tag=”img” src=”https://cdn.northcarolinafinearchitecture.com/2026/05/12-most-common-mistakes-when-pouring-concrete-concrete-concrete-intended-for-concrete-slab-design.jpg” alt=”12 Most Common Mistakes When Pouring Concrete | Concrete, Concrete … intended for Concrete Slab Design” style=”width: 100%; height: auto;”]
[sps_html tag=”img” src=”https://cdn.northcarolinafinearchitecture.com/2026/05/top-5-concrete-repair-mistakes-to-avoid-for-durable-results-regarding-common-concrete-slab-mistakes-that-cost-thousands-to-fix-later.png” alt=”Top 5 Concrete Repair Mistakes To Avoid For Durable Results regarding Common Concrete Slab Mistakes That Cost Thousands to Fix Later” style=”width: 100%; height: auto;”]
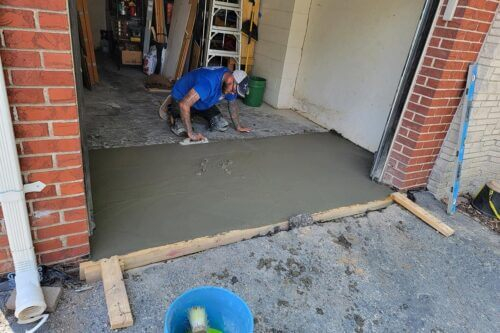
[sps_html tag=”img” src=”https://cdn.northcarolinafinearchitecture.com/2026/05/common-mistakes-to-avoid-when-installing-concrete-slabs-in-bismarck-with-common-concrete-slab-mistakes-that-cost-thousands-to-fix-later.png” alt=”Common Mistakes To Avoid When Installing Concrete Slabs In Bismarck with Common Concrete Slab Mistakes That Cost Thousands to Fix Later” style=”width: 100%; height: auto;”]
[sps_html tag=”img” src=”https://cdn.northcarolinafinearchitecture.com/2026/05/common-diy-concrete-repair-mistakes-in-st-louis-cornerstone-throughout-concrete-slab-design.jpg” alt=”Common Diy Concrete Repair Mistakes In St. Louis | Cornerstone throughout Concrete Slab Design” style=”width: 100%; height: auto;”]