Ever walked into your house on a July afternoon and felt like you’d stepped into an oven? Or maybe your feet are always cold in the winter, no matter how thick your socks are? It’s frustrating. You crank the AC, but the bills just keep climbing. The culprit is often invisible. It’s radiant heat. And traditional fluffy insulation doesn’t always stop it.
That’s where reflective insulation comes in. It’s not magic, but it feels like it sometimes. By bouncing heat away instead of just trying to soak it up, you can make your home way more comfortable. But here’s the thing: if you install it wrong, it does basically nothing. Zero. Zilch. So, let’s talk about how to get it right, whether you’re crawling through a dusty attic or prepping a concrete slab.
Understanding How Reflective Insulation Actually Works
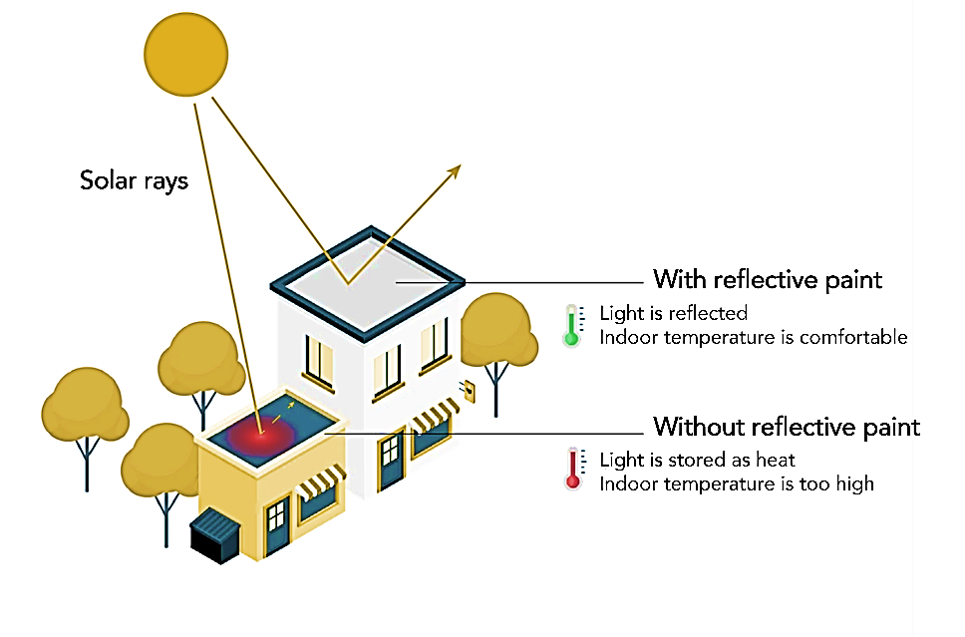
Most people think insulation works like a sponge. You know, it soaks up the cold or the heat and holds it there. That’s how fiberglass or cellulose works. They have an R-value that tells you how well they resist conductive heat flow. But reflective insulation? It plays by different rules. It’s all about radiation. Think of the sun beating down on your roof. That heat radiates downward, trying to cook your living room.
Reflective insulation, often called a radiant barrier, has a shiny surface—usually aluminum foil—that reflects up to 97% of that radiant heat. It doesn’t absorb it. It bounces it back. This is huge in hot climates, but it helps in cold ones too by keeping your indoor heat from radiating out into the cold attic space. However, and this is a big however, it needs an air gap to work. If you sandwich the foil directly against wood or concrete without any space, it becomes just a expensive piece of paper. The air gap allows the heat to dissipate before it can conduct through the material.
In 2026, we see more homeowners mixing methods. They use traditional bulk insulation for the walls and attic floor, but add reflective barriers in the attic rafters or under slabs for that extra layer of defense. It’s not about replacing one with the other; it’s about using the right tool for the specific type of heat transfer you’re fighting. Understanding this distinction is the first step to not wasting your money.
Prepping Your Attic: The Underside of Rafter Method
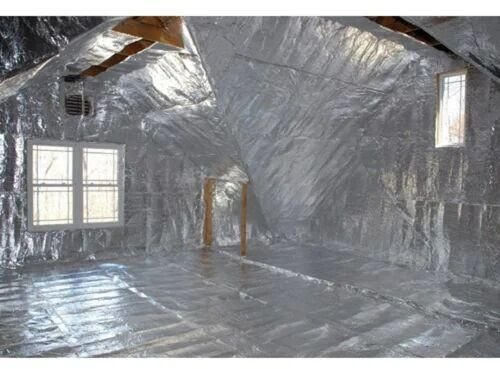
Before you even unroll a single foot of material, you need to look at your attic. Is it clean? Are there any leaks in the roof? Fix those first. Installing insulation over a leak is like putting a bandage on a broken bone. It doesn’t help. Once the space is dry and clear of debris, you can start planning. The most common and effective method for existing homes is attaching the insulation to the underside of the roof rafters. This creates a sealed envelope that keeps the heat out of the attic space entirely.
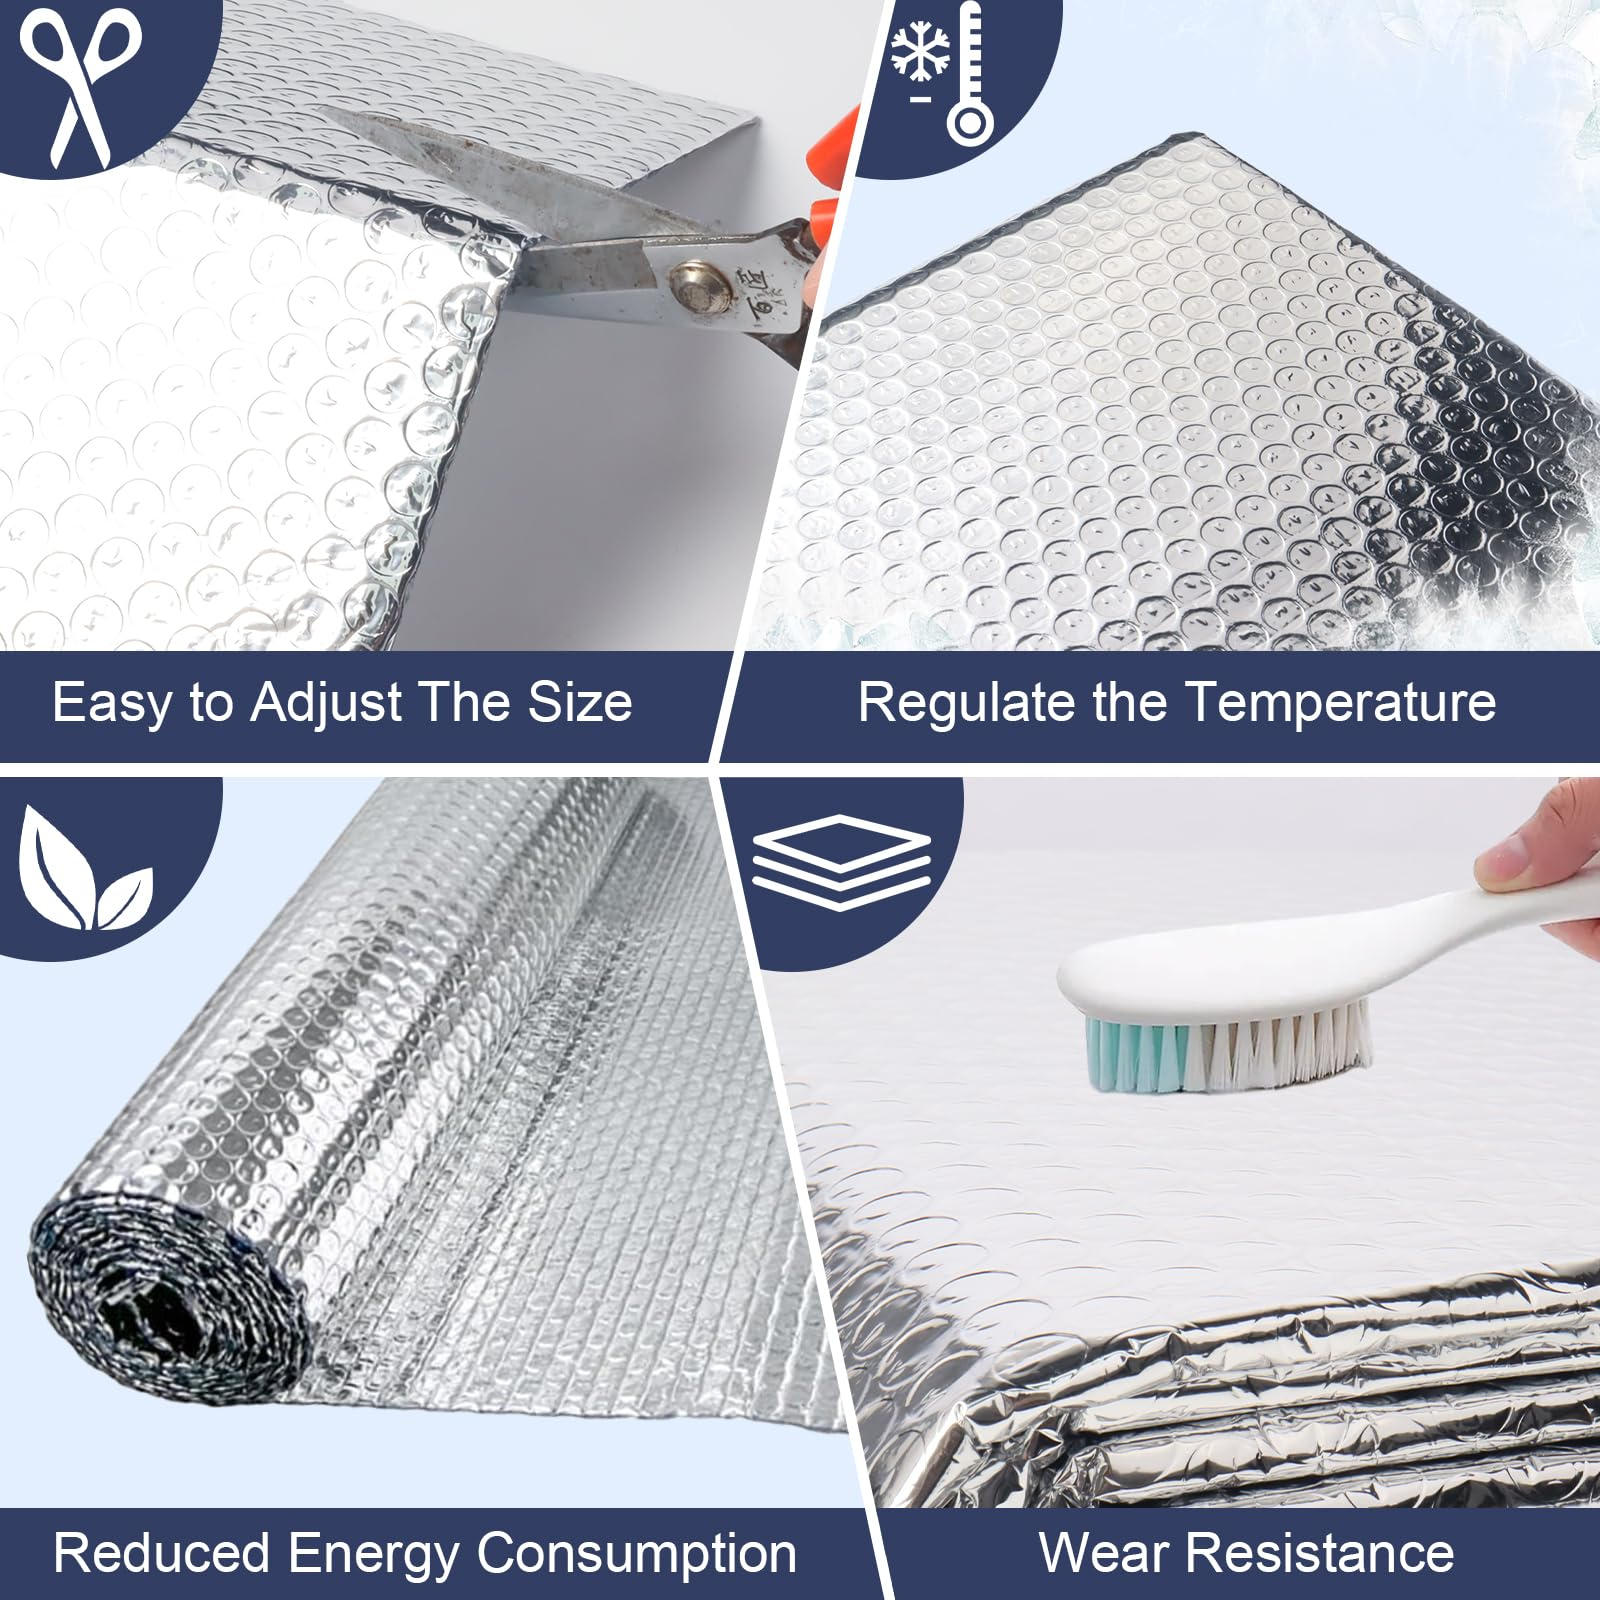
You’ll want to measure the distance between your rafters. Most are spaced 16 or 24 inches apart. Buy rolls that match this width to save yourself a headache later. For example, if your rafters are 24 inches on center, get 24-inch wide rolls. If they are wider, you might opt for 48-inch or 72-inch rolls and cut them down. It’s easier to cut than to splice. Use a sharp utility knife or heavy-duty scissors. Don’t try to tear it; you’ll get jagged edges that are hard to seal.
Start at one end of the attic. Unroll the material along the length of the rafter. You want it snug, but not stretched tight. Leave a little slack. Why? Because houses move. They expand and contract with temperature changes. If it’s too tight, it might pull away from the staples over time. Staple it every 6 to 8 inches along the edges. Make sure the shiny side faces the open attic space, towards the interior of the house if you are trying to keep heat in, or towards the roof deck if you are trying to keep heat out. In most hot climates, shiny side down (facing the attic floor) is the standard recommendation to reflect summer heat away from the living space below.
Sealing the Deal: Taping and Air Gaps
Here is where most DIYers mess up. They staple the stuff up and call it a day. But seams are the enemy. Heat is like water; it finds the easiest path through. If you have gaps between your sheets of reflective insulation, the heat will pour through those cracks. You need to seal every single seam. Use specialized reflective foil tape. Not duct tape. Duct tape dries out and falls off after a year or two. Foil tape is designed to last as long as the insulation itself.
Press the tape firmly over the joints where two sheets meet. Use a roller or the back of a spoon to smooth it out. You want zero bubbles. Zero wrinkles. This ensures a continuous barrier. Also, pay attention to the edges where the insulation meets the walls or the chimney. These are tricky spots. Cut the material carefully to fit around obstacles. Then, tape those edges down too. It’s tedious, I know. But taking an extra hour to tape properly can save you hundreds of dollars in energy costs over the life of the product.
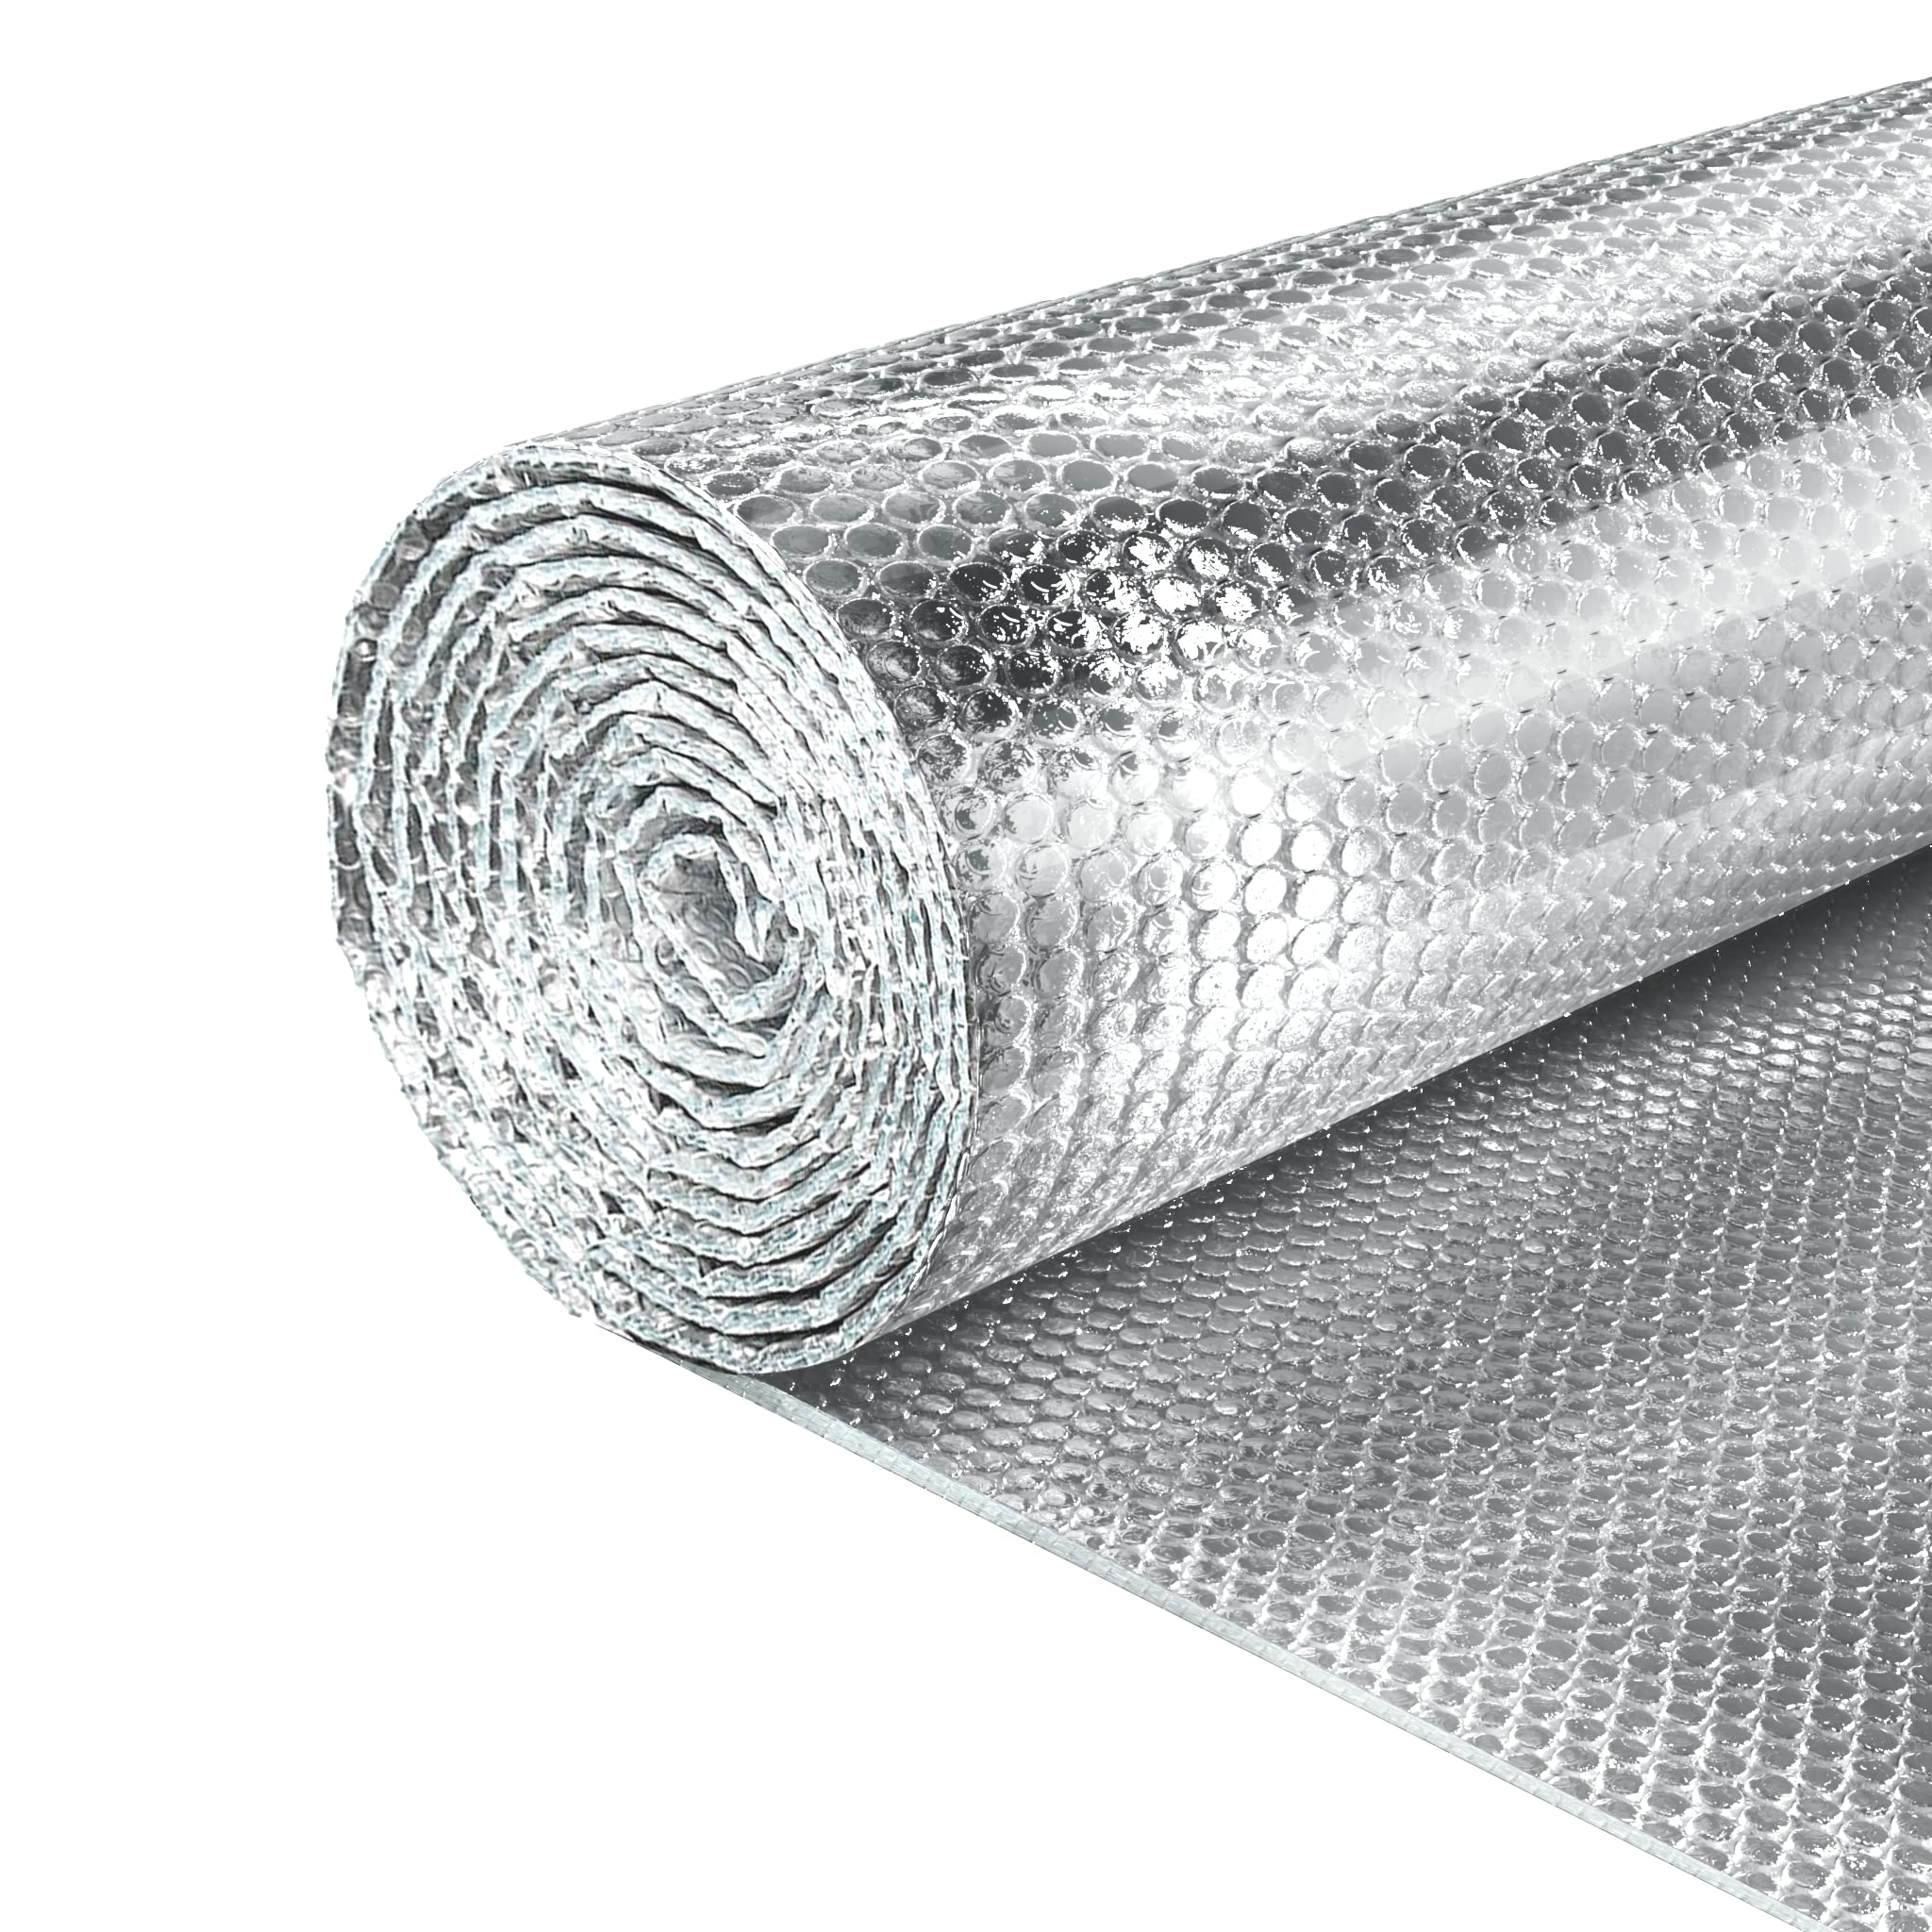
Remember the air gap rule? When installing on the underside of rafters, the foil itself creates the gap between the roof deck and the insulation material, provided you don’t push it flush against the wood above. Some products come with bubble layers or foam cores that maintain this gap automatically. If you’re using plain foil, ensure it’s stapled to the bottom of the rafter, leaving the space above it open. This trapped air acts as an additional insulator, working in tandem with the reflective surface. Without it, conduction takes over, and your reflective barrier loses most of its effectiveness.
Alternative Attic Strategy: Between the Rafters
Sometimes, the underside method isn’t practical. Maybe you have limited headroom, or you plan to finish the attic into a living space later. In these cases, you can install the reflective insulation between the rafters. This method is a bit trickier because you have to friction-fit the material or use supports to hold it in place. It’s often recommended for new construction or major renovations where you have easy access to the roof structure from the inside.
For this approach, you’ll typically use narrower strips, like 24-inch widths, to fit snugly between the studs. You can create a "bat" by folding the material or using a product that has rigid edges. The key here is to ensure the reflective face is oriented correctly. If you are in a hot climate, the shiny side should face inward, towards the attic space, to reflect the heat coming off the hot roof deck. Wait, actually, if it’s between the rafters, one side faces the roof deck and one faces the attic. Usually, you want the shiny side facing the largest air space. So, if the attic is ventilated, shiny side down. If it’s a sealed attic, shiny side up towards the roof deck is often preferred to reflect heat before it enters the attic volume. Check the manufacturer’s guide, as this can vary.
Secure the edges with staples or by tucking them tightly between the wood. If the fit is loose, use wooden battens or wire supports to keep it from sagging. Sagging creates uneven air gaps and reduces performance. Also, be careful not to compress any existing bulk insulation if you have some already there. Compression kills R-value. This method is less common for retrofits because it’s labor-intensive, but it offers a very clean look and protects the insulation from accidental damage during attic storage.
Installing Reflective Insulation Under Concrete Slabs
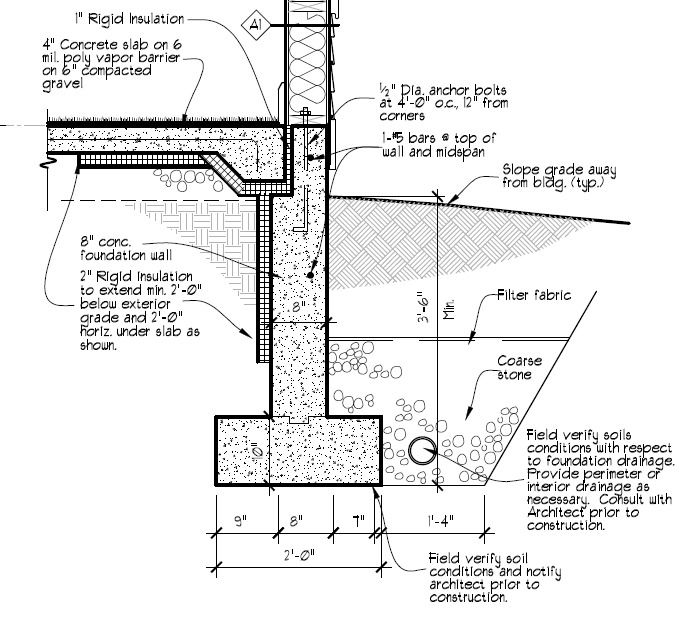
Now, let’s move downstairs. Or rather, underground. Installing reflective insulation under a concrete slab is a game-changer for comfort. Concrete is a thermal mass. It absorbs heat during the day and releases it at night. In the summer, that means your floors stay warm. In the winter, if the ground is cold, your floors suck the heat right out of your feet. Placing a radiant barrier under the slab breaks this cycle. It reflects body heat back into the room and stops ground cold from radiating up.
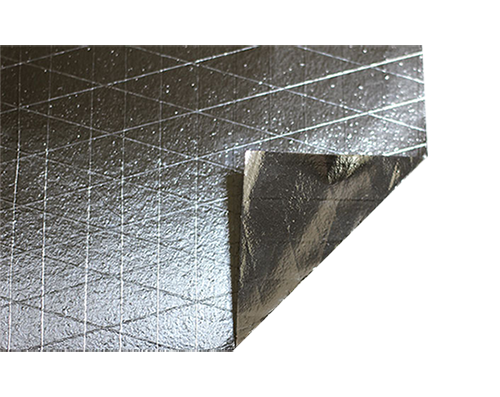
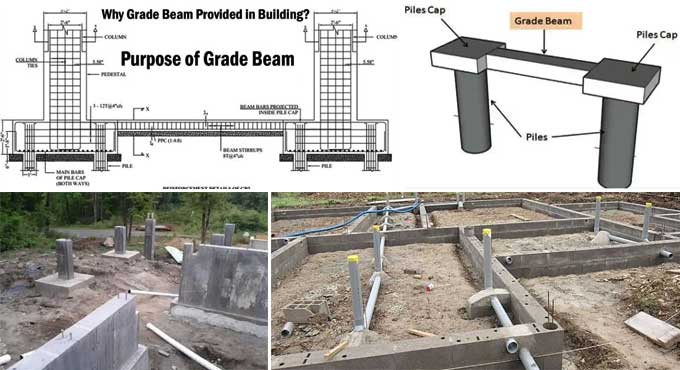
The process starts with site preparation. You need a level, compacted base of gravel or sand. Once that’s ready, you lay down the reflective insulation. Most experts recommend using a product with a durable facing, like reinforced foil or foil-faced foam board, because the weight of wet concrete is immense. Plain thin foil can tear. Lay the sheets out flat, overlapping the edges by at least 2 to 3 inches. Do not just butt the edges together. Overlapping prevents concrete from seeping down and creating thermal bridges.
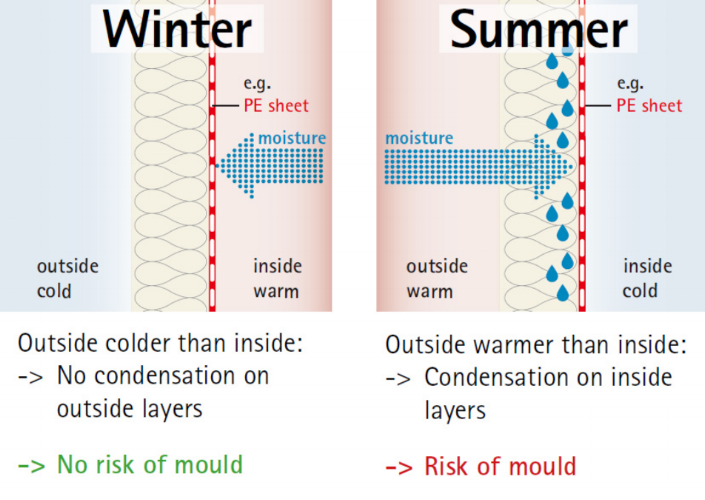
Secure the seams with heavy-duty construction tape that can withstand moisture and alkaline conditions found in concrete. Some installers also use a layer of polyethylene vapor barrier over the reflective insulation. This protects the foil from the corrosive elements in the cement mix. Check local building codes for 2026, as some areas now require specific vapor permeability ratings. Once the barrier is down, you can proceed with pouring the concrete. Be gentle when spreading the concrete to avoid puncturing the layer. Use boards to walk on if necessary. The result? A floor that feels neutral to the touch, not icy or baking hot.
Common Mistakes and How to Avoid Them
Let’s talk about what goes wrong. The number one mistake? Ignoring the air gap. We mentioned it before, but it bears repeating. If you slap foil directly onto a surface without an air space, you’ve wasted your time. It needs that pocket of still air to function as a radiant barrier. Another big error is poor sealing. Using cheap tape or leaving gaps around pipes and wires lets heat bypass the barrier completely. Take your time with the details.
Also, don’t forget about ventilation. In attics, adding a radiant barrier doesn’t mean you can skip proper venting. Your attic still needs to breathe to prevent moisture buildup and mold. Ensure your soffit and ridge vents are clear and functioning. Blocking them up because you think the insulation does all the work is a recipe for rot. And please, wear protective gear. Attics are hot, dusty, and full of fiberglass particles if you have old insulation. Wear a mask, gloves, and long sleeves. It’s not worth the itch or the inhalation risk.
Finally, don’t expect miracles. Reflective insulation is powerful, but it’s part of a system. If your windows are single-pane and drafty, or your walls have zero insulation, the radiant barrier alone won’t make your home perfect. It works best when combined with other energy-efficient practices. Seal air leaks around doors and windows first. Then add the reflective layer. It’s the cherry on top, not the whole sundae. By avoiding these pitfalls, you ensure your installation lasts for decades, not just a season.
Installing reflective insulation isn’t rocket science, but it does require attention to detail. Whether you’re tackling the attic or the slab, the principles remain the same: reflect the heat, maintain the air gap, and seal every seam. It’s a project that pays for itself over time through lower energy bills and a more comfortable home. Imagine walking barefoot on a floor that isn’t freezing in January. Or sitting in your living room in August without feeling like you’re baking. That’s the real value here.
Don’t rush the job. Take a weekend, gather your tools, and do it right. Measure twice, cut once, and tape everything down securely. If you’re unsure about a specific spot, look up the manufacturer’s instructions for your specific product. They often have diagrams that clarify tricky corners. And remember, you’re not just installing material; you’re investing in your daily comfort.
So, grab that utility knife and get started. Your future self, sipping iced tea in a cool house while the sun beats down outside, will thank you. It’s a small effort for a big change. And honestly, isn’t that what home improvement is all about? Making your space work better for you.
[sps_html tag=”img” src=”https://cdn.northcarolinafinearchitecture.com/2026/05/snapklik-com-double-reflective-bubble-foil-insulation-foam-47in-x-regarding-beyond-aluminum-foil-how-modern-reflective-design-cools-homes-without-breaking-the-bank.jpg” alt=”Snapklik.com : Double Reflective Bubble Foil Insulation Foam, 47In X … regarding Beyond Aluminum Foil How Modern Reflective Design Cools Homes Without Breaking the Bank” style=”width: 100%; height: auto;”]
[sps_html tag=”img” src=”https://cdn.northcarolinafinearchitecture.com/2026/05/reflective-aluminum-foil-laminate-barrier-film-manufacturer-supplier-for-reflective-insulation-design.jpg” alt=”Reflective Aluminum Foil Laminate Barrier Film Manufacturer, Supplier … for Reflective Insulation Design” style=”width: 100%; height: auto;”]
[sps_html tag=”img” src=”https://cdn.northcarolinafinearchitecture.com/2026/05/is-aluminum-foil-reflective-at-mackenzie-boehm-blog-regarding-beyond-aluminum-foil-how-modern-reflective-design-cools-homes-without-breaking-the-bank.jpg” alt=”Is Aluminum Foil Reflective At Mackenzie Boehm Blog regarding Beyond Aluminum Foil How Modern Reflective Design Cools Homes Without Breaking the Bank” style=”width: 100%; height: auto;”]
[sps_html tag=”img” src=”https://cdn.northcarolinafinearchitecture.com/2026/05/aluminum-reflector-material-for-beyond-aluminum-foil-how-modern-reflective-design-cools-homes-without-breaking-the-bank.png” alt=”Aluminum Reflector Material for Beyond Aluminum Foil How Modern Reflective Design Cools Homes Without Breaking the Bank” style=”width: 100%; height: auto;”]
[sps_html tag=”img” src=”https://cdn.northcarolinafinearchitecture.com/2026/05/reflective-paint-a-low-tech-solution-for-sustainable-cooling-in-buildings-with-regard-to-beyond-aluminum-foil-how-modern-reflective-design-cools-homes-without-breaking-the-bank.png” alt=”Reflective Paint: A Low-Tech Solution For Sustainable Cooling In Buildings with regard to Beyond Aluminum Foil How Modern Reflective Design Cools Homes Without Breaking the Bank” style=”width: 100%; height: auto;”]