Step into a newly renovated home where every surface feels predictable, safe, and ultimately forgettable. The floors feature standard twelve-by-twenty-four-inch tiles laid in a rigid, monotonous running bond, marching in straight, uninspired lines from the entryway to the kitchen island. It is clean, functional, and completely devoid of character. For decades, the tile industry relied on a conservative blueprint: keep the patterns uniform, let the grout lines disappear, and never let the floor distract from the furniture. But interior architecture has experienced a seismic shift. Homeowners, designers, and artisans are shaking off the mundane, treating ceramic, porcelain, and natural stone not merely as protective surface coverings, but as living, breathing canvases.
The modern appetite for design demands texture, motion, and unexpected geometry. When you walk into a space anchored by a chevron field, an asymmetrical mosaic, or an oversized format installed on a daring one-third offset, your eyes register the rhythm before you even process the color. We are moving away from sterile minimalism toward a textured maximalism where the installation geometry tells the story. This shift is not just about aesthetics; it is a technical evolution driven by ultra-precise manufacturing, laser-cut stone, and an adventurous design culture that refuses to treat floors and backsplashes as architectural afterthoughts.
Understanding the mechanics of tile layout requires looking past the showroom display and examining how geometry interacts with spatial physics. A room’s proportions are fundamentally altered by the direction of your grout lines. Long rectangular planks pulled parallel to a narrow hallway stretch the perspective, while a sweeping herringbone pattern anchors a sprawling open-concept living area, injecting intimacy and human scale. As we evaluate tile trends, the focus shifts from buying expensive materials to maximizing the visual impact of standard tiles through creative, deliberate placement.
Rethinking the Geometry of Ordinary Spaces
The architectural canvas of a home is defined by planes, yet most installations treat these planes as flat, passive surfaces. Standard grid layouts—where tiles align in a rigid crosshatch—are the default choice because they are mathematically foolproof and easy for apprentice installers to execute. However, this safety comes at a high aesthetic cost. When you rely solely on straight grids, you miss out on the dynamic interplay of light and shadow created by alternating angles. Introducing non-standard configurations changes the architectural narrative of a room entirely.
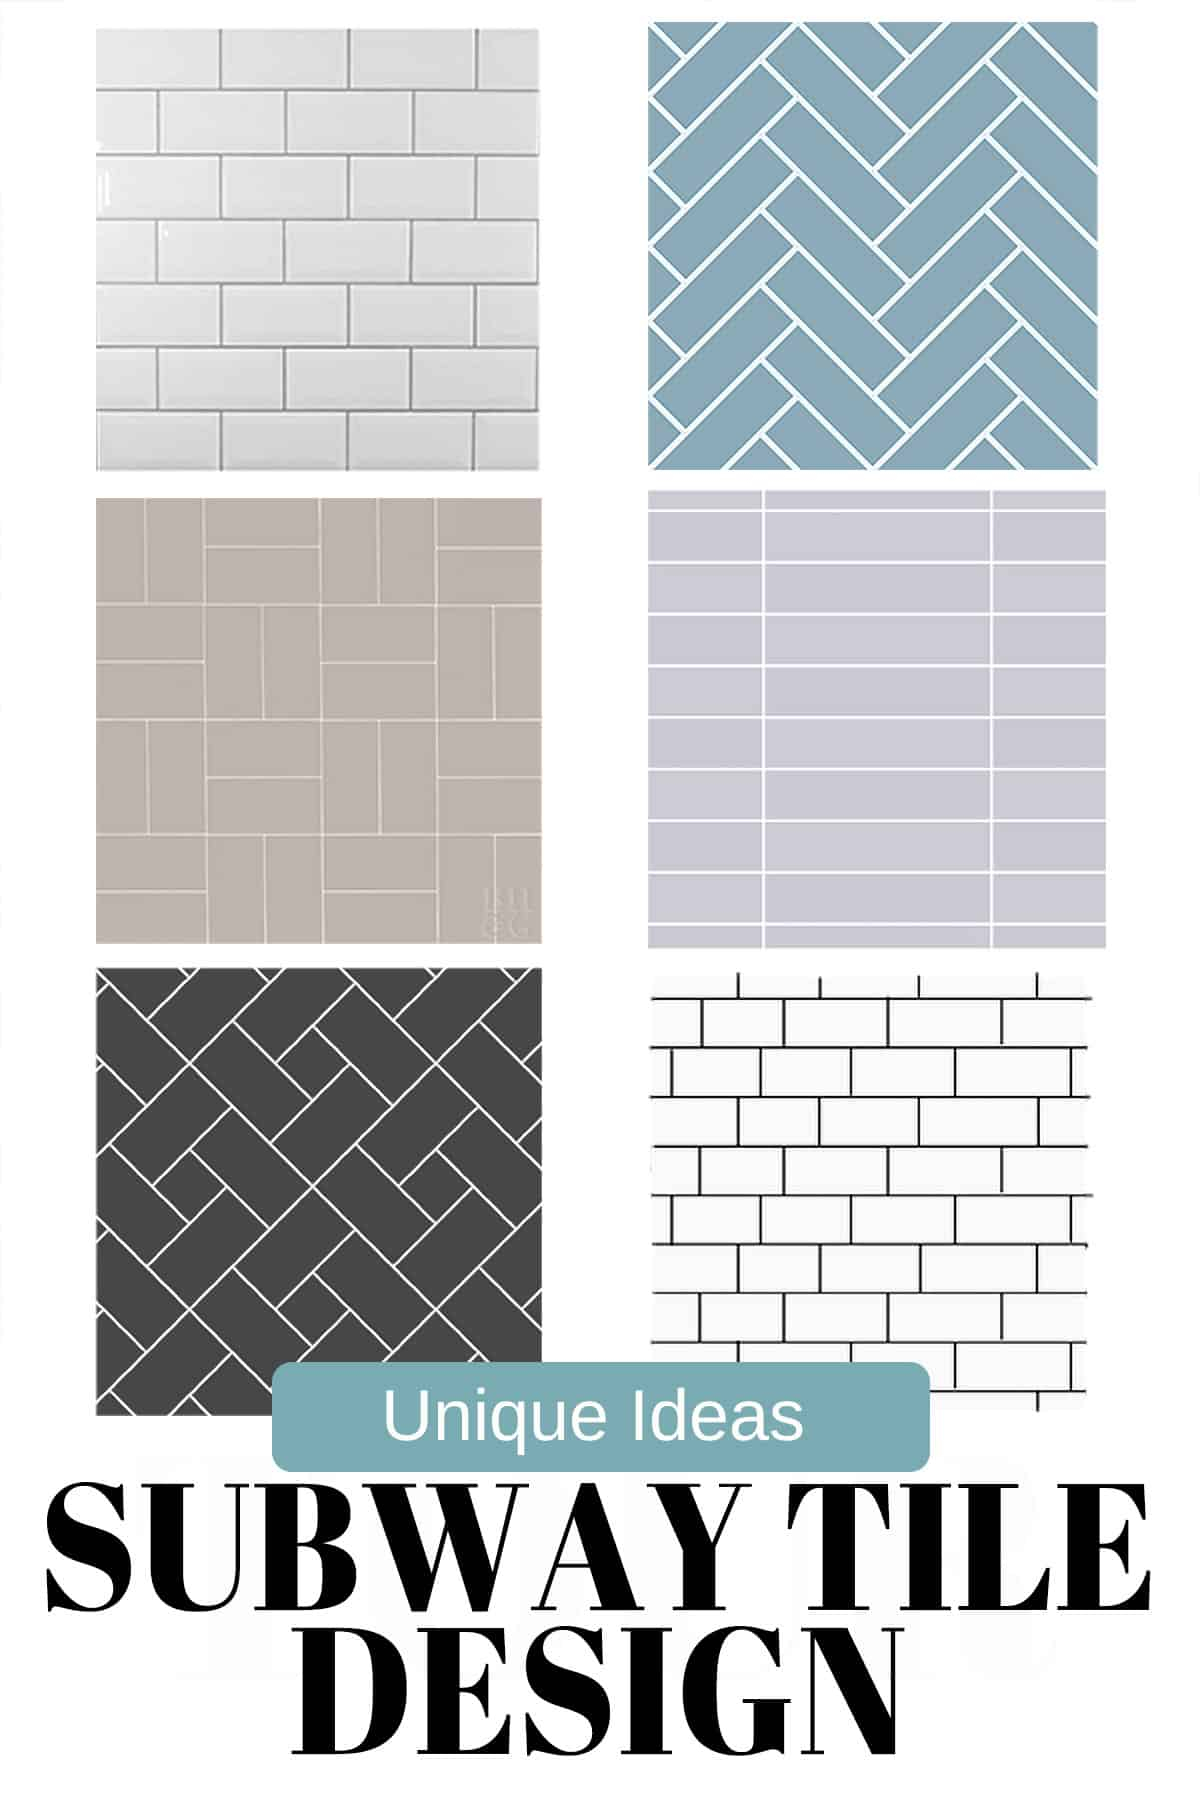
Consider the classic herringbone pattern, long relegated to high-end hardwood floors, now making a massive resurgence in ceramic and porcelain tile applications. By setting rectangular tiles at precise ninety-degree angles, you create a continuous zig-zag matrix that pulls the eye forward while adding a subtle tactile richness. Similarly, the 1/3 offset pattern for large-format tiles breaks up the monotonous H-joints of traditional running bonds, eliminating the "lippage" issues common with warped tiles while delivering a sleek, modern, monolithic finish. These patterns do not just cover a subfloor; they actively sculpt the volume of the room.
Material selection plays a critical role in how these geometric layouts perform in the real world. A complex chevron or a intricate basketweave pattern requires materials with strict dimensional stability. If your tiles vary by even a fraction of a millimeter in caliber, a tight-joint layout will quickly expose the discrepancy, turning a geometric triumph into an uneven disaster. Therefore, choosing rectified porcelain—tiles mechanically finished on all edges for exact sizing—allows for razor-thin grout joints that let the pattern take center stage without visual interruption.
The Psychological Impact of Pattern, Scale, and Visual Flow
Human spatial perception is heavily influenced by repetitive visual cues. When you enter a room with a floor tile pattern that defies expectations, your brain immediately registers a sense of bespoke craftsmanship and intentionality. Pattern density acts as an anchor. In compact powder rooms or narrow mudrooms, oversized tiles installed in a tight grid can feel jarring and disconnected. Conversely, scaling down the tile size or introducing a dynamic layout like a chevron or a pinwheel creates a micro-texture that makes small spaces feel expansive and thoughtfully curated.
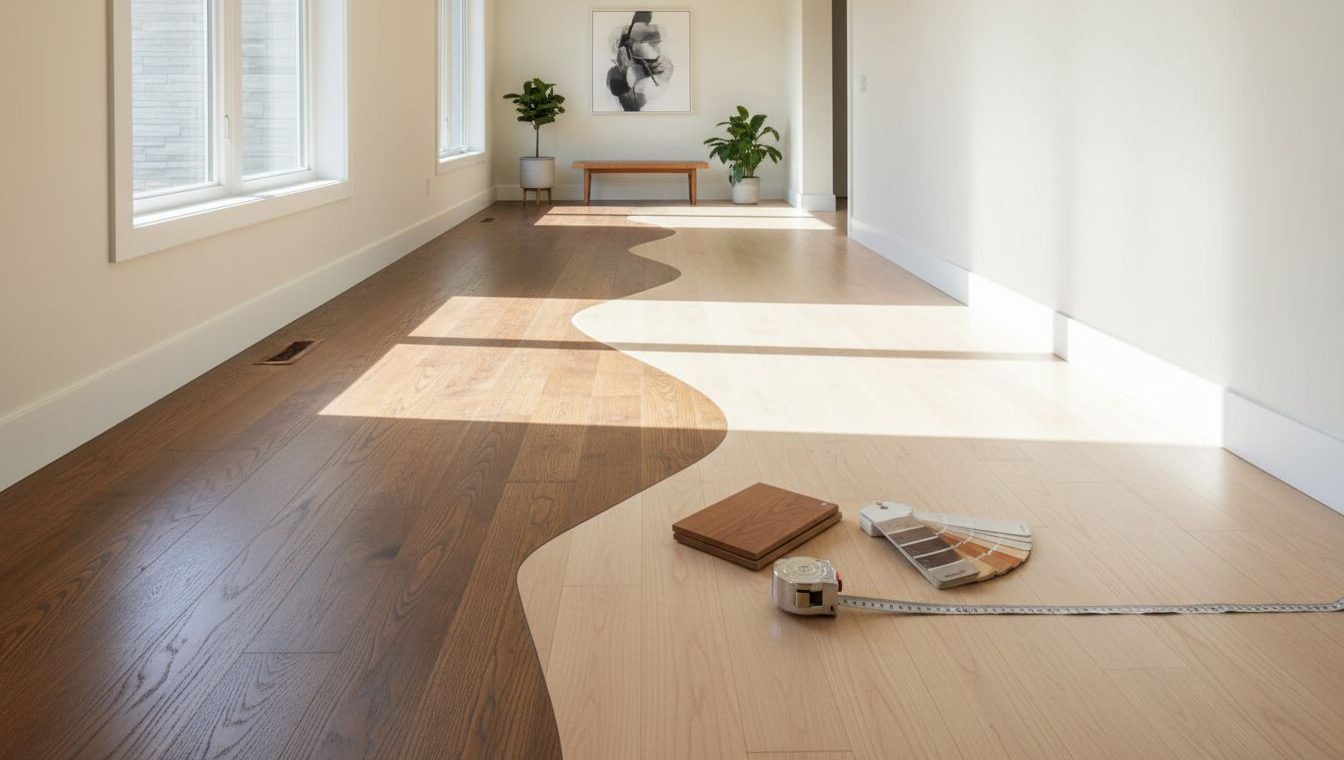
Visual flow is the invisible thread connecting disparate zones in an open-plan home. Shaking off the mundane means abandoning the outdated habit of switching flooring materials at every door threshold. Instead, designers are utilizing creative tile transitions—such as fading a wood-look porcelain plank seamlessly into a bold, geometric encaustic tile rug in the kitchen. This technique, often called tile zoning, allows you to delineate functional areas—cooking, dining, lounging—without erecting physical walls. The transition itself becomes an artistic feature, guiding foot traffic naturally through the home.
Color theory and grout contrast further amplify this psychological impact. A dark, moody tile paired with a matching dark grout creates a moody, seamless cavern of luxury, perfect for moody powder rooms or intimate dining alcoves. On the flip side, contrasting grout lines transform a simple subway tile installation into a sharp, graphic statement. Every millimeter of mortar is suddenly part of the design. This level of meticulous planning proves that luxury is rarely about the price tag of the material; it is about the precision of the execution and the boldness of the layout choice.
Executing the Vision: A Practical Masterclass in Creative Tile Installation
Transforming a flat sketch into a stunning physical installation requires rigorous discipline, precise math, and field-tested tradecraft. Skipping the preparation phase is the fastest way to end up with crooked lines and wasted material.
- Step 1 (The Dry-Lay Dry Run): Never apply thinset mortar without first dry-laying at least a four-by-four-foot section of your pattern on the bare subfloor. This allows you to check for factory tile variations, evaluate color batch consistency, and verify that your pattern centerlines align with focal points like doorways and vanities.
- Step 2 (Establishing Dead-Center Layout Lines): Measure the room’s opposing walls to find the exact center point. Snap chalk lines intersecting at a perfect ninety-degree angle. Rather than starting your installation at a corner—which invariably leads to awkward, sliver-cut tiles against the opposite wall—always work outward from your central grid lines toward the perimeter.
- Step 3 (Subfloor Preparation and Deflection Control): Inspect your plywood or concrete subfloor for structural deflection. For large-format tiles and complex geometric patterns, install a high-performance uncoupling membrane like Schluter-DITRA. This prevents minor subfloor shifts from transferring stress up into the tile, which causes cracking along grout lines.
- Step 4 (Mortar Selection and Trowel Technique): Match your mortar to your tile type and layout complexity. Use a modified thinset for standard porcelain over concrete, but opt for a premium medium-bed mortar when installing large-format tiles (anything with an edge exceeding fifteen inches) to achieve proper coverage and eliminate hollow spots. Always back-butter large tiles with a flat trowel edge to ensure 95% mortar contact in wet areas.
- Step 5 (Setting, Spacing, and Precision Leveling): Use a tile leveling system (wedges and clips) during installation. Complex layouts like herringbone or stacked vertical bonds leave zero room for vertical edge displacement. Tighten your leveling clips while the mortar is wet to guarantee a flush, flush-finished surface before the adhesive cures.
Navigating Complex Layouts: Pitfalls and Field-Tested Workarounds
Executing non-standard tile installations invites a unique set of headaches that can derail even a seasoned DIYer or an overconfident contractor. Anticipating these hurdles saves time, material, and frustration.
- Pitfall 1 (The Dreaded Corner Sliver): Starting your layout blindly from a wall often results in agonizingly thin, fragile slivers of tile at the opposing edge. Workaround: Always calculate your perimeter cuts during the dry-lay phase. If your layout leaves a cut smaller than half a tile width at the wall, shift your central chalk line by half a tile to ensure balanced, robust cuts on both sides of the room.
- Pitfall 2 (Pattern Drift in Multi-Directional Layouts): In complex patterns like herringbone or basketweave, a tiny one-millimeter error in the first three rows compounds exponentially, resulting in a wildly crooked layout twenty feet down the wall. Workaround: Snap multiple parallel reference lines every two to three feet across the floor to keep your rows honest and vertically plumb throughout the entire installation.
- Pitfall 3 (Lippage on Large-Format and Rectified Tiles): Rectified tiles have sharp, 90-degree edges, meaning any height variation between adjacent tiles creates an immediate, sharp lip that catches shoes and toes. Workaround: Never skip tile leveling clips, and always use a notched trowel size appropriate for your tile format—typically a 1/2-inch by 1/2-inch square or U-notch trowel to achieve the necessary ridge depth.
- Pitfall 4 (Inadequate Waterproofing in Wet Environments): Complex patterns with high grout-line density (such as intricate mosaics or penny rounds) create significantly more seams where moisture can penetrate. Workaround: Apply a liquid-applied waterproofing membrane (such as RedGard or Hydro Ban) across all shower walls and bathroom floors, and seal your cementitious grout or use a chemical-resistant epoxy grout to prevent water infiltration and mold growth.
- Pitfall 5 (Ignoring Expansion Joints): Large expanses of tile floor will naturally expand and contract with seasonal temperature and humidity shifts. Rigidly locking tiles edge-to-edge against drywall guarantees cracked tiles down the road. Workaround: Maintain a 1/4-inch perimeter expansion gap around the entire room’s edge, hidden beneath baseboards, and incorporate soft-joint silicone caulking in lieu of hard grout at major room transitions.
The Evolution of Surface Design: Trends, Technology, and Longevity
The tile industry is undergoing a technological renaissance. High-definition digital inkjet printing has evolved to the point where porcelain manufacturers can replicate the subtle veining of rare Italian Carrara marble or the warm patina of reclaimed French terracotta with uncanny realism. This means you can achieve the high-end look of bespoke natural stone paired with the zero-maintenance durability and water resistance of modern porcelain. The result is a design landscape where creativity is limited only by imagination, not material performance.
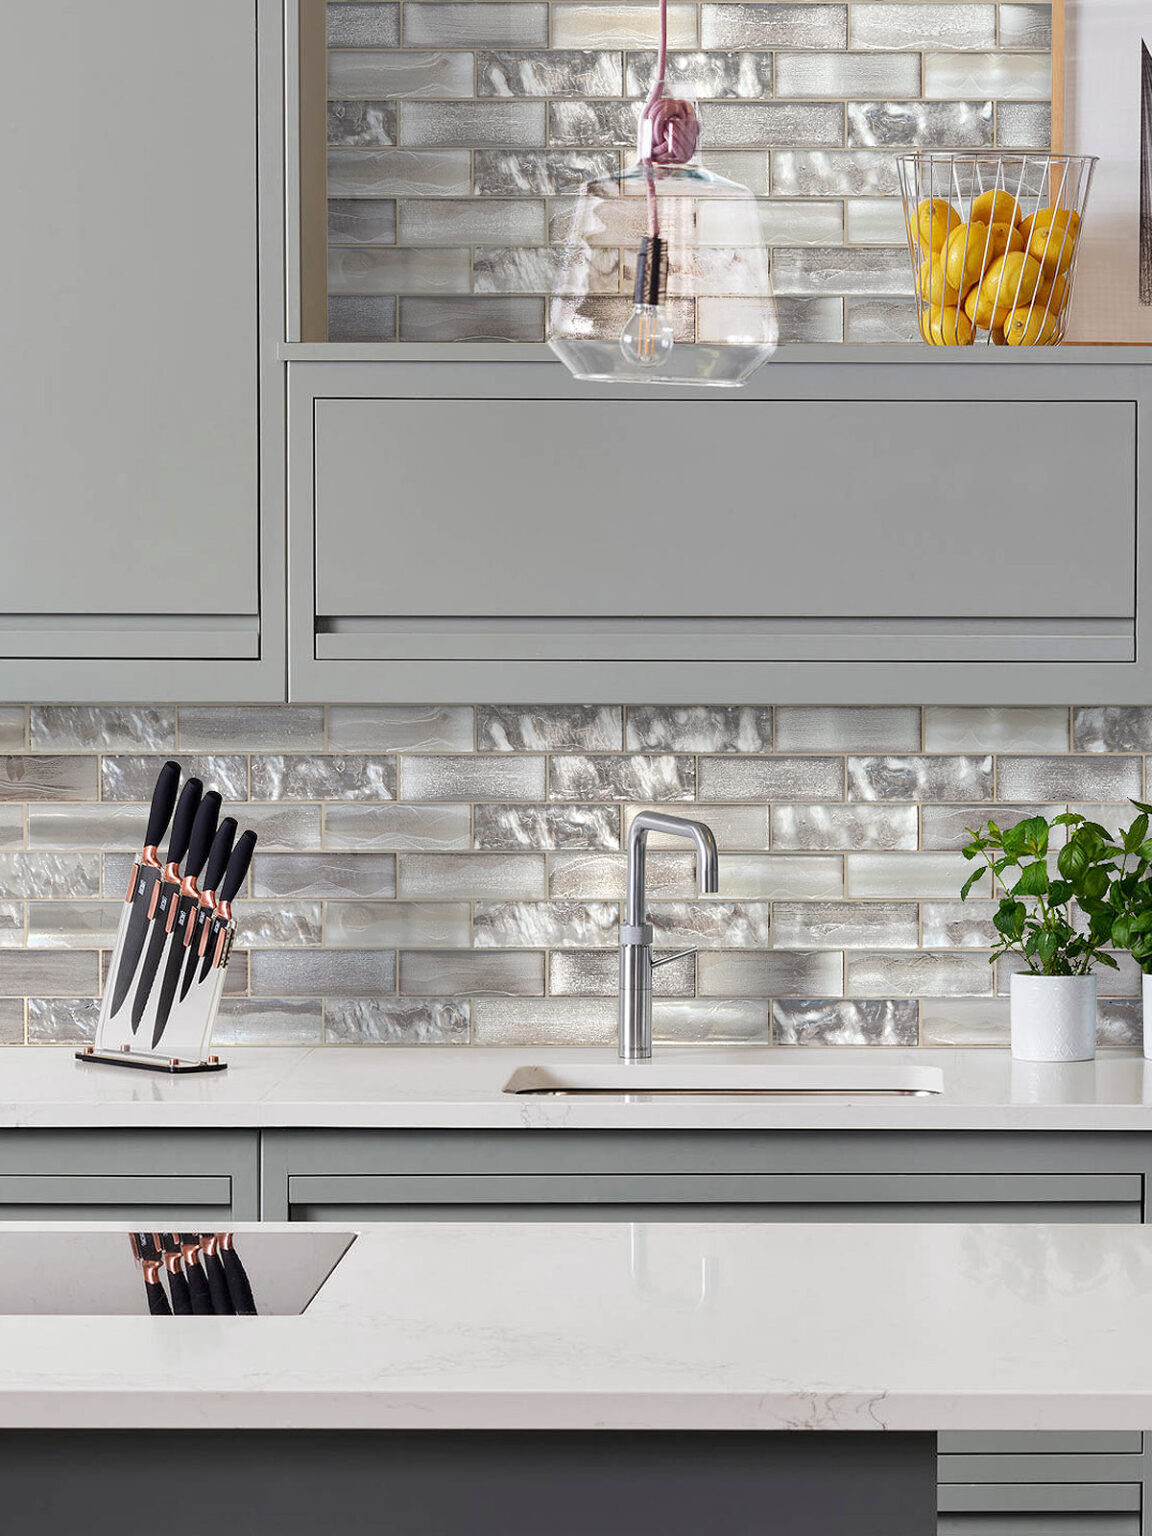
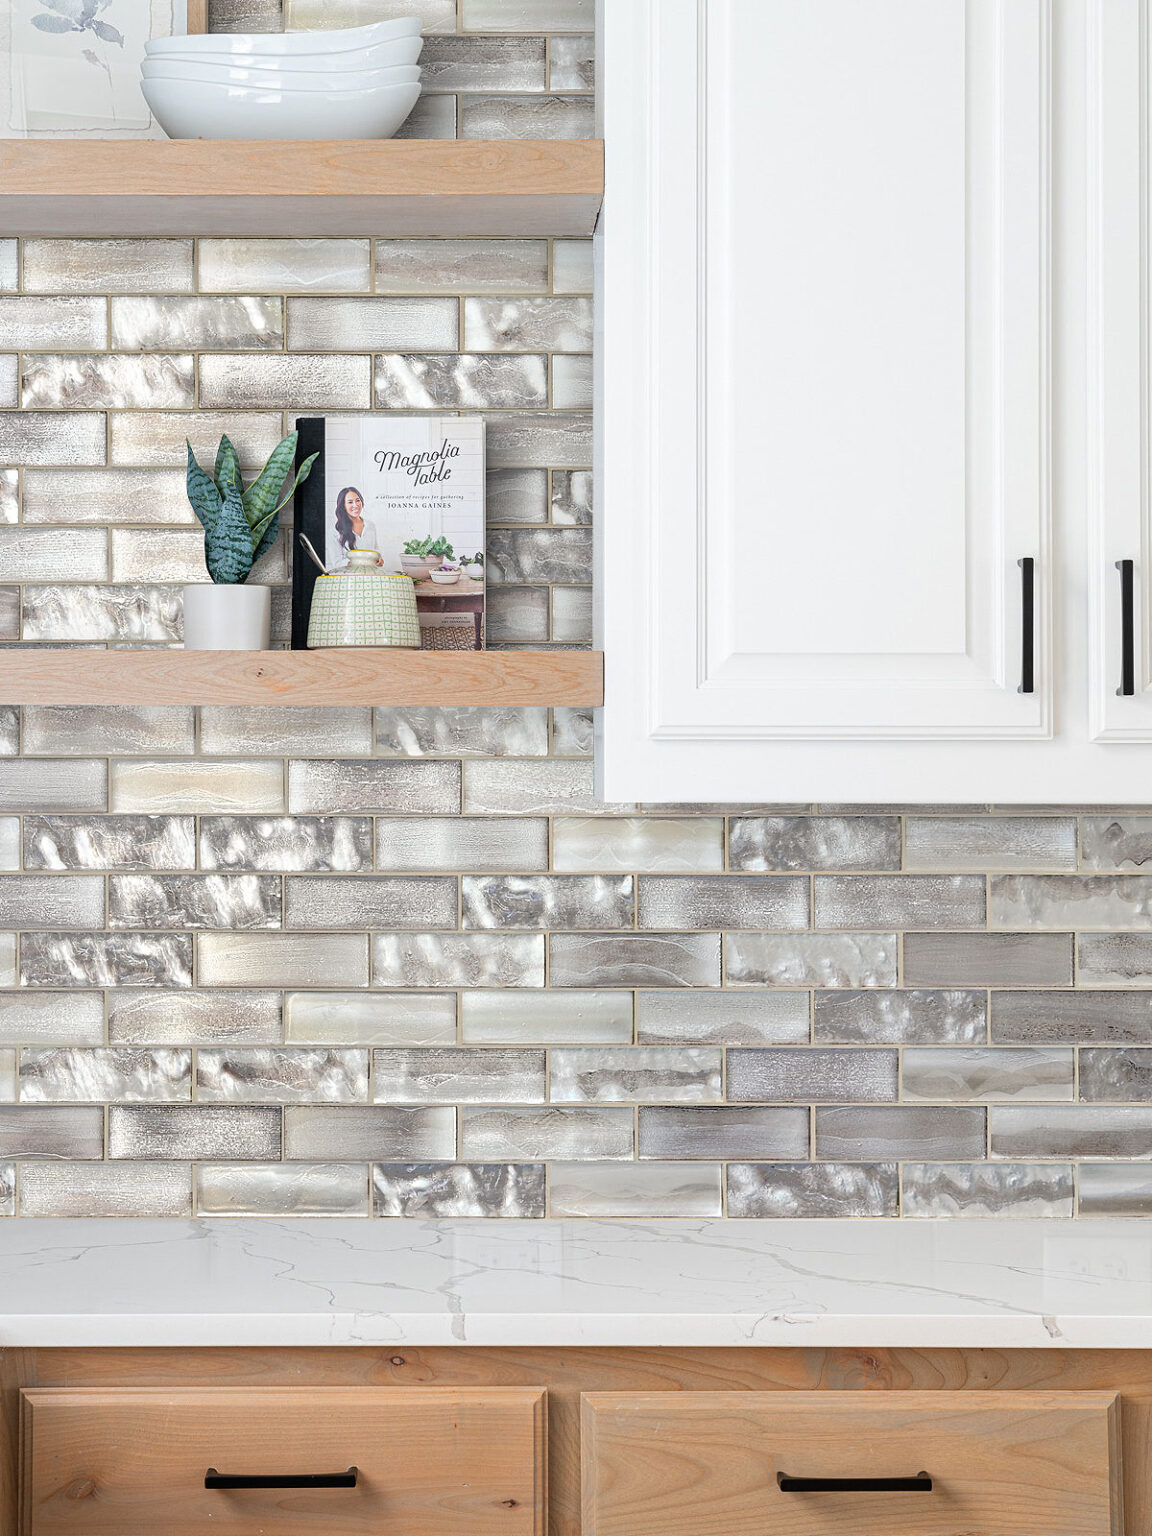
Another major shift involves the rise of tactile and three-dimensional tiles. Wall installations are no longer flat vertical planes; they are textured reliefs that play dynamically with natural light throughout the day. Fluted tiles, ribbed ceramics, and geometric 3D porcelain panels turn a basic kitchen backsplash or accent wall into a sculptural focal point. When combined with grazing light from under-cabinet LED strips or wall sconces, these dimensional tiles cast soft shadows that add incredible depth to small spaces.
Sustainability and lifecycle durability also drive contemporary tile decisions. Unlike synthetic carpeting that traps allergens and wears down within a decade, or hardwood that requires constant refinishing, properly installed porcelain and ceramic tile will easily outlast the structural framing of the house. By choosing timeless layout patterns rather than fleeting internet fads, homeowners are investing in sustainable architecture that reduces renovation waste, proving that good design is inherently eco-friendly.
Crafting Your Blueprint for Architectural Distinction
Moving beyond the mundane requires a deliberate shift in how you approach your renovation checklist. Stop treating tile installation as the final, checklist chore of a remodeling project and start viewing it as the structural foundation of your interior aesthetic. Whether you are overhauling a master bathroom, modernizing a kitchen splash zone, or completely re-flooring an open-concept main level, the geometry you choose establishes the emotional tone of the space.
Start by auditing your rooms with a critical eye. Where are the dead zones? Where does the eye naturally travel upon entering? Use these spatial answers to dictate your layout strategy. If a hallway feels cramped, introduce a chevron or diagonal grid to trick the eye into seeing wider, more expansive dimensions. If an open kitchen feels disjointed, use a bold patterned tile rug to anchor the island zone with definitive artistic flair.
Remember that great design rewards patience. Invest the extra hours into dry-laying your patterns, triple-checking your layout lines, and utilizing professional-grade leveling systems. When the thinset has cured, the grout has settled, and you stand back to take in the finished room, the difference between a lazy, straight grid and a masterfully executed, creative tile layout will be nothing short of breathtaking.
Shaking off the mundane is ultimately an exercise in courage. It requires stepping away from the safety of builder-grade defaults and embracing patterns that demand attention, precision, and craftsmanship. Every tile installation tells a story about the people who inhabit the space—their willingness to take risks, their appreciation for detail, and their desire for a home that feels genuinely unique.
As manufacturing technologies continue to advance and design boundaries dissolve, the humble tile remains one of the most versatile, enduring mediums in interior architecture. By combining thoughtful spatial planning with meticulous technical execution, you transform standard building materials into permanent works of art. Take the blueprint, throw out the conventional rules, and lay the foundation for a space that is entirely, beautifully your own.