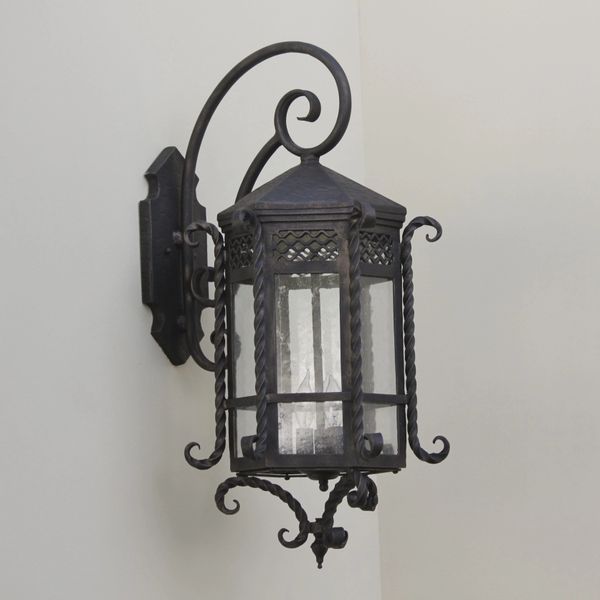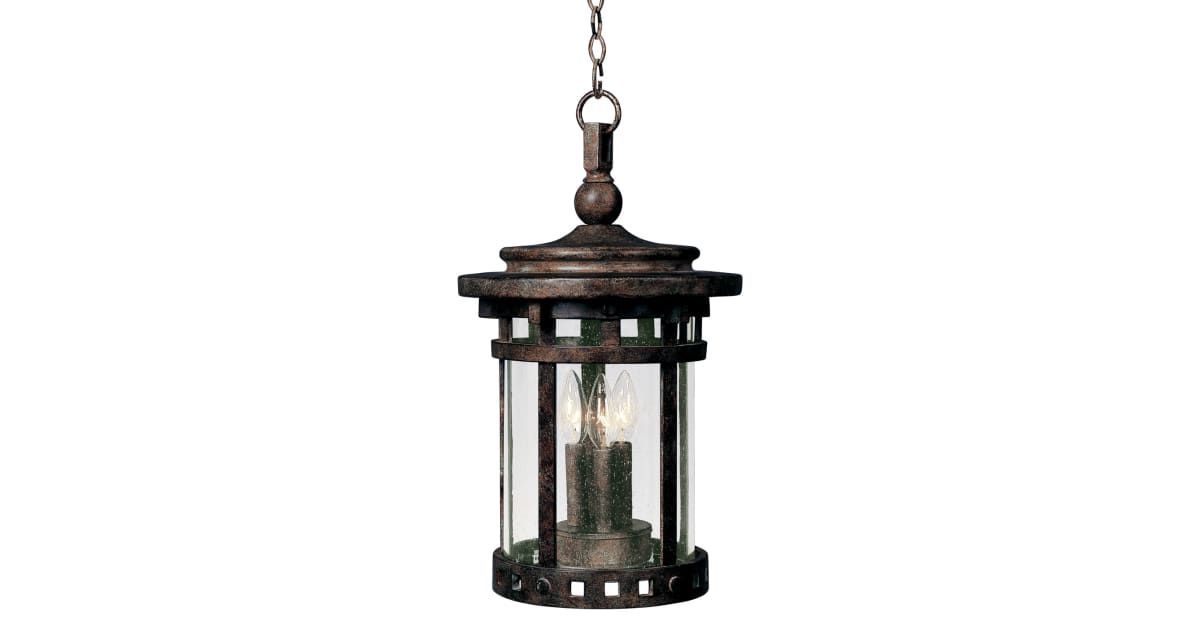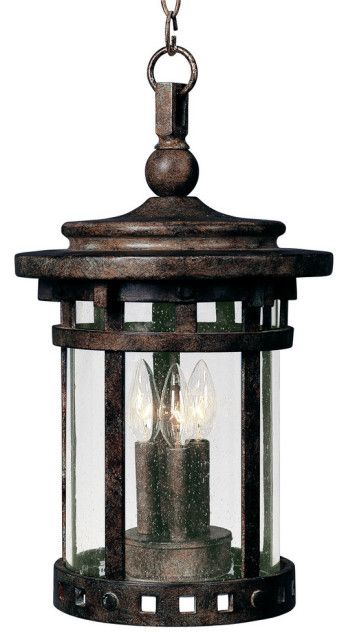
Hey everyone. Welcome back to the channel. Today, we’re diving deep into something that can truly transform your home’s exterior: installing a Santa Barbara Cast Lantern. These lanterns are beautiful, durable, and add a touch of classic elegance, but getting them up and running can seem a little daunting. Don’t worry, though. I’m here to walk you through it step-by-step, making sure you get the best results, and that your new lantern shines for years to come. I’ll show you how to do it and give you some insider secrets I’ve picked up along the way that will make the whole process much easier. Let’s get started.
Before we jump into the nitty-gritty, let’s talk a little about why you chose a Santa Barbara Cast Lantern in the first place. They’re iconic. They’re made to last. They bring a warm, inviting glow to any space. But the real magic happens when they are installed correctly. A poorly installed lantern can be a safety hazard, look terrible, and it won’t last. A good installation, on the other hand, ensures your lantern’s beauty and function for the long term. I’ve seen some seriously bad installations in my time, from crooked lanterns to faulty wiring – trust me, you don’t want to go there. This guide is all about avoiding those pitfalls and ensuring a smooth, successful installation. Plus, we will make sure that you know everything you need to know, so you can do it right the first time.
Step 1: Gathering Your Supplies – The Essentials
First things first: you need the right tools and materials. This isn’t a complex project, but having everything ready upfront will save you a ton of time and headaches. Here’s your essential shopping list:
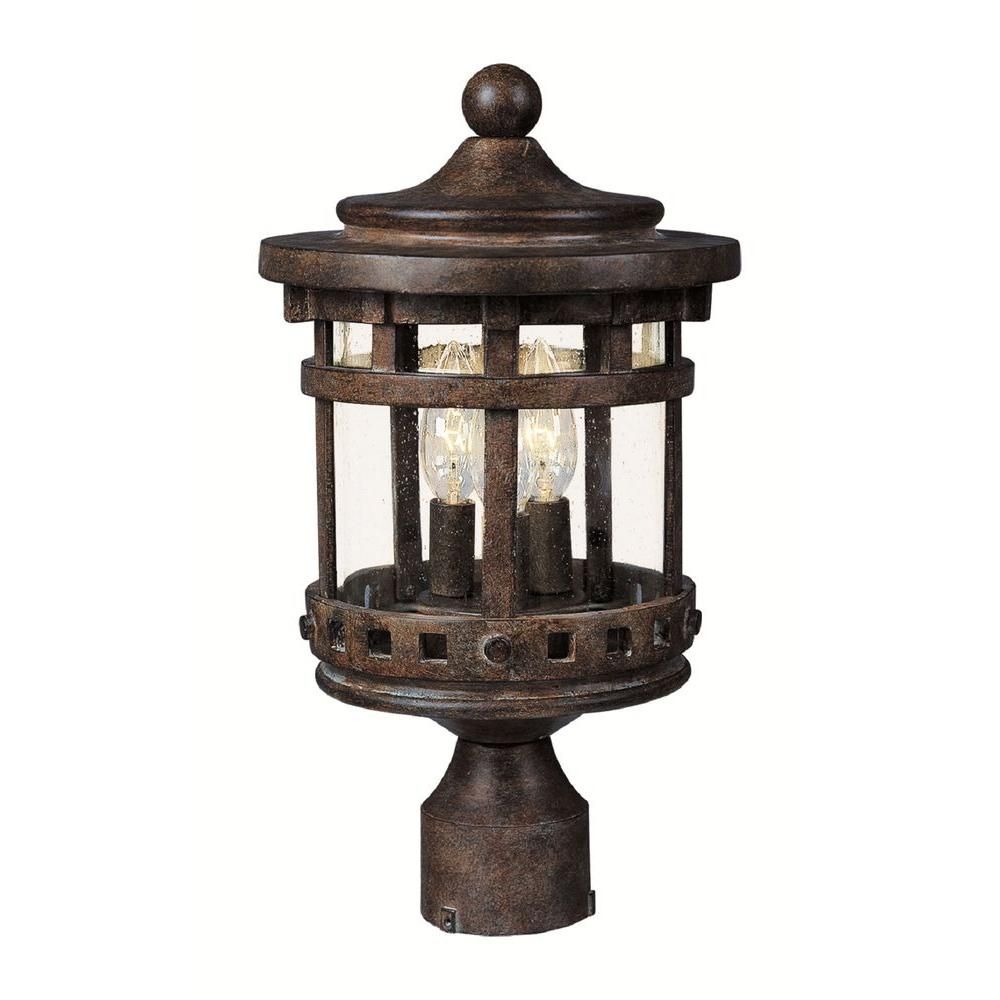
- The Lantern: Of course. Make sure you have the right size and style for your space.
- Mounting Hardware: This usually comes with the lantern, but check to make sure. You might need different screws or anchors depending on your wall type (brick, stucco, wood, etc.).
- Wiring Supplies: Wire connectors (wire nuts), electrical tape, and possibly wire strippers.
- Electrical Box (if needed): Sometimes, you’ll need to install a new electrical box if one doesn’t already exist. Make sure it’s rated for outdoor use.
- Drill and Drill Bits: You’ll need these for creating pilot holes for screws and for mounting the electrical box.
- Screwdriver: A Phillips head and, possibly, a flathead.
- Level: To ensure your lantern is perfectly straight.
- Safety Gear: Gloves and safety glasses are a must. Always prioritize safety when working with electricity.
- A Helper: While not always essential, having a friend or family member to hold things or offer a second set of eyes can be a real game-changer.
Pro Tip: Before you start, check your local electrical codes. There might be specific regulations about outdoor lighting that you need to follow.
Step 2: Prep Work – Safety and Location
Safety is paramount, so start by turning off the power to the circuit that controls the outlet or wiring where you’ll be installing the lantern. You can do this at the breaker box. Double-check with a voltage tester to make absolutely sure the power is off. Next, figure out the best spot for your lantern. Consider these factors:
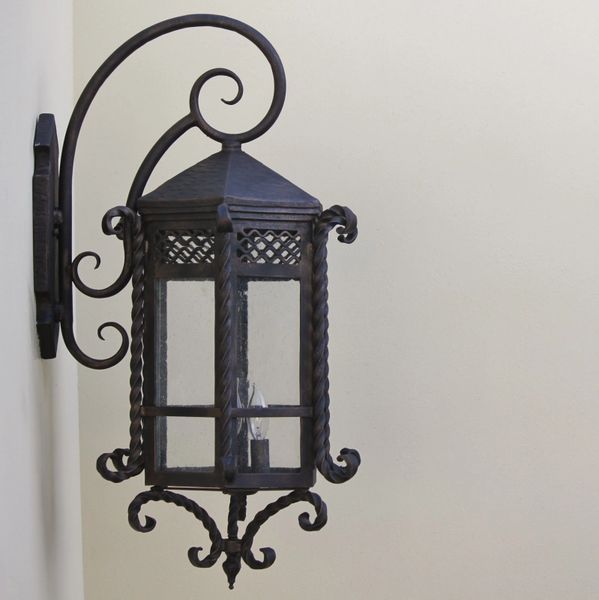
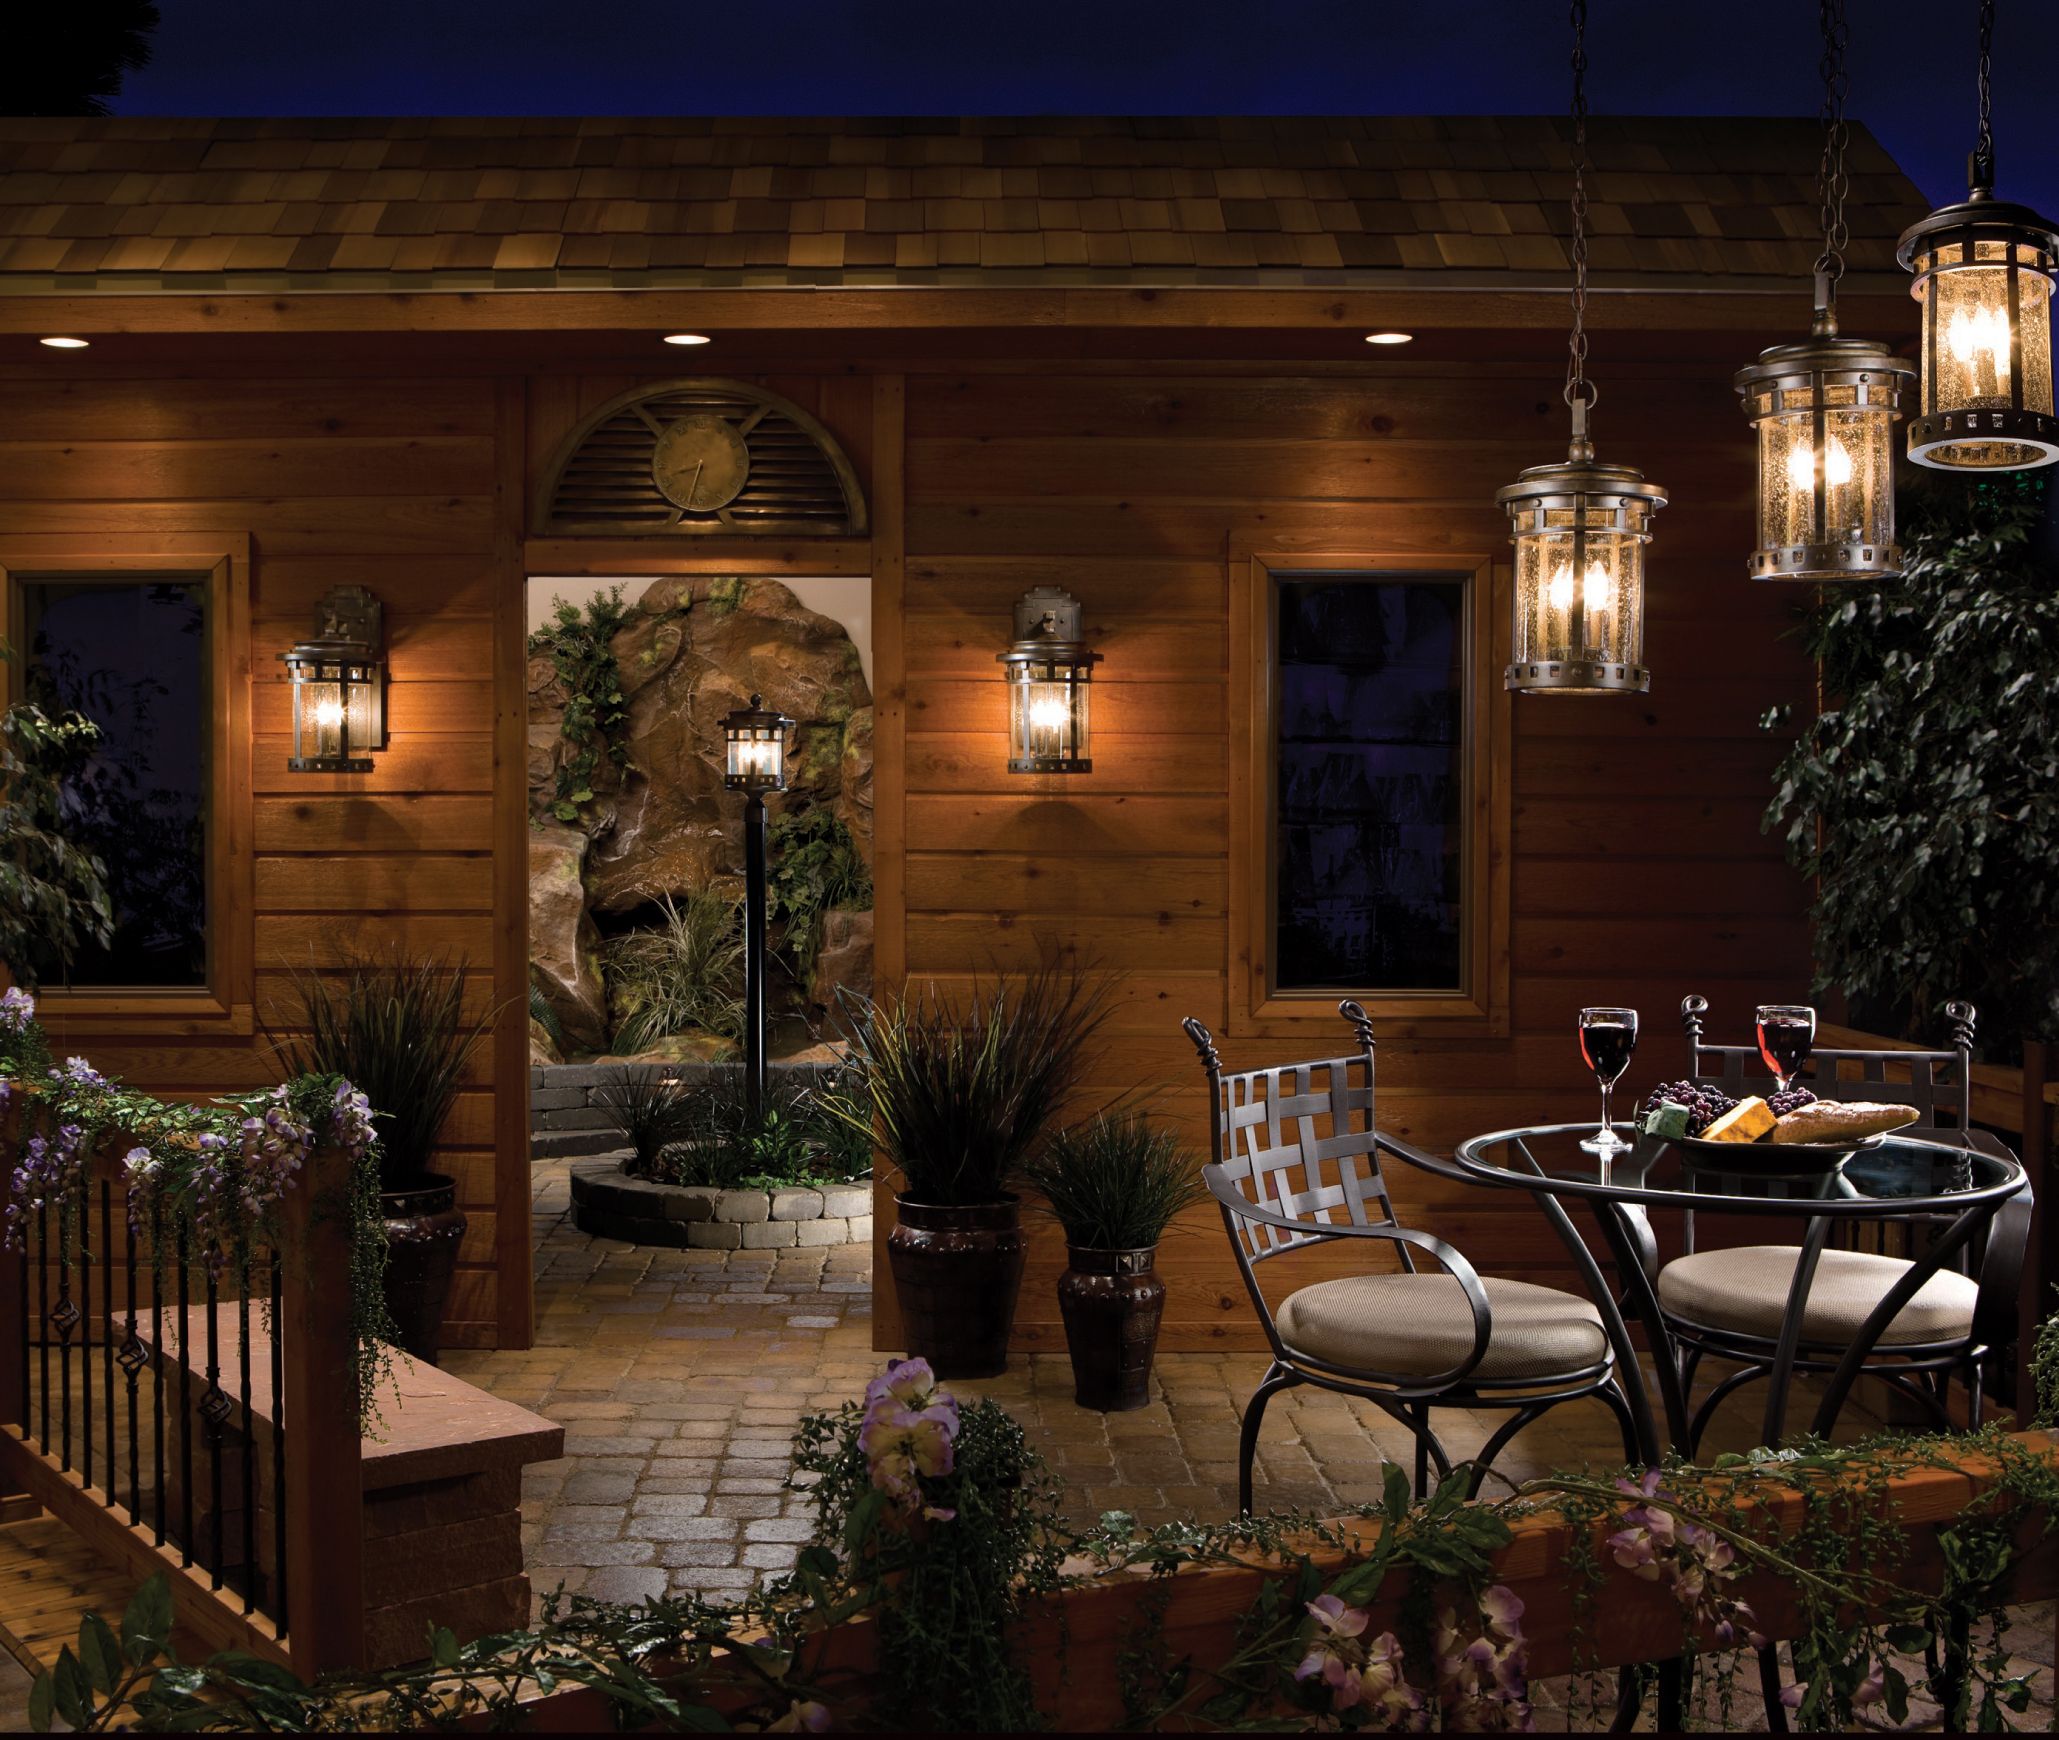
- Height: Eye-level is usually ideal, but consider the style of the lantern and the surrounding architecture.
- Visibility: Make sure the light will illuminate the area you want, like a doorway or pathway.
- Obstructions: Check for anything that might block the light, like trees or bushes.
- Existing Wiring: If you’re replacing an old lantern, you can use the existing wiring. If you’re adding a new one, you’ll need to run wiring from an existing power source (which might require help from a qualified electrician). Don’t forget to check for any hidden pipes or wires before you start drilling.
Step 3: Mounting the Lantern – Getting it Up
Now for the installation. This is where the fun begins.
- Mounting Bracket: Attach the mounting bracket to the wall using the appropriate screws and anchors for your wall type. Make sure the bracket is level. This is crucial for a clean, professional look.
- Wiring: Connect the wires from the lantern to the wires from the electrical box. Match the colors (black to black, white to white, green or bare copper to ground). Use wire nuts to secure the connections, and wrap them with electrical tape for extra protection.
- Secure the Lantern: Carefully attach the lantern to the mounting bracket. Make sure it’s snug but not overtightened.
Troubleshooting: If you’re struggling with the wiring, don’t hesitate to ask a professional for help. It’s better to be safe than sorry.
Step 4: Wiring – Making the Connections
Wiring is the heart of this project, so let’s break it down further.
- Identify the Wires: Your lantern will have at least three wires: a black (hot), a white (neutral), and a green or bare copper (ground). The electrical box should have the same.
- Strip the Wires: Use wire strippers (or carefully use a utility knife) to expose about ½ inch of bare wire on each end.
- Connect the Wires: Twist the matching colored wires together tightly, then secure them with a wire nut. Wrap the connection with electrical tape for added insulation.
- Grounding: The ground wire is critical for safety. Connect the green or bare copper wires together. If you don’t have a ground wire in your system, it’s best to consult an electrician.
Important Note: Always double-check your connections before you close up the lantern. A loose connection can cause problems down the line.
Step 5: Testing and Finishing Touches
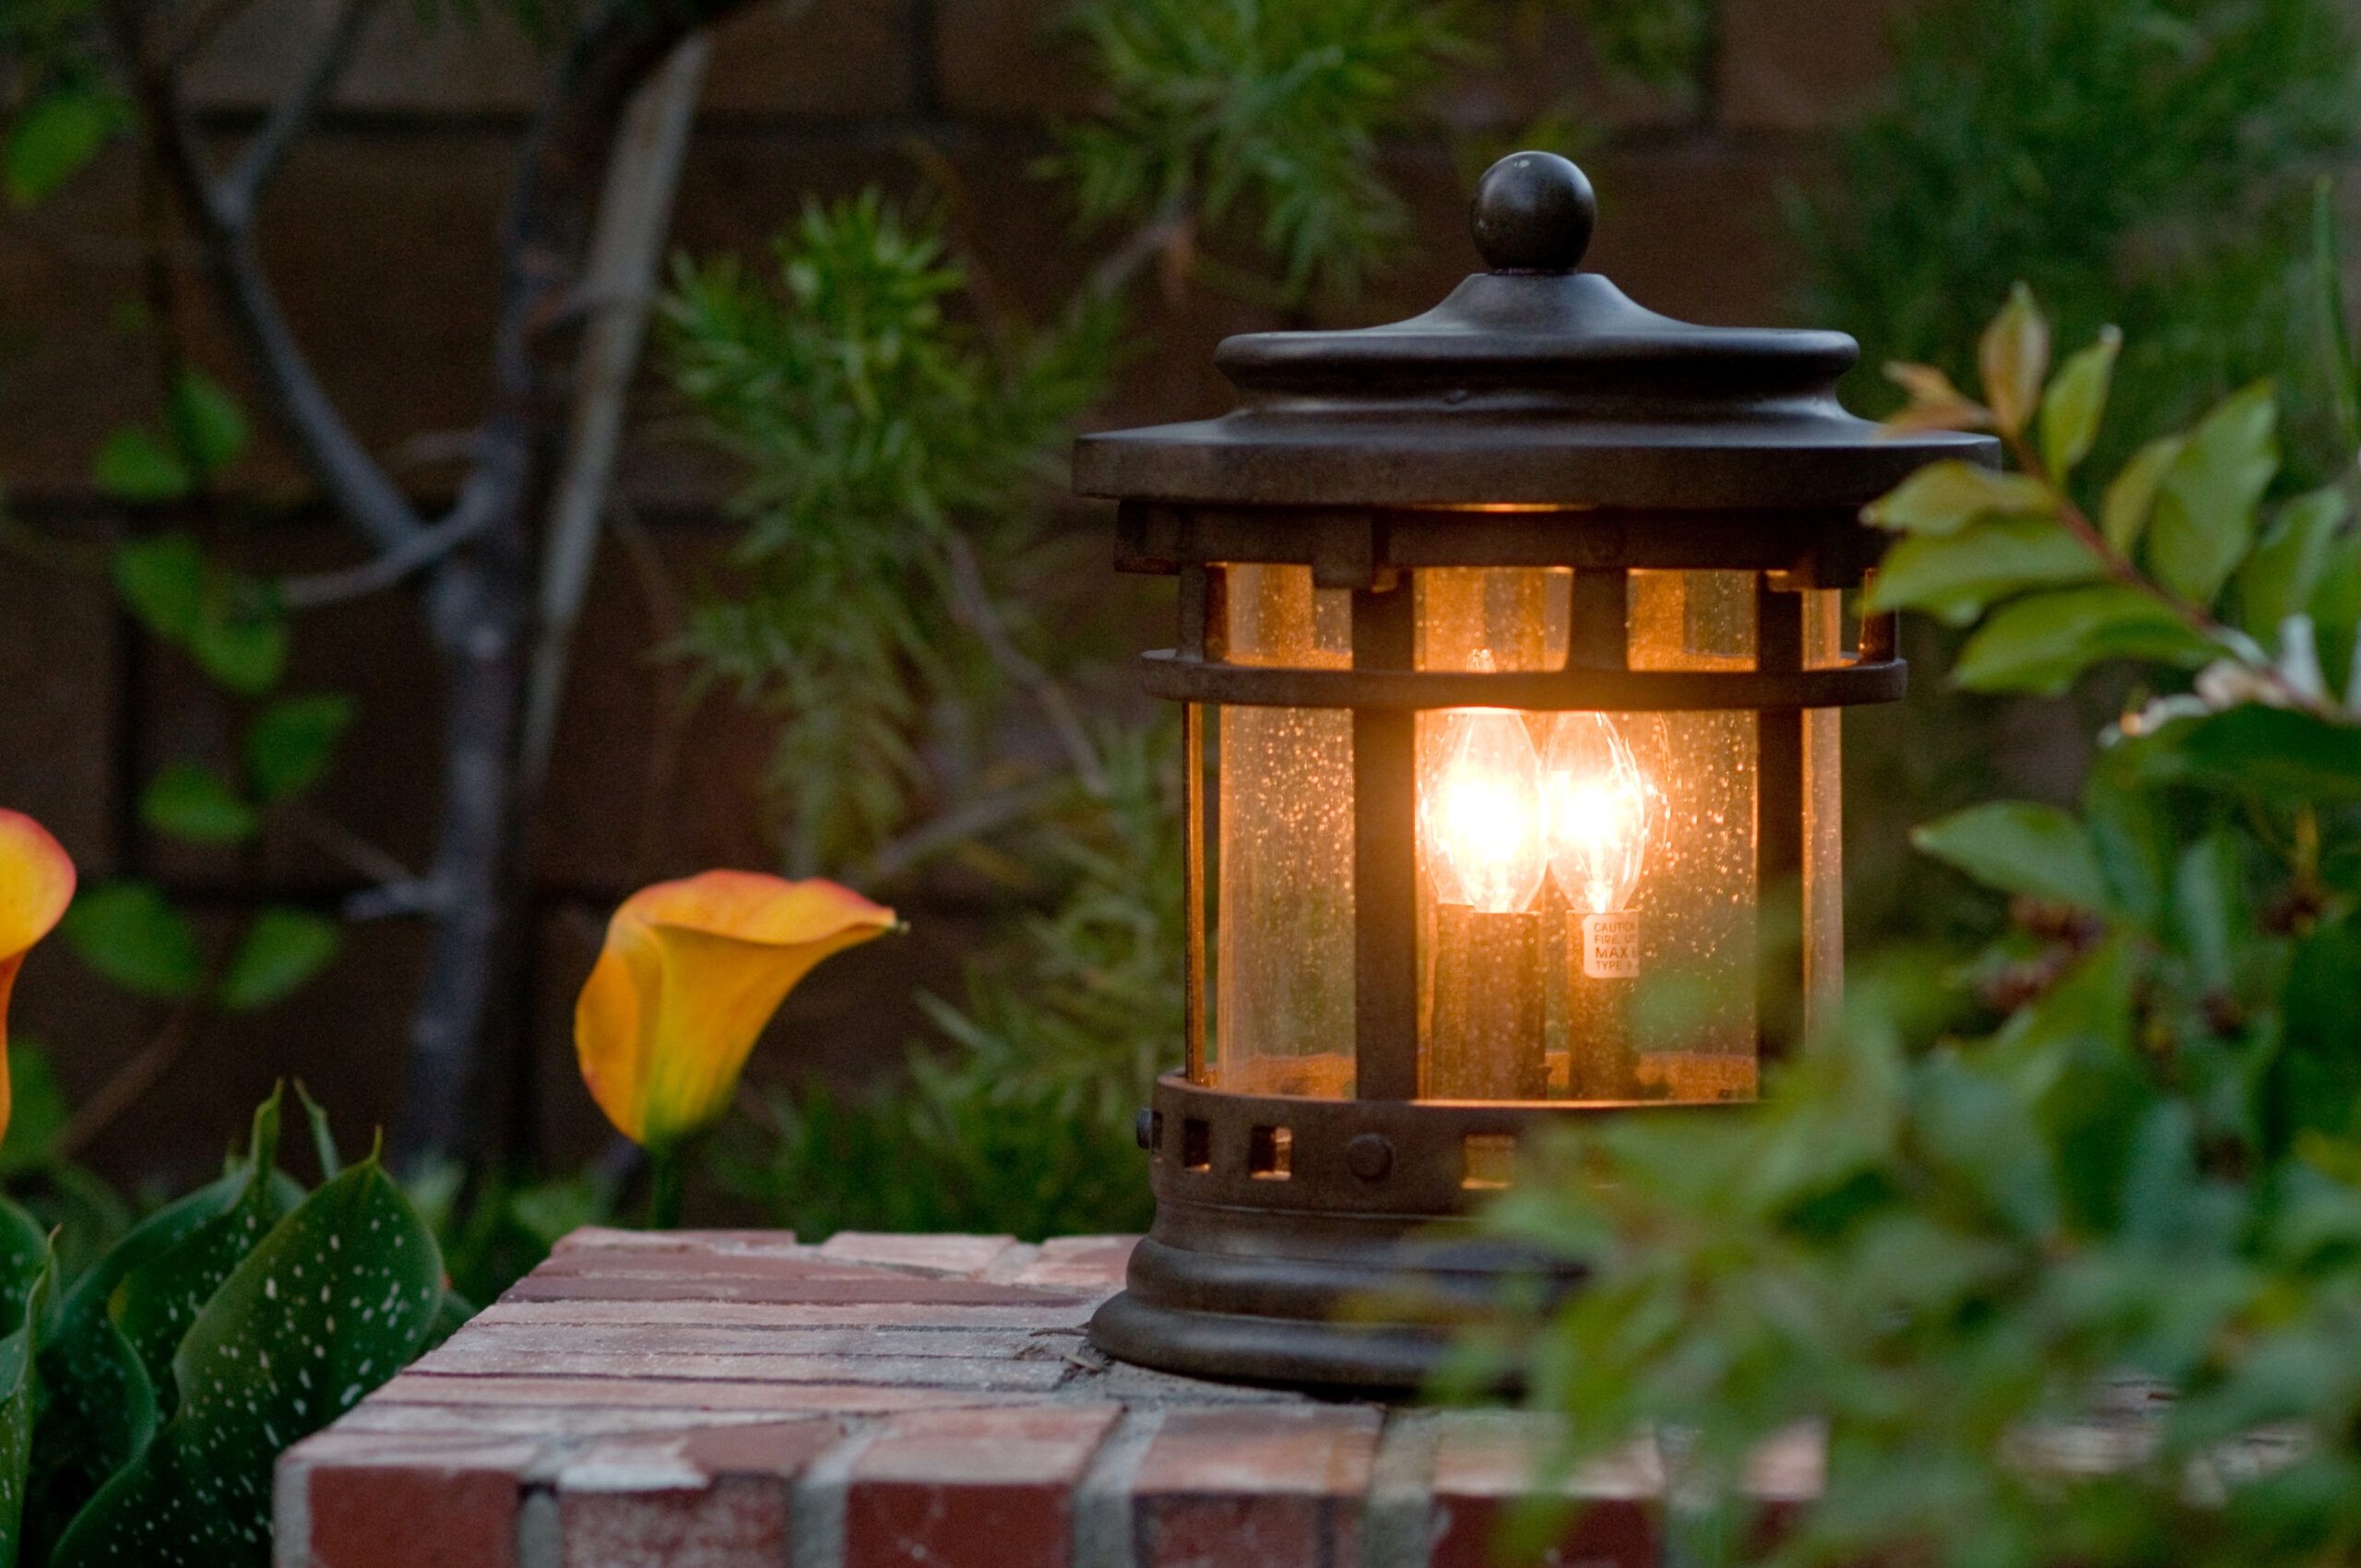
Once everything is connected, it’s time for the moment of truth. Turn the power back on at the breaker box. If everything is wired correctly, your lantern should light up. If it doesn’t, double-check all the connections and make sure the bulb is good. If it still doesn’t work, it’s time to call an electrician. Finally, add the light bulb. After that, you’re pretty much done.
- Inspect your work: Make sure everything is secure and that there are no exposed wires.
- Clean up: Remove any debris and wipe down the lantern.
- Enjoy: Step back and admire your handiwork. You did it.
Pro Tip: Consider using LED bulbs. They use much less energy and last much longer than traditional bulbs.
Step 6: Common Mistakes and How to Avoid Them
Even the most experienced DIYers make mistakes. Here are a few common pitfalls and how to avoid them:
- Incorrect Wiring: This is the most common issue. Always double-check your wiring connections and consult an electrician if you’re unsure.
- Using the Wrong Hardware: Make sure you use the correct screws and anchors for your wall type. Using the wrong ones can cause the lantern to come loose.
- Not Weatherproofing: Outdoor lanterns need to be weather-resistant. Make sure all connections are protected from the elements.
- Overlooking Safety: Always turn off the power before working with electricity, and wear safety glasses and gloves.
- Not Leveling the Lantern: A crooked lantern looks unprofessional and can be a sign of a poor installation.
By being aware of these potential issues, you can increase your chances of a successful installation.
Step 7: Maintenance – Keeping Your Lantern Shining
Once your Santa Barbara Cast Lantern is installed, a little bit of upkeep will keep it looking great for years to come.
- Cleaning: Regularly wipe down the lantern with a soft cloth and mild soap and water to remove dirt and grime. Avoid abrasive cleaners that could damage the finish.
- Bulb Replacement: Replace bulbs as needed.
- Inspect the Wiring: Periodically check the wiring connections for any signs of wear or corrosion.
- Check for Loose Screws: Tighten any loose screws to keep the lantern secure.
With a little care, your lantern will continue to add beauty and charm to your home for many years.
So there you have it – a comprehensive guide to installing your Santa Barbara Cast Lantern. Remember, take your time, prioritize safety, and don’t be afraid to ask for help if you need it. With a little bit of effort, you can transform your home’s exterior and enjoy the warm glow of your new lantern for years to come. I hope you found this guide helpful. If you did, please give this video a thumbs up, subscribe to my channel for more home improvement tips, and share it with your friends. Thanks for watching, and I’ll see you in the next one.