Hey everyone. It’s your friend here, ready to delve into the world of vapor jar lighting. It’s a fun, creative, and surprisingly simple way to transform any space. I’ve been playing around with these for years, and the reactions I get from friends and family are amazing. From cozy evenings to energetic gatherings, the right lighting can totally change the vibe. And vapor jars? They’re my secret weapon. So, grab a cuppa, settle in, and let’s get started. I’m going to share my favorite tips and tricks for crafting the perfect ambiance. I’ll show you how easy it is to get started. I’ll provide some real-world examples, and I’ll show you how to make these little beauties yourself.
Vapor jar lighting isn’t just about putting a light inside a jar and calling it a day. It’s an art form, a science, and a whole lot of fun. It involves using different materials and techniques to create stunning visual effects. Think of it as painting with light. Whether you’re aiming for a romantic glow, a playful atmosphere, or a calming sanctuary, vapor jars can help you achieve it. Over the years, I’ve experimented with countless designs, colors, and materials. I’ve learned what works, what doesn’t, and how to avoid common pitfalls. I’m here to share all that knowledge with you, so you can start crafting your own amazing vapor jar masterpieces.
Choosing Your Jars: The Foundation of Your Creation
The first step, and possibly the most important, is selecting your jars. The style and size of your jars will greatly influence the final look of your vapor jar lighting.
- Size Matters: Smaller jars are great for accent lighting and intimate settings. Larger jars are perfect for centerpieces or creating a bigger impact.
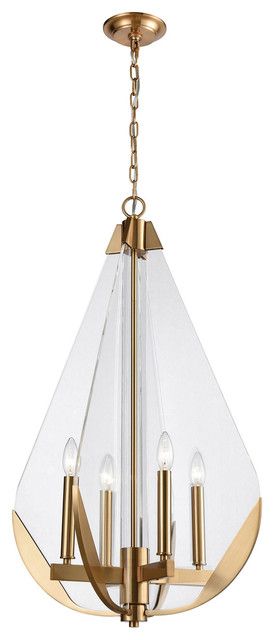
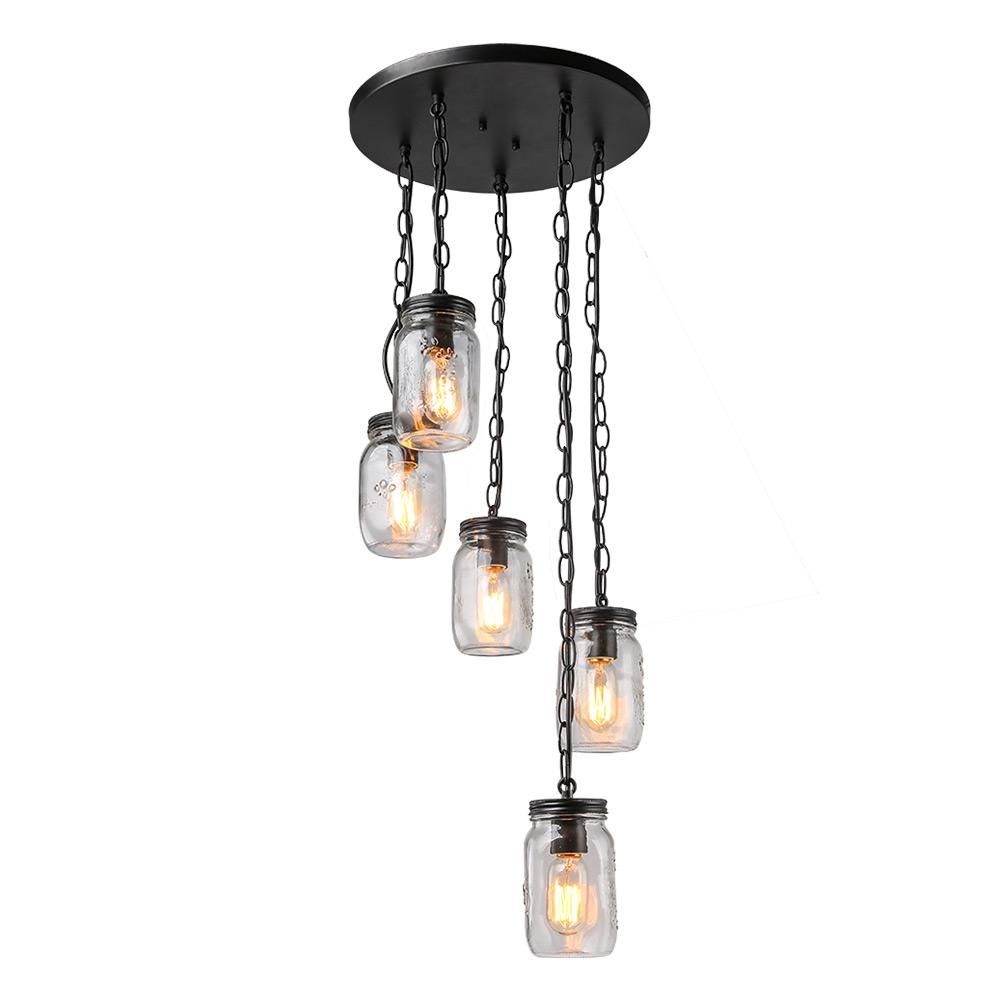
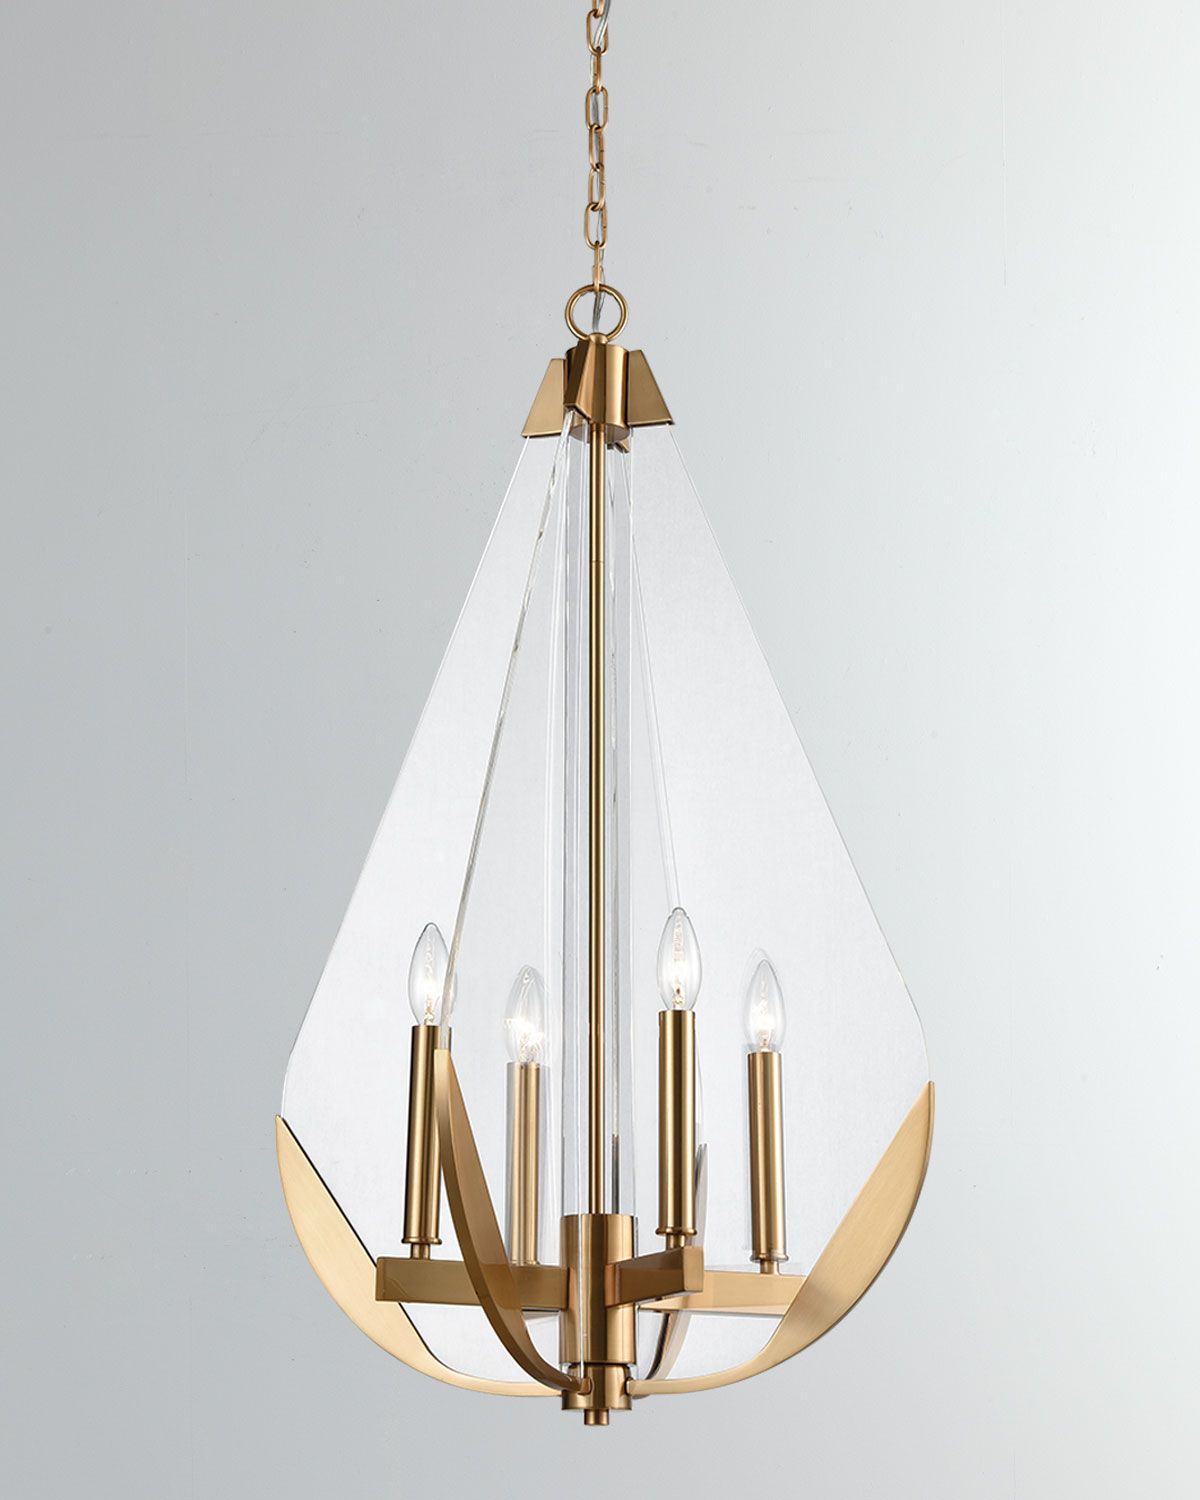
- Shape and Style: Mason jars are a classic choice, offering a rustic and charming aesthetic. Decorative glass jars with interesting shapes can add a touch of elegance or whimsy. Consider the overall aesthetic you’re going for and choose jars that complement it.
- Clarity is Key: Clear glass jars are ideal for showcasing the colors and effects of your lighting. However, you can also use frosted or colored jars to create a more subtle or dramatic effect. I often start with a variety of sizes and shapes to give myself options. You never know what will spark your creative side. I’m always on the lookout for unique jars at thrift stores and flea markets. It’s a fun way to find treasures and save some money, and you might even find some unique jars you didn’t expect.
Remember, the jar is the canvas. Choose wisely.
Illumination Options: Lights, Lights, Lights!
Now, let’s talk about the heart of your vapor jar: the lighting. There are many options to choose from, each with its own advantages.
- LED String Lights: These are my personal favorite. They’re energy-efficient, come in a wide array of colors and lengths, and are super easy to work with. You can find battery-powered or plug-in versions.
- Fairy Lights: Similar to string lights, but often with smaller, more delicate bulbs. They create a softer, more ethereal glow and are perfect for a romantic ambiance.
- Tea Lights and Candle Lights: Classic and timeless, but be cautious with fire safety. Use caution, and never leave unattended. Battery-operated tea lights are a safe alternative.
- LED Strip Lights: These are great for larger jars or to create a more uniform light distribution. You can cut them to the desired length, making them very versatile.
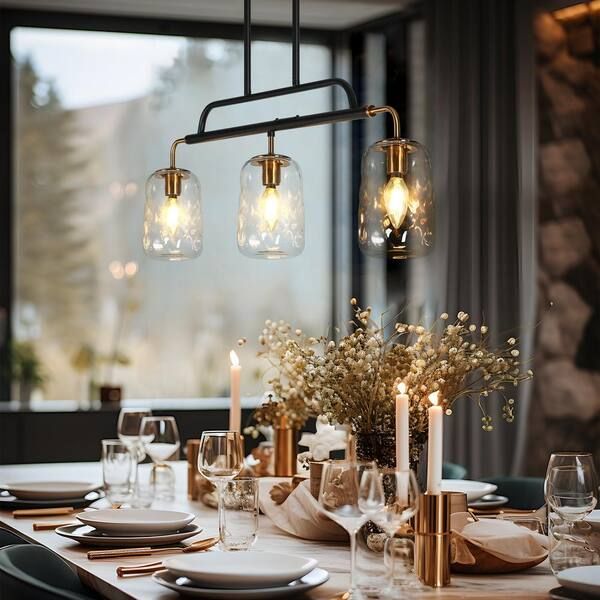
When choosing your lights, consider the color temperature (warm white, cool white, or colored). Warm white creates a cozy feel, while cool white is brighter and more modern. Colored lights can be used to set any mood you like. I suggest experimenting with different light types and colors to see what works best for you. I once created a galaxy-themed vapor jar using blue, purple, and green LED string lights and some cotton balls. It was a huge hit.
Adding the Vapor Effect: Creating the Magic
This is where the magic happens. The ‘vapor’ effect is what gives your jars their unique and captivating appeal. There are several ways to achieve this:
- Cotton Balls: This is the most common, and easiest technique. Simply fluff up cotton balls and arrange them inside the jar. The lights will shine through the cotton, creating a soft, diffused glow that’s reminiscent of smoke or clouds.
- Glitter and Confetti: Add a touch of sparkle! Glitter and confetti will catch the light and create a dazzling effect. Use sparingly to avoid overpowering the overall look.
- Colored Water or Dye: For a more vibrant effect, you can add colored water or dye to your jar. This works well with LED lights, which are safe to submerge. Be sure to use food-grade dyes if you’re worried about safety.
- Spray Paint or Chalk Paint: For a more opaque effect, you can use spray paint or chalk paint to frost the inside of your jar. This will diffuse the light and create a soft, dreamy glow.
Experiment with different materials and combinations to achieve the desired effect. I’ve had a lot of fun combining cotton balls with glitter and colored water. The possibilities are truly endless. Don’t be afraid to get creative and try new things. That’s where the real fun lies.
Safety First: Tips for Preventing Problems
Safety should always be your top priority when working with lighting. Here are some important tips:
- Use LED Lights: LED lights generate minimal heat, making them much safer than incandescent bulbs, especially when enclosed in a jar.
- Battery-Operated is Best: Battery-operated lights eliminate the need for electrical outlets, reducing the risk of electrical hazards.
- Never Leave Unattended: If you’re using candles or tea lights, never leave them unattended and always place them on a stable surface.
- Avoid Overcrowding: Don’t overcrowd the jar with materials, as this can trap heat and increase the risk of fire.
- Inspect Your Jars: Before you start, inspect your jars for any cracks or chips. Damaged jars may not be safe to use with lights.
By following these simple safety guidelines, you can enjoy your vapor jar lighting creations with peace of mind. Safety first, fun always.
Step-by-Step Guide: Creating a Basic Vapor Jar
Let’s put it all together with a simple, step-by-step guide:
- Gather Your Supplies: You’ll need a jar, LED string lights, cotton balls, and any additional materials you want to use (glitter, colored water, etc.).
- Prepare the Jar: Clean the jar and make sure it’s completely dry.
- Insert the Lights: Carefully insert the LED string lights into the jar. Start at the bottom and work your way up, leaving the battery pack accessible.
- Add the Vapor Effect: Fluff up the cotton balls and arrange them around the lights. You can also add glitter or other materials at this stage.
- Test and Adjust: Turn on the lights and see how it looks. Adjust the cotton balls or other materials until you’re happy with the effect.
- Enjoy Your Creation: Place your vapor jar in a desired location and enjoy the ambiance.
It’s really that easy. This basic technique can be adapted and expanded upon in countless ways. I encourage you to get creative and experiment. It’s a lot of fun, and the results are always rewarding.
Troubleshooting: Common Issues and Solutions
Sometimes, things don’t go quite as planned. Here are some common issues and how to fix them:
- Dim Lighting: If the lights are too dim, try using more lights or lighter-colored materials. Make sure the batteries in your lights are fresh.
- Uneven Lighting: Rearrange the cotton balls or other materials to distribute the light more evenly.
- Overcrowding: If the jar looks too cluttered, remove some of the materials. Less is often more.
- Lights Not Working: Check the battery pack and make sure the lights are turned on. Replace the batteries if needed.
- Jar Too Hot: If the jar feels too hot, use LED lights, which produce very little heat. Avoid overcrowding the jar.
Don’t be discouraged if you encounter any problems. Just take a step back, troubleshoot, and try again. It is all part of the fun. And remember, practice makes perfect. The more you make, the better you’ll get at it. I had so many failures when I started, and now I have a small business doing this. So, don’t give up.
Vapor jar lighting is a fantastic way to add personality and charm to any space. It’s a creative outlet, a fun hobby, and a simple way to transform your surroundings. I hope these tips and tricks have inspired you to start your own vapor jar journey. Remember to choose your jars wisely, select the right lighting, and experiment with different materials to create the perfect ambiance. Don’t be afraid to get creative and have fun with it. With a little bit of effort and a whole lot of imagination, you can create stunning vapor jar lighting that will impress your friends, family, and yourself. Happy crafting, and happy illuminating, and remember to share your creations with me. I always love seeing what you come up with. Cheers!