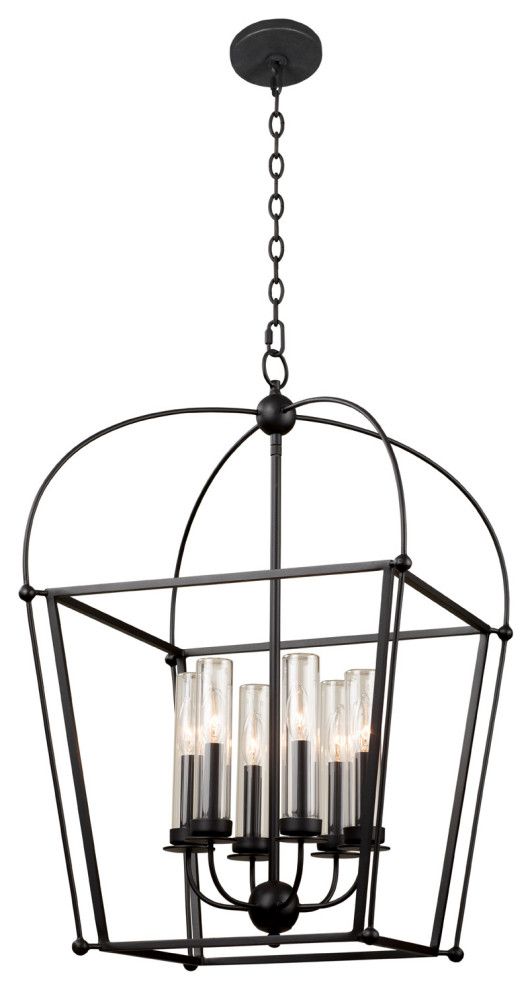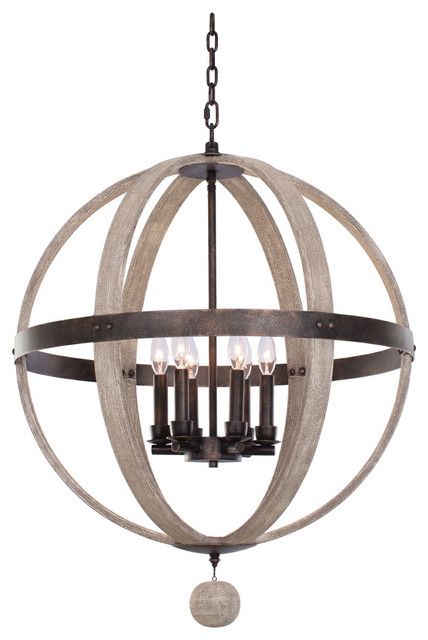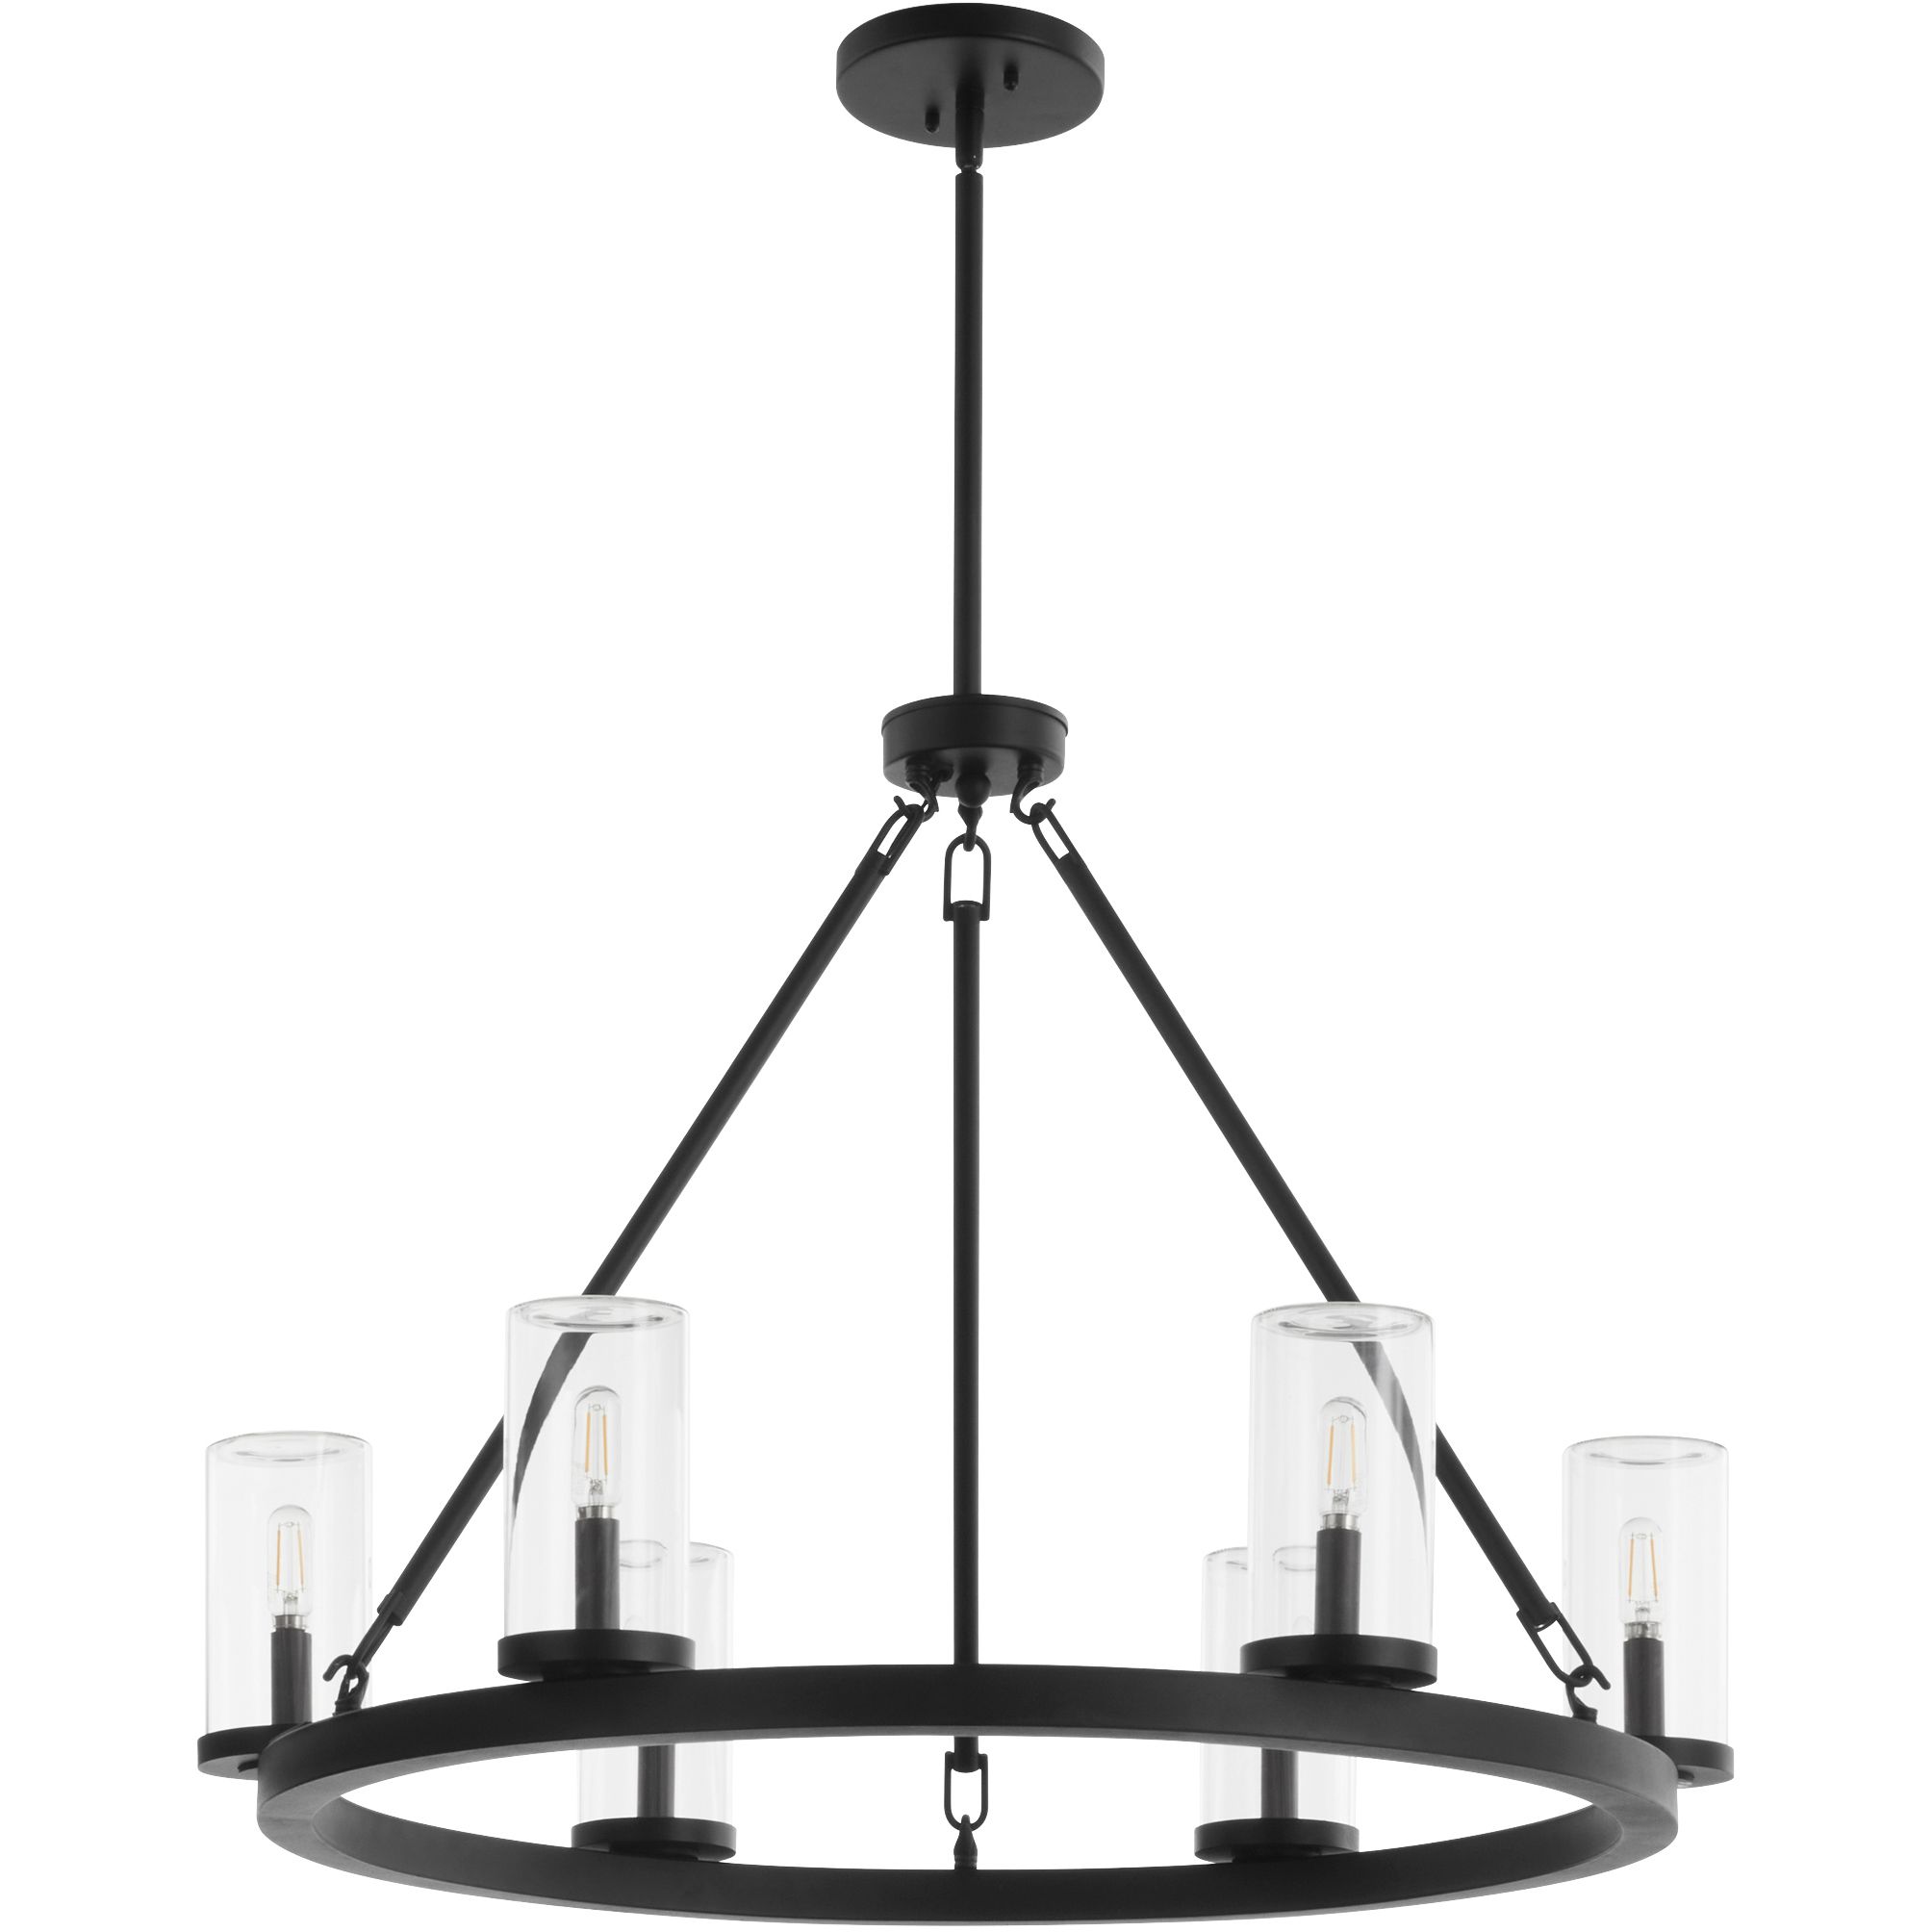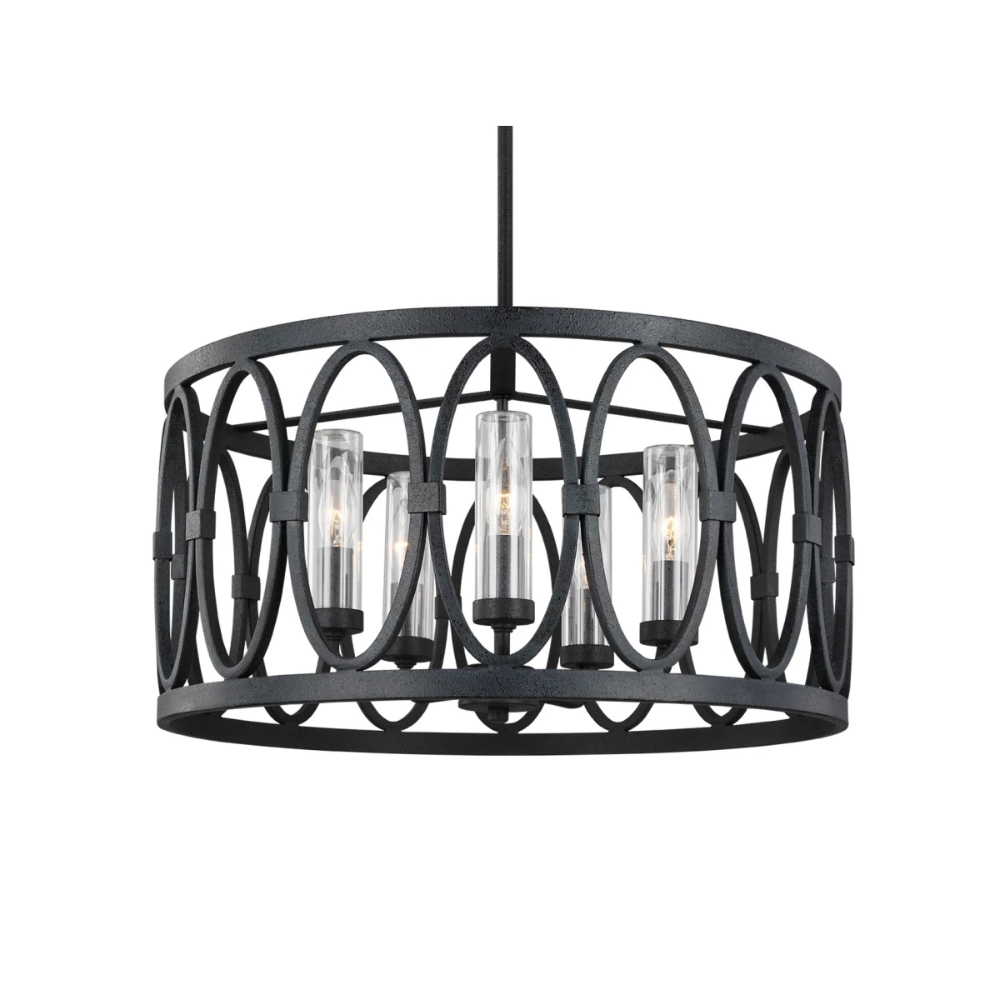
Hey there, lighting lovers! If you’re anything like me, you adore the way a well-placed light fixture can utterly transform a space. The Kalco Somers 6-Light Pendant is one such fixture – a true statement piece, bringing both light and style to any room. But, let’s be honest, the thought of installing a new light can sometimes feel a bit intimidating. Fear not! I’m here to walk you through the entire process, step-by-step, so you can confidently install your Kalco Somers pendant and revel in its glow. This isn’t just about following instructions; it’s about understanding the why and the how, so you feel empowered every step of the way. Let’s get started and light up your world!
Installing a light fixture might seem daunting at first, but trust me, with the right knowledge and a little patience, it’s totally doable. This guide is specifically designed for the Kalco Somers 6-Light Pendant, but the principles apply to many similar fixtures. We’ll break down each stage, from prepping your space to the final wiring connections, ensuring a smooth and safe installation. By the end, you’ll not only have a beautiful new light fixture but also the satisfaction of knowing you did it yourself. Ready to shine?
Phase 1: Preparations – Safety First!
Before you even think about touching wires, safety must be your top priority. Here’s what you’ll need and what to do:
- Gather Your Tools and Materials: You’ll need your Kalco Somers pendant (of course!), wire strippers, a screwdriver (likely Phillips head and maybe a flathead), electrical tape, a ladder (or sturdy step stool), gloves, safety glasses, and a voltage tester (a non-contact one is easiest).
- Turn Off the Power: This is the most crucial step. Go to your circuit breaker box and turn off the circuit that controls the light fixture you’re replacing. Double-check that the power is off by turning on the existing light switch – if the light doesn’t come on, you’re good to go. But, to be absolutely certain, use your voltage tester on the wires in the existing electrical box.
- Clear the Area: Make sure the area around your work space is clear. This will make moving around easier and safer. Put down a drop cloth to protect your floor and catch any falling debris.
Phase 2: Removing the Old Light Fixture
Now it’s time to get rid of the old light. This is a crucial step to make sure you are doing this correctly:
- Remove the Old Fixture: Carefully unscrew the old light fixture from the ceiling electrical box. You might need to loosen the canopy or mounting hardware. Take your time and be gentle.
- Disconnect the Wires: Once the fixture is down, you’ll see the wires. There should be three: a black (hot), a white (neutral), and a ground wire (usually green or bare copper). Use your wire strippers to disconnect the old fixture’s wires from the wires in the ceiling box. Usually, they are connected with wire connectors (wire nuts). Unscrew the wire nuts, one wire at a time, and gently pull the wires apart. If the old light had more than three wires, make sure to take pictures or make notes to remember which wires went where.
- Inspect the Electrical Box: Check the electrical box in the ceiling. Make sure it’s securely mounted and in good condition. If it’s damaged, you may need to replace it before installing the new fixture. Remember to always be careful, and if you aren’t sure, call a professional.
Phase 3: Assembling the Kalco Somers Pendant
Let’s get the new light ready. The exact steps may vary slightly depending on the model, so always refer to the manufacturer’s instructions, but here’s a general overview:
- Unpack and Inspect: Carefully unpack all the components of your Kalco Somers pendant. Make sure everything is there and that nothing is damaged.
- Assemble the Fixture Body: Follow the manufacturer’s instructions to assemble the main body of the pendant. This usually involves attaching the arms and/or shades to the central hub.
- Prepare the Wires: If necessary, strip a small amount of insulation from the wires on your new fixture. Refer to the manufacturer’s instruction for the exact length you need to strip. Don’t strip too much, or you’ll expose too much wire.
- Mounting Hardware: Attach the mounting bracket to the ceiling electrical box. This is what the pendant will hang from. Make sure it is securely screwed into the box.
Phase 4: Wiring the Kalco Somers
This is where the magic happens – and where safety is supremely important:
- Connect the Wires: Carefully connect the wires from the Kalco Somers pendant to the wires in the ceiling electrical box. Match the colors: black (hot) to black, white (neutral) to white, and ground (green or bare copper) to ground.
- Use Wire Nuts: Twist the wire connectors (wire nuts) securely onto the wire connections. Make sure there are no bare wires showing. Give each wire a gentle tug to ensure it’s secure.
- Tuck Wires Into the Box: Gently tuck the connected wires back into the ceiling electrical box. Be careful not to pinch or damage the wires.
- Attach the Canopy: Attach the canopy of the Kalco Somers pendant to the mounting bracket. This will likely involve screwing it into place. Make sure the canopy is flush with the ceiling.
Phase 5: Installing the Bulbs and Finishing Touches
We’re almost there. Here’s how to finish the job:
- Install the Light Bulbs: Carefully screw in the light bulbs recommended for your Kalco Somers pendant. Make sure you’re using the correct wattage and bulb type (usually specified in the instructions).
- Adjust the Height (If Applicable): Some pendants have adjustable chains or cords. Adjust the height of your Kalco Somers pendant to your desired length.
- Clean Up: Wipe down the fixture to remove any fingerprints or dust. And now you can stand back and admire your work.
Phase 6: Testing and Troubleshooting
Time to see if everything works:
- Turn the Power Back On: Go back to your circuit breaker box and turn the power back on to the circuit you were working on.
- Test the Light: Flip the light switch. If everything is connected correctly, your Kalco Somers pendant should light up beautifully.
- Troubleshooting: If the light doesn’t work, don’t panic. First, double-check the light bulbs. Then, go back and carefully re-examine all the wire connections. Make sure the breaker is not tripped. If you are still having problems, you might consider calling an electrician. It’s always better to be safe than sorry!
Congratulations! You’ve successfully installed your Kalco Somers 6-Light Pendant. You’ve not only brightened your room but also gained a new skill and a sense of accomplishment. Remember to always prioritize safety, take your time, and don’t hesitate to ask for help if you need it. Enjoy the beautiful light and the transformation it brings to your space. Keep on shining, and happy lighting!