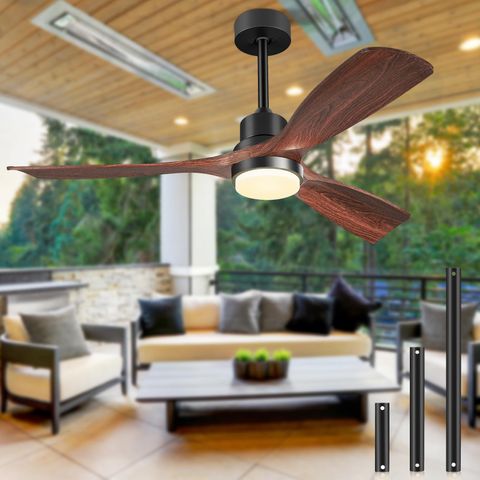
Picture this: it’s a sweltering summer evening, and you’re trying to enjoy your backyard dinner party. The heat is relentless, and there’s no relief in sight. That’s when you realize you’ve been missing out on something simple yet transformative – a properly installed outdoor ceiling fan. These aren’t just fancy decorations, they’re practical solutions that can make all the difference in your outdoor living experience.
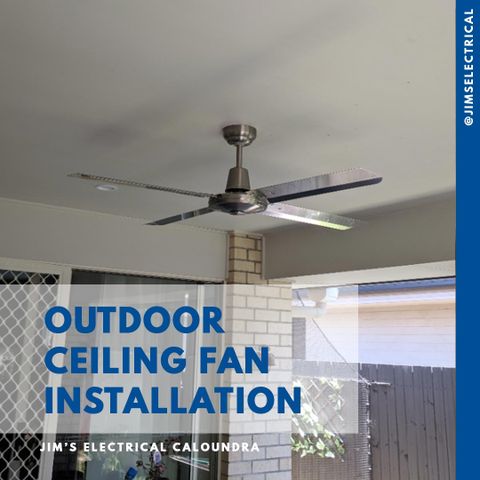
Outdoor ceiling fans have become more than just decorative elements in modern homes. They’re practical necessities that offer relief from heat and humidity while adding aesthetic appeal to patios, decks, and covered porches. Installing one correctly means the difference between a comfortable outdoor retreat and a sweltering disappointment. Whether you’re building a new home or upgrading your existing space, understanding proper installation techniques ensures safety, efficiency, and long-term satisfaction.
Understanding Outdoor Fan Requirements
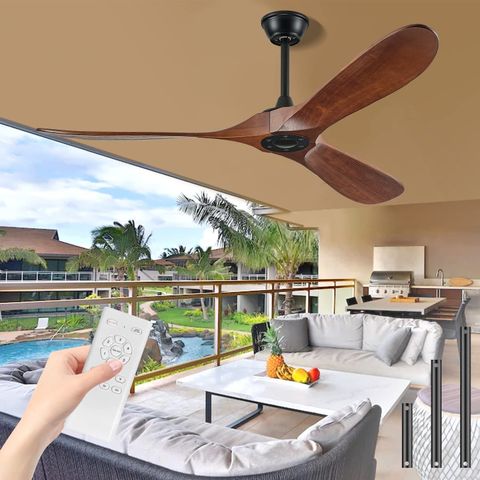
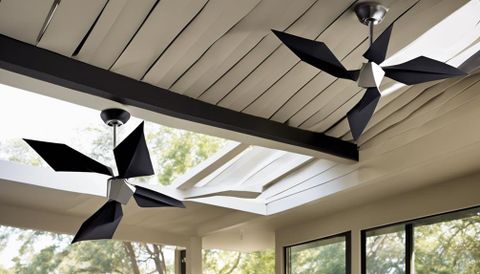
Not all ceiling fans are created equal when it comes to outdoor use. The key differences lie in weather resistance and construction materials. Look for fans specifically rated for outdoor environments, often marked with IP ratings like IP44 or higher. These indicate protection against dust and water ingress. The blades themselves must be made from durable materials such as aluminum, plastic, or treated wood that won’t warp or fade under UV exposure. Motor housings need to be sealed properly to prevent moisture damage. Consider the size too – larger fans move more air but require stronger mounting hardware. A typical 52-inch fan works well for most covered areas, while smaller 42-inch models suit tighter spaces or uncovered porches. Some manufacturers even offer fans with built-in LED lighting, combining functionality with ambiance. The motor type matters too, with DC motors offering better energy efficiency and smoother operation compared to traditional AC motors. Always check if the fan comes with a warranty covering outdoor conditions, as this often indicates quality craftsmanship.
Essential Tools and Materials
Before diving into installation, gather these basic tools and supplies. You’ll need a drill with both screwdriver and drill bits, a stud finder to locate wall joists, wire strippers, electrical tape, and a voltage tester. For mounting hardware, ensure you have appropriate screws and anchors designed for outdoor use. Galvanized or stainless steel fasteners work best to prevent rust. A ladder or step stool provides safe access to your installation area. If your ceiling isn’t already prepared with a junction box, you might need to install one. This involves running electrical wire from your home’s electrical panel to the ceiling location. Make sure to follow local building codes and consider hiring a licensed electrician if you’re unsure about electrical work. Measuring tools help determine the correct fan size and placement. A level ensures the fan hangs straight and operates smoothly. Some enthusiasts swear by having a helper nearby to hold the fan during installation, especially for heavier models. Don’t forget safety equipment like gloves and eye protection. The right preparation saves time and prevents costly mistakes later on.
Choosing the Right Location
The placement of your outdoor fan significantly affects its performance and your comfort level. Start by measuring the space to determine how much clearance you need around the fan. The blades should hang at least 7 feet above the floor for safety, and at least 18 inches away from walls or furniture. Consider the direction of prevailing winds in your area – fans work best when they can catch natural airflow. If you’re installing near a dining table, position the fan so it doesn’t create uncomfortable drafts directly on guests. For large covered areas, multiple fans may be necessary rather than one oversized unit. Think about how you’ll use the space throughout different seasons. A fan positioned too low might be problematic during winter months when you want maximum air circulation. Check for obstacles like overhead pipes, light fixtures, or structural beams before finalizing your choice. If your patio has a ceiling that slopes, ensure the fan can accommodate this design. The mounting height should allow for easy maintenance access. Remember that wind patterns change with weather conditions, so plan accordingly. A good rule of thumb is to install fans where they’ll provide maximum benefit during peak usage times.
Electrical Safety Precautions
Electrical work always requires careful attention to safety protocols. Turn off power at the main electrical panel before beginning any installation. Use a voltage tester to confirm power is completely off before touching any wires. Many outdoor fans require dedicated circuits, especially those with lighting features. If your existing wiring doesn’t support the new fan’s requirements, you may need to upgrade the electrical service. Check local codes to see if permits are required for electrical installations. Some jurisdictions mandate professional inspections after electrical work. The junction box must be rated for outdoor use and properly grounded. If you’re unfamiliar with electrical systems, don’t hesitate to call a qualified electrician. Even experienced DIYers sometimes prefer professional help for electrical work. Water and electricity don’t mix well, so ensure all connections are weatherproof. Use appropriate wire nuts and electrical tape to secure connections. Follow manufacturer instructions precisely regarding wire colors and connections. Test everything thoroughly before turning power back on. It’s better to take extra time now than risk injury or property damage later. Always double-check that all electrical components are properly secured and protected from the elements.
Mounting Techniques and Hardware
Proper mounting is crucial for both safety and performance. Start by locating the ceiling joist using a stud finder – this provides the strongest support for heavy fans. If you can’t find a joist, use appropriate anchors designed for ceiling loads. Most outdoor fans require at least 50 pounds of holding capacity. The mounting bracket should match the fan’s weight specifications exactly. Some fans come with special mounting hardware for different ceiling types, including concrete or metal. When attaching the bracket to the ceiling, use lag bolts or appropriate screws that go deep enough into the joist. Double-check that the mounting plate is perfectly level before securing it. The downrod length affects both the fan’s performance and appearance. Too short, and the blades may hit people or objects; too long, and the fan becomes unstable. Measure carefully and adjust accordingly. Some fans allow for adjustable downrods, giving you flexibility in achieving proper clearance. Professional installers often recommend a minimum of 7 feet from floor to blade tip for safety reasons. The mounting process can be tricky with sloped ceilings, requiring special brackets or adapters. Make sure all hardware is tightened properly but avoid over-tightening which could strip threads. The final result should be a secure, stable installation that won’t wobble or shake during operation. Test the mount by gently shaking it before installing the fan itself.
Final Assembly and Testing
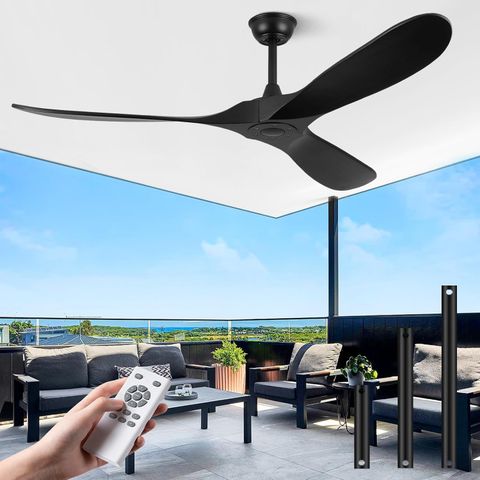
Once everything is securely mounted, it’s time to attach the fan blades and test the installation. Carefully align each blade with its corresponding mounting point, ensuring they’re evenly spaced. Tighten all blade attachment screws securely but don’t overtighten. Some fans feature blade designs that require specific alignment patterns for optimal performance. After assembly, give the fan a gentle spin to check for balance. Unbalanced fans create vibration and noise issues. If needed, add small weights to the blades to achieve proper balance. Test the fan’s operation using the pull chains or remote control. Start at low speed and gradually increase to full power. Listen for unusual noises or vibrations during operation. Check that all controls function properly, including any lighting features. Verify that the fan rotates in the correct direction for your climate – clockwise in winter, counterclockwise in summer. If you notice any wobbling, stop immediately and recheck the mounting and blade balance. A properly functioning outdoor fan should operate quietly and smoothly. Clean the blades regularly to maintain efficiency and appearance. Some homeowners prefer to install a protective cover when not in use to extend the fan’s lifespan. Take time to learn all the fan’s features and settings. Read the manual thoroughly to understand all available options and safety features. The initial testing phase helps identify any issues before regular use begins. Properly tested fans provide years of reliable service.
Maintenance and Longevity Tips
Regular maintenance keeps outdoor fans performing optimally for many years. Clean blades monthly with mild soap and water to remove dirt and debris. Pay special attention to the motor housing, which collects dust and insects. Check all hardware periodically for signs of loosening or corrosion. Tighten any loose screws and replace corroded parts promptly. Lubricate moving parts according to manufacturer recommendations, typically every six months. Weather exposure accelerates wear on outdoor equipment, so inspect more frequently during harsh seasons. Replace worn or damaged blades immediately to maintain balanced operation. Some manufacturers recommend seasonal checks, particularly before summer months. Monitor the fan’s performance over time – reduced airflow or increased noise often signal maintenance needs. Keep the area around the fan clean to prevent debris buildup. Store the fan properly during extended winter periods if you live in cold climates. Consider investing in a fan cover for winter protection. Professional servicing every few years can extend the fan’s life significantly. Document any repairs or maintenance performed for future reference. Weather-resistant fans generally last 10-15 years with proper care. Watch for signs of electrical problems, such as flickering lights or unusual sounds. Early detection prevents more expensive repairs later on. Some homeowners find it helpful to schedule annual maintenance appointments with local contractors.
Installing an outdoor ceiling fan isn’t just about adding another gadget to your home – it’s about creating a comfortable environment that enhances your lifestyle. With proper planning, the right tools, and careful attention to safety, anyone can successfully complete this project. The key lies in understanding the unique challenges outdoor installations present and addressing them systematically. From selecting the right fan for your space to ensuring proper electrical connections, each step contributes to a successful outcome. Remember that quality installations take time and patience. Rushing through the process often leads to problems down the road. When done correctly, an outdoor fan becomes a reliable companion for countless summer evenings and pleasant fall days. The investment in proper installation pays dividends in comfort and energy savings. Whether you’re entertaining guests or simply relaxing outdoors, a well-installed fan makes all the difference in creating that perfect outdoor atmosphere. With these tips and techniques, you’re now equipped to tackle your next outdoor fan installation with confidence and skill.
