Hey everyone, it’s your friendly smart home guru here. Today, we’re diving into a topic that combines two of my favorite things: smart home technology and, well, keeping cool. We are going to explore how to connect your CARRO ceiling fan to your smart home system. No more scrambling for the remote, or getting out of bed to adjust the speed – just pure, effortless comfort. Let’s get started. And trust me, it’s way easier than you might think.
In today’s world, a smart home is not just a luxury, it’s becoming a necessity. We want things to be easier, more convenient, and, honestly, a little bit cooler, literally. And what better way to start than by integrating your CARRO ceiling fan into your smart home setup? This guide will walk you through the process, from the basics to some advanced tips, ensuring you can control your fan with ease via voice commands or your smartphone. We’ll break it down step-by-step, so even if you’re a complete beginner, you’ll be up and running in no time. Let’s make your home smarter, one fan at a time.
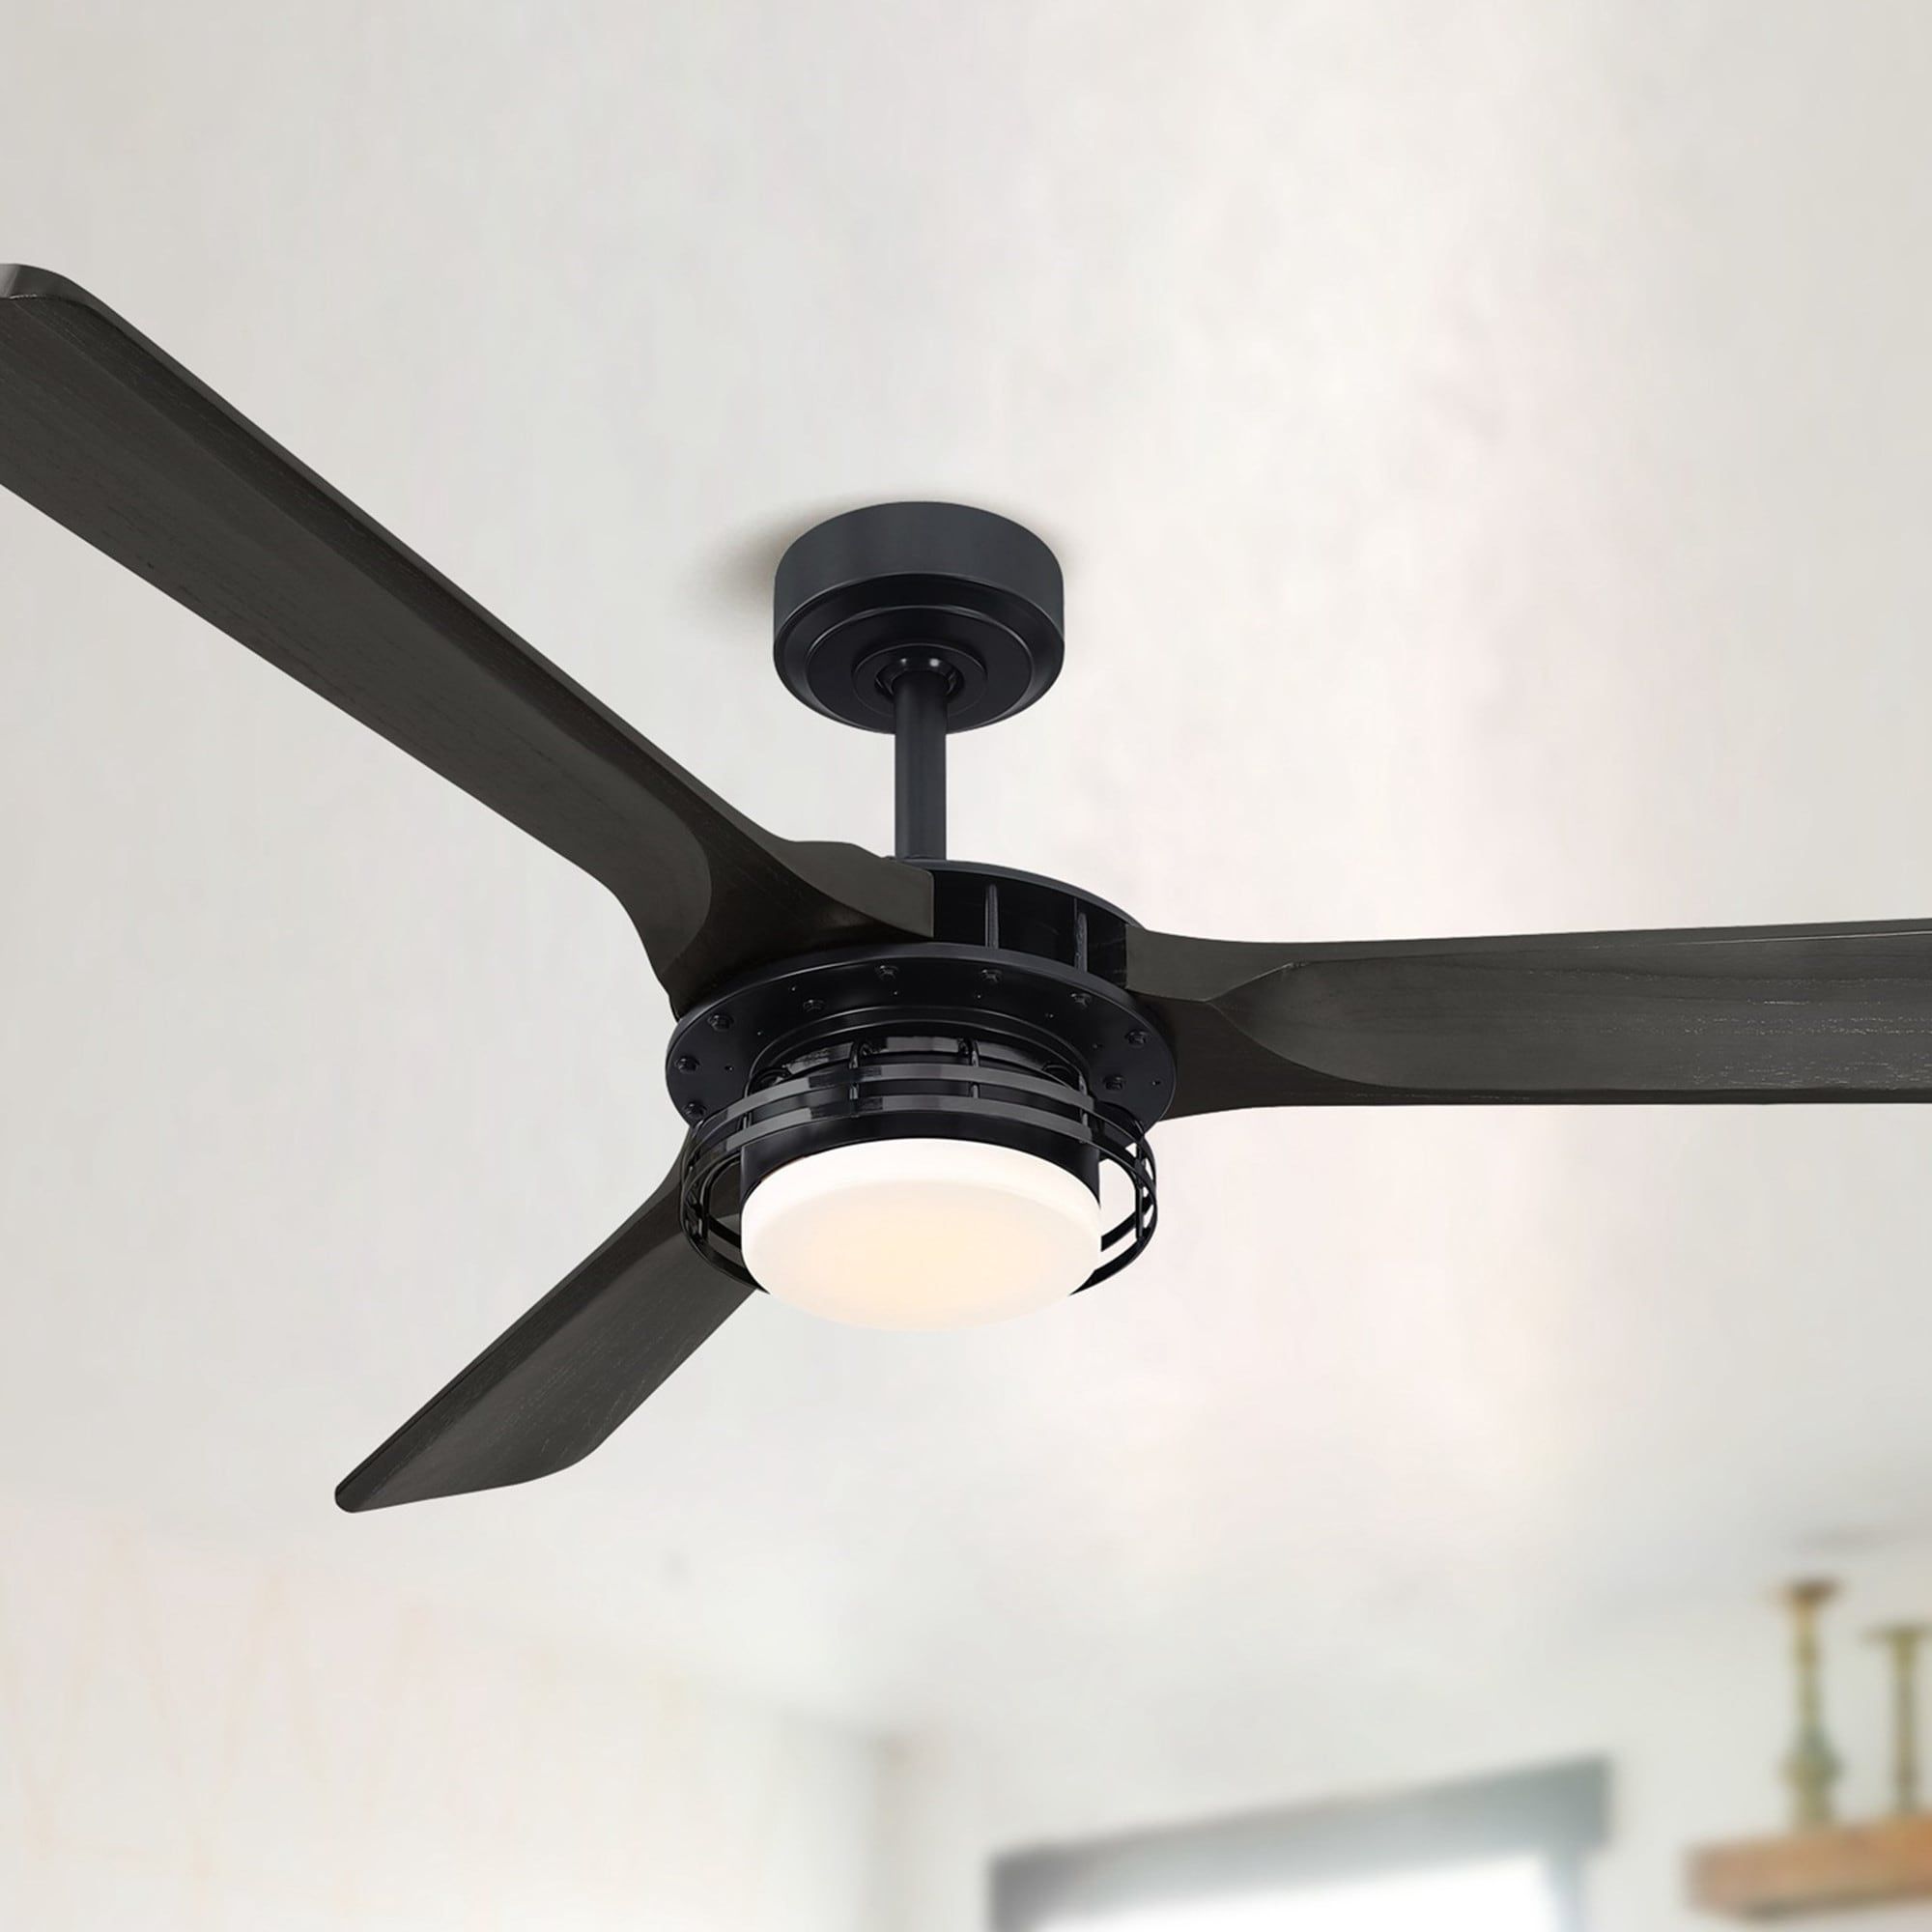
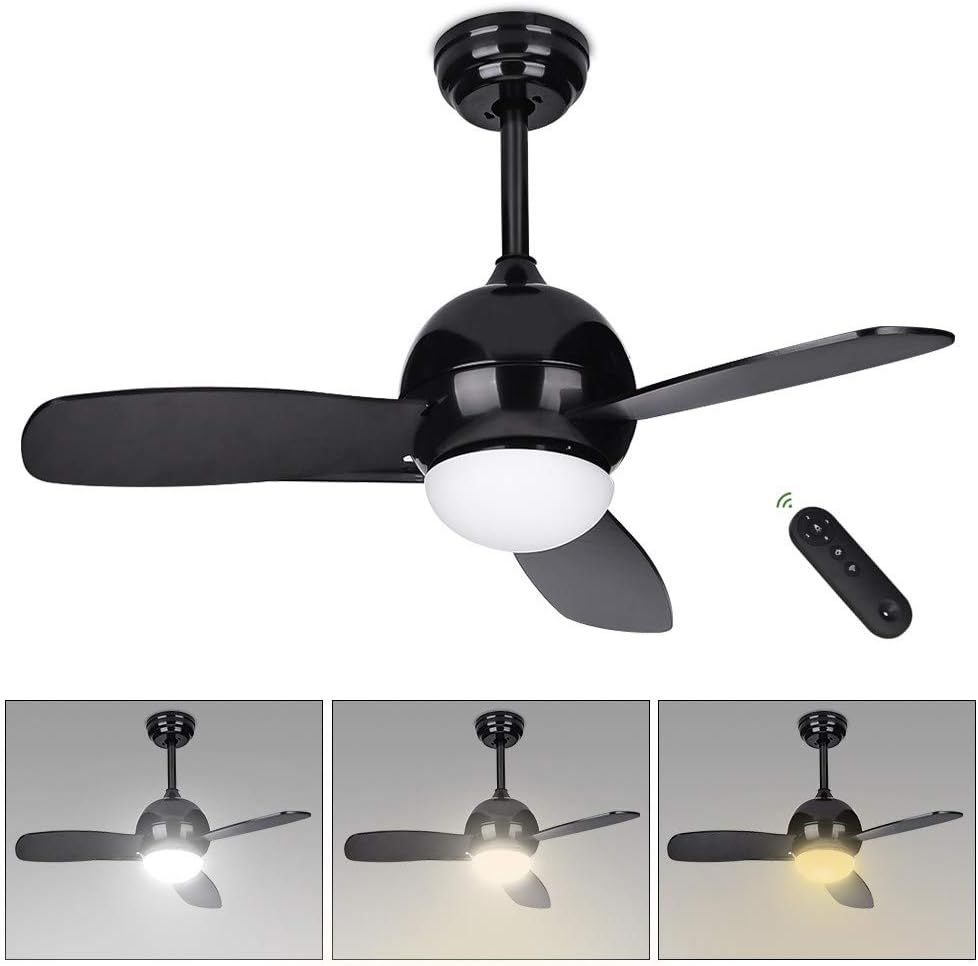
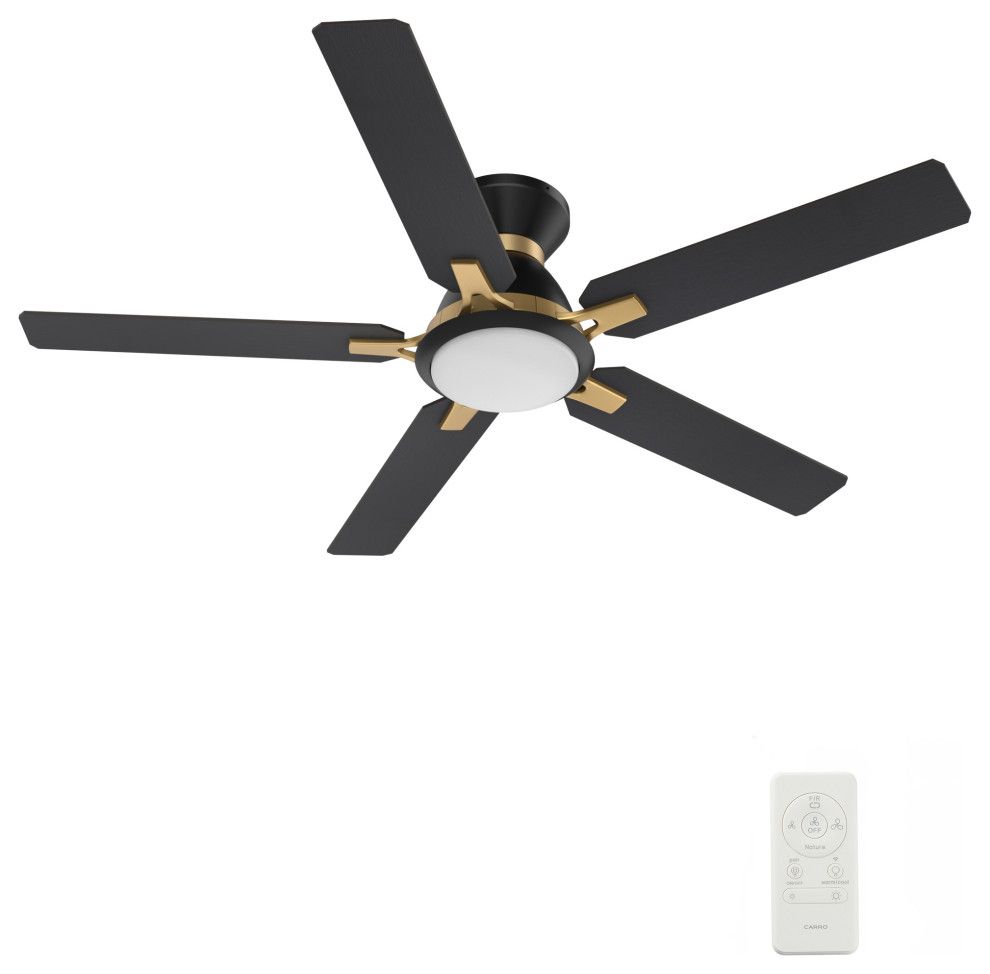
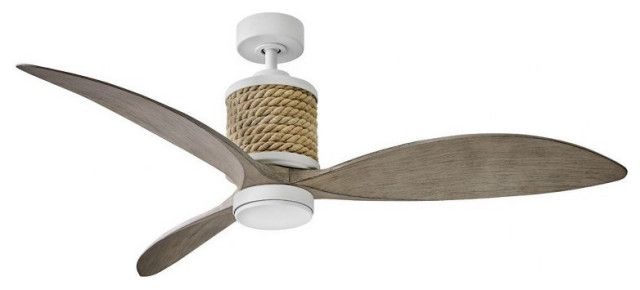
Understanding Your CARRO Fan’s Compatibility
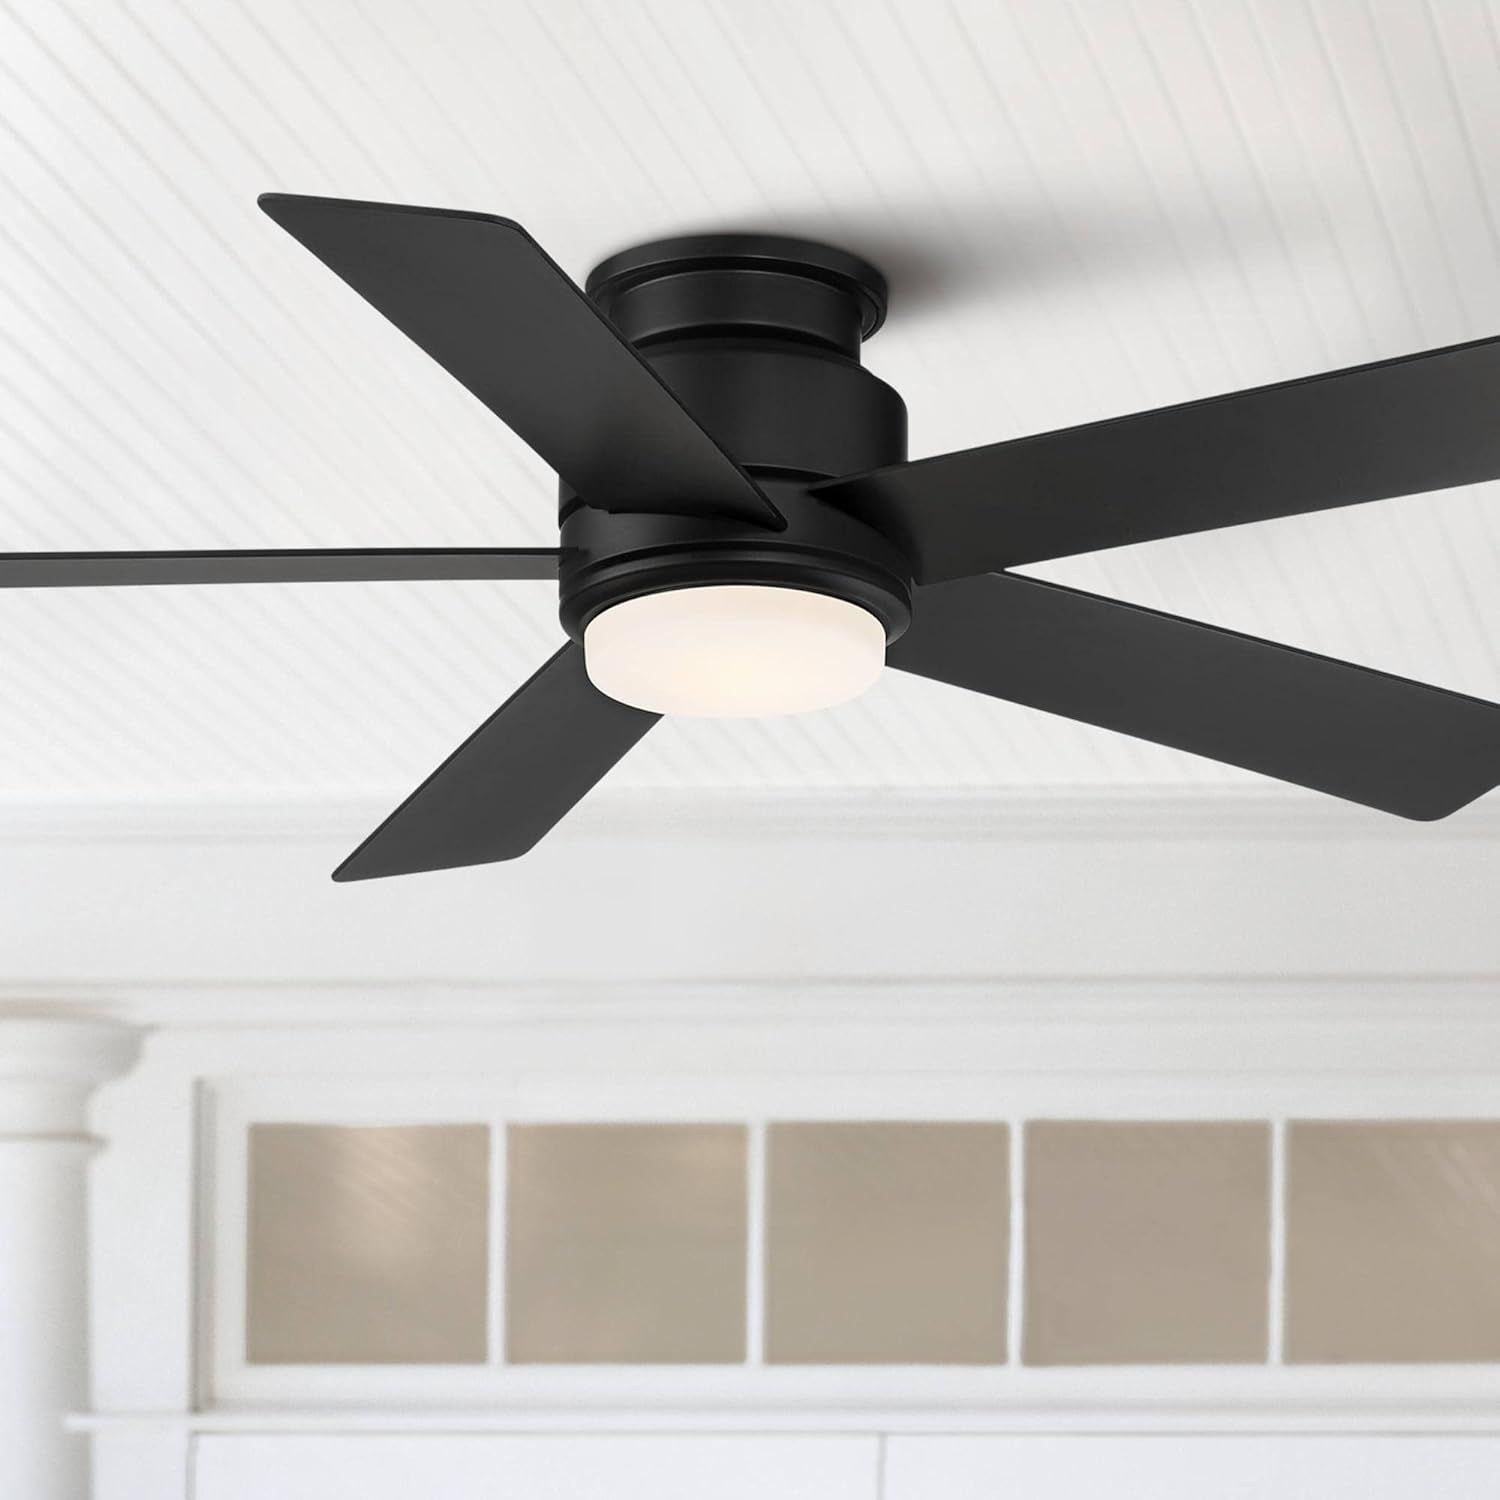
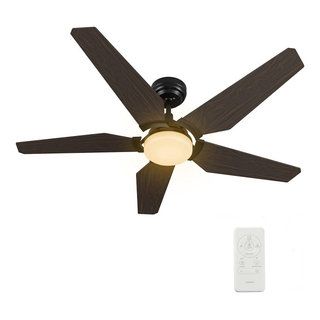
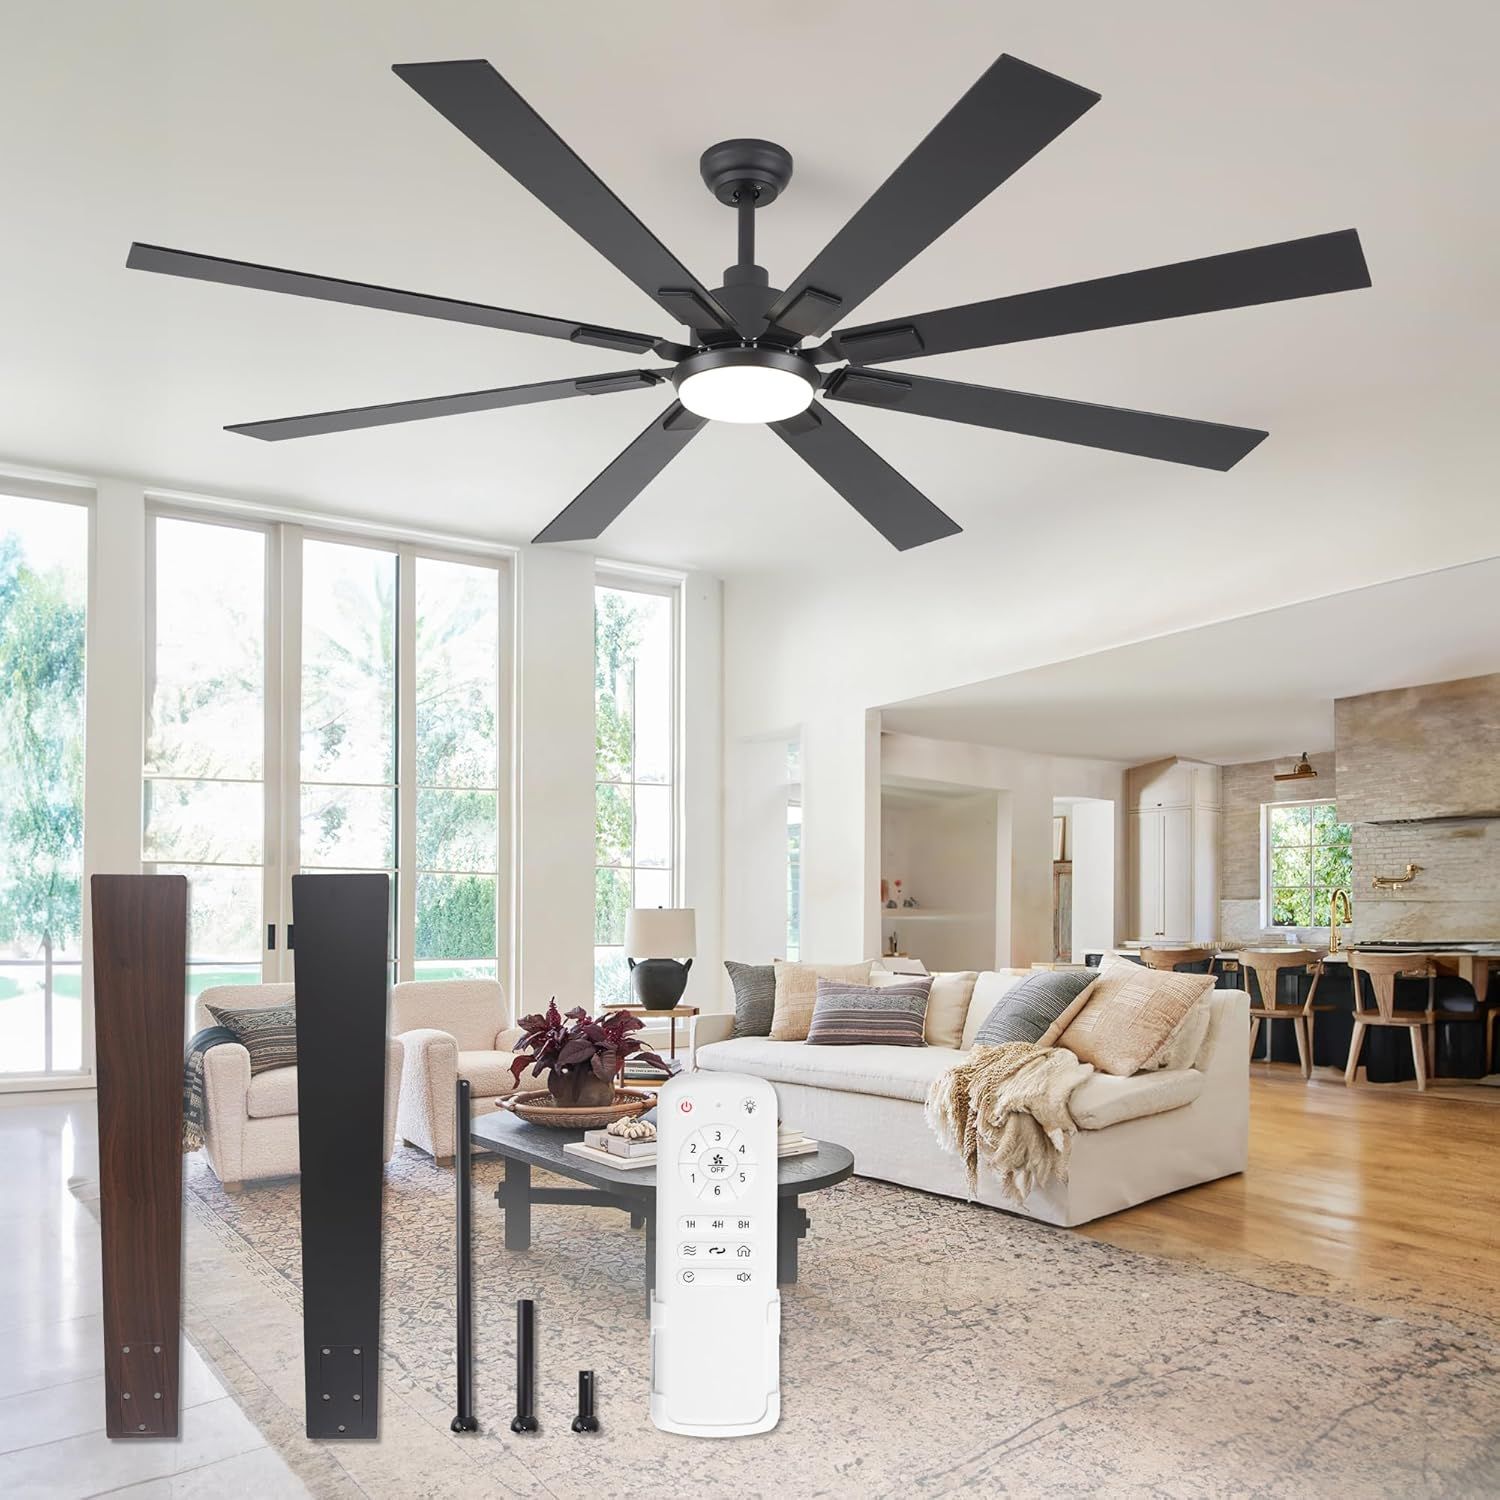
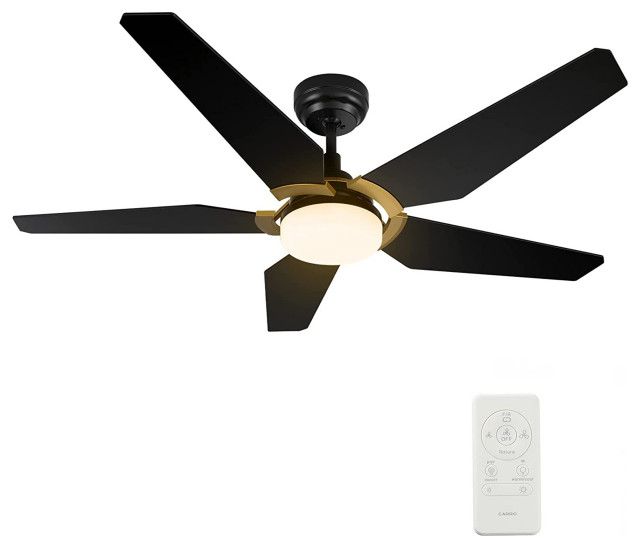
Before you start, it’s important to know what you’re working with. Not all CARRO fans have smart home capabilities built-in. Check your fan’s model number and its manual. Look for mentions of Wi-Fi, Bluetooth, or compatibility with smart home platforms like Amazon Alexa, Google Assistant, or Apple HomeKit. If your fan has these features, great. It means it’s designed to play nicely with your smart home ecosystem. If you’re not sure, a quick search online using your fan’s model number should provide the answers you seek. Also, be sure your fan is wired correctly. This is super important for safety and proper function. If you’re not comfortable with electrical work, please consult a qualified electrician.
Choosing Your Smart Home Platform
Now, let’s chat about the brains of the operation: your smart home platform. This is the system that will coordinate all your smart devices, and it will likely be either Amazon Alexa, Google Assistant, or Apple HomeKit. Each platform offers different levels of functionality and ease of use.
- Amazon Alexa: Alexa is well-known for its expansive compatibility and voice control. It’s a great choice if you’re already invested in the Amazon ecosystem.
- Google Assistant: Google Assistant is another popular option, known for its seamless integration with other Google services and devices.
- Apple HomeKit: If you’re an Apple user, HomeKit provides a secure and user-friendly experience, although it has a slightly smaller selection of compatible devices.
Pick the platform that best fits your existing smart home setup and preferences. You can usually find this information in your fan’s manual or on the manufacturer’s website. And don’t forget to ensure your fan is compatible with your chosen platform.
Connecting Your Fan: Step-by-Step Guide
Okay, time to get your hands dirty. The exact steps will vary slightly depending on your fan model and smart home platform, but here’s a general overview:
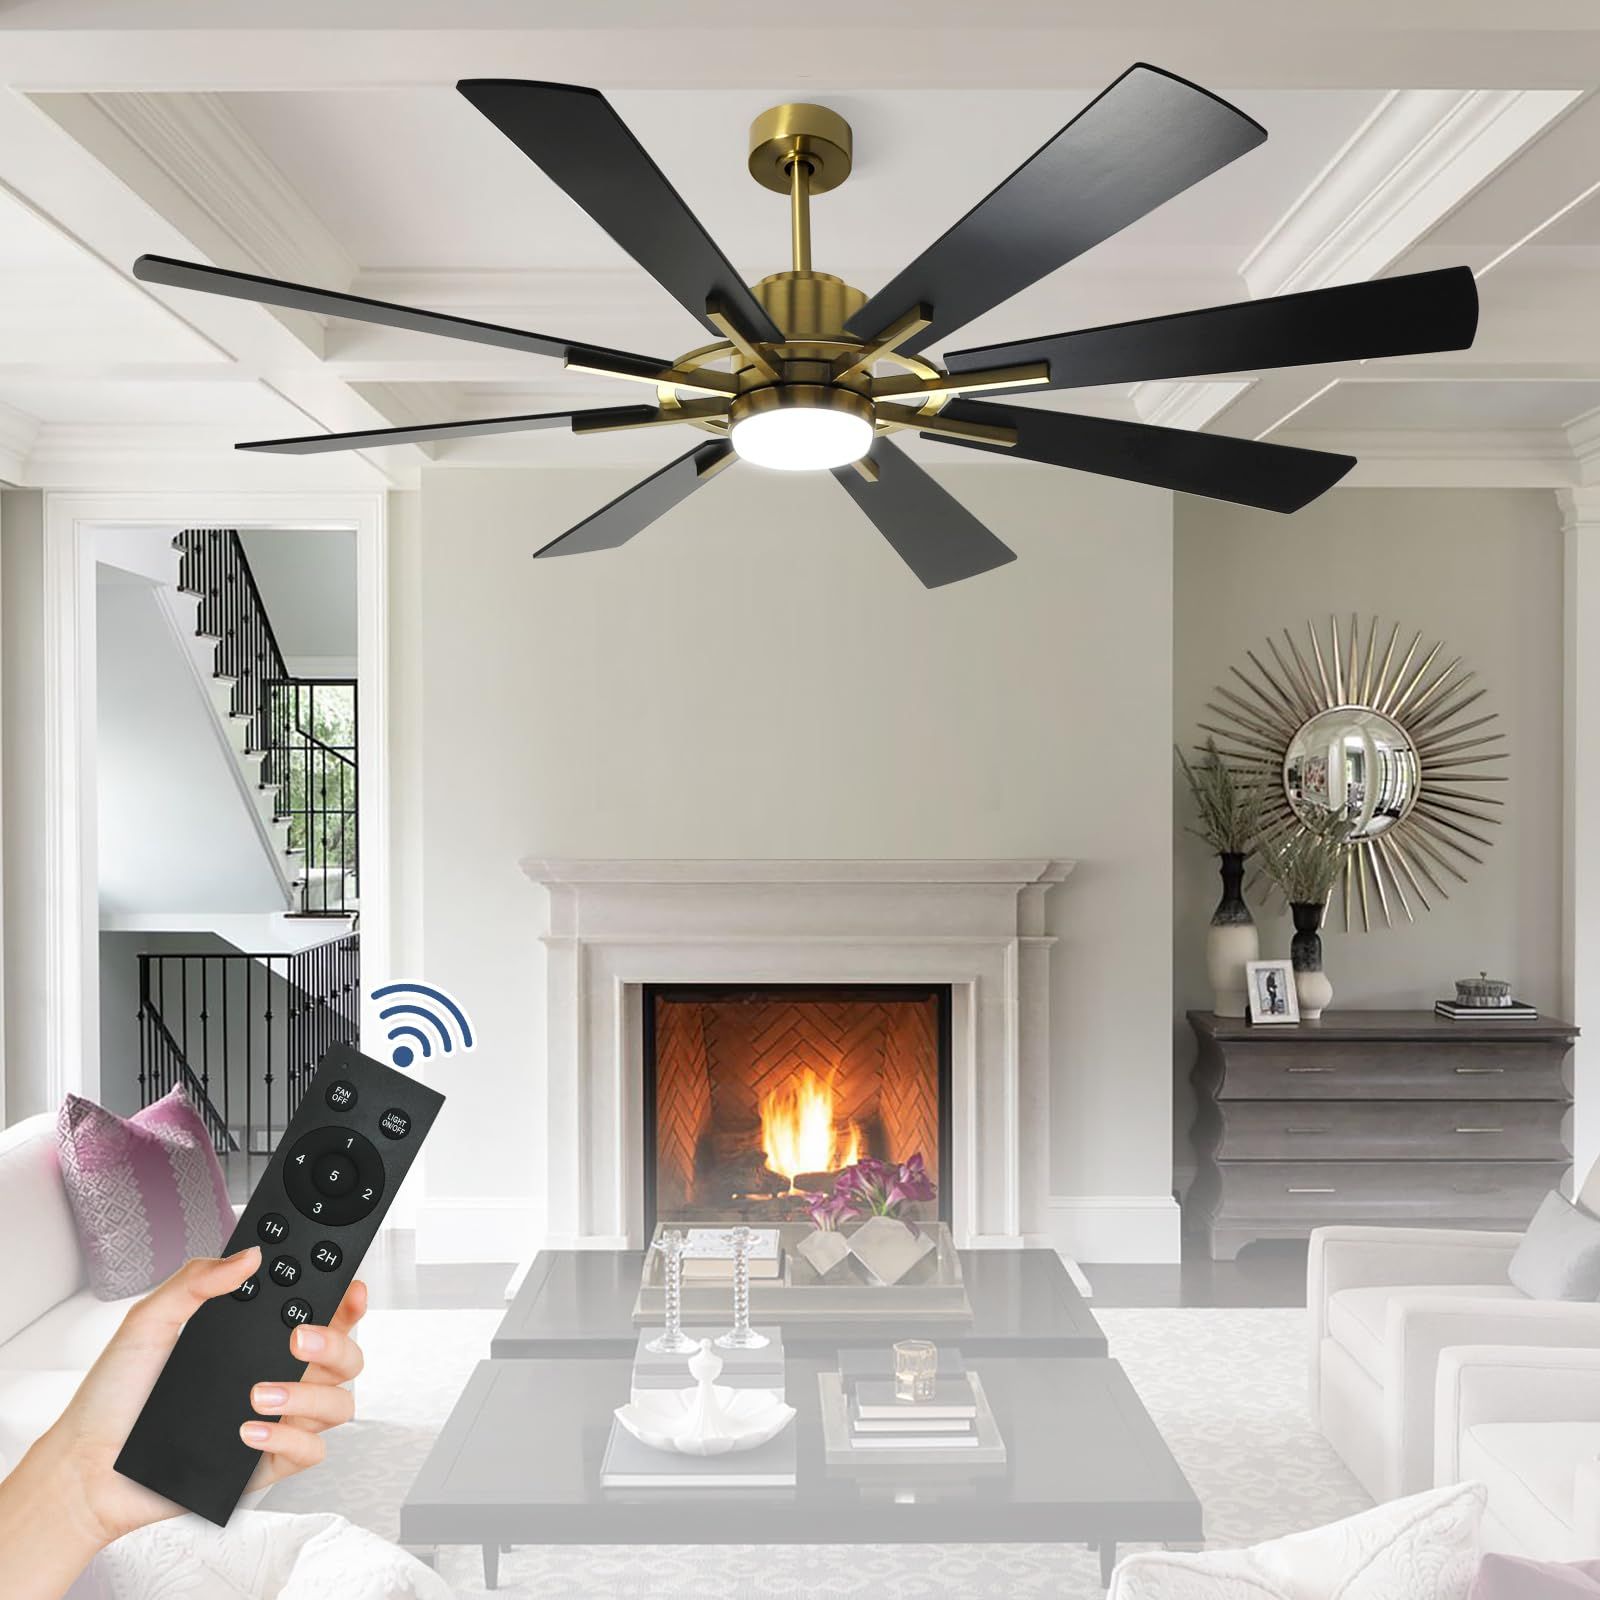
- Power Up and Connect: Make sure your fan is powered on and connected to your home’s Wi-Fi network. Some fans require you to download a dedicated app for initial setup. Follow the app’s instructions to connect your fan to your Wi-Fi.
- Platform Integration: Open your chosen smart home app (Alexa, Google Home, or Home app). Look for an option to add a new device. The app will usually scan for nearby devices.
- Add Your Fan: Select your CARRO fan from the list of discovered devices. You may need to enter the fan’s Wi-Fi password or follow specific instructions prompted by the app.
- Testing and Customization: Once connected, test the fan controls. You should be able to adjust the speed, turn the light on/off (if your fan has a light), and, if applicable, change the direction of the blades. Customize the fan’s name in the app for easy voice control (e.g., "Living Room Fan").
- Voice Control Setup: If you want voice control, enable the appropriate skill or integration within your smart home platform. For Alexa, you’ll "enable" a skill for your fan, and for Google Assistant, it’s usually a matter of linking your fan’s account. Apple HomeKit is usually automatic once the fan is connected.
And there you have it. Your fan is now part of your smart home!
Troubleshooting Common Issues
Things don’t always go smoothly, and that’s okay. Here are some things to check if you run into trouble:
- Connectivity Problems: Ensure your fan and your smart home hub (like an Echo or Google Nest device) are on the same Wi-Fi network. Check your Wi-Fi signal strength. Sometimes, a weak signal is the culprit.
- Device Not Found: Double-check the fan’s Wi-Fi connection in its dedicated app (if it has one). Make sure the fan is turned on. Try restarting both the fan and your smart home hub.
- Voice Control Not Working: Verify that the skill or integration is enabled in your smart home platform’s app. Speak clearly and use the correct commands. For example, try saying, "Alexa, turn on the Living Room Fan." If the fan still doesn’t respond, try unlinking and relinking the skill or integration.
- Incompatibilities: Ensure your fan’s model is actually compatible with your chosen smart home platform. Check the documentation or manufacturer’s website. There might be some fans that just aren’t meant to work with certain platforms. Sometimes, a firmware update might be needed, so check for that in the fan’s app.
If all else fails, consult the manufacturer’s support website or contact their customer service. They’re usually pretty good at helping out.
Advanced Tips and Tricks
Ready to take your smart fan game to the next level? Here are a few extra tips:
- Create Routines: Set up automated routines to control your fan based on time of day, temperature, or other triggers. For example, have the fan turn on automatically when the temperature rises above a certain level.
- Group Fans: If you have multiple smart fans, group them together in your smart home app. This allows you to control multiple fans simultaneously, which is great for larger homes.
- Use Voice Commands: Get creative with your voice commands. Instead of just "turn on," try commands like, "Alexa, set the living room fan to medium" or "Hey Google, turn off the fan in 15 minutes."
- Monitor Energy Usage: Some smart fans, and smart home platforms, can track energy usage. This can help you monitor your energy consumption and make adjustments to save money.
- Explore Third-Party Integrations: Some smart home platforms integrate with other smart devices. Consider integrating your fan with your thermostat, smart blinds, or other devices to create a truly interconnected smart home experience.
Safety First: Important Considerations
While integrating your CARRO fan is a great way to enhance comfort, always prioritize safety.
- Professional Installation: If you’re not comfortable with electrical wiring, hire a qualified electrician to install your fan.
- Regular Maintenance: Keep your fan clean and well-maintained. This will help it run efficiently and safely.
- Child Safety: Keep any remote controls or smart home devices out of reach of children to prevent accidental operation.
- Power Off: Always turn off the power to the fan before making any adjustments or repairs.
- Firmware Updates: Keep your fan’s firmware up-to-date to ensure it’s running safely and efficiently. Firmware updates can be a bit of a pain, but they’re usually worth it.
Congratulations, you’ve now taken the first steps towards a smarter, more comfortable home. Integrating your CARRO ceiling fan is a simple and rewarding project that can significantly enhance your daily life. By following these steps and tips, you can enjoy the convenience of voice control, automated schedules, and a truly connected living experience. Don’t be afraid to experiment and explore the full potential of your smart home. The future of home automation is here, and it’s easier than ever to make your home a little bit smarter, and a whole lot more comfortable. Now, go forth and enjoy the breeze, and the smart home life. And remember to always prioritize safety. Happy automating.