Hey everyone, it’s your pal, the Fan Whisperer, here. I’ve spent years, and I mean years, fiddling with fans. I’ve seen it all, from the simplest installs to the most head-scratching problems. And let me tell you, mastering the installation of a 60-inch ceiling fan is a right of passage for any homeowner or DIY enthusiast. It’s a project that makes a real difference in your comfort, your home’s feel, and even your energy bills. So, are you ready to dive in and make your space cooler, literally? Let’s get started and make sure you do it right, safely, and without pulling your hair out.
This guide is all about helping you get your 60-inch fan up and running smoothly. We’ll cover everything from preparing your space and choosing the right fan to tackling the wiring and balancing the blades. No jargon, no confusing instructions – just clear, practical advice that you can use right away. Let’s turn up the cool and get down to business.
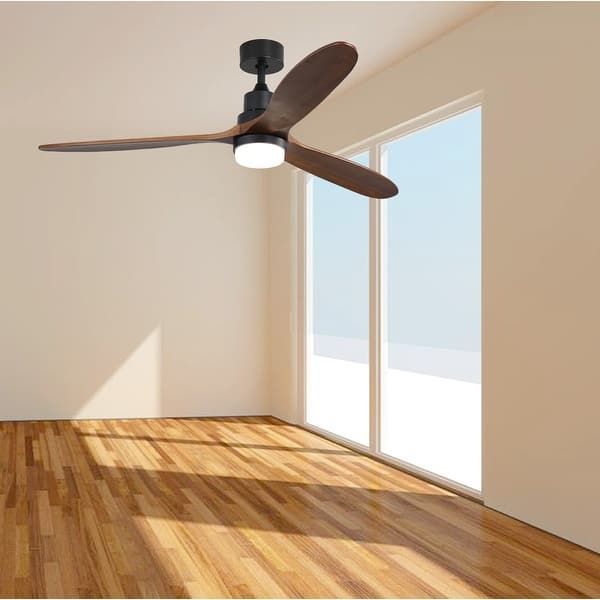
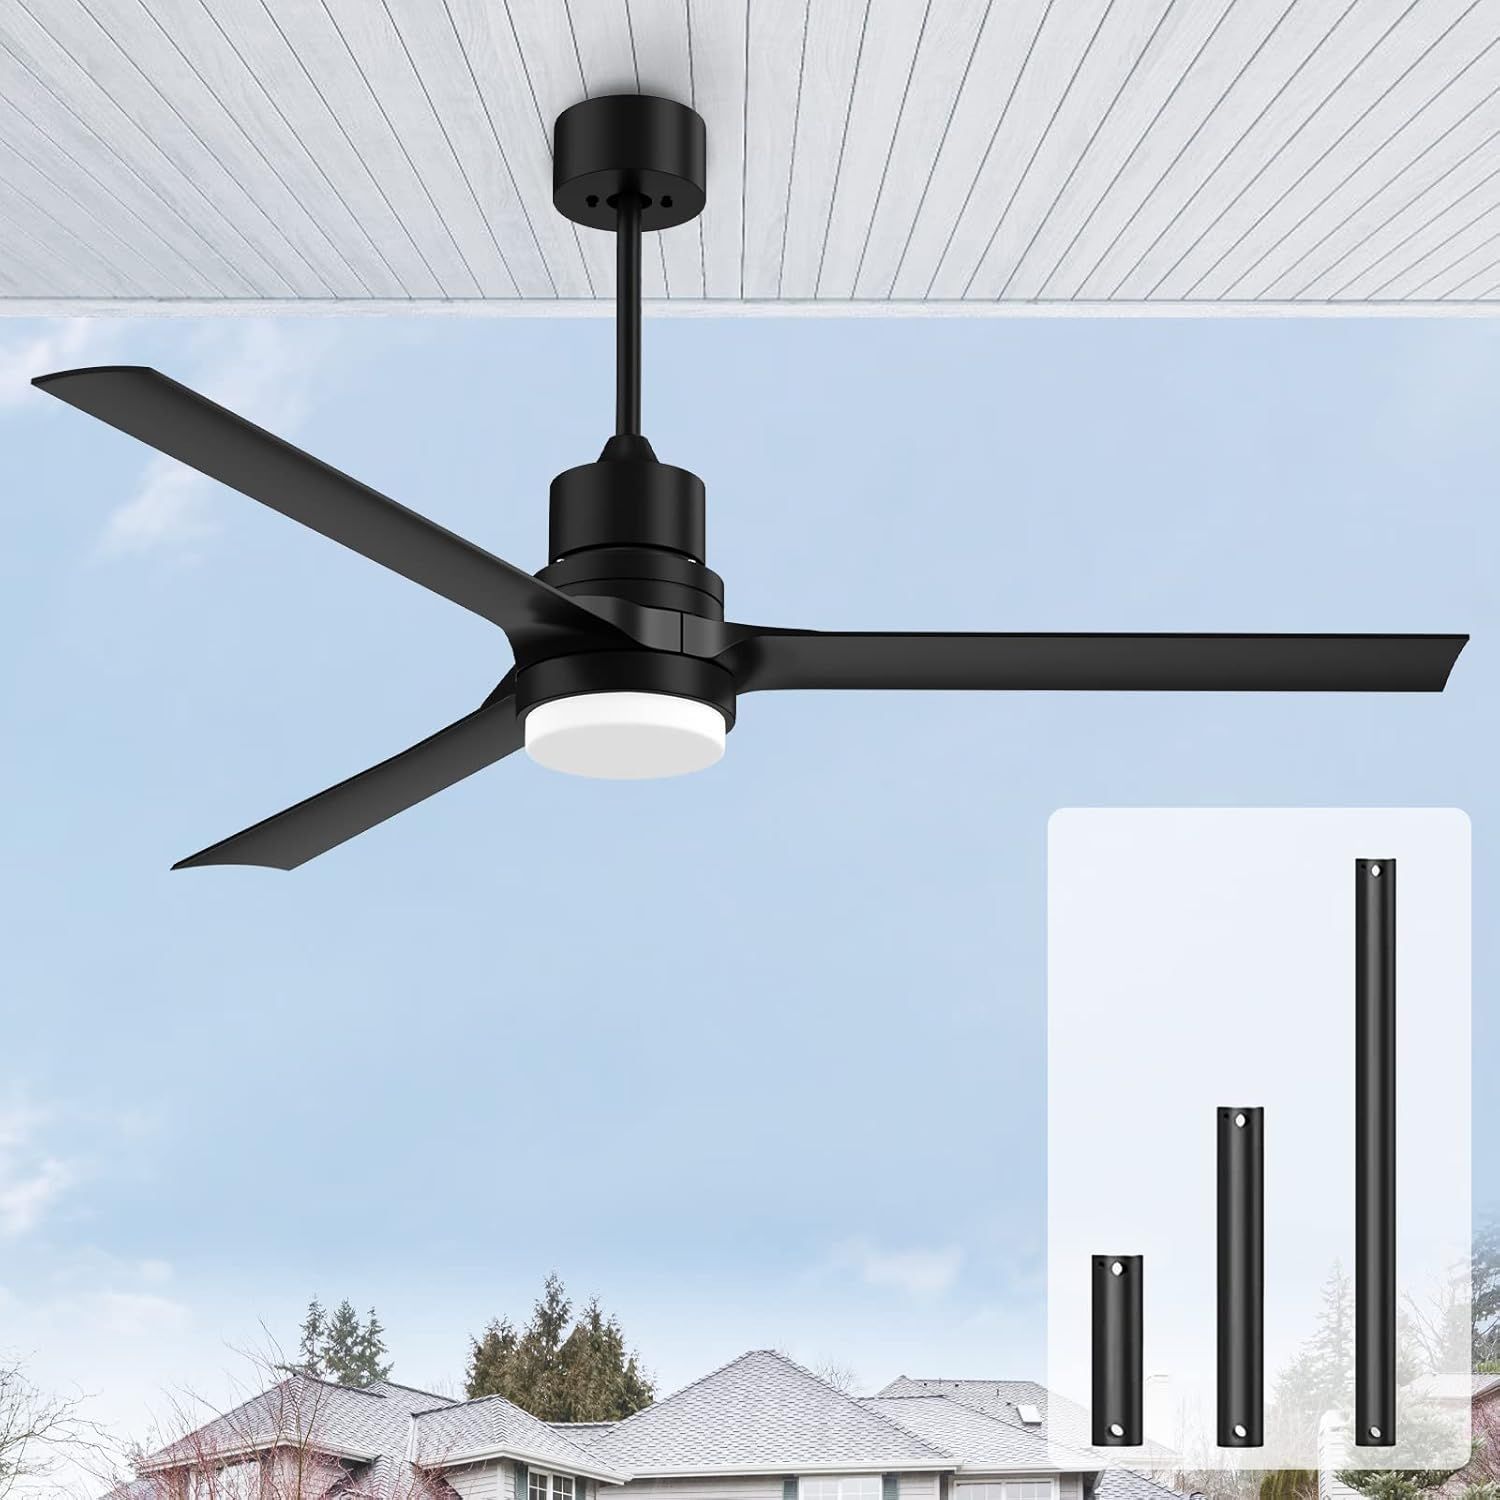
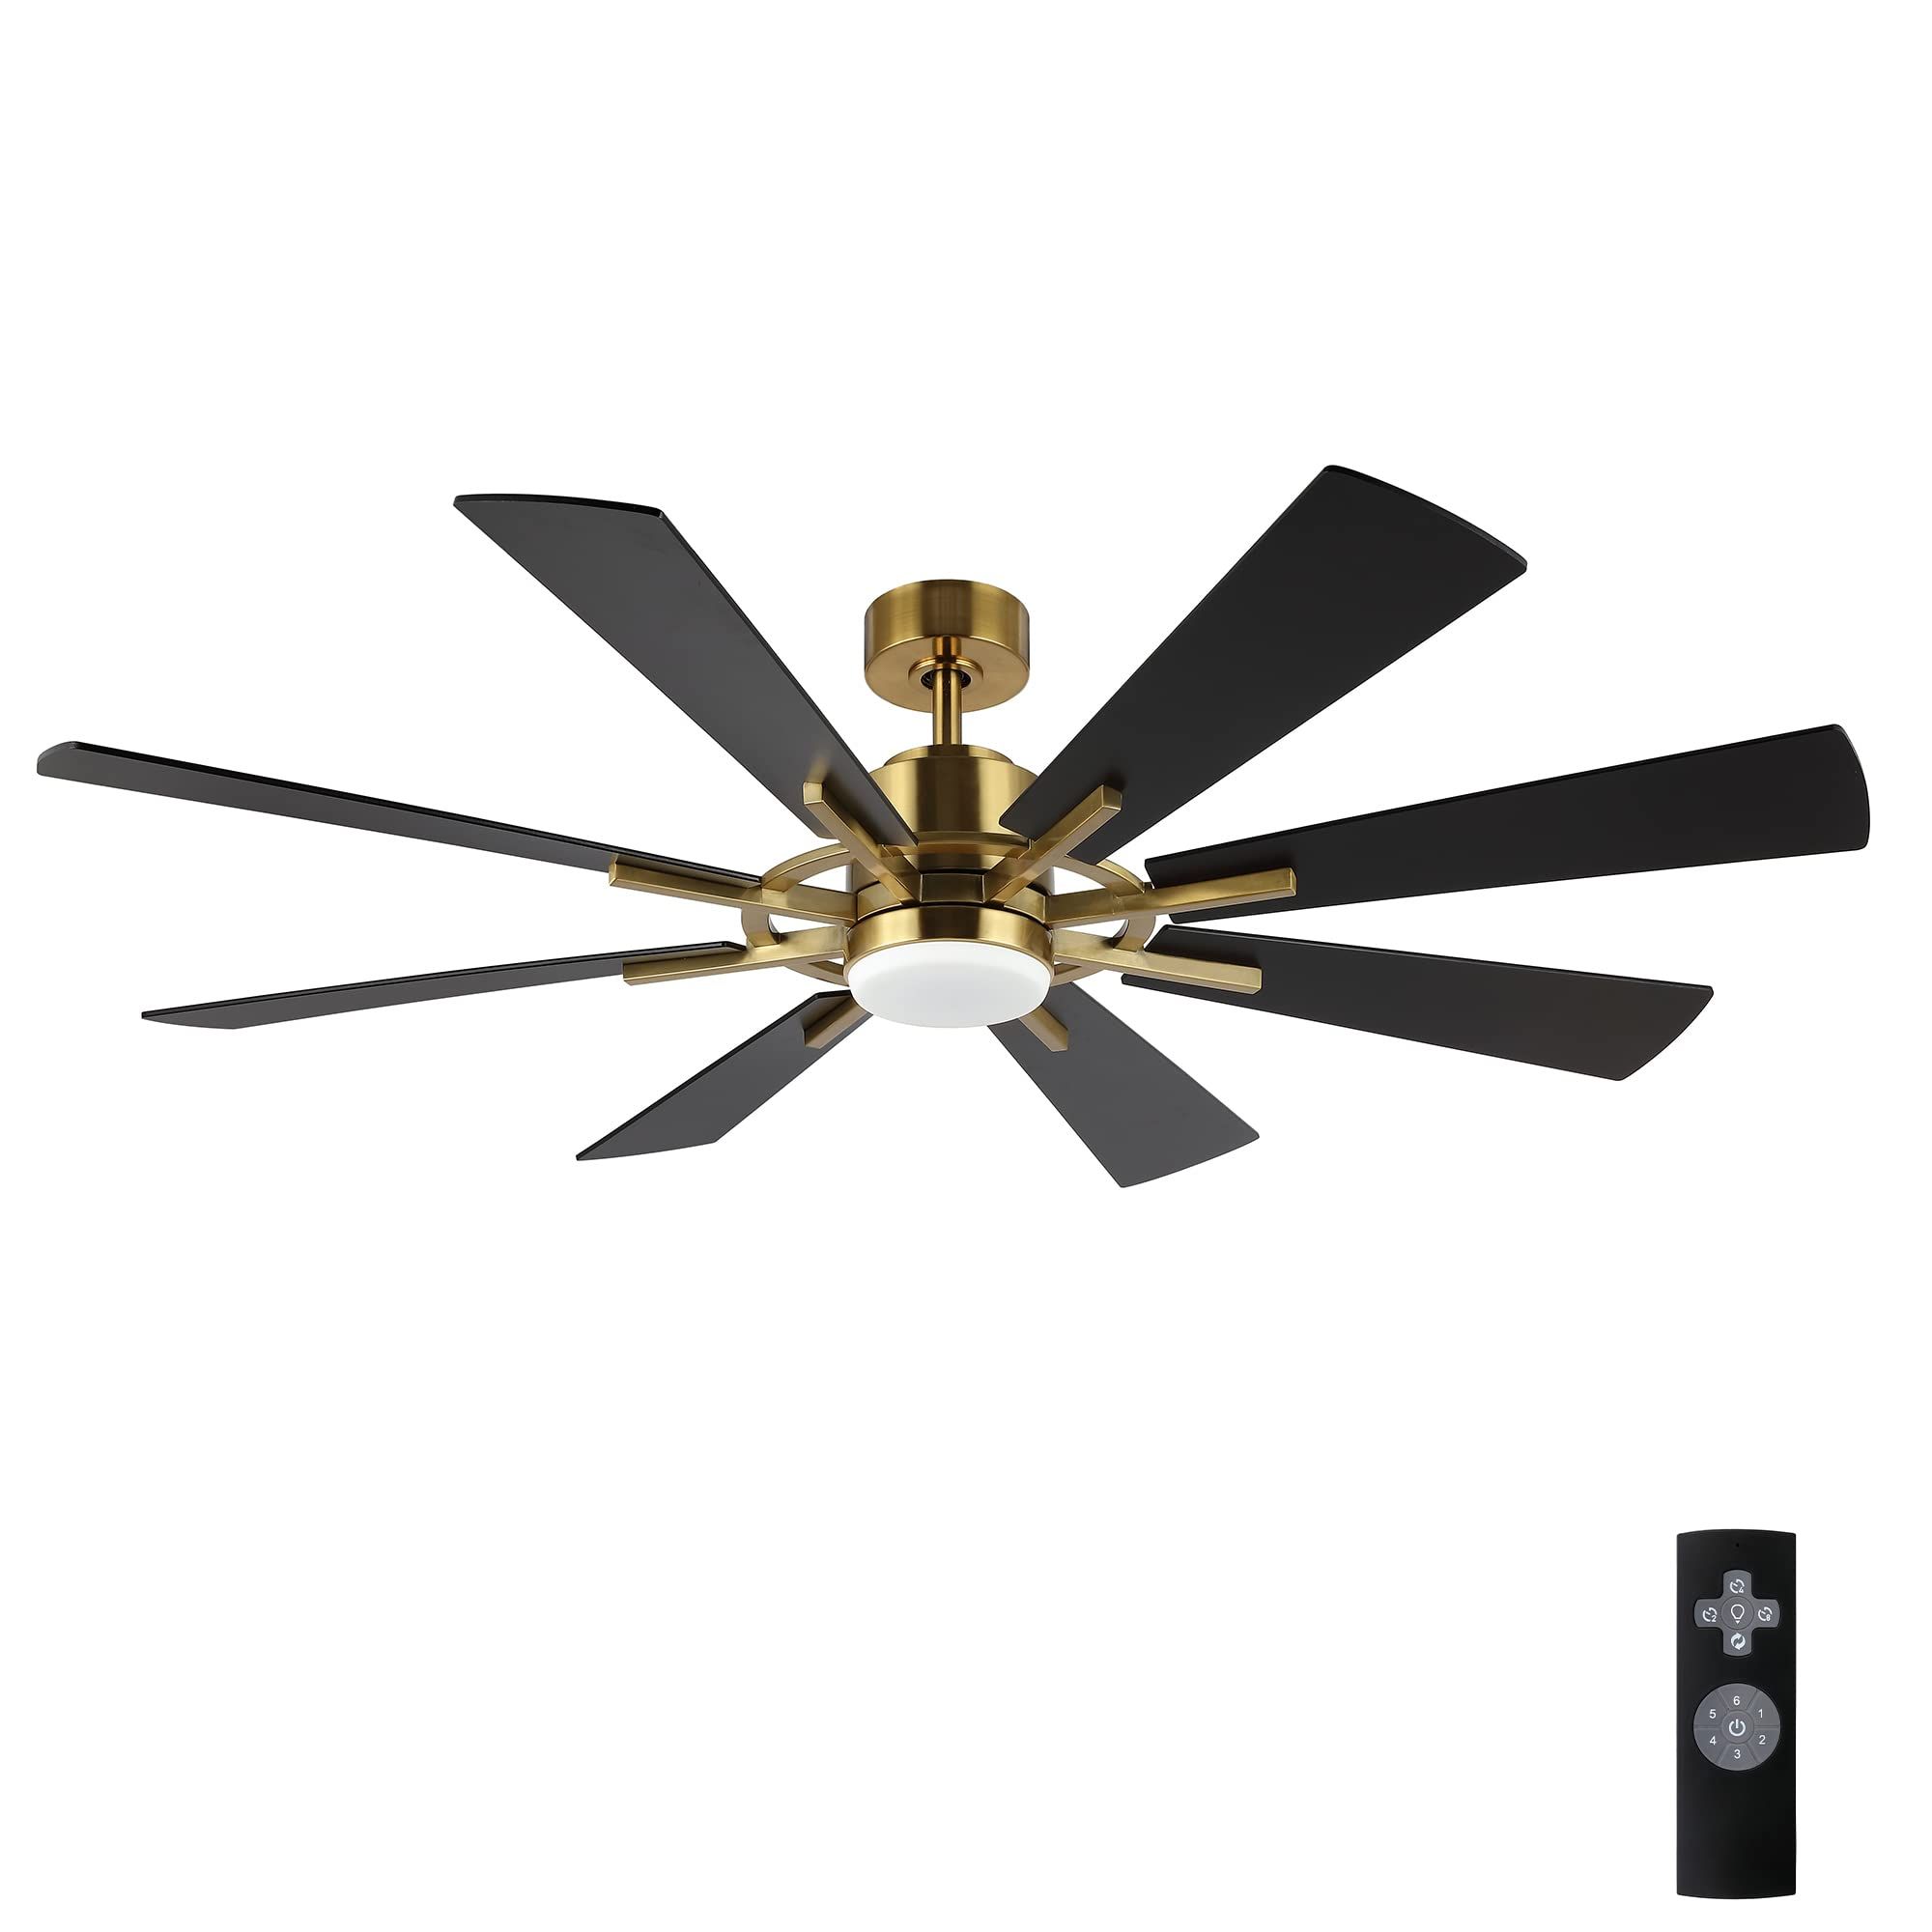
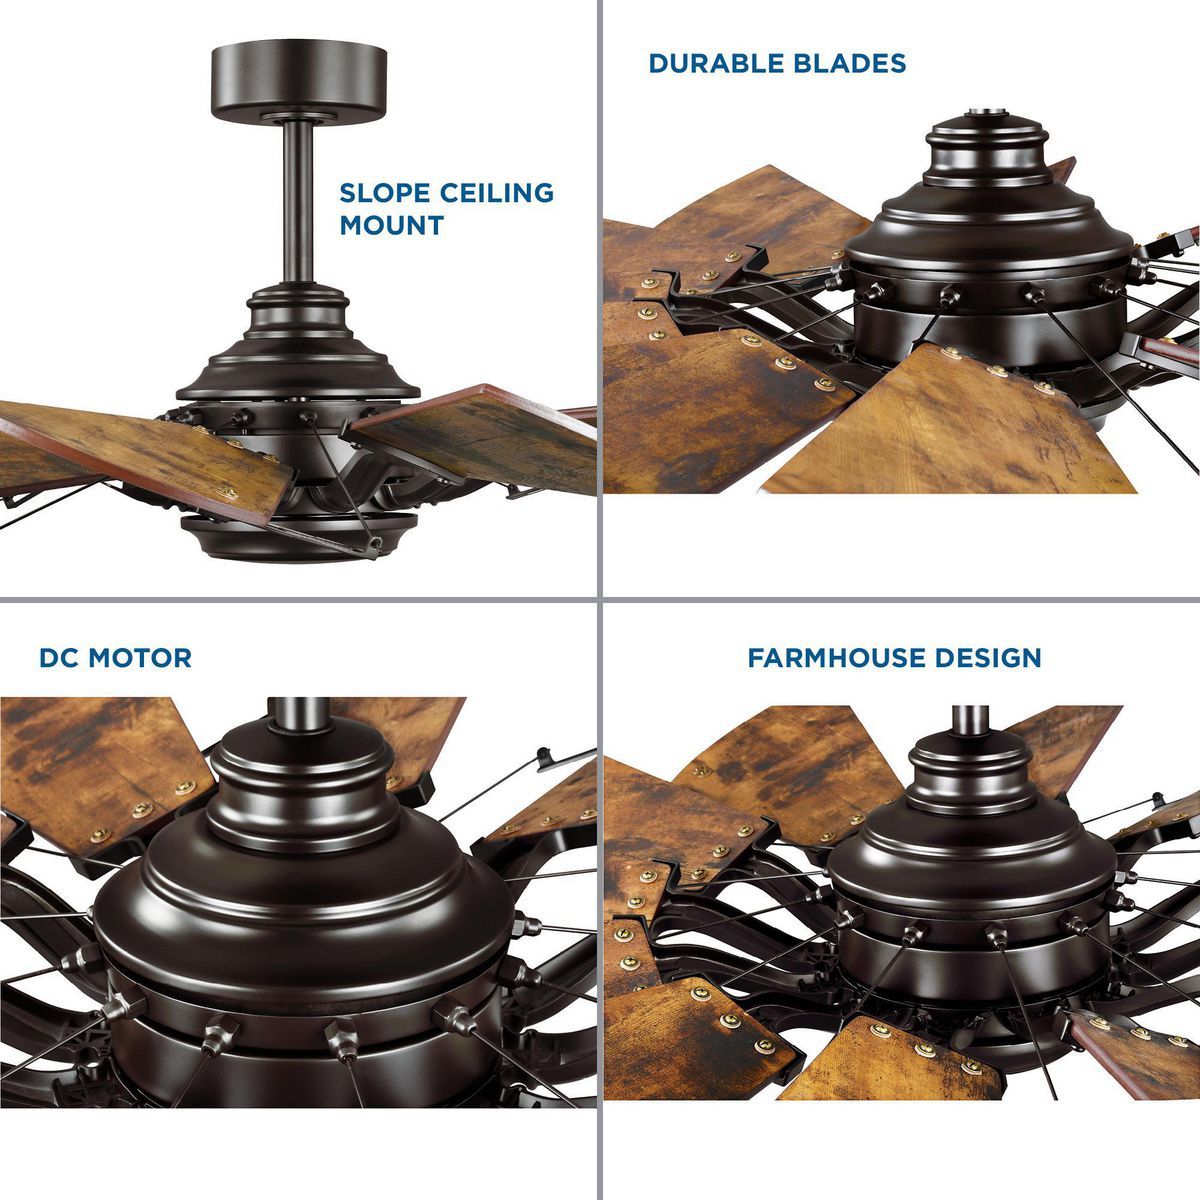
So, why a 60-inch ceiling fan, you ask? Well, it’s a sweet spot, really. It’s big enough to move a good amount of air in a medium-sized room – think bedrooms, living rooms, or even a decent-sized office. It also looks great, adding a touch of style and sophistication. But the coolest fan in the world is useless if it isn’t installed correctly. A poorly installed fan can wobble, make annoying noises, or, worst-case scenario, become a safety hazard. That’s why getting the installation right is super important. This isn’t just about getting the job done; it’s about doing it well. We’re talking about safety, efficiency, and enjoying that lovely breeze for years to come. Let’s make sure your investment pays off, and you get to enjoy the benefits of your new fan without any of the drama.
Pre-Installation Prep: The Groundwork for Success
Before you even think about touching that screwdriver, it’s important to get ready. First, safety first! Turn off the power to the circuit that controls the fan at your circuit breaker. This is non-negotiable. Next, gather all your tools. You’ll need a screwdriver (Phillips and flathead), wire strippers, wire connectors, a ladder, a stud finder (to find the ceiling joists), a level, and maybe a helper. Check that you have all the components of your fan – the motor housing, blades, downrod, mounting bracket, etc. – and read the manufacturer’s instructions thoroughly. Seriously, read them. Most problems arise from skipping this step. Finally, assess your ceiling. Is there an existing electrical box? Does it need to be upgraded to support the weight of the fan? Is the height of the ceiling suitable for a 60-inch fan? (You need at least 7 feet of clearance from the floor.) Taking these initial steps will save you time, frustration, and potential headaches down the road.
Mounting the Mounting Bracket: Your Fan’s Anchor
The mounting bracket is the heart of your installation. It’s what holds the whole thing up, so getting it right is critical. Locate the ceiling joist (the strong, support beam) using a stud finder. Never mount the bracket directly to drywall; it won’t hold the weight. Secure the bracket to the joist using the screws provided with the fan. Make sure the bracket is level; use a level to check. If the bracket isn’t level, your fan will wobble. If you’re replacing an old fan, you might be able to reuse the existing electrical box if it’s rated for ceiling fan use and is securely attached to the joist. If not, you’ll need to replace it with a fan-rated box. This is a critical safety step. Make sure it can handle the weight and movement of the fan.
Wiring Your Fan: A Step-by-Step Guide
Wiring can seem scary, but it doesn’t have to be. Always double-check that the power is off! First, connect the wires from the fan motor to the wires from your ceiling (usually black to black, white to white, and green or bare copper to ground). Use wire connectors (wire nuts) to make secure connections. Twist the wires together, then screw the wire nut on tightly. Make sure there are no exposed wires. If your fan has a light kit, there will be additional wires to connect. Follow the instructions that came with your fan. It’s important to make sure the wires are connected correctly and secure. A bad connection can cause the fan to malfunction or, at worst, cause a fire. Take your time, and don’t be afraid to ask for help if you’re not comfortable. Remember, safety is key here, and if you are unsure, call a professional.
Assembling and Hanging the Fan: Putting the Pieces Together
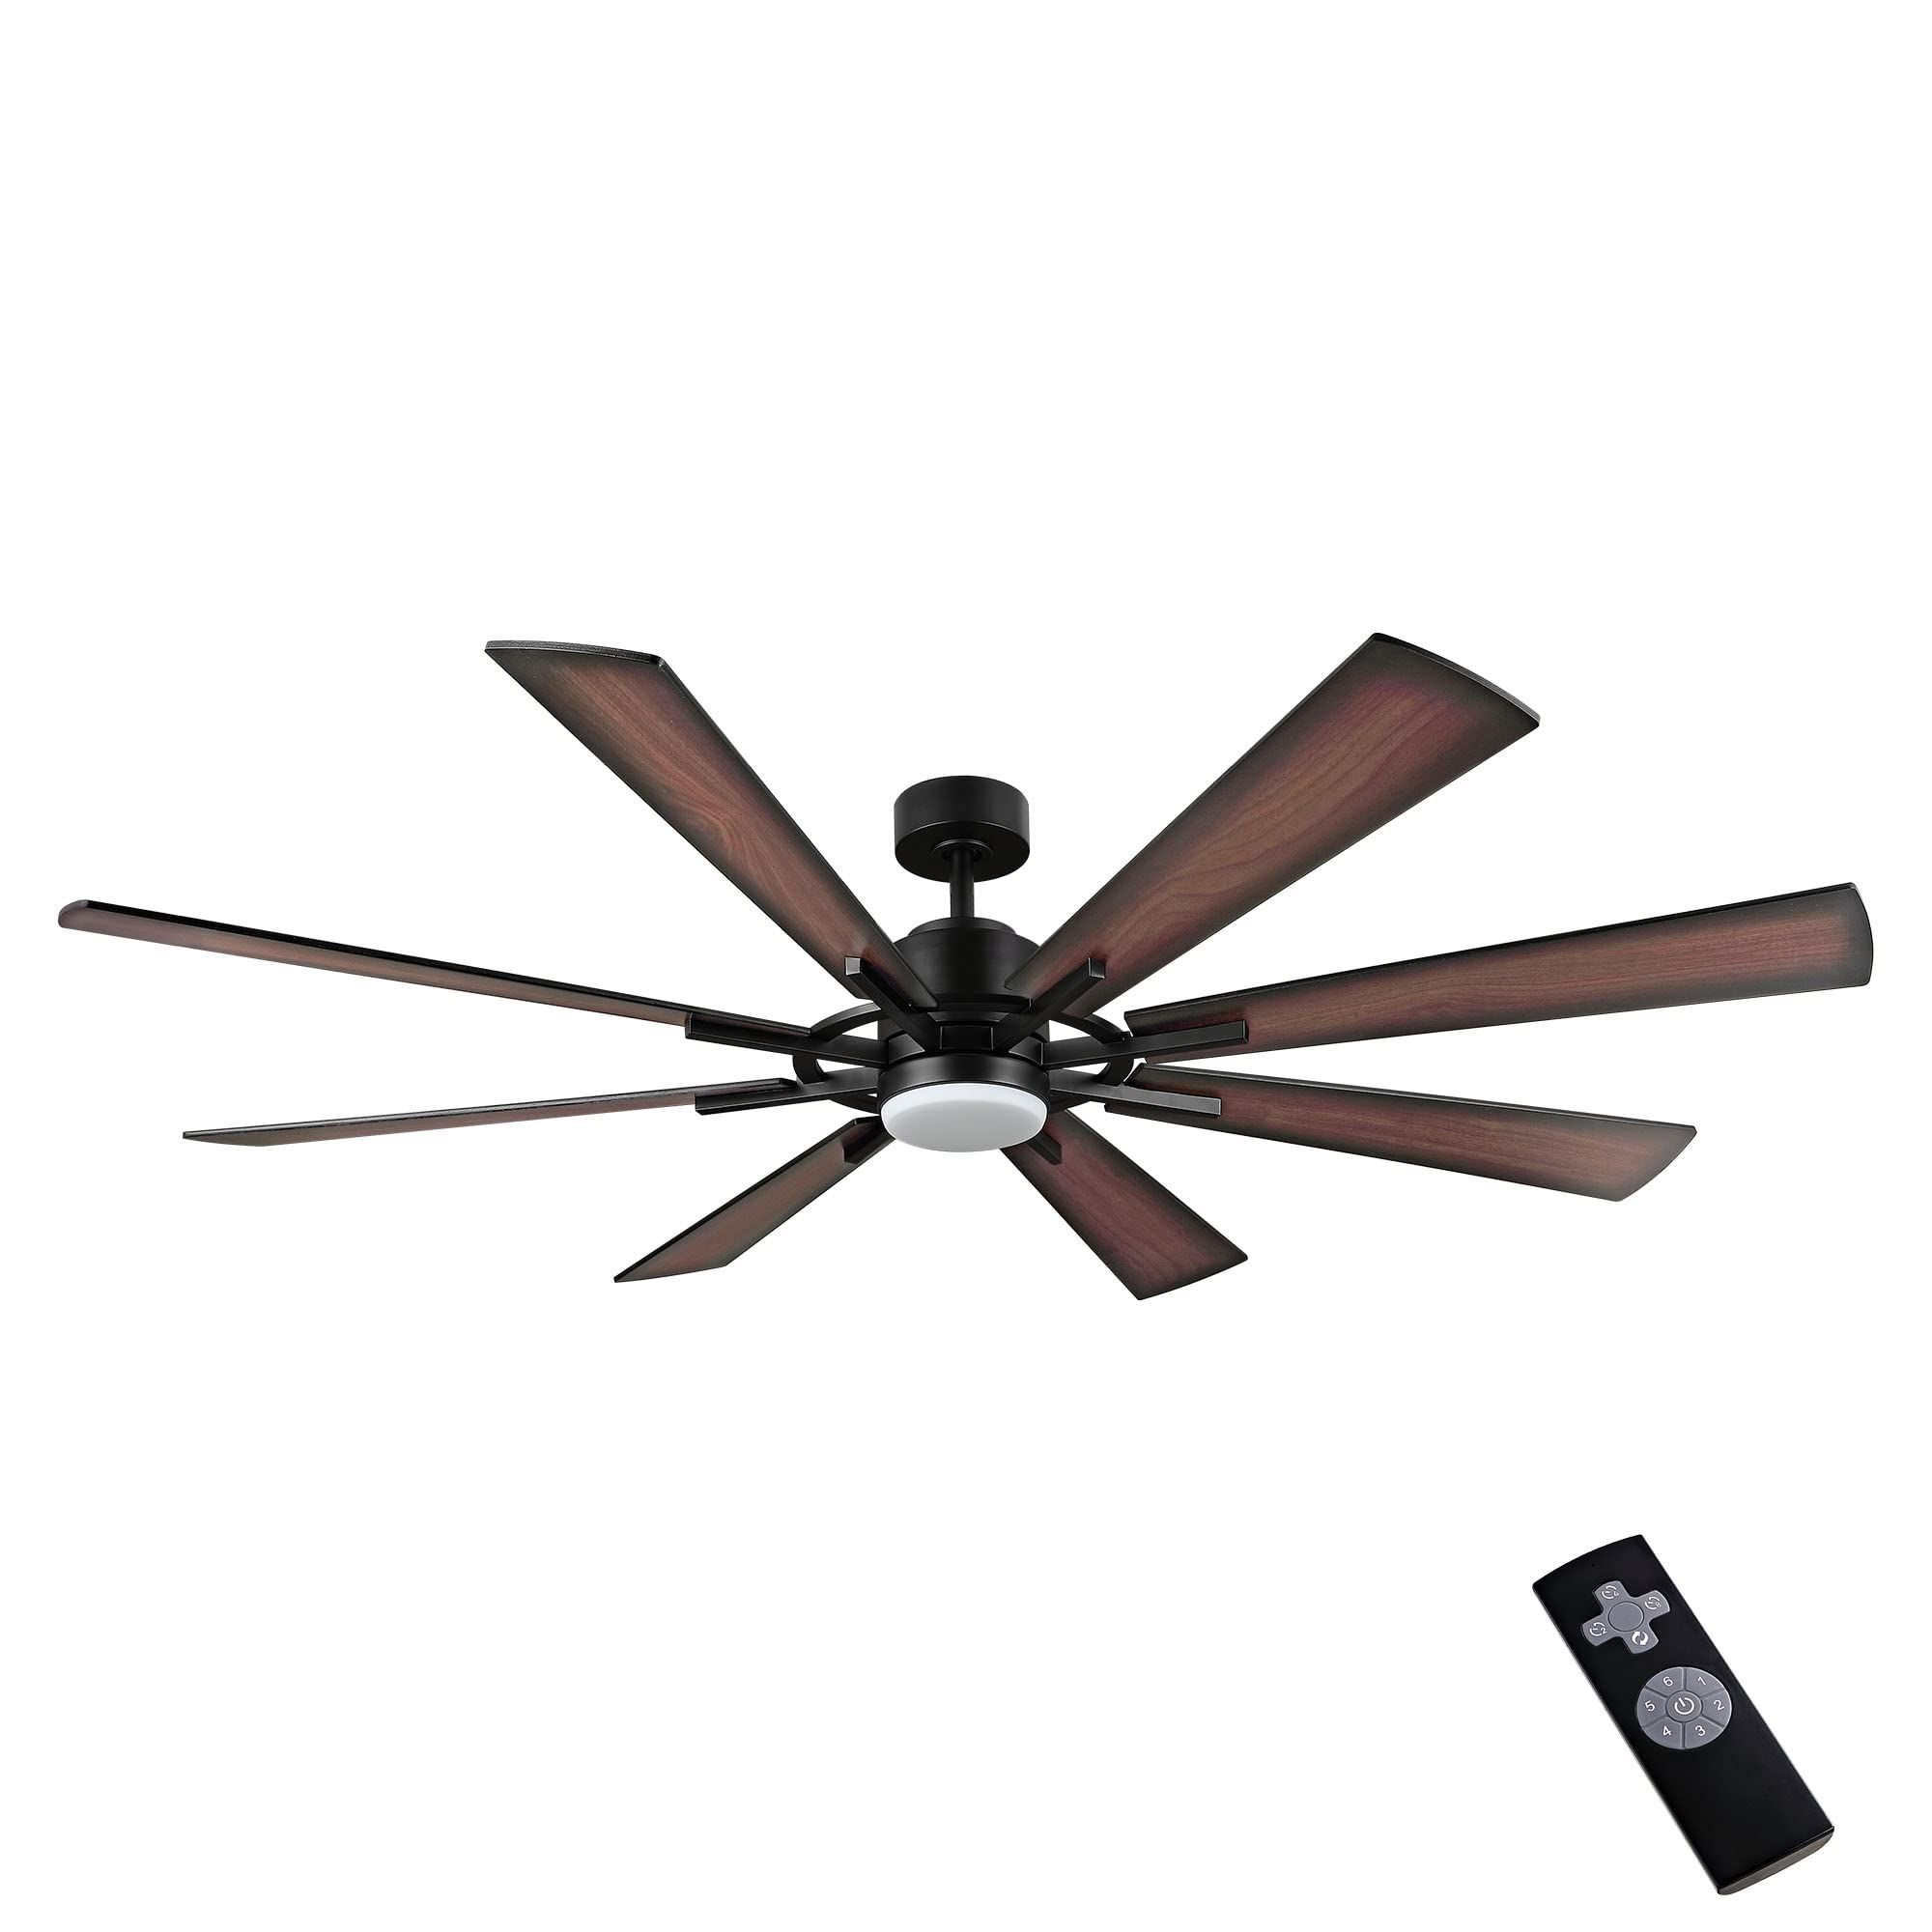
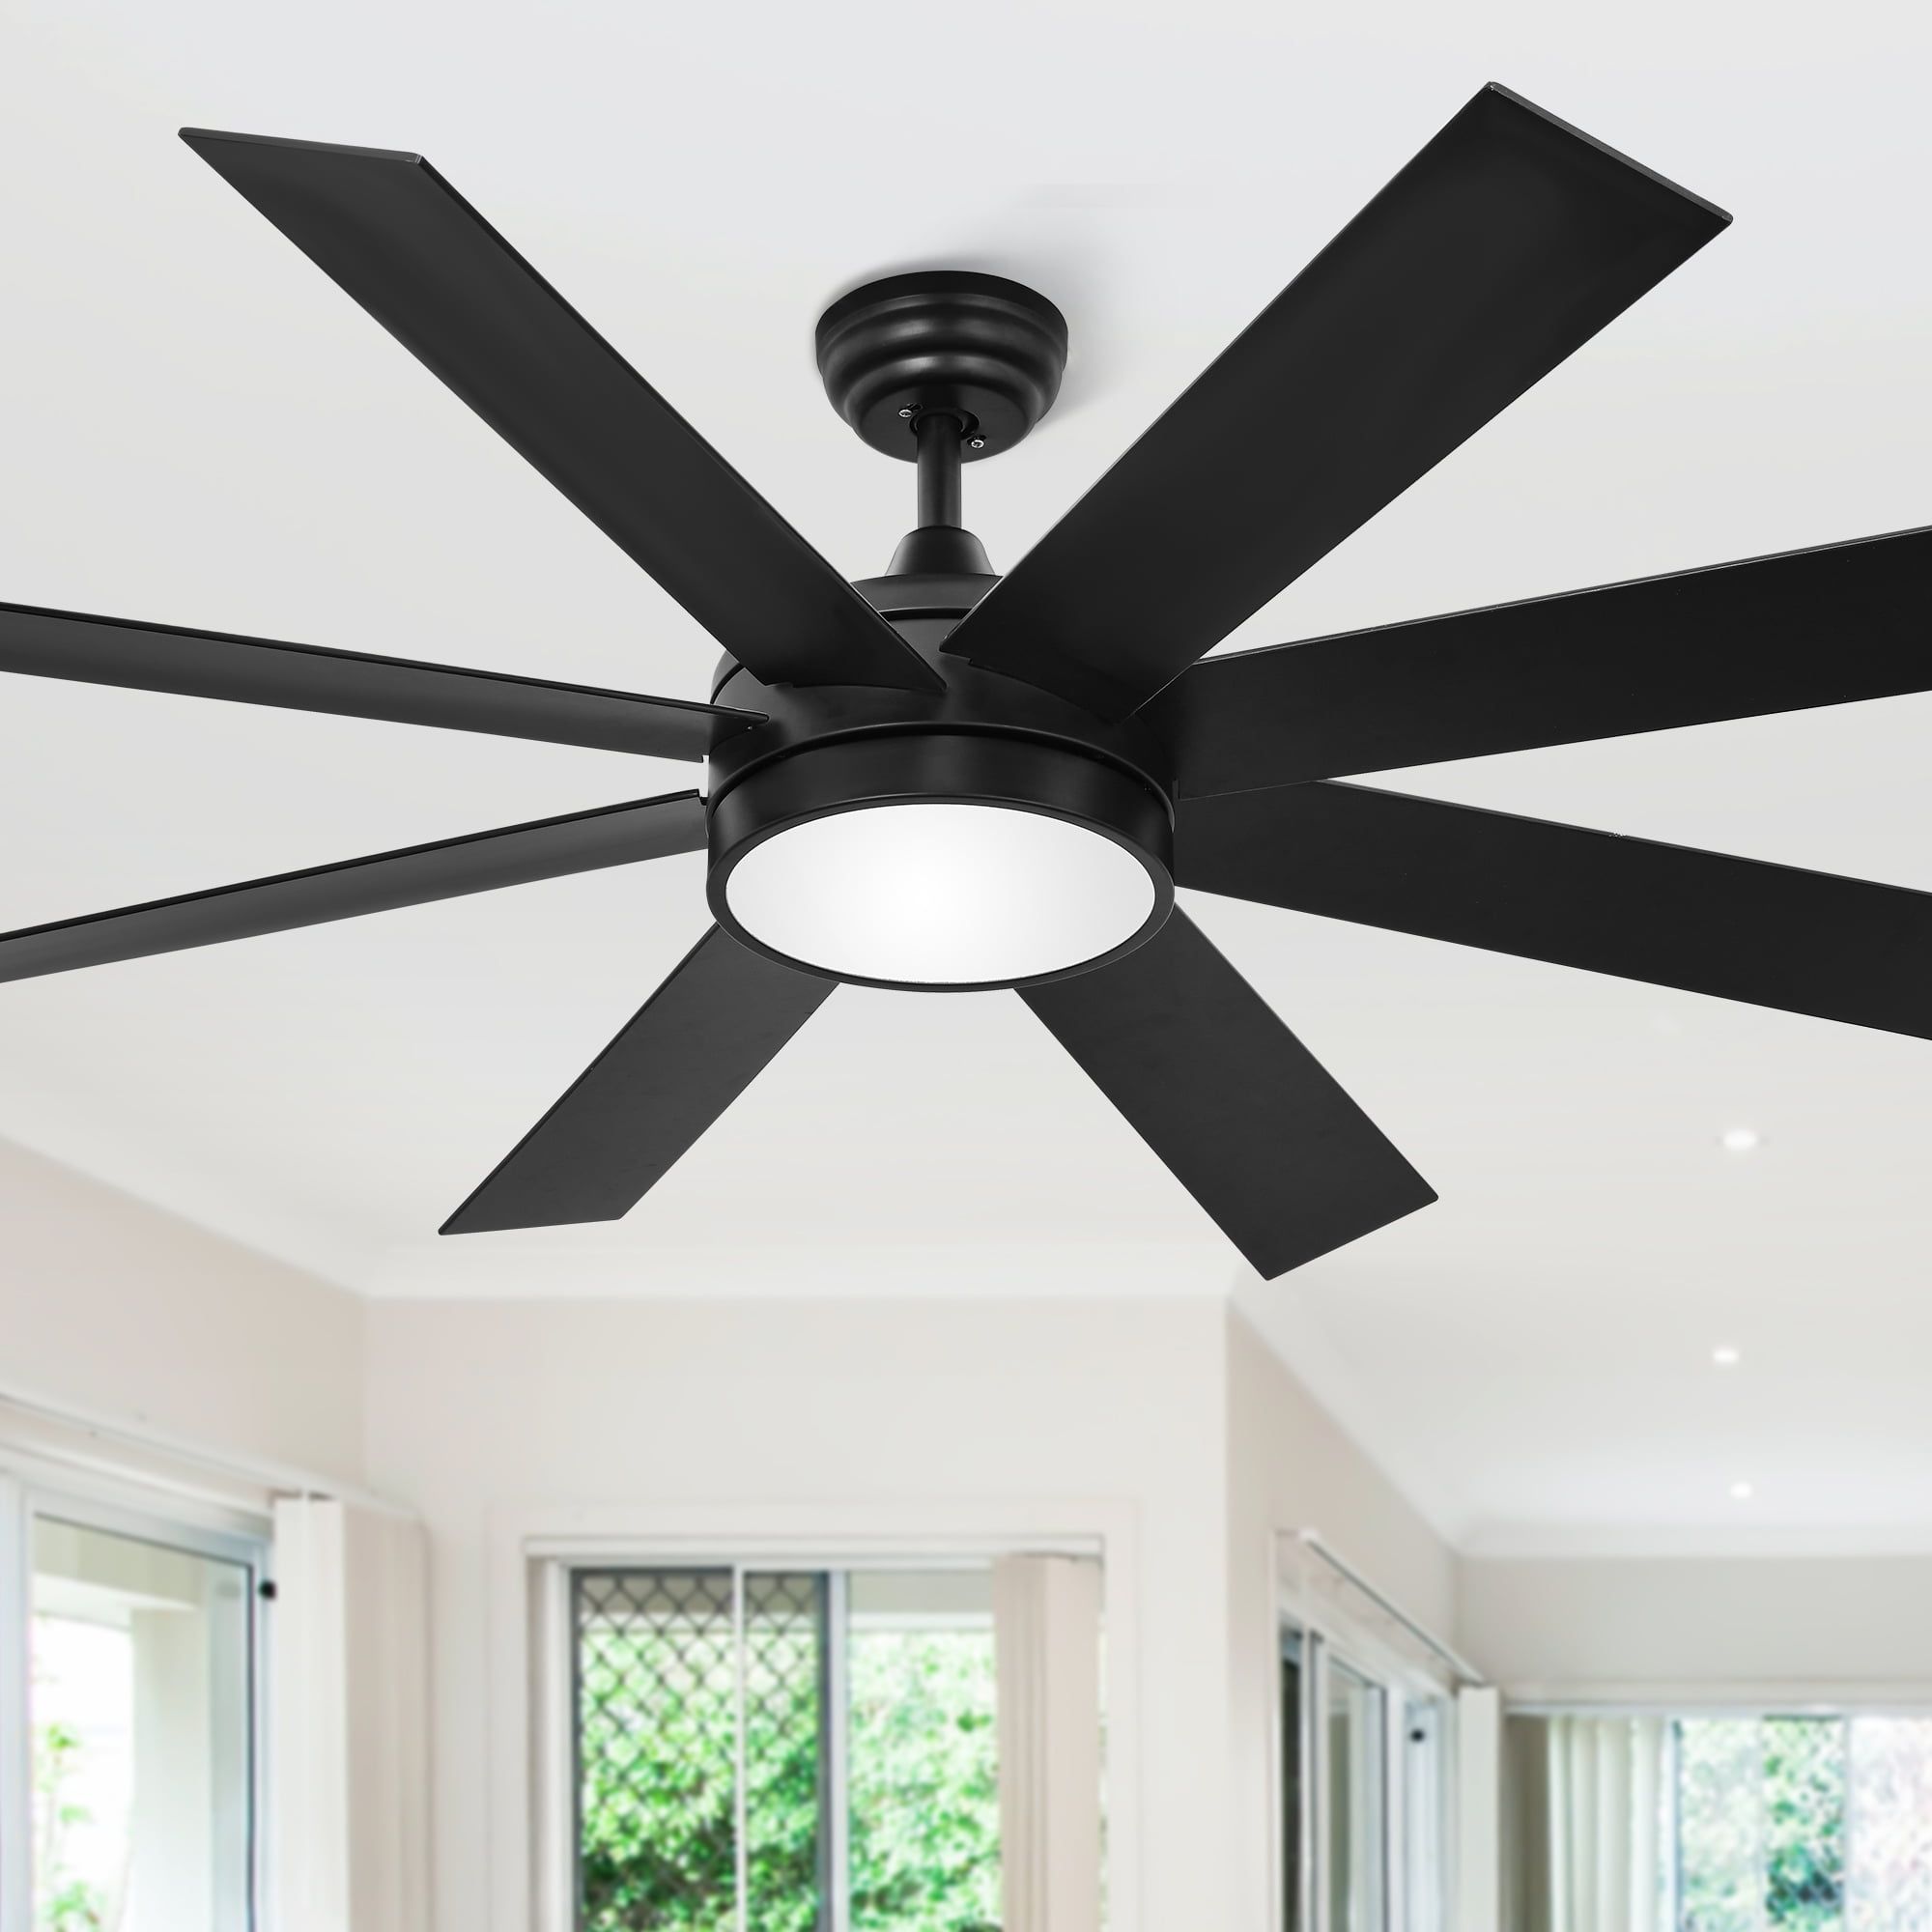
Once the wiring is complete, it’s time to attach the fan motor to the mounting bracket. This usually involves sliding a ball joint on the downrod into the bracket. Make sure it’s securely locked in place. Next, attach the fan blades to the motor housing. The instructions should show you the correct order and direction. Tighten the screws firmly but not too tightly – you don’t want to strip them. Now, carefully lift the assembled fan and hang it on the mounting bracket. Double-check that all connections are secure, and the fan is hanging straight. This is where having a helper comes in handy. It can be tricky to hold everything in place while you’re making the final connections. Patience is a virtue during this stage.
Balancing the Blades: Smooth Operator
A wobbly fan is a nuisance. But it’s usually an easy fix. Most fans come with a balancing kit – a small clip and some weights. If your fan wobbles, start by turning off the power. Then, identify the blade that seems to be causing the wobble. Place the balancing clip on the blade, and then move it along the blade until you find a position where the wobble is reduced. If the clip helps, attach the weight to the blade. If the wobble persists, repeat the process with the other blades. This might take a little bit of trial and error, but it’s worth it to get a smooth-running fan. If you’ve tried all of this and the fan still wobbles, there might be an issue with the mounting bracket or the ceiling itself. In that case, you might need to call in a professional.
Testing and Troubleshooting: The Final Checks
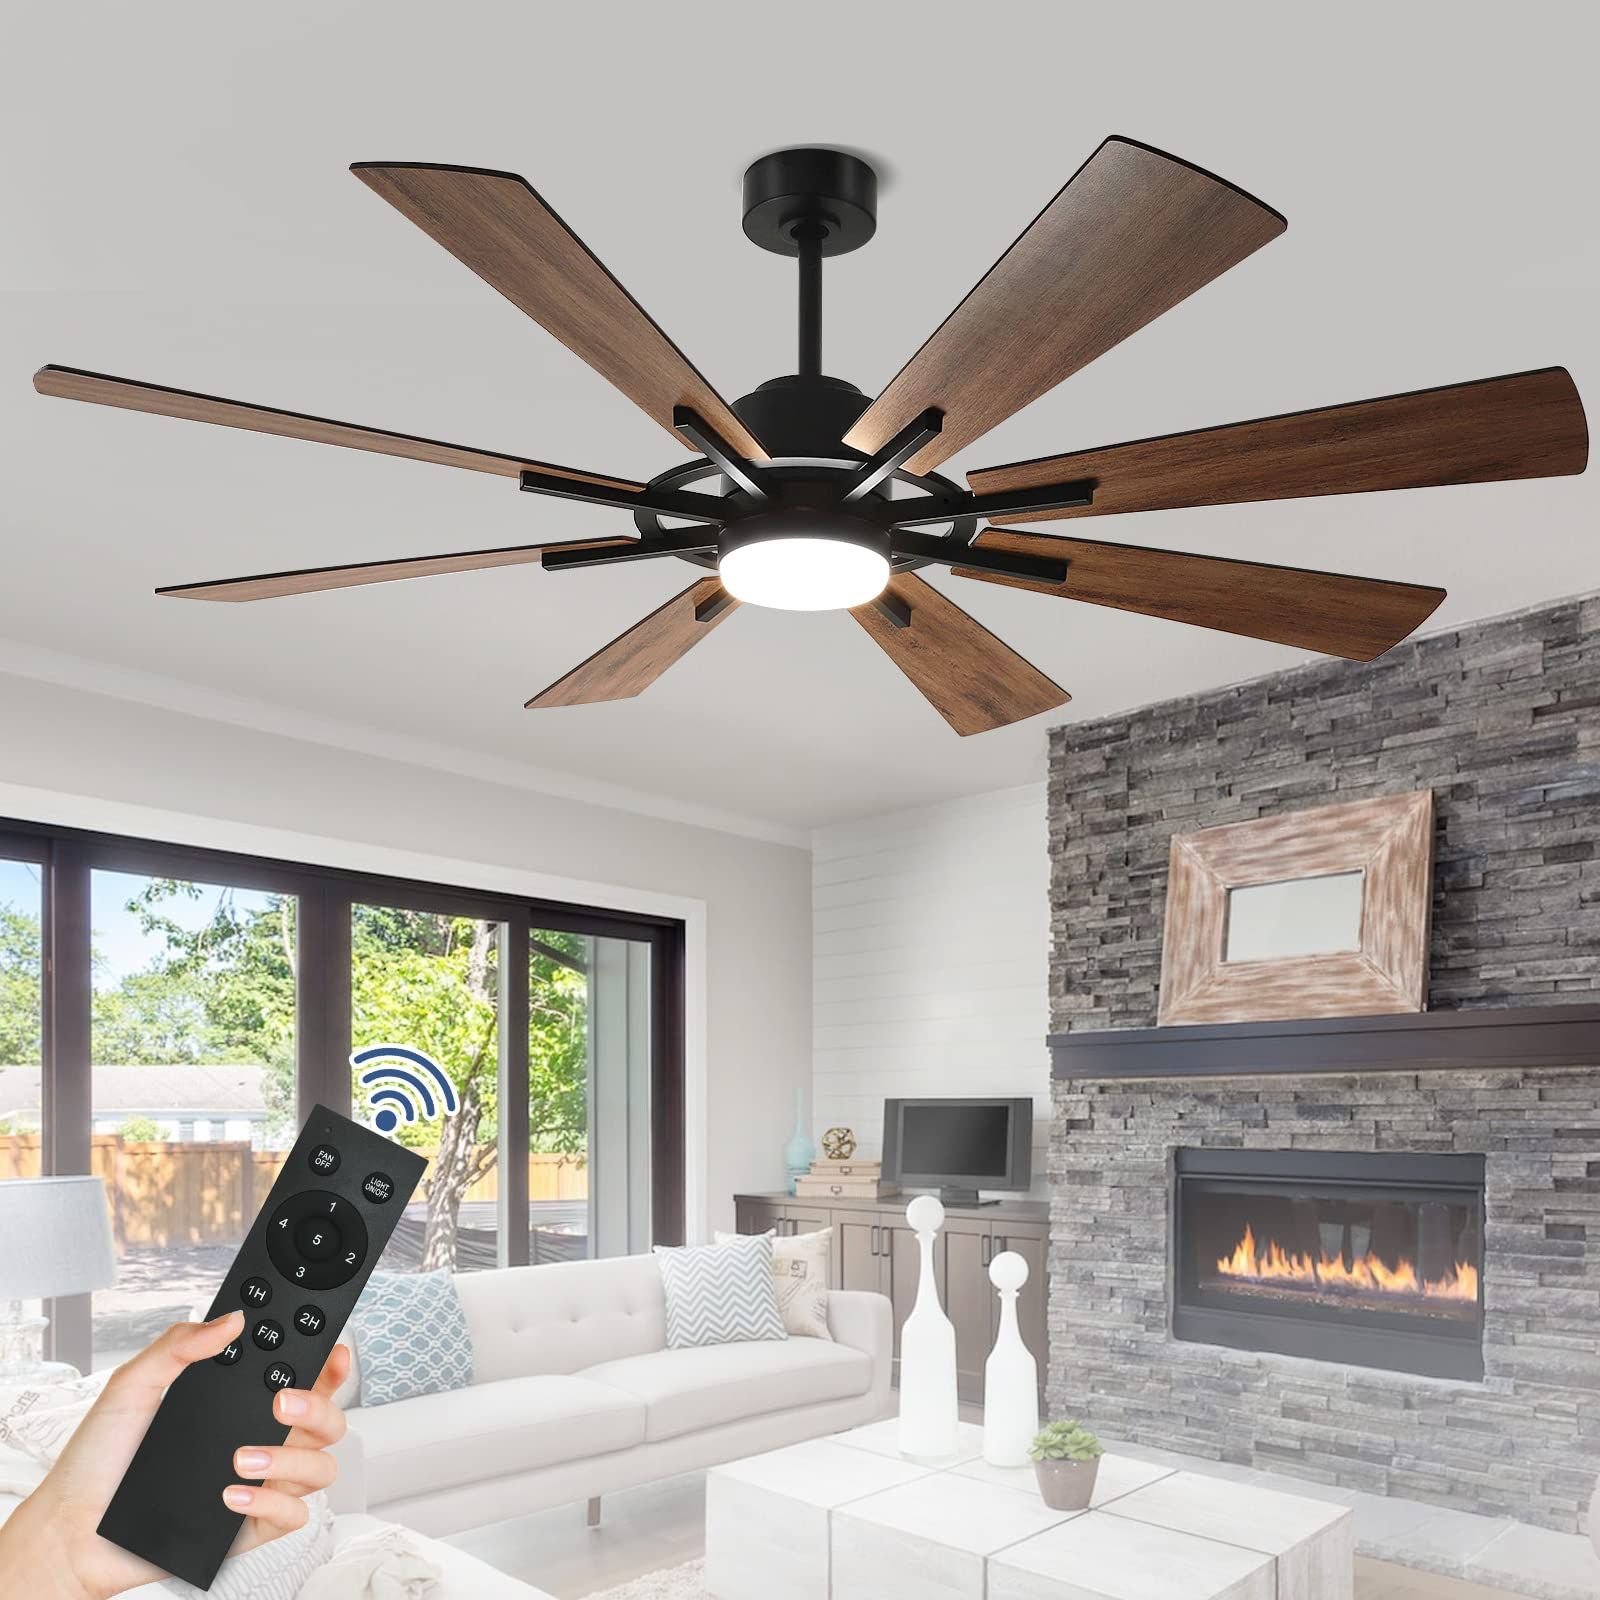
Before you celebrate, turn the power back on and test your fan. Check that the fan blades spin in the correct direction (usually counter-clockwise for cooling, clockwise for warming). Test the different speed settings and the light kit (if your fan has one). If something isn’t working, don’t panic. Go back through your steps and check your connections. Make sure all the screws are tight, and the blades are securely attached. If the fan is making noise, it could be due to loose screws, a problem with the motor, or the blades hitting something. Tighten all the screws, and check for any obstructions. Don’t be afraid to consult the manufacturer’s troubleshooting guide, either. It’s there to help you. If you’ve tried everything, and you’re still having trouble, consider calling a qualified electrician. They can quickly diagnose and fix the problem.
Congratulations. You’ve done it. You’ve successfully installed your 60-inch ceiling fan. Take a moment to savor the accomplishment. Now, sit back, relax, and enjoy the cooling breeze. Remember, installing a ceiling fan can be a rewarding DIY project, but it’s important to approach it with care, patience, and a commitment to safety. By following these tips and taking your time, you can ensure a safe, efficient, and long-lasting installation. And if you’re ever unsure about something, don’t hesitate to seek help from a professional. Happy fanning, everyone. And stay cool out there.