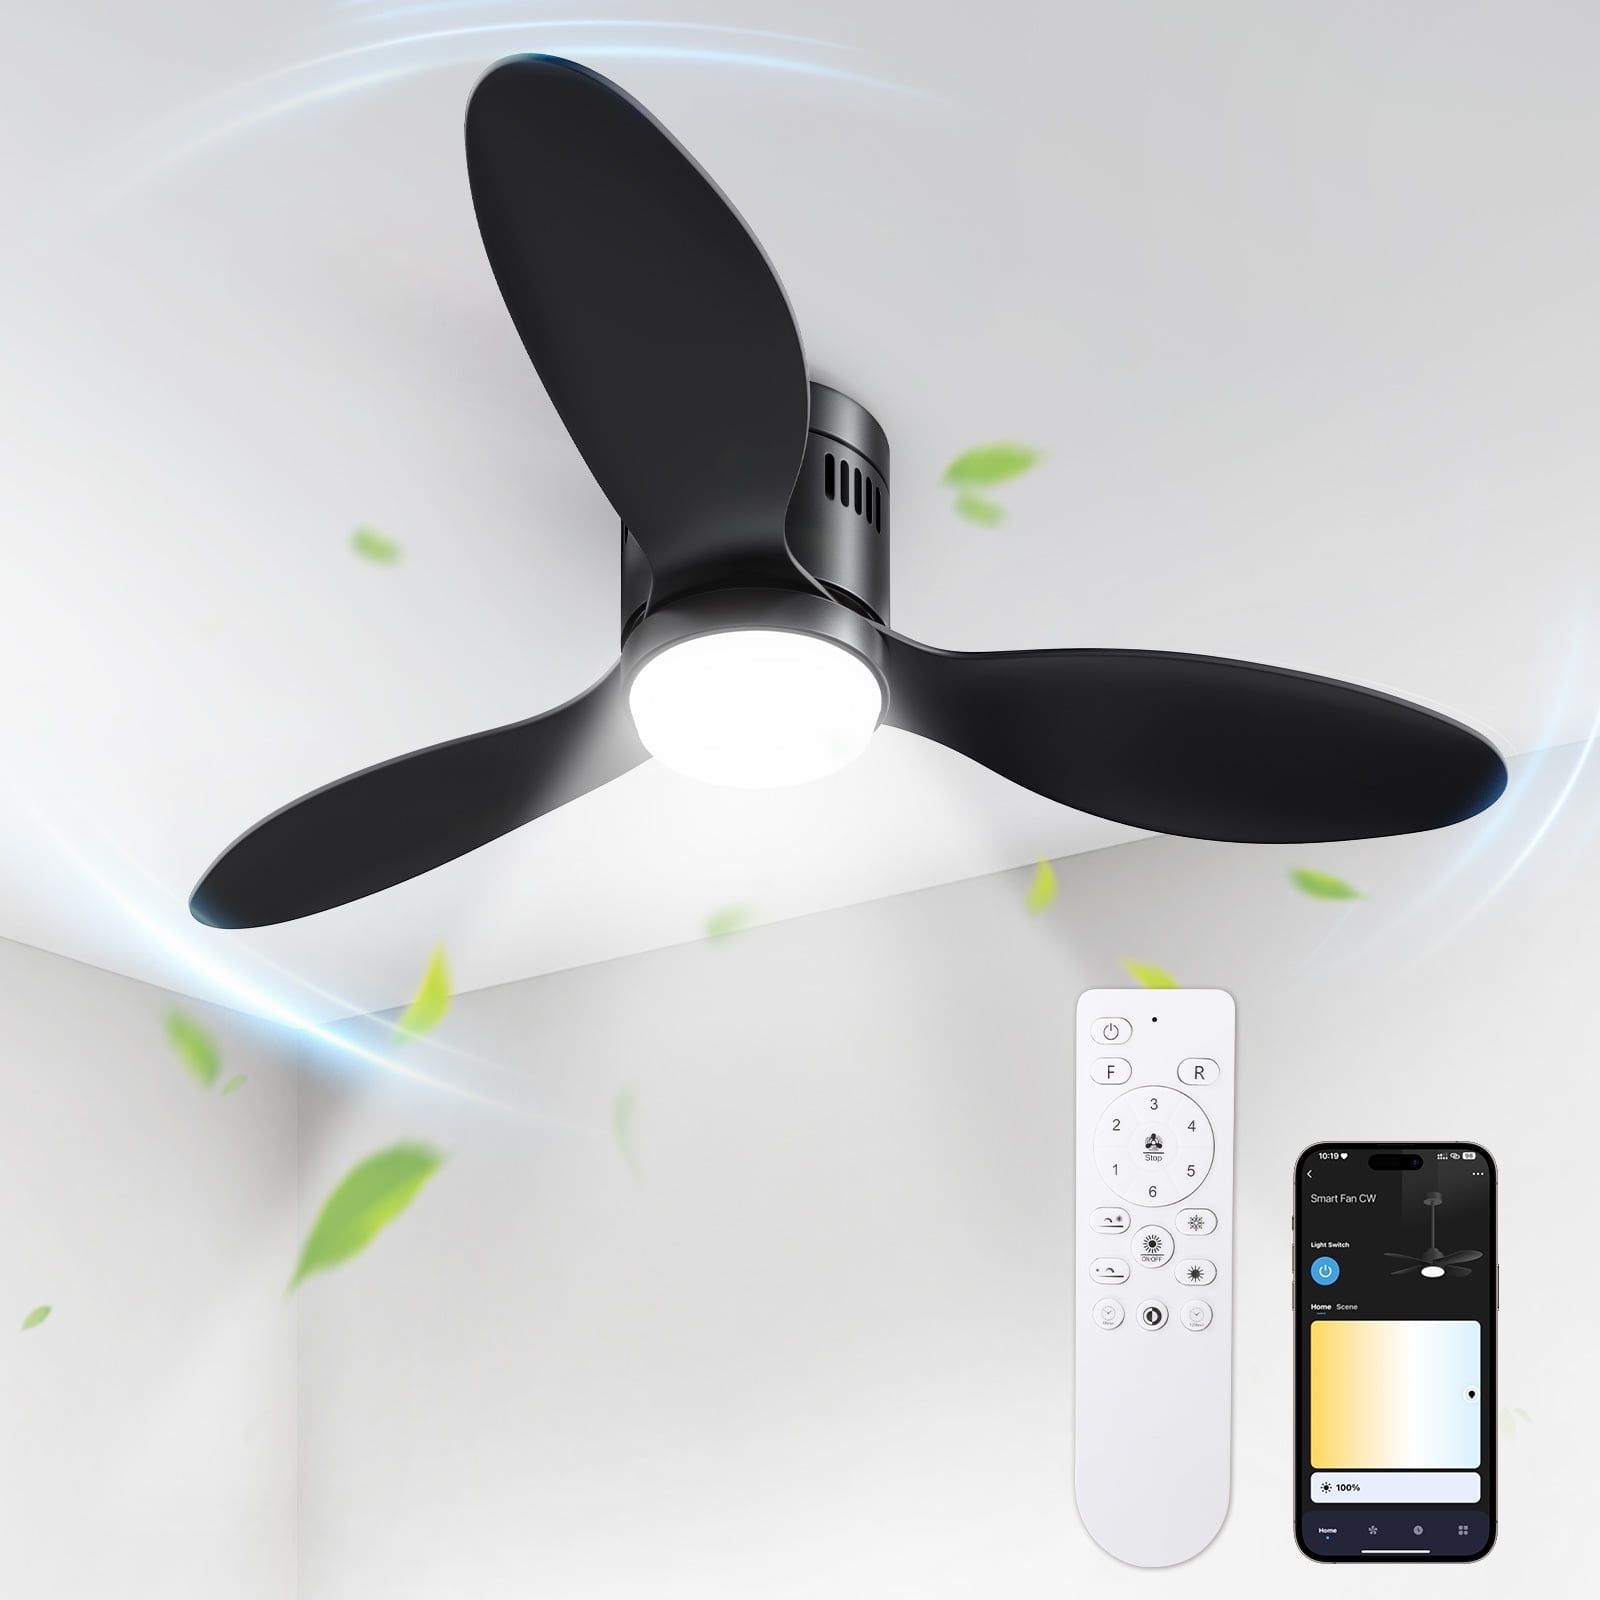
So, you’ve decided to add a stylish and functional flush mount ceiling fan to your home. Smart move! These fans are perfect for rooms with low ceilings, offering both comfort and a sleek design. But the installation can seem daunting, and that’s where I come in! I’m going to walk you through every step of the process, offering practical advice and troubleshooting tips to ensure a smooth and successful installation. Let’s get started, shall we?
Installing a flush mount ceiling fan can seem like a big project, but with the right information, it’s totally doable. My goal is to break down the process into easily digestible steps, so you feel confident tackling it yourself. We’ll cover everything from safety precautions to how to handle those tricky wiring connections. Remember, safety always comes first, and if you’re ever unsure, it’s always best to consult with a qualified electrician. Ready to get your fan spinning? Let’s go!
Pre-Installation Prep: What You Need to Know and Do
Before you even think about touching a wire, there are a few key things to check. First, make sure the ceiling fan you’ve selected is compatible with your ceiling’s electrical box. Flush mount fans need a sturdy box, rated to support the fan’s weight. Check the box itself – it should have the weight rating clearly marked. If it’s not rated for a ceiling fan, you’ll need to swap it out for a fan-rated box. It’s a good idea to turn off the power at the breaker box and double-check with a non-contact voltage tester to ensure the wires are dead. Gather your tools: screwdrivers (Phillips and flathead), wire strippers, wire connectors, a level, a ladder, and safety glasses. Make sure you have everything you’ll need before you start, this will save you a lot of time and frustration. And, of course, read the manufacturer’s instructions carefully. Each fan is a little different, and those instructions are your friend.
Wiring Wizardry: Making the Connections
This is where things can get a little tricky, but don’t worry, I’ll guide you. First, identify the wires: black (hot), white (neutral), and green or bare copper (ground). The fan usually has matching wires. Connect the black wires from the fan and the ceiling to the black wire from the electrical box using wire connectors. Do the same for the white wires. For the ground wires, connect them together using either a wire connector or by attaching them to the ground screw on the fan’s mounting bracket (check the fan’s instructions). Double-check all your connections to ensure they’re secure and that no bare wires are exposed. A good connection is key to a long-lasting fan.
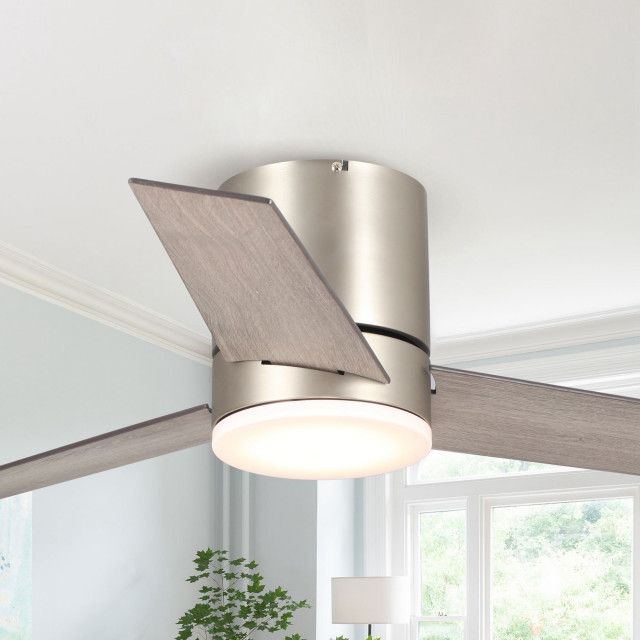
Mounting the Fan: Getting it Up There
Now for the physical part: attaching the fan to the ceiling. First, secure the mounting bracket to the electrical box. Make sure it’s properly aligned and that the screws are tightened securely. This bracket is the foundation for your fan, so make sure it’s solid. Next, carefully lift the fan motor and assemble it to the bracket. This often involves aligning holes and securing the fan with screws. Again, the manufacturer’s instructions are your best resource here. Ensure the fan blades are securely attached to the motor housing. Once everything is in place, give the fan a gentle tug to make sure it’s firmly attached.
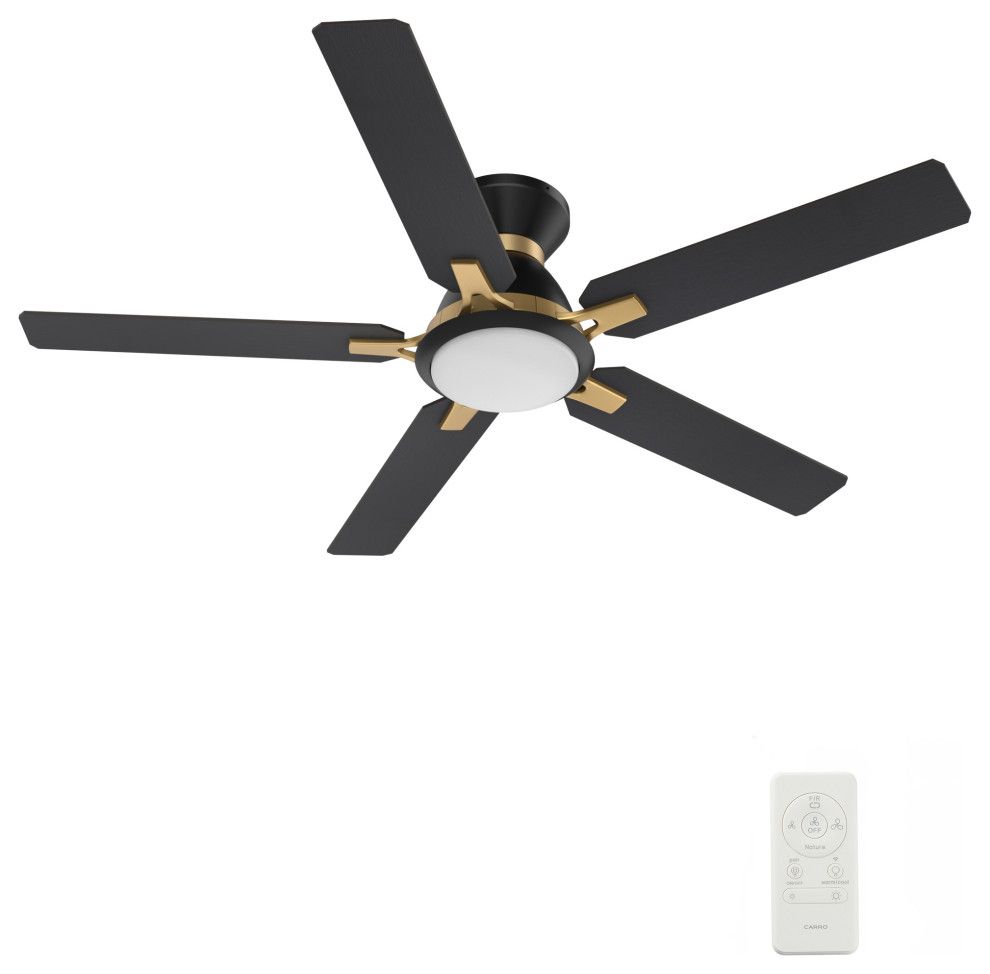
Blade Balancing and Alignment: Smooth Operation
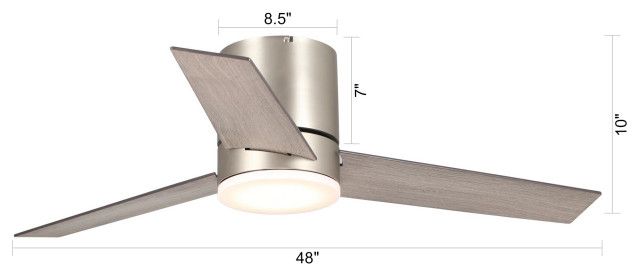
Uneven blades can cause a wobbly fan and an annoying vibration. After you’ve attached the blades, check their alignment. Measure the distance from each blade tip to the ceiling. If there are significant differences, you might need to adjust the blade brackets. If the fan still wobbles, use the balancing kit that came with your fan (usually includes clips you attach to the blades). Follow the kit’s instructions to find the blade that needs balancing. This will usually involve testing different blades with the clip until the wobble is minimized. Sometimes, a slight bend in the blades or improper installation of the mounting screws can cause the problem, so re-check all of these areas.
Troubleshooting Troubles: Common Issues and Solutions
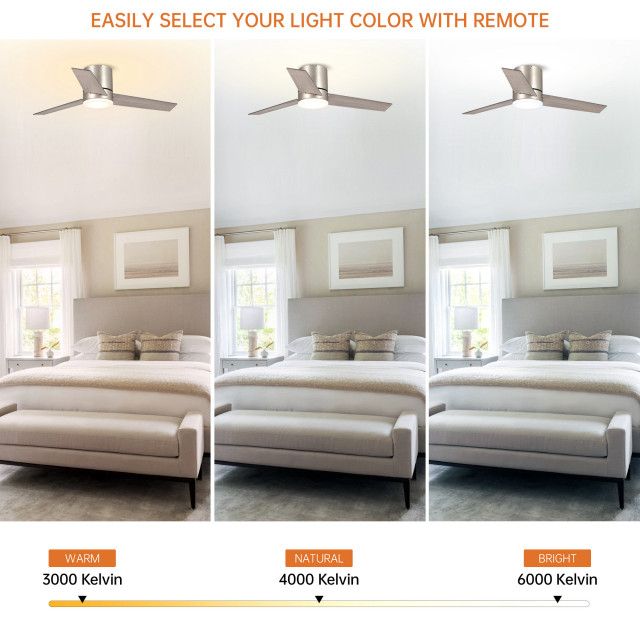
Problems happen, it’s life. Here are some common issues and how to fix them. If the fan doesn’t work at all, double-check the breaker and the wiring connections. Make sure the wires are connected correctly and that the power is on. If the fan wobbles, check the blade alignment, blade balance, and the tightness of the screws. If the fan is making noise, it might be a loose screw or a blade rubbing against the ceiling. Tighten all screws and check for any obstructions. If the light kit isn’t working, check the light bulbs and the wiring connections to the light kit. If you’re still facing problems, consult the manufacturer’s troubleshooting guide or consider getting some professional help. It’s better to be safe than sorry.
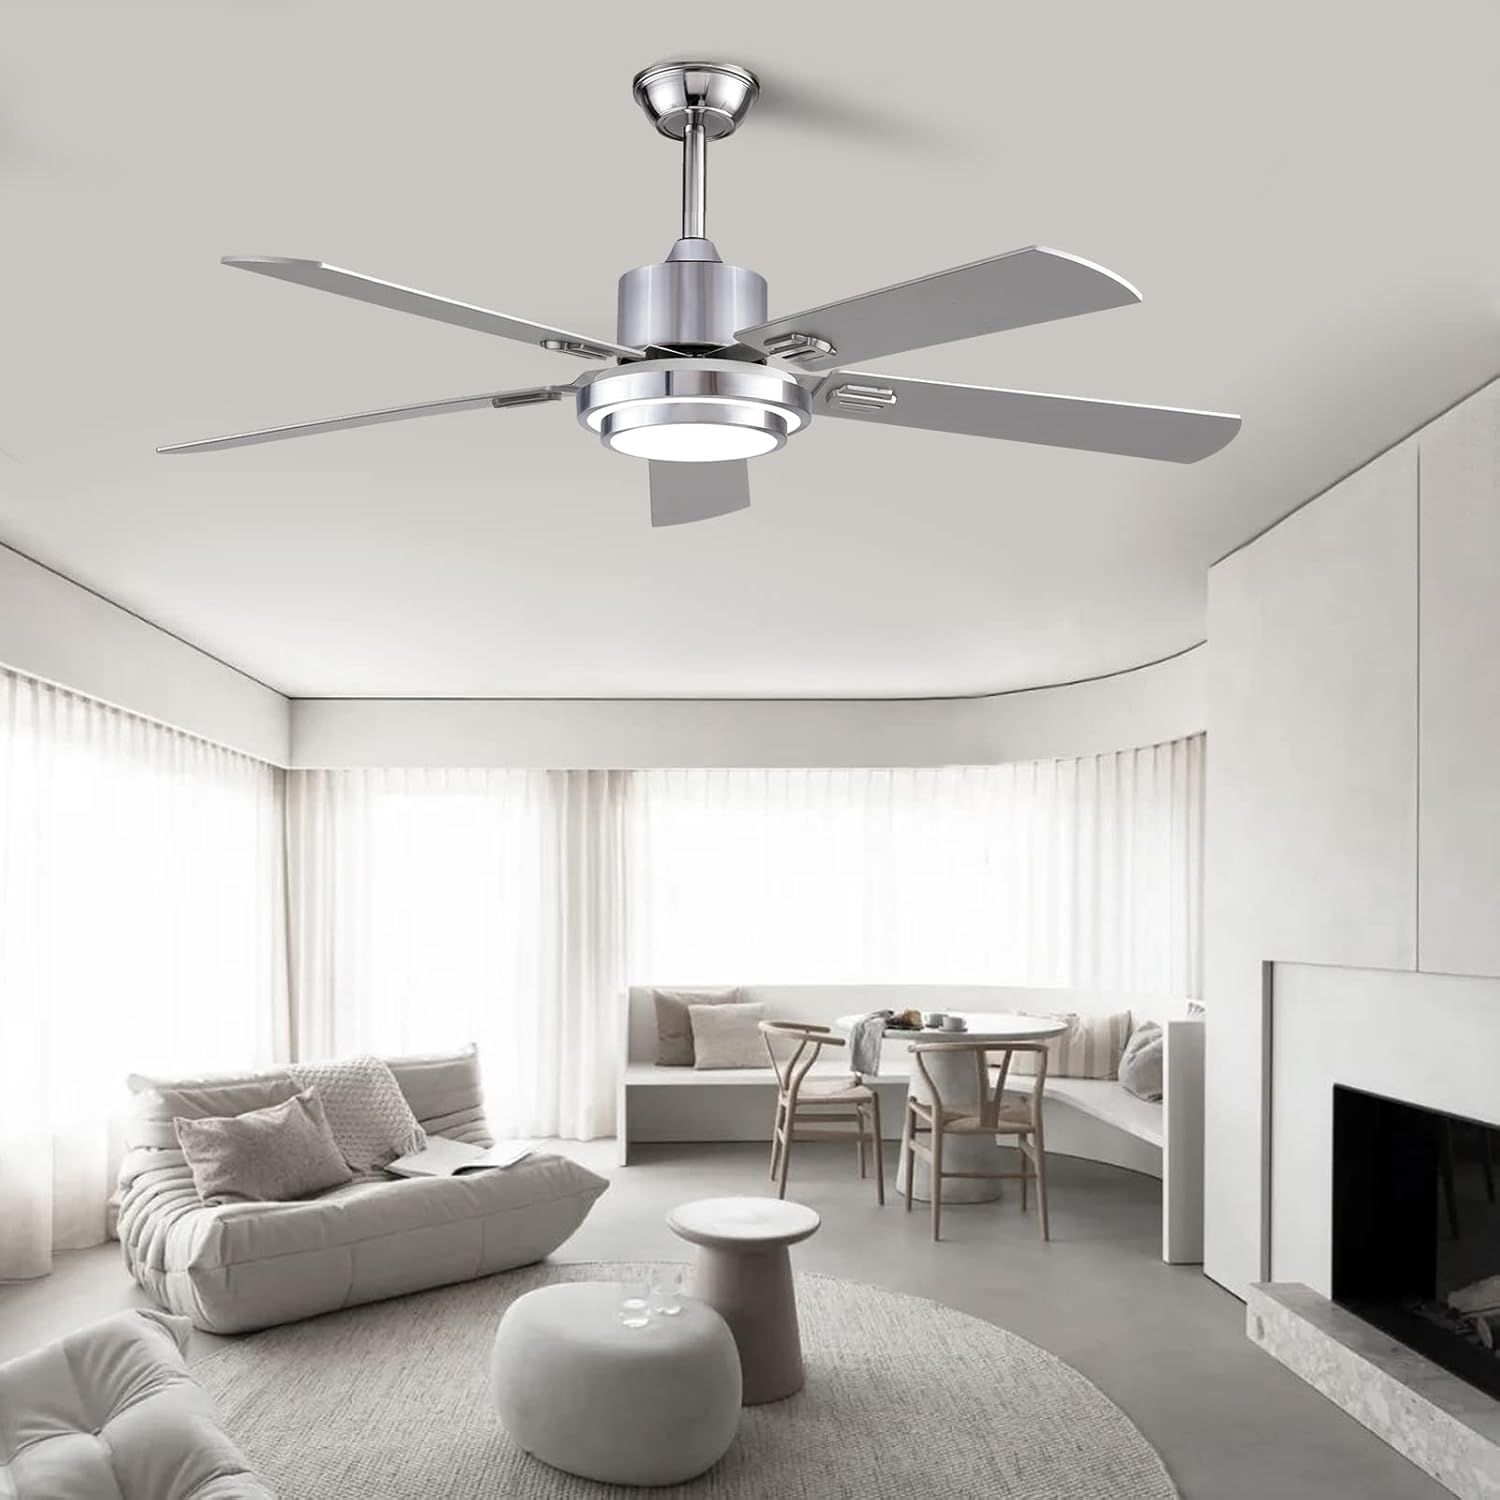
Final Checks and Enjoyment: Finishing Touches
Once everything is installed, give your fan a final once-over. Make sure all the screws are tight, the wires are secure, and the blades are properly aligned. Turn the power back on at the breaker box and test the fan at different speeds. Test the light kit, if it has one. Once you’re satisfied, sit back, relax, and enjoy your new, perfectly installed flush mount ceiling fan! And just think, you did it yourself! You’ve successfully added comfort and style to your space. Congratulations!
Installing a flush mount ceiling fan can be a rewarding DIY project. By following these tips, you can successfully install your fan and enjoy its benefits for years to come. Remember to prioritize safety, take your time, and don’t hesitate to ask for help if you need it. With a little patience and the right approach, you can transform your room into a cooler, more comfortable space. Happy installing, and enjoy the breeze!